


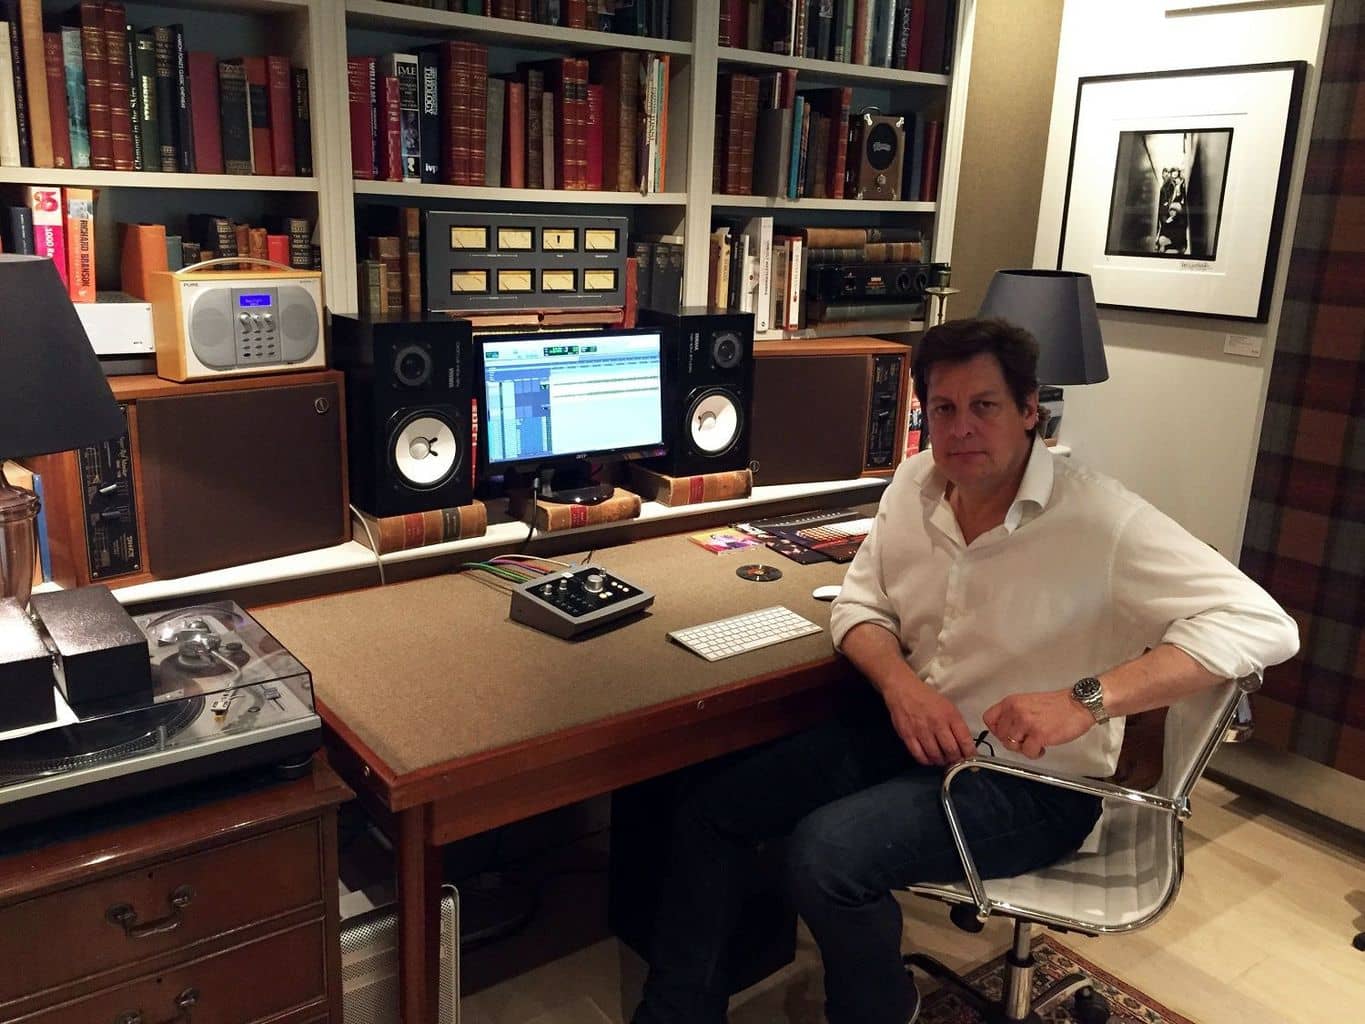
Beatmaking – that is, the process of building fully fleshed-out loops using samples and synths, for working into complete songs via the subsequent addition of rapped and/or sung vocals – has become big business in recent decades. As well as being a firmly established compositional form in its own right, however, the self-contained, open-ended nature of the format, along with its intrinsic focus on groove and sonics rather than complex song construction, makes beatmaking the ideal entry point into broader production. So, whether you’re taking the first tentative steps on your musical journey (having first availed yourself of the required gear) or seeking to get into beatmaking as a specific creative outlet, here we’ll tell you what you need to know to get started.

Set the tempo and vibe
Fundamentally, a beat comprises up to eight bars of drums (and, often, other percussion), bass and any number of incidental melodic and ‘ear candy’ parts; but within that seemingly limiting base lies an infinite range of possibilities, of course. The first decision to be made is what tempo your beat will roll along at, and even though it can be changed at any point in most DAWs, it’s still good to settle on at least a ballpark figure before you get started, as this will play a major role in defining the overall mood of the thing. Are you aiming for a slow RnB or half-time feel (60-90bpm), formulating a breaksy hip-hop angle (85-100bpm), or envisioning a searing DnB tear-up (160-180bpm)? If you’re not sure what tempo to dial in, fire up a commercial track in the appropriate genre and use your DAW’s tap tempo feature or a stopwatch to determine said value.
Tempo aside, while it’s certainly helpful to have an idea as to the general vibe and direction of your beat from the outset, it’s not necessarily essential, as some sort of form will soon become clear once you start adding parts.
Get the drums and bass down
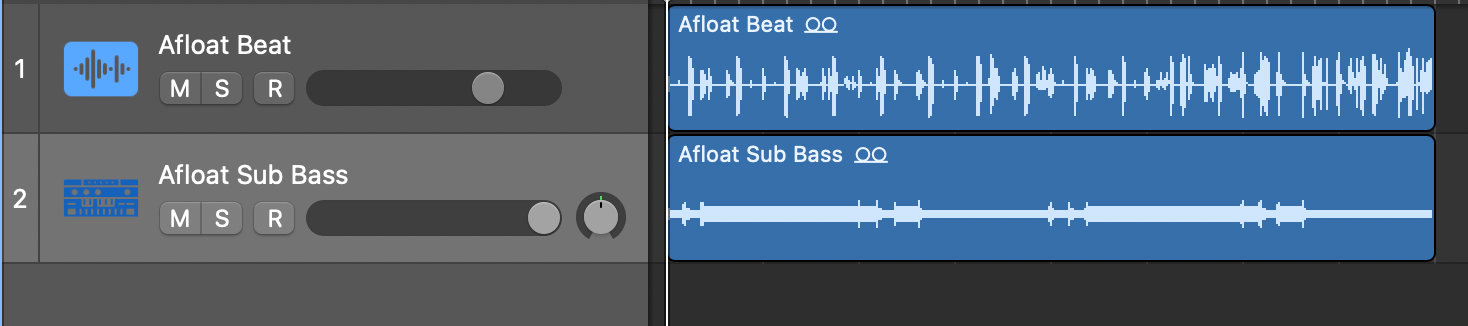
With your DAW’s arrange page or clip launcher (Live’s Session View, Logic Pro’s Live Loops, etc) set to loop over a playback cycle of 1, 2, 4 or 8 bars (depending on how long you want your beat to be), it’s time to decide which musical element to begin with. While there’s no reason to not start with a melodic hook or sound effect if you have one in mind or are inspired by a particular sample, by and large, the drums and bass – forming, as they do, the foundational groove of the beat – will come first. It doesn’t matter which of the two you literally position on the page before the other, but we’d recommend getting both in place together before you start editing either, because it’s absolutely imperative that they interlock tightly as a cohesive rhythm section rather than sound like separate entities. You might program a rough MIDI drum part and throw a tasty sampled bass guitar loop on top of it to establish a basic groove, then work up the drums properly and add further percussion, for example.
In any beat, timing is everything, so whether you’re programming your own sampled/synthesised drum and bass parts in a MIDI editor or step sequencer, or flying in prefab loops from a sample library, use your DAW’s groove manipulation and mapping facilities, and/or manually shift MIDI notes and samples around on the grid, to collectively imbue them with your desired funk, lope, push, pull or other idiomatic temporal styling. Also, depending on the arrangement of your rhythm section, it may be worth inserting a compressor into the bass track and routing the kick drum to its sidechain input, thereby preventing an excess of low-frequency energy by ducking the volume of the former whenever the latter hits. This can really help with clarity and punch, and even enhance the rhythmic nuance of the beat.
No matter which approach you take with these two mission-critical components, what matters most is that you feel the groove at a visceral level throughout the process. If it begins to drag or lose energy while you’re working on it, take a break to give your ears and brain a chance to rest; and if it doesn’t sound immediately compelling when you return to it, think about ditching one of the elements or even starting again from scratch.
Add a hook or melody
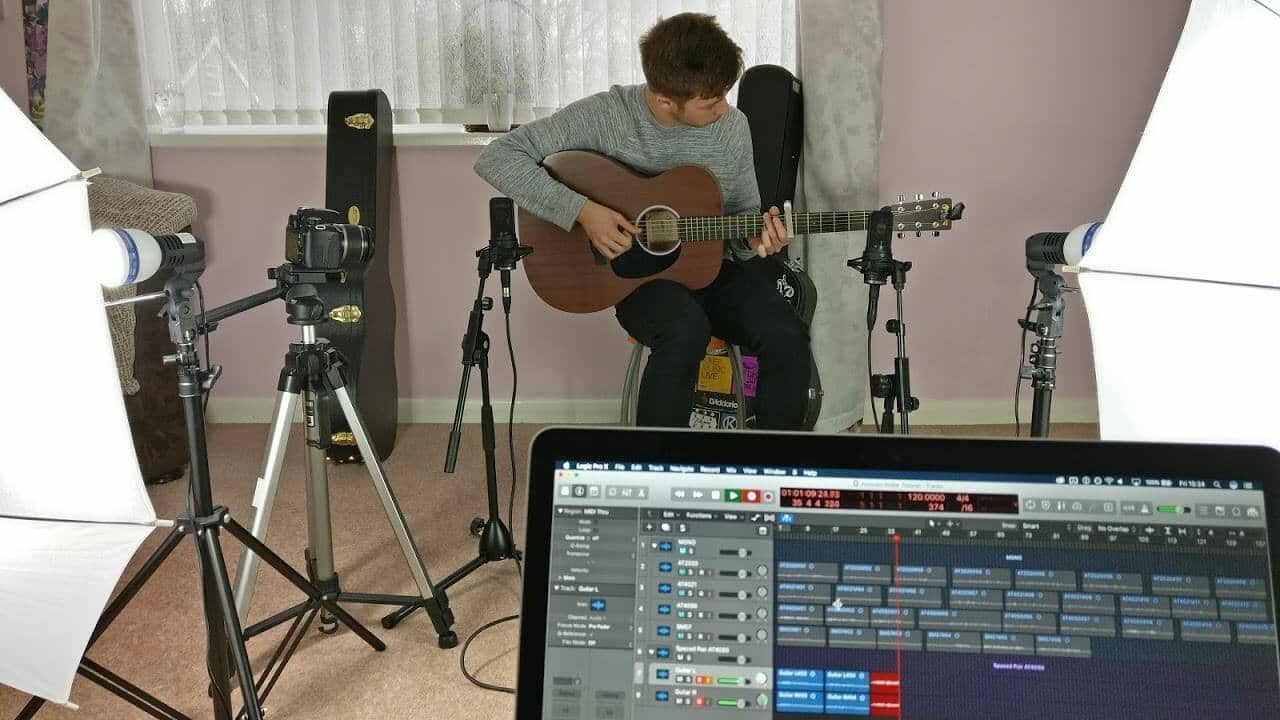
Your rhythm section is rolling along nicely, which means you’re 90% of the way there – indeed, your beat may not need anything else if minimalism is your stated goal! More likely, though, is that you’ll want to add in a melodic motif of some kind, be it a synth arpeggio, a keyboard chord sequence, a guitar lick, a time-stretched vocal snippet or anything else you like. Clearly, this hook needs to be in key with the bassline, but other than that, you’re just looking to grab the listener’s ear with an instantly catchy, memorable riff or tune that floats perfectly on top of the drums and bass. Fire up a synth, plunder your sample library, and have fun!
Sprinkle in some incidental sounds and ear candy (See ear candy tutorial)
Lastly (and, again, entirely optionally), placing quiet ‘ear candy’ elements in the gaps between the drums, bass and melody can transform the groove and sound of your beat. High-frequency synth FX, percussion one-shots, textural layers, sub drops, breath noises, quick reversed sounds… basically, anything short and sweet that can be blended into the mix to up the energy and interest without drawing attention away from the all-important groove or sitting above the melodic hook.
Finesse the mix
All that remains is to mix your beat to get it sounding the best it possibly can. If you’re using sample libraries, you may not need to do much at all in this department, as your sounds should already be largely on point; but if you’ve made your own sounds and/or are pulling together samples from disparate sources, volume levels will need to be adjusted, and EQ and compression on individual tracks and the master bus might be required to shape the frequencies and dynamics of the beat. Ultimately, you’re after a consistent and up-front presentation, with tight but weighty low-end, bright, sparkling highs, and a clear, uncluttered mid-range.
Mixing is a hugely involved subject, and you can learn much more about it by checking out our many tutorials on equalisation, compression and other related topics. As a golden rule for those new to the art, though, it’s a good idea to constantly compare your beat to those of a few of your favourite commercial tracks while shaping the mix, with the intention of matching them as closely as possible in terms of dynamics, sheen and general sonic quality. Without doubt, mixing is the trickiest, most potentially frustrating part of the whole production process, but don’t let the seeming complexity of it all overwhelm you – with practise and experience, you’ll soon develop an ear for a great sounding beat.
Our Products
-

2in | 2out Audio Interface
-

10in | 6out Audio Interface
-

10in | 14out Audio Interface
-

20in | 24out Audio Interface
-

24in | 32out Audio Interface
-

2in | 2out Audio Interface
-

4in | 4out Audio Interface
-

24in | 24out Audio Interface
-

Everything you need to start recording
-

8 Channel Smart Preamp with AD/DA
-

8 Channel Mic Pre & ADC
-

8 Channel Mic Pre + Tone Control
-

Modular Analogue Recording Console
-

Small Format Analogue Recording Console
-
Small Format Analogue Recording Console
-

Immersive Audio Interface and Monitor Controller
-

Desktop Monitor Controller