


1. Finding the right space

Before you start placing microphones, it’s important to note that your recording will be affected by the shape and sound of the room so choosing the right spot is really important. Acoustics is a science of its own but a good rule of thumb to note is often a room with a lot of hard surfaces (a bathroom or church) will have a lot of reflections and will give you a more roomy and characterful sound that can be great but can also be difficult to control. However, recording in a room with lots of furniture (a bedroom) will give you a tighter sounding recording due to the furniture absorbing the sound created from the guitar.
The most valuable tool you have here is your ears so a good place to start is by simply listening to the guitarist play in your chosen room, finding the best sounding spot and setting up your guitarist and mics there.
2. Knowing your microphones – Condenser Vs Dynamic
Mic Gallery
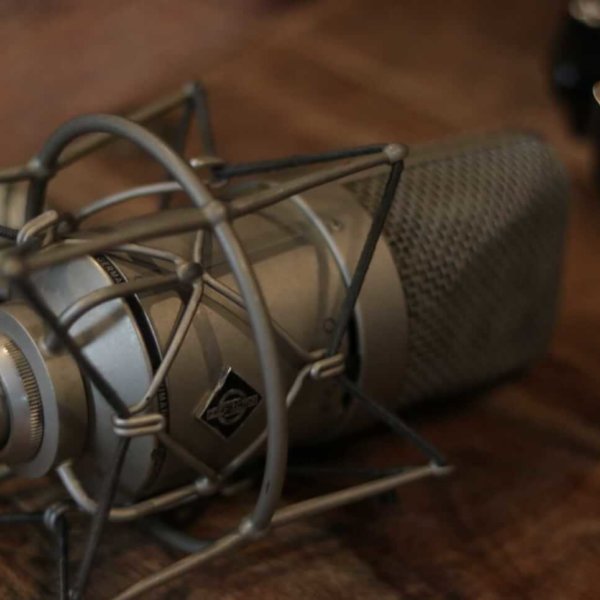
Before you set up you need to select which microphones you are going to use. If you’re not sure on the differences between these type of microphones make sure you check out our blog post on it here. As acoustic guitars are delicate instruments and often contain a lot of high frequency information, the most common choice is a combination of condenser microphones. However there are no rules to which microphones you use and experimenting is all part of being an engineer.
In this article we’ll be using a pair of Audio Techinca 4021s as well as a pair of AT4050s for the stereo configurations and an AT2020, Shure SM57, AT4021 & AT4050 for the mono mic positions. We chose to combine a large diaphragm microphone (great for capturing the body of the sound) and a small diaphragm microphone (great for capturing the detail and brightness of the sound) to help us get an accurate and balanced recording.
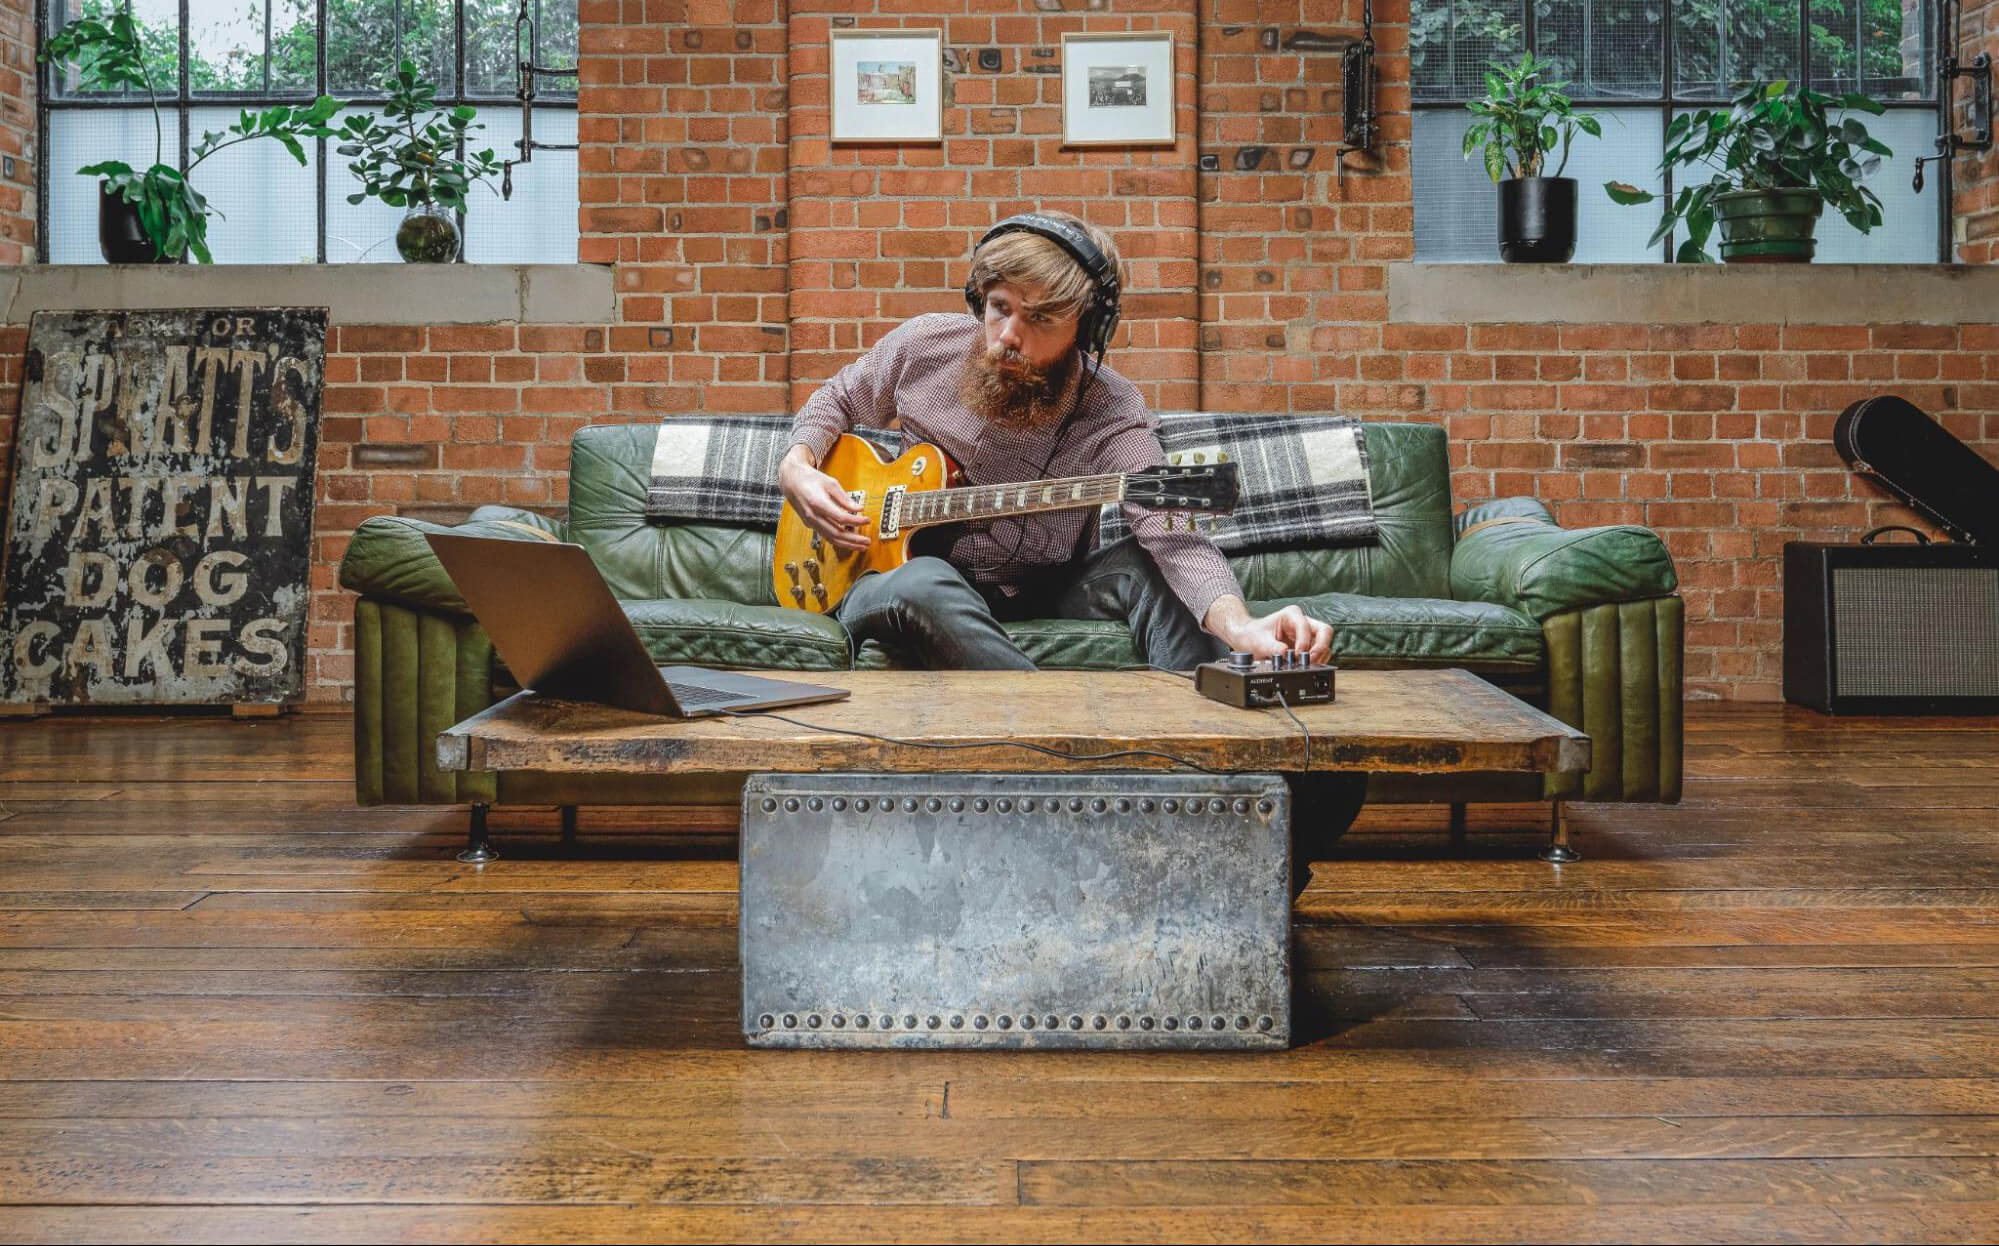
Recording in mono vs recording in stereo
3. Recording in mono vs recording in stereo
Recording in mono means recording with only one mic and recording with stereo means recording with two. You might not know why you would do either so here are some reasons to consider when deciding which microphone techniques to use.
Recording in mono:
- Phasing issues are eliminated.
- Simple and quick to set up.
- Great for recording guitar parts to thicken up an arrangement.
Recording in stereo:
- Great for adding extra depth and width to your already great sounding mono recordings.
- Start to build up a fuller picture of the instrument.
- Important in sparse arrangements where the acoustic guitar is a key feature of the song.
Let’s take a look at some common techniques for both mono and stereo.
Microphone Placement
4. Microphone Placement
Before we take a look at some common microphone techniques let’s have a look at some of the more common mistakes you want to avoid made when recording an acoustic guitar:
Placing the microphone in front of the sound hole.
This is where the sound comes from, right? Whilst it might make sense to place the mic here, the sounds hole is usually where the lower frequencies build up, meaning you’ll most likely get a ‘boomy’ sounding guitar which won’t sound great and will be difficult to mix.
Placing the microphone as close to the guitar as possible.
Placing the mic too close the guitar can lead to a variety of issues including the proximity effect,too much fret noise and not capturing any of the guitars natural interaction with the room. A good place to start is by micing the guitar from around 6 inches away, then adjusting it from there. Now that’s out of the way let’s get into technique:
Mono microphone placement
12th – 14th fret


Placing the mic 6 – 12 inches away from the 12th – 14th fret often sounds like the most natural and balanced sound. Experiment with pointing the microphone more towards the neck for a thinner sound and more towards the sound hole for the sounds of the pick or fingers.
Body


Recording the body of the guitar is going to yield a more mid and bass heavy tone than the previous technique. This technique can often complement a vocal track where the singer has a higher register voice.
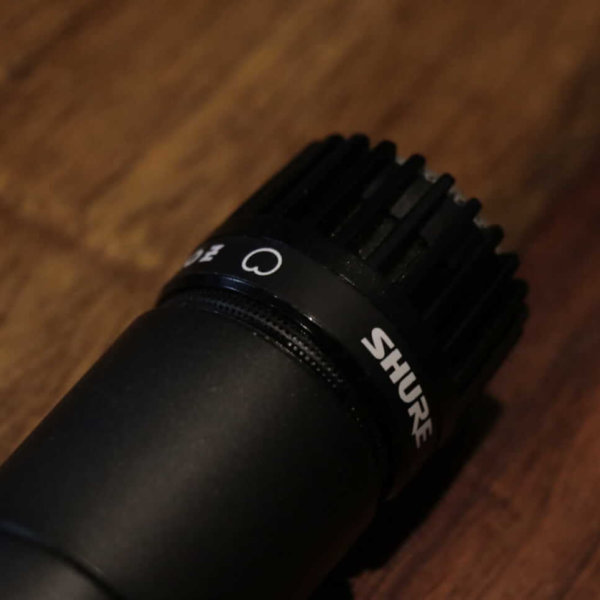
Dynamic Mic

Sometimes, a condenser microphone is not the most appropriate choice especially if you’re recording very dynamic and aggressive rhythm parts. Below we’ve miced an acoustic guitar with a Shure SM57 using the mono neck position technique.
Stereo microphone placement
Stereo microphone placement
Spaced Pair (A/B)
When using a spaced pair technique, phasing will be more of an issue than coincidental pairs. To make sure phasing doesn’t ruin your mix make sure to use the 3:1 technique:
“The distance between each microphone should be at least 3 times the distance the microphone is to the guitar”

Start by placing one microphone around the 12th/14th fret and the other at the bridge pointing either at the body or towards the sound hole, 6 – 12 inches away. Adjust each mic so that they sound good on their own. When mixing the guitar sound, often each mic will be panned hard left and hard right.
Coincidental Pair (X/Y)

Another popular technique is X/Y. For this technique you’re going to want to place each microphone with their diaphragms as close as possible, to avoid any phasing. Each microphone should be 90º to each other. We recommend placing the mics around where the neck meets the body of the guitar. One of these mics will pick up the top end of the neck and the other will pick up the warmth of the body. In the mixing process you wouldn’t pan these as extremely as the spaced pair.
Recording via DI
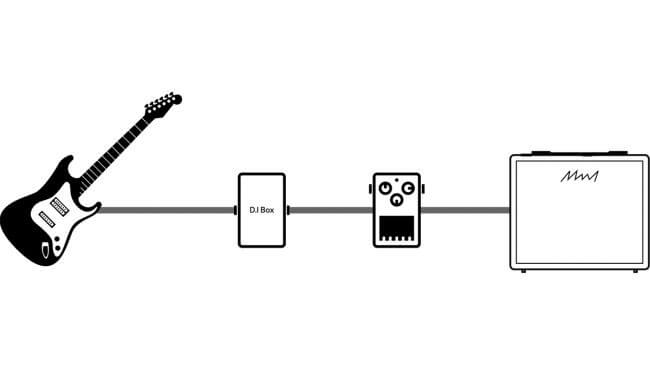
5. Recording Via D.I
Recording using the D.I input is great for laying down tracks quickly and is often where a lot of songwriters will start when writing a song. However, as you’ll only be recording the sound of the acoustic guitar through the guitar’s pickup, you’re most likely going to end up with a slightly unnatural sounding guitar recording. As we’ve mentioned before, it’s the sound of the room that gives the guitar it’s natural feel and familiar sound. Here are a few tips to help your D.I’d recordings sound great!
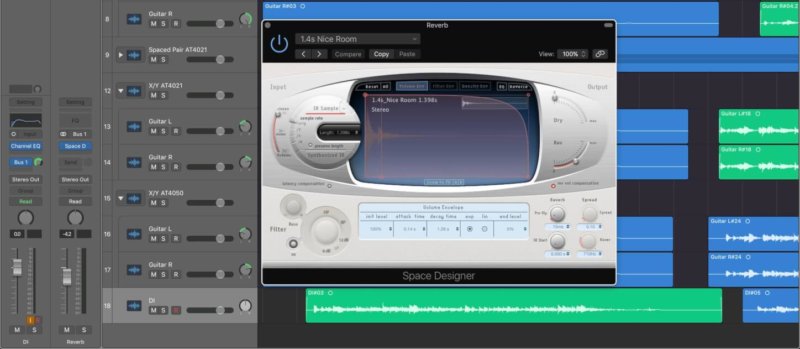
Convolution reverb is your friend.
Put simply, convolution reverb is made from firing a series of frequencies into a room, recording them and then squashing them down into an impulse response. This gives you an accurate recreation of the rooms acoustics, which you can then apply to your recordings. Space Designer in Logic X or Space in Pro Tools are both great convolution reverbs and making use of them will make your D.I’d recordings sound a lot more natural.
Also, taking a D.I even when you’re using microphones gives you another tonal option to experiment with and blend with your mics.
Conclusion
Conclusion
When recording the acoustic guitar try and think about the context of the instrument in the song. If it’s a feature part, you might be better off micing it with a stereo technique and if it’s just something to thicken up an arrangement, a mono mic technique might work better. The last thing you need to remember when recording acoustic guitar is to always try new things. There are no hard and fast rules so experiment and find out what works best for you!
The song used in this article is ‘Flawless’ by Zach Johnson. Find the full song here.

Our Products
-

2in | 2out Audio Interface
-

10in | 6out Audio Interface
-

10in | 14out Audio Interface
-

20in | 24out Audio Interface
-

24in | 32out Audio Interface
-

2in | 2out Audio Interface
-

4in | 4out Audio Interface
-

24in | 24out Audio Interface
-

Everything you need to start recording
-

8 Channel Smart Preamp with AD/DA
-

8 Channel Mic Pre & ADC
-

8 Channel Mic Pre + Tone Control
-

Modular Analogue Recording Console
-

Small Format Analogue Recording Console
-

Small Format Analogue Recording Console
-

Immersive Audio Interface and Monitor Controller
-

Desktop Monitor Controller