


Zack Intro
Podcasts are becoming very popular these days, but, as audio focused content, I am surprised at how many have poor audio quality. The good news is that if you plan on making one you can easily stand out amongst the rest by having superior audio quality.
1.Microphones
1. Microphones: Which One?
Having good microphones is one of the most important things. Not everyone can afford the luxury of recording in a high end studio or affording the gear they have.The good news is that there are plenty of quality mics that can make you sound great and since they are great quality, looking on the used market isn’t such a bad idea either. Here are my recommendations:
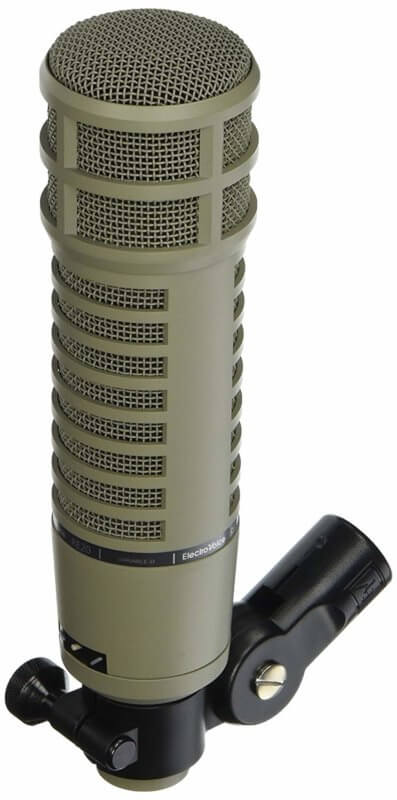
Beyerdynamic RE20 – $450 (used for 300-350)
Beyer Mic Image
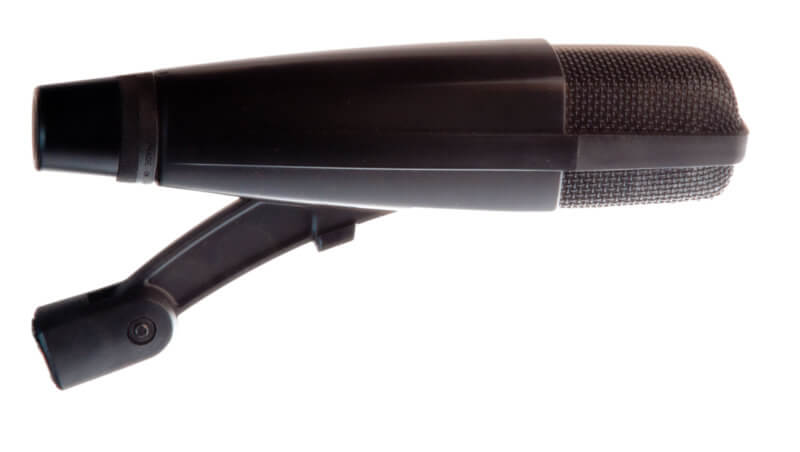
Sennheiser MD42 title
Pros: Sound quality, classic radio voice sound, many professionals use it, seen in many radio stations.
Cons: Expensive compared to the rest of the list.
Sennheiser MD421 $380 (readily on the used market for 250) – What I use
Seinnheiser Mic Image
Shure SM7b350
Pros: Sound quality, classic radio voice sound, multi purpose: could be used on guitar amps, drums, and bass guitar, and great off axis rejection.
Cons: mic clip can fall off easily.
Shure SM7b – 350 (hard to find used for significant discount)
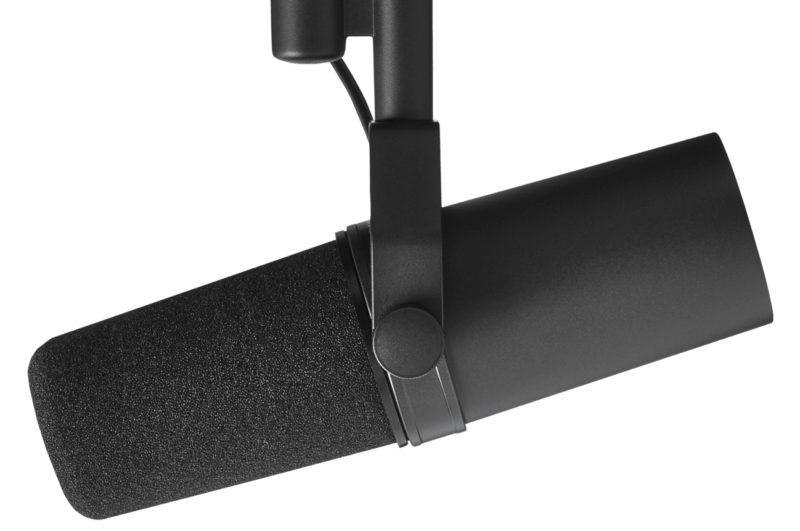
Pros: Another reliable mic in the professionals use, a classic on radio as well. Highly clear and clean sound.
Cons: Requires lots of gain, which may mean needing to get a Cloud Lifter or external.
Blue Yeti130-260 (pro model)
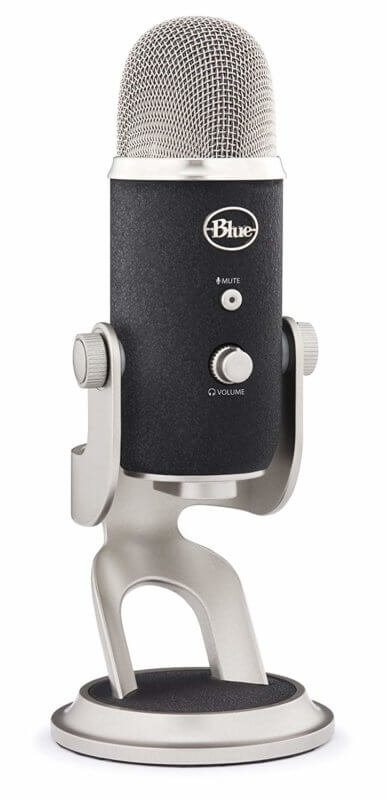
Pros: Cheap, no need for an interface, easy to use, and often bundled with other essentials.
Cons: Quality compared to the other options listed may sound less professional.
2. Outside Interference
2. Outside Interferance
Ever notice when people are outside on tv and the wind blows how you can’t understand a thing they were saying? Now do you notice a quicker, but similar sound that happens when someone says the B or P sound? It’s even worse during some sighs and breaths.
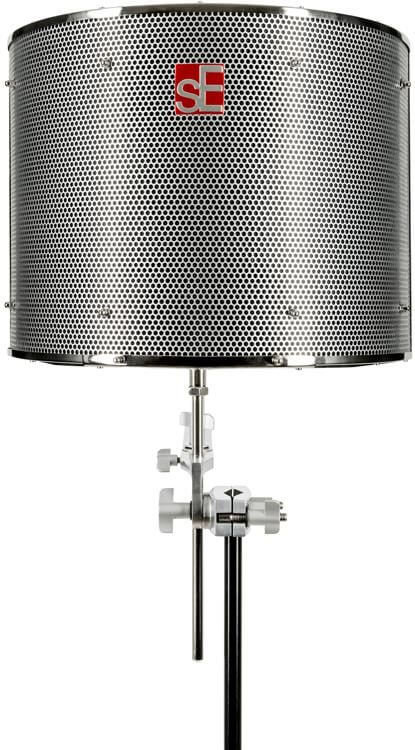
Those are plosives and they are almost inevitable. There’s good news though pop filters greatly control and reduce this. The first method is by buying a pop filter. The best are by Stedman and go for about $40 [image]. Cheaper mesh ones go for frequently go for $10 on Amazon.There are two types:
Zack Mesh
Metal: strong, not easily broken, gonna block most plosives. Mesh: a good, cheaper option, but can break. won’t reduce plosives as much as a metal one.It doesn’t have to even be that complicated though.
There is a DIY alternative you can try believe it or not. Take a metal wire hanger and bend it into a circle and wrap panty hose around it. This often does the trick, but not as well as paid options. Can’t afford one of these solutions for every mic you need? It’s okay. Another great tip to reduce the audio destruction plosives can do is by using low cut or high pass filters at around 100hz.
You will need to move the filter around until you find a good balance of lack of plosive energy and clarity of the voice. I emphasize this balance because this will make things sound a bit thinner and likely not completely get rid of them, but will ease minor plosives.
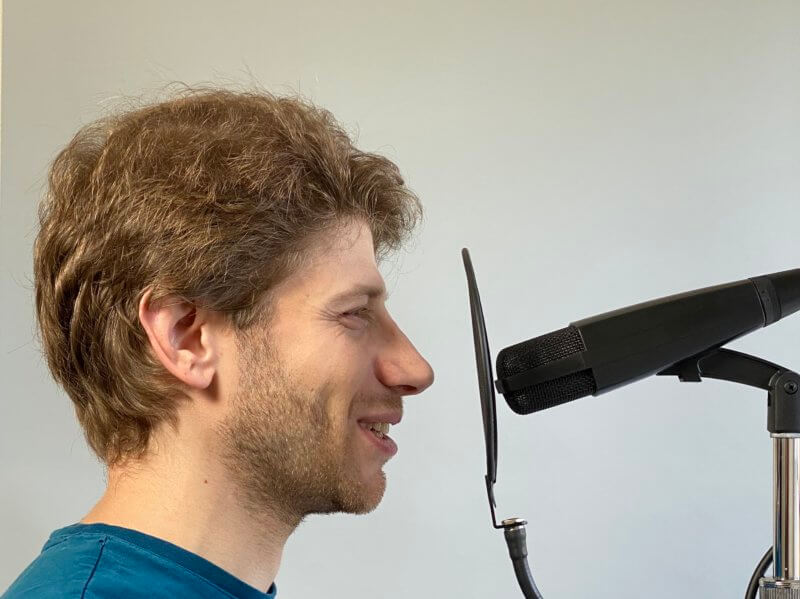
These may still be needed even with a pop filter. Another thing that can help that doesn’t cost a penny is mic positioning.
Zack 4
Zack 2nd Para
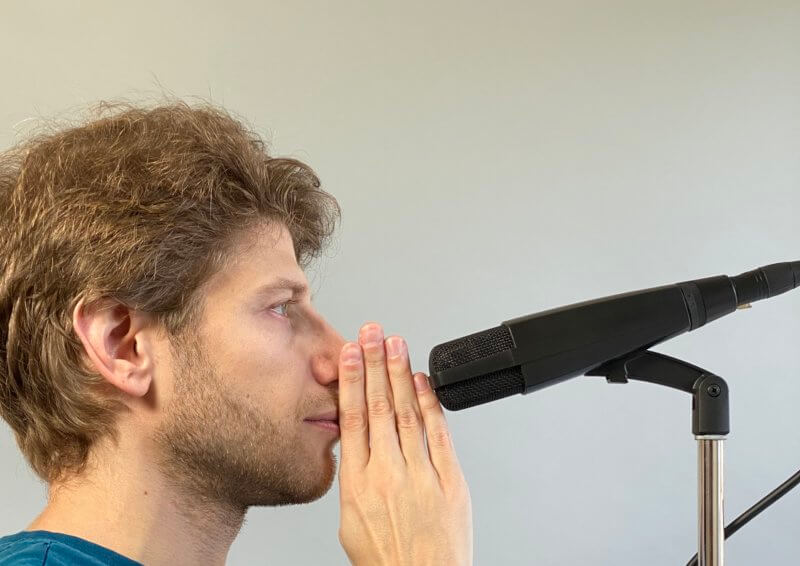
You want to be up close and on axis, but with enough distance for breathing room. A common rule of thumb is to be 3-4 finger lengths away.
Angle the mic from above towards your mouth, but it should aimed just above your upper lip. This will allow the plosives to go into the air instead of the microphone.Even in this case plosives can still be a problem as we move and gesture when we talk. Never sacrifice an energized performance for anything.
3. Positioning the Microphone 1st para
3. Positioning the Microphone
Every microphone needs a stand. I highly suggest getting a table top stand or a desk boom arm. depending on the layout of where you are recording will determine which stands to get. Floor stands are often overkill for podcasts.For straight table top stands the Atlas DS7 ($35-40) (or the DS5 for $10 less and less height) is the best, but On Stage makes some great low profile stands too. Many mic stands for a kick drum can work great.
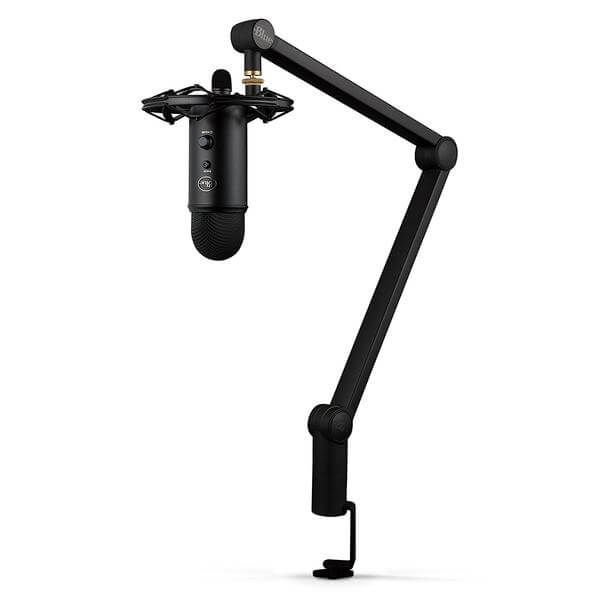
Good desktop booms are more expensive ($100+), but worth it for flexibility in some tighter work spaces as they are very adjustable and attach to your desk. The Blue Compass ($100) is a great pairing with the Blue Yeti mic.There are many cheap desktop booms on amazon, look for trusted brand names such as: Heil, Rode, K&M, and Blue are all great.
3. Positioning the Microphone 1st point
1
If you have extra thick comforter blankets around, these can make great sound absorbers if they are thick enough. Also packing blankets work very well. It’s a simple solution to solve the issue in most rooms. Closets are great for recording as they are smaller spaces so they are less live and easier to treat acoustically as well due to less square footage to cover. Plus clothing works as a natural absorber.
I had an extra blanket lying around that had some loopholes in it. I took some hangers and hung it up in the closet to dampen the sound a bit. It worked wonders and even recorded several vocal performances in it, while far from perfect, it gets the job done. Note that the down feathers/blanket stuffing may settle to the bottom of the blanket and you may want to rotate it as this will reduce effectiveness.
3. Positioning the Microphone 1st image
3. Positioning the Microphone 2nd para
2
Building or buying bass traps/sound panels are the best way to go, but are a bit costly. At $50-100 for 2’x4’ of coverage it can get pricey, but the most effective solution. They hang by picture hooks or can even just lean against a wall if you don’t want to make holes in your place of residence.
They can be built by building a wood frame and using Owens Corning 703 rigid fiberglass (wear gloves when handling) or Roxul Rockwool (safer and sometimes cheaper, but breaks apart easily).After it’s built cover it with fabric such as Burlap (cheap) or Guilford of Maine (pricey, but looks great).
You don’t need to cover your entire walls with these, but 1 every 5-7 ft will greatly reduce the live feeling in your room for a cleaner podcast. There is tons of guides and information on youtube about building these.
3. Positioning the Microphone 2nd image
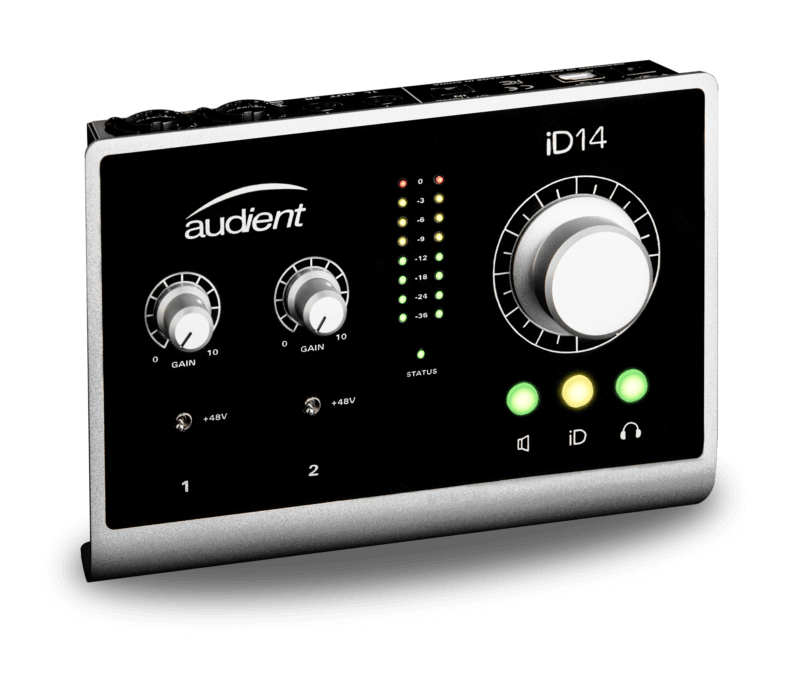
4.Interfaces 1st para
4. Using an Interface
Ok wonderful you’ve got it sounding great! At least provided you are using a Blue Yeti. If you didn’t, you will need an interface. Good news is that you’ve come to the right place! Audient interfaces are the best price for performance value and are found in professional studios.Now which one suits your needs
If you are just recording yourself, get an iD4. If you plan on having guests on your show, an iD14 is your best choice as it has 2 mic inputs and expandability to 10 total inputs with the ADAT in feature. This will allow for expansion with an 8 channel preamp (such as the ASP800 for $849) to record more complex podcasts live.
4.Interfaces 1st image
4.Interfaces 1st sentance
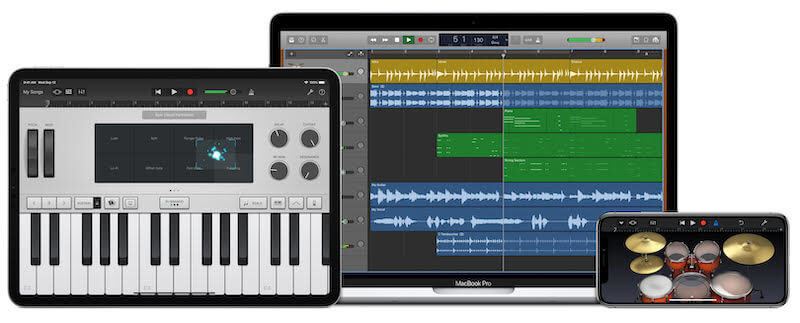
Now that you have a setup, how do you actually get record your podcast? Do you have a mac? Great! You may already have garage band, it’s free from Apple and easy to use if it isn’t already installed. Got a PC or want to use something that’s not garage band?
4.Interfaces 2nd image
4.Interfaces 2nd image
Check out Reaper. It’s $60 for a non-commercial license (personal projects, you make less than 20k a year from your use of reaper, or are in education or non-profit). Don’t want to spend any money? Audacity is a great open source free program that’s very easy to use for first time podcasters.
Now you are good to go. You press record and the levels are pinned to the red and it sounds distorted and can’t understand what is going on during sound check it seemed fine. An important thing to remember when checking levels is to speak at a level you normally would and aim for the meters to be at -12 to -6dbFS.
This will leave plenty of headroom for natural dynamics in your voice. Make sure the input never hits the red, if it does you will have to start again with the volume lowered. Doing a few test recordings of what may be the loudest sections of your podcast are important if it’s scripted or just being loud into it. I would also test words with Ps and Bs to check for bad plosives.
Now all that’s left is patience, getting good takes, and editing. Good luck with your next podcast and I hope these tips have made it sound that much better!
About the author
For the last 20 years, Zack Dusedau has been recording, mixing, and developing talent. His expertise and care for the artist helps them to grow professionally. While Zack’s regular clientele is in the rock and acoustic singer-songwriter genres, he can take on any project and deliver multilayered outcomes for his artists through mindfulness and communication.

Our Products
-

2in | 2out Audio Interface
-

10in | 6out Audio Interface
-

10in | 14out Audio Interface
-

20in | 24out Audio Interface
-

24in | 32out Audio Interface
-

2in | 2out Audio Interface
-

4in | 4out Audio Interface
-

24in | 24out Audio Interface
-

Everything you need to start recording
-

8 Channel Smart Preamp with AD/DA
-

8 Channel Mic Pre & ADC
-

8 Channel Mic Pre + Tone Control
-

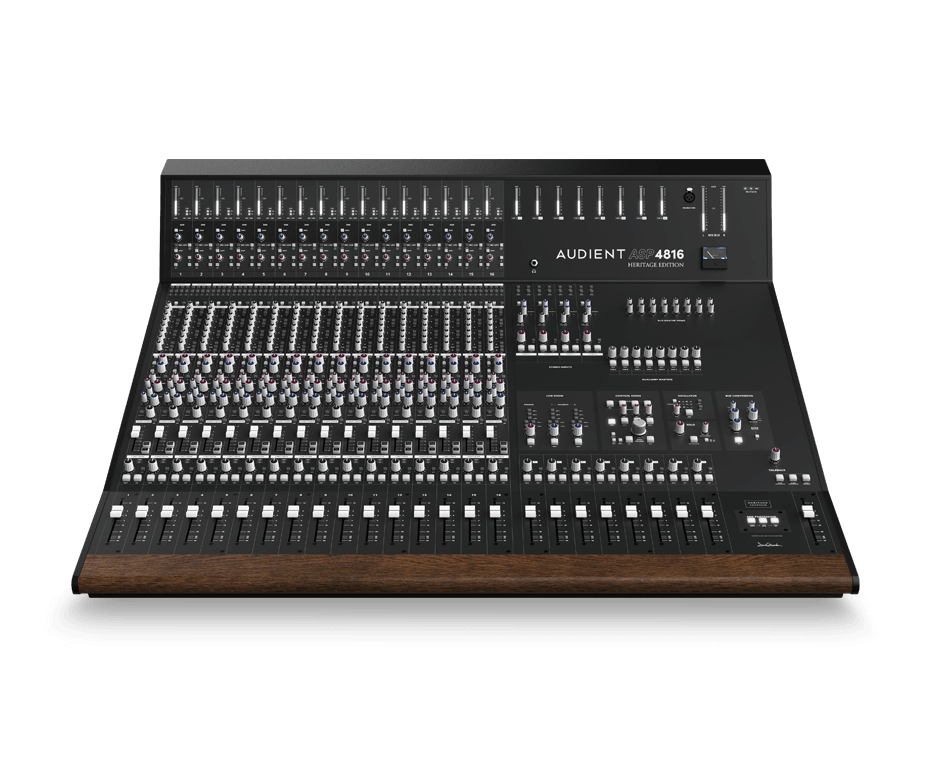
Modular Analogue Recording Console
-

Small Format Analogue Recording Console
-
Small Format Analogue Recording Console
-

Immersive Audio Interface and Monitor Controller
-

Desktop Monitor Controller