


1. Choose the right samples
Start off with choosing wisely your kick drum. Why choose a lame kick drum sample and spend multiple hours trying to make it great? You may succeed or you may not, nonetheless it will in most cases just kill your motivation before you get there. Instead look for good kick samples on well established sample portals or use a good kick drum synthesizer and do your tweaks from there!
Picture

Music Radar have a selection of 62,000+ samples to get you started!
Once you’ve chosen your kick, set the volume with just a few dB of headroom to start off with. When you’re happy with your choice of kick drum and moving on to the bass line(s) and other low-end related elements, then make sure nothing overrides the kick gain wise.
2. EQ is your best friend
EQ is truly your best friend when it comes to tweaking your kicks.
The mid and hi-range of your kick is where the character of your kick is sitting most of the times. Depending on your choice of kick drum, I often roll off everything over 16khz to remove high harshness that tend to annoy your ears if its too loud.
I personally like a lot of presence in my kicks, which is why I always try to boost the 4khz range where you can bring up a bit of the attack of the kick to help it cut through your mix more easily. Around the 6-700hz range I usually find most kicks causing a bit of annoyance, so I tend to cut this area accordingly to the amount of “boxiness” that your kick is creating here.
Picture

Remember, there’s no right or wrong way to EQ – If it sounds good, it sounds good!
Some kicks come with something that I call “mud” around the 400hz range. I personally like to cut this area a bit on these kind of kicks to make it cleaner and tigher sounding. If you feel your kick is lacking thickness and “thump”, I usually boost the areas around 120hz. Be careful here tho, cause this is the area where your bass sound also needs space to fit in. Finally but last, the very low end (sub) areas of your kick, I always cut the kick under 30hz with a 18dB slope to clear out rumble that will fight your sub bass for space.
3. Compression is your other best friend
Compression is your next best buddy when it comes to mixing kick and bass. Be careful tho with your compression on the kick in particular. As mentioned earlier, you want to make sure your kick is the leader of the low end area, making sure it’s drawing the attention to give it the desired weight and presence to cut through your mix. With this in mind, you want your attack value around 3-4ms on a ratio of 4:1. The attack level could of course be higher depending on how prominent the “click” transients are, and how much you actually want to pass through the compression process.
Adjust the threshold to about 3-4dB of gain reduction and set the release to about 150-200ms. If you want your kick to be even more in your face, I would increase the ratio to about 5:1-6:1 with a slightly lower attack at 3ms. Adjust the threshold for a higher gain reduction about 6-8dB with the same release amount. If you still feel your kick is not as aggressive / in your face as you would want it, the next step I would advise is to either put a slight touch of saturation in your kick chain to add harmonics which will give it even more grit and presence.
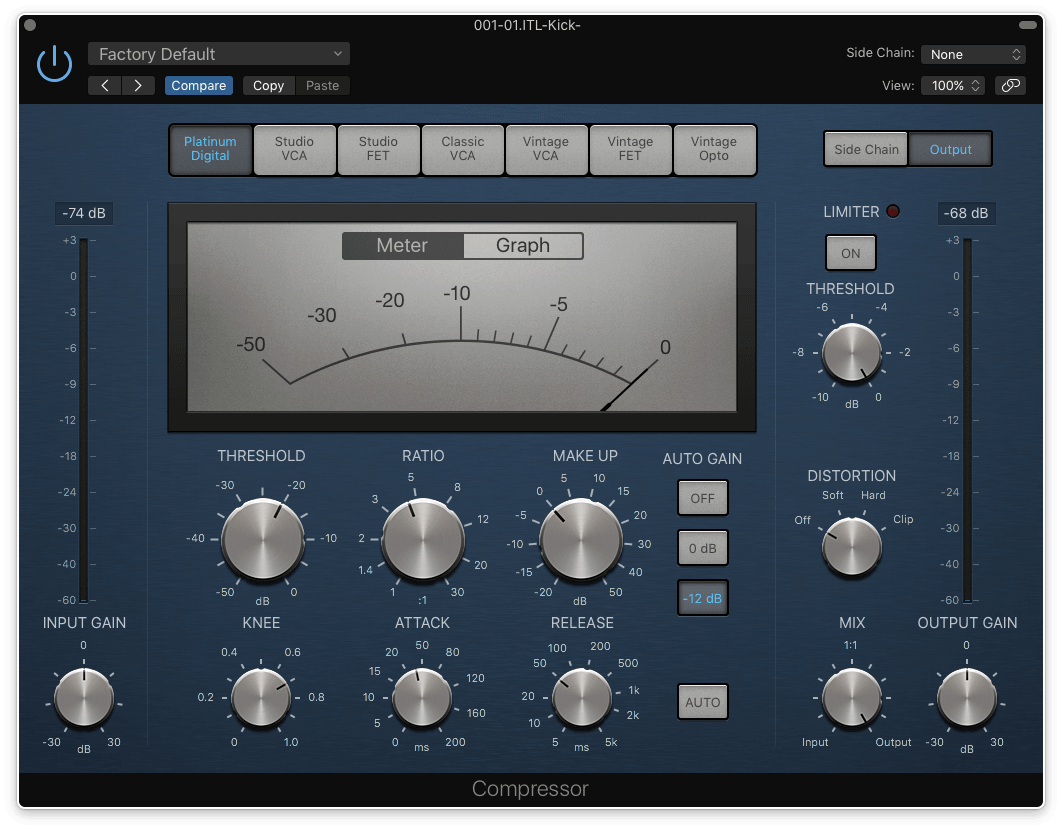
Some basic compressor settings to get you started. Experiment with it!
Finally, but last if it’s still not where you want it, you might want to consider running a parallel compression to add additional loudness to it. Use a compressor that allows you to mix dry and wet signals and compress it heavily and adjust the mix level to find the desired result. Be careful with blending in too much wet signal and overdoing it – a small wet value should be enough to avoid killing the dynamics. For parallel processing of kick drums you can use Fabfilter “Pro MB” or “C2”. Other useful plugins are “Supercharger” by Native Instruments and Slate Digital’s “VBC Rack” to mention a few.
4. High Pass (mostly) Everything
In my opinion the kick drum and bass should be the only elements in your mix covering the low-end areas. Make sure to cut the low end from all other elements in your track to avoid them interfering with your kick drum and bass. A golden thumb-rule is to leave the areas below lets say 100-120hz clear.
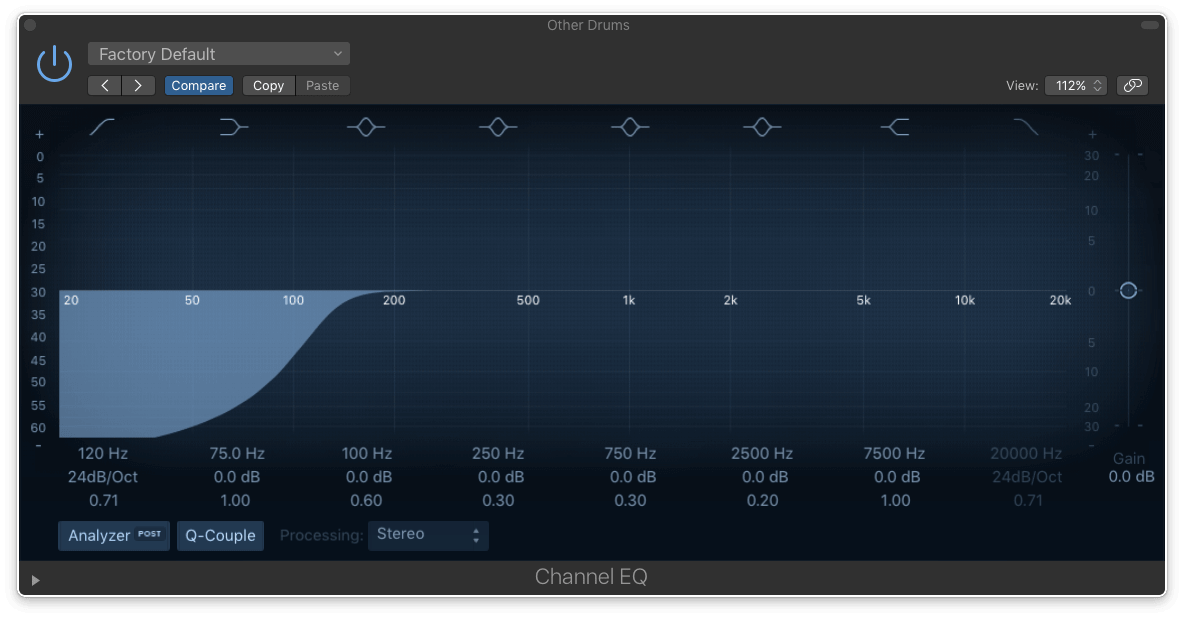
Try sending all of your midrange instruments to a bus and highpass on there
5. Mono your kick drums
Your kick drum has to be put into mono to ensure there will be no phase issues in your mix. There are plenty of mono maker plugins out there to get your kick into mono mode with just one single knob turn. There are plenty of vector scope free plugins out there to use checking if your kick is in stereo or mono. A straight line in a vector scope defines if the signal is in mono, so look for that! Same goes for your sub bass, I always make sure my sub bass is set to mono entirely or at least under 80hz
Logic
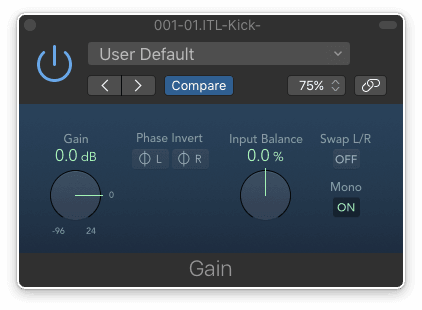
Every DAW will have a ‘utility’ plugin which will allow you to sum your stereo tracks to mono.
6. Sub Basses
Speaking about sub bass, you want to go with a sine wave tone. Sine waves are powerful, persistent and sounds great. But a sub bass is usually not enough to get that solid sound that has the punch and lushness to it. A combination of one sub bass and 2-3 additional bass layers is what I usually go for to make up a good bass.
Same as the kick drum, I cut off everything below 30hz on the actual sub bass. My sub basses are always set to zero release to avoid the first note overlapping the second one. As when it comes to the decay and sustain, it all comes down to what feel you want. Sometimes you want it to be more plucky and popping, or more drawn out and smooth.
So make sure you learn these parameters and how they work to achieve that specific good sounding sub bass.
7.Mid Range Bass
The additional mid bass layer(s) will add warmness and awareness that helps to bring out the presence of your bass line even more for other listening medias such as lofi speakers, car speakers and laptop speakers etc. The mid range bass layer is usually what I use to create warmness with – either with a saw wave tone or a square wave. These mid bass layers you also want to bring one octave higher up from the sub bass (sometimes even 2 octaves depending of the sound).
What’s crucial here is that you also make sure to cut off all your mid bass layers below 100hz to let your kick and bassline play freely. Adding a bit of saturation will help your mid-range to become warmer. Usually I go with either a tape or a tube saturator gently. A small touch will do more than enough! A/B listen on low volume and you will easily hear the difference it does additional harmonics.
8.High End Bass
The high end bass layer with can be either sharp or/and clicky and will generate more edge and character to your bass line. However, depending on what you’re trying to go for, do note that you high end basses have a way to interfere with your high end percussion and leads. So if you don’t manage it right you can easily end up with a sharp and ear crushing mix. If you are just going for a thumpy and rumbling bass line, you don’t need the high end layer!
Should you however want to give your bassline that extra edge and character, then make sure using a low pass filter from around 500hz and a high-shelf filter at 2-3khz to balance the crisp either with an EQ or keeping it more dynamic with a mulitband compressor that gives you more control of the top end.
9. Sidechaining is essential
Additionally use a sidechain plugin to duck your bass line to the kick to make sure once again your kick stays in front as the leader. The sidechain separates the bass from the kick ducking the volume level whenever the kick hits to make more space for it. Adjust the ducking level in relation to how much space you want to create to make sure the kick stays prominent and in front.
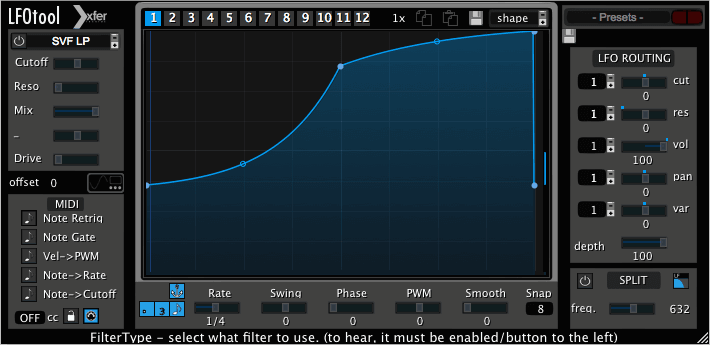
LFOTool is a handy plugin for quick ‘sidechaining’
10. GLUING YOUR BASSES
Once you’ve tweaked all your bass sounds you should start looking into your entire bass line sound. What you want to do is to glue all these layers together to make them all sound contextual together.
When creating multiple bass layers you probably use different sound sources that might make you run into phase cancellation. If you for some reason have lets say used two identical waveforms playing the same pattern, they will most likely cancel out eachother completely. Ways to avoid this is to either moving your waveform starting point in your synthesizer for one of the layers or just move the bass pattern in your project just a few ms. There are also very useable plugins that scans your phase status and tells you instantly if there are any phase cancellation issues. These plugins also allows you to flip the phase so that you can easily hear if any of your layers are actually cancelling.
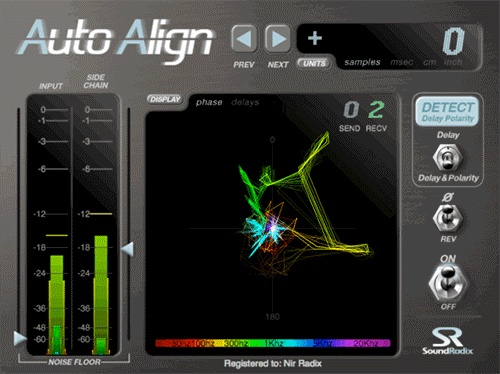
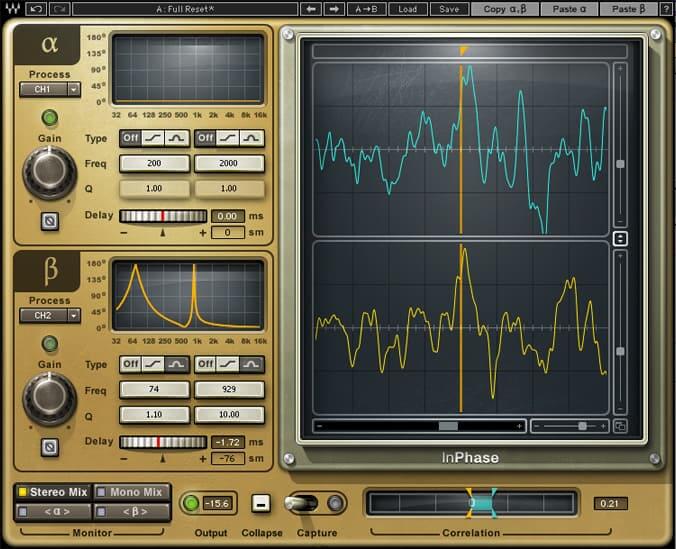
Some popular plugins for phase aligning are Auto Align and InPhase
Once you’ve cleared out any phase cancellation issues, I would personally send all bass layers (including sub bass) to a group / bus in the DAW. Here I usually insert additional subtle compression to make all the layers glue together a bit tighter as well as adding a limiter for gain control.
There you have it!
Hope you’ve found this article interesting and thanks for taking your time reading it. Feel free sharing it if you found it helpful!

About the author
Producer, DJ and label manager, Mike Shiver is unquestioningly one of Scandinavia’s biggest figures in the EDM landscape today. He has created an enviable arsenal of productions and remixes of the finest DJs globally including Armin van Buuren, Tiesto, Above & Beyond and Markus Schulz. From his debut release ‘Feelings’ in 2003 up til today, Mike continues to underline his versatility in creating impressive, yet outstanding productions. Find Mike on: Facebook, Twitter, Instagram


Our Products
-

2in | 2out Audio Interface
-

10in | 6out Audio Interface
-

10in | 14out Audio Interface
-

20in | 24out Audio Interface
-

24in | 32out Audio Interface
-

2in | 2out Audio Interface
-

4in | 4out Audio Interface
-

24in | 24out Audio Interface
-

Everything you need to start recording
-

8 Channel Smart Preamp with AD/DA
-

8 Channel Mic Pre & ADC
-

8 Channel Mic Pre + Tone Control
-

Modular Analogue Recording Console
-

Small Format Analogue Recording Console
-

Small Format Analogue Recording Console
-

Immersive Audio Interface and Monitor Controller
-

Desktop Monitor Controller