


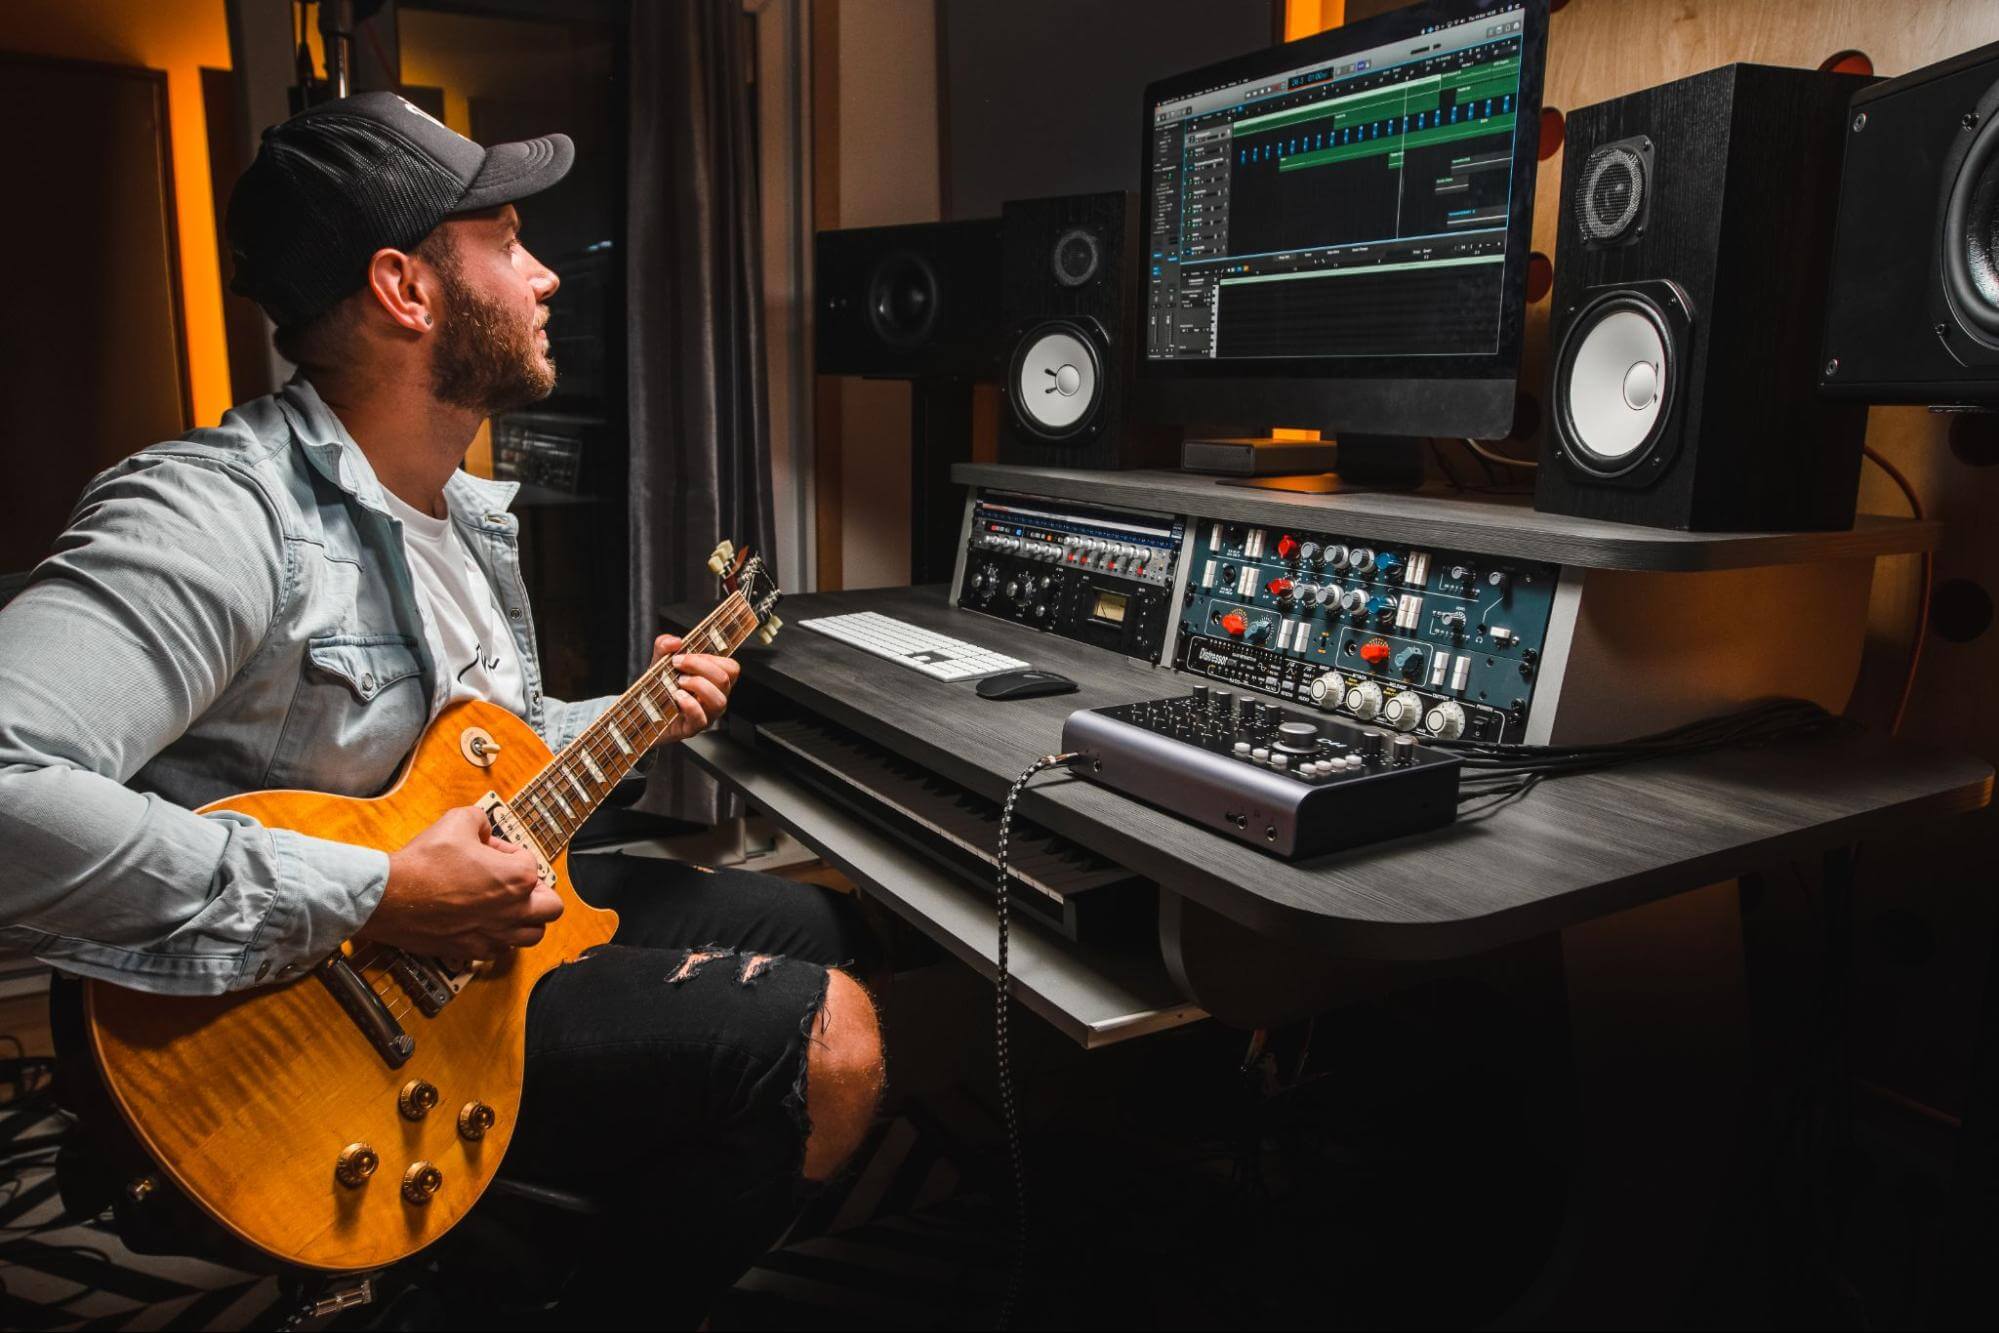
1. Make sure your monitoring is up to scratch
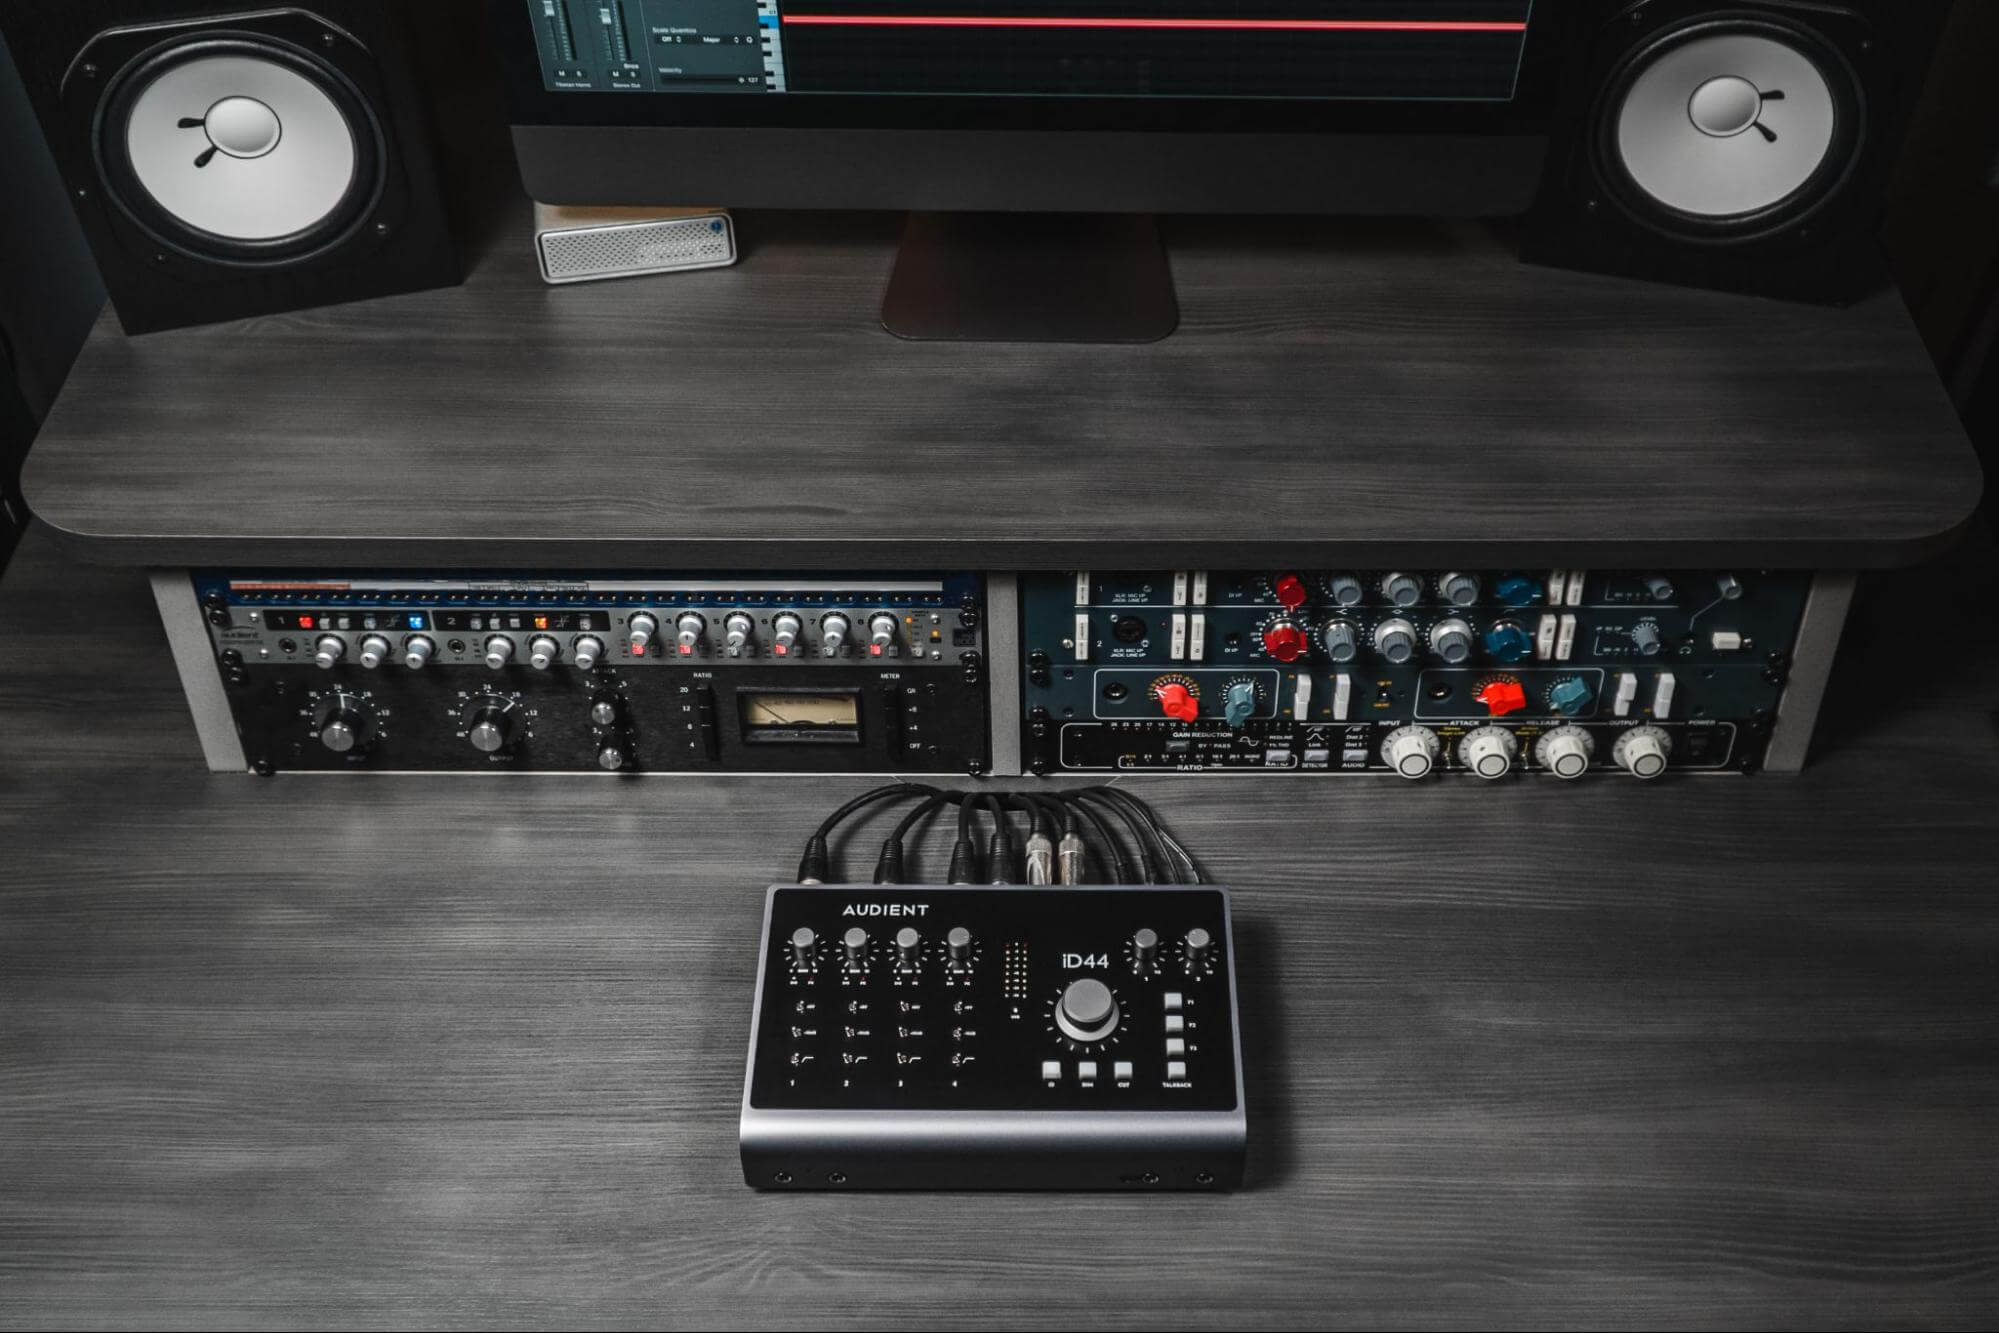
Absolutely crucial to effective mastering is the ability to accurately hear the mix you’re working on, so it’s imperative that the room you’re working in and your monitoring setup are up to the job. We don’t have space here to get into the specifics of acoustically treating your working space, but that topic is covered in this post. As for the speakers, we wholeheartedly recommend investing in the best set you can possibly afford. A professional mastering facility will house exceptionally high quality and eye-watering expensive monitors, and while the average home studio has little chance of matching that level of performance, if your speakers aren’t at least up to certain standards in terms of accuracy and neutrality, your masters will suffer for it.

A good set of headphones is also useful, although it should only be used for honing in on troublesome frequency- and stereo-related issues that are hard to hear properly on speakers, not relied on as a substitute for them.
2. Bounce the mix
The first step in the mastering process, then, is to bounce or render the mix to be mastered. Ensure that the volume level at the master output doesn’t peak any higher than around -6dB to give yourself sufficient headroom for any master processing that might be required, and render the stereo WAV or AIF file at the same bit depth and sample rate that you recorded the project at – 24-bit/96kHz, for example.
3. Load up a reference track
Running a reference track (ie, a commercially released track that you want your mix to ‘sound like’ to a greater or lesser extent) at the mixing stage is common practise, and there’s no reason not to do the same thing when mastering. Obviously, the track in question will likely be the same one you referred to when mixing, but don’t be afraid to change it up if your mix has veered away from that particular sonic signature by this point. Metric AB by Adaptr Audio is a handy plugin in this regard, enabling multiple references to be managed and switched between with ease.

4. Apply compression and EQ
Your go-to processors for mastering before the all-important limiter at the end of the chain are compression and EQ, both of which need to be handled with great care, as overdoing either can wreak havoc with the dynamics and/or frequency spectrum of the master.
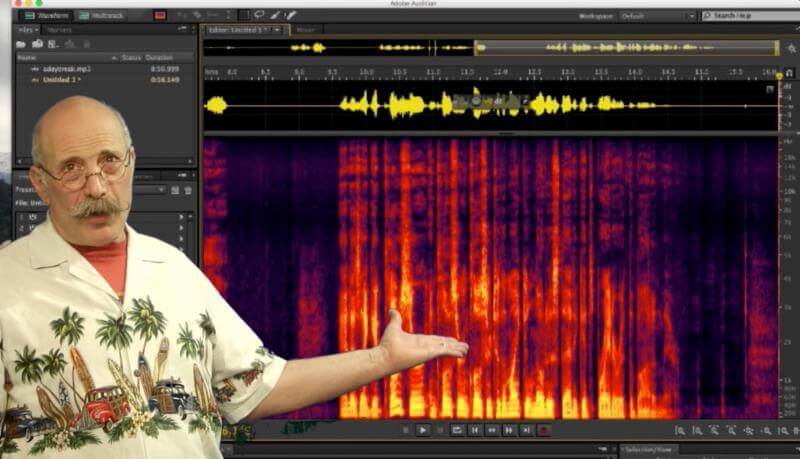
The idea behind master compression is to reduce the dynamic range prior to limiting, resulting in a perceptibly louder track at the end, and it can be applied to the whole mix, or independently to one or more discrete frequency ranges with a multiband compressor. However, by this stage, the majority if not all of that work should have already been done, so if further compression is required (and it may well not be – don’t ever compress just for the sake of it!), it should never exceed a ratio of 2:1 or reach more than 1-2dB of gain reduction. If it feels like you need to compress harder than that, consider returning the the mix and addressing the individual track elements that are causing the issue you’re trying to solve.
The same goes for EQ, which should be only be called on at the mastering stage to smooth out minor spectral imbalances in the mix. If you find yourself cutting or boosting any particular frequency band by more than a couple of dB, load up the multitrack mix to hunt down and fix the problem at source.
5. Consider other, optional effects
Although less frequently deployed at the mastering stage than compression and EQ, there are a few other effects processors that might prove useful on occasion as well. A touch of analogue saturation, for example, can work wonders for lifting the presence of a track and adding a bit of bite; while mid-side manipulation effects are sometimes helpful when it comes to fixing problems with the stereo image – be very, very careful with the latter, though, as they can introduce phasing issues if applied too heavily. And if your otherwise-flawless acoustic-guitar-and-vocal mix suddenly strikes you as a little dry when mastering, the lightest shimmer of reverb could be the solution.
6. Apply brickwall limiting
The final step in the mastering process, limiting is the application of extreme compression in order to maximise the overall loudness of the final master. A brickwall limiter simply prevents the input signal from exceeding a set volume ‘ceiling’, which will generally be around -0.3dBFS (ie, just shy of clipping): by raising the input gain, the quietest parts of the signal are increased in volume, while the loudest parts are limited to the ceiling level. You’ll want to keep the amount of gain reduction to about 2-5dB, depending on the nature of the track.
Many modern high-end plugin limiters also feature Loudness meters, which enable established commercial loudness specifications (Spotify, Apple Music, Tidal, etc) to be targeted. These are expressed in ‘Loudness Units Full Scale’ (LUFS), and being able to limit a master with these in sight can be tremendously helpful.
7. Render the final master
With your master sounding great and hitting the spot loudness-wise, you’re ready to export the final stereo file. What format this is in will depend on the platform you targeted in the previous step, but your DAW or audio editor, will (or, at least, should) offer the full gamut of compressed and uncompressed formats on which to draw. Hit the button, give the resulting master a careful listen, then repeat for all other required platforms.
Finally, it’s important to appreciate that mastering is a skill that can only be developed through experience, so until you’re confident in your own ability, we’d strongly suggest sending any mixes that you really care about (ie, anything with a chance of seeing commercial released) to a professional mastering engineer, rather than finalising them yourself. Demos and less consequential projects, meanwhile, can be used as practice material.


Our Products
-

2in | 2out Audio Interface
-

10in | 6out Audio Interface
-

10in | 14out Audio Interface
-

20in | 24out Audio Interface
-

24in | 32out Audio Interface
-

2in | 2out Audio Interface
-

4in | 4out Audio Interface
-

24in | 24out Audio Interface
-

Everything you need to start recording
-

8 Channel Smart Preamp with AD/DA
-

8 Channel Mic Pre & ADC
-

8 Channel Mic Pre + Tone Control
-

Modular Analogue Recording Console
-

Small Format Analogue Recording Console
-
Small Format Analogue Recording Console
-

Immersive Audio Interface and Monitor Controller
-

Desktop Monitor Controller