


When it comes to crafting great mixes, you need your studio space to be as sonically neutral and ‘honest’ as possible, and that means taking control of reflections and standing waves. Here are four things you can do to optimise your mixing environment, plus a cheap and cheerful way to achieve perfectly dry vocal recordings.
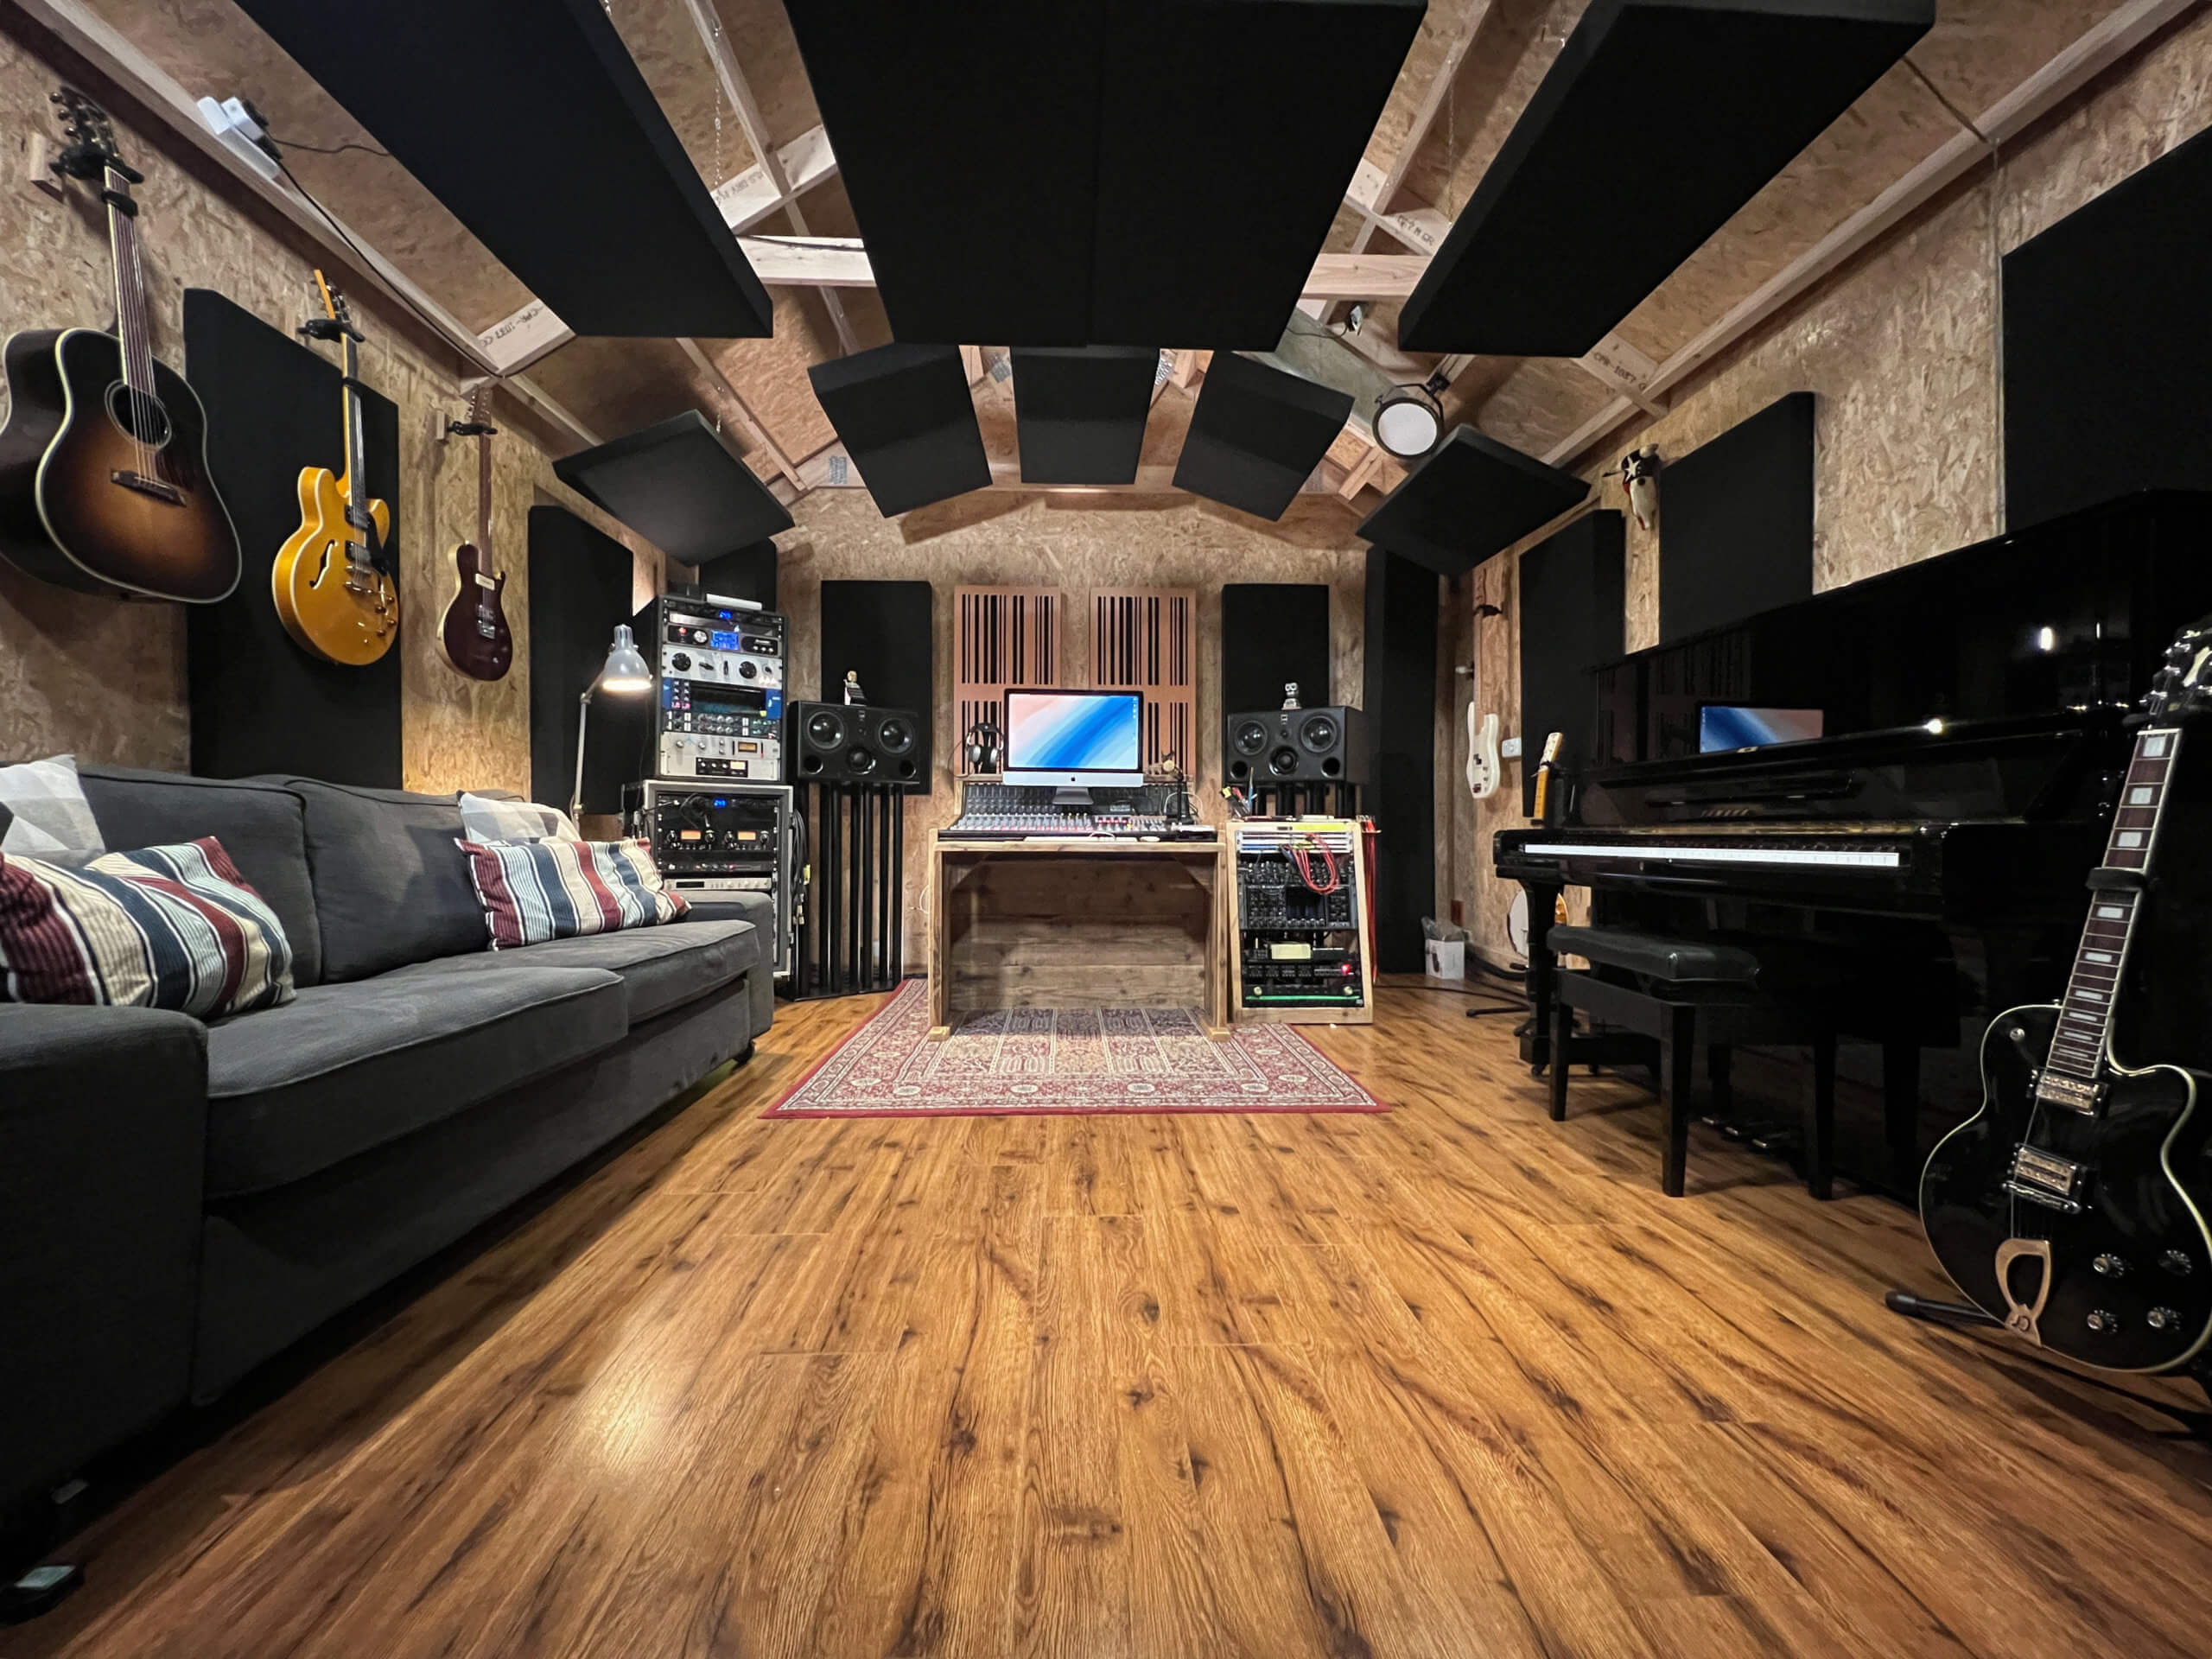
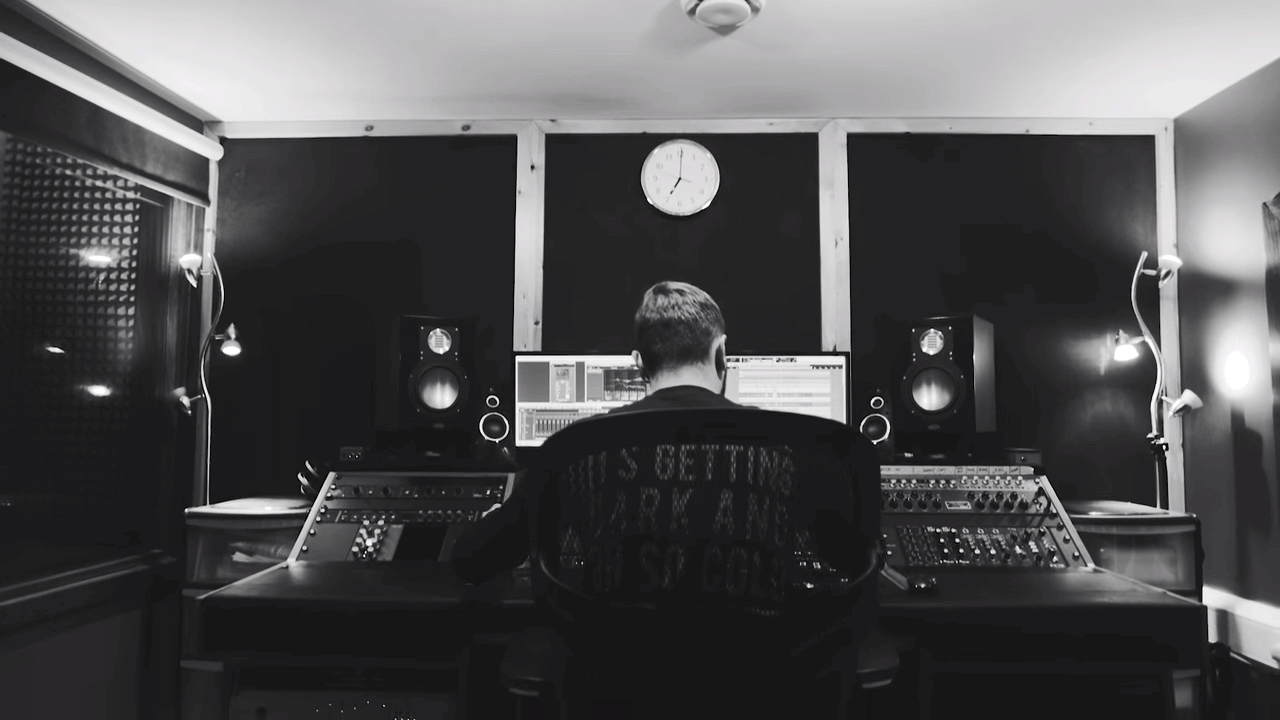
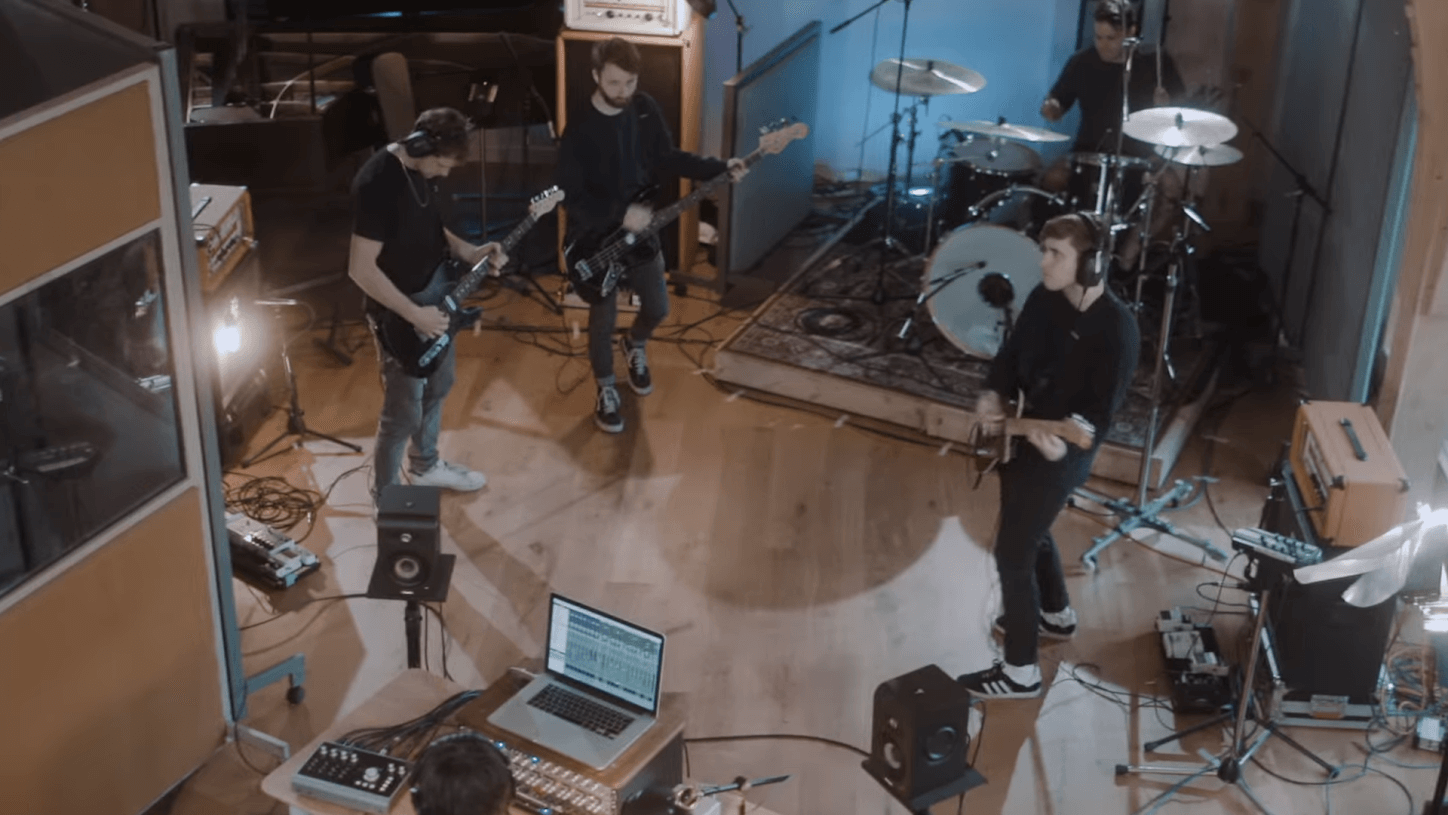
Photo Credits: by Alec Brits from The Cabin
Get your listening and monitor positions right
The first thing to consider when tackling studio acoustics is the placement of you and your monitors – unless you’re working in a space so small that you have no positional leeway, in which case, your options in general are always going to be decidedly limited.
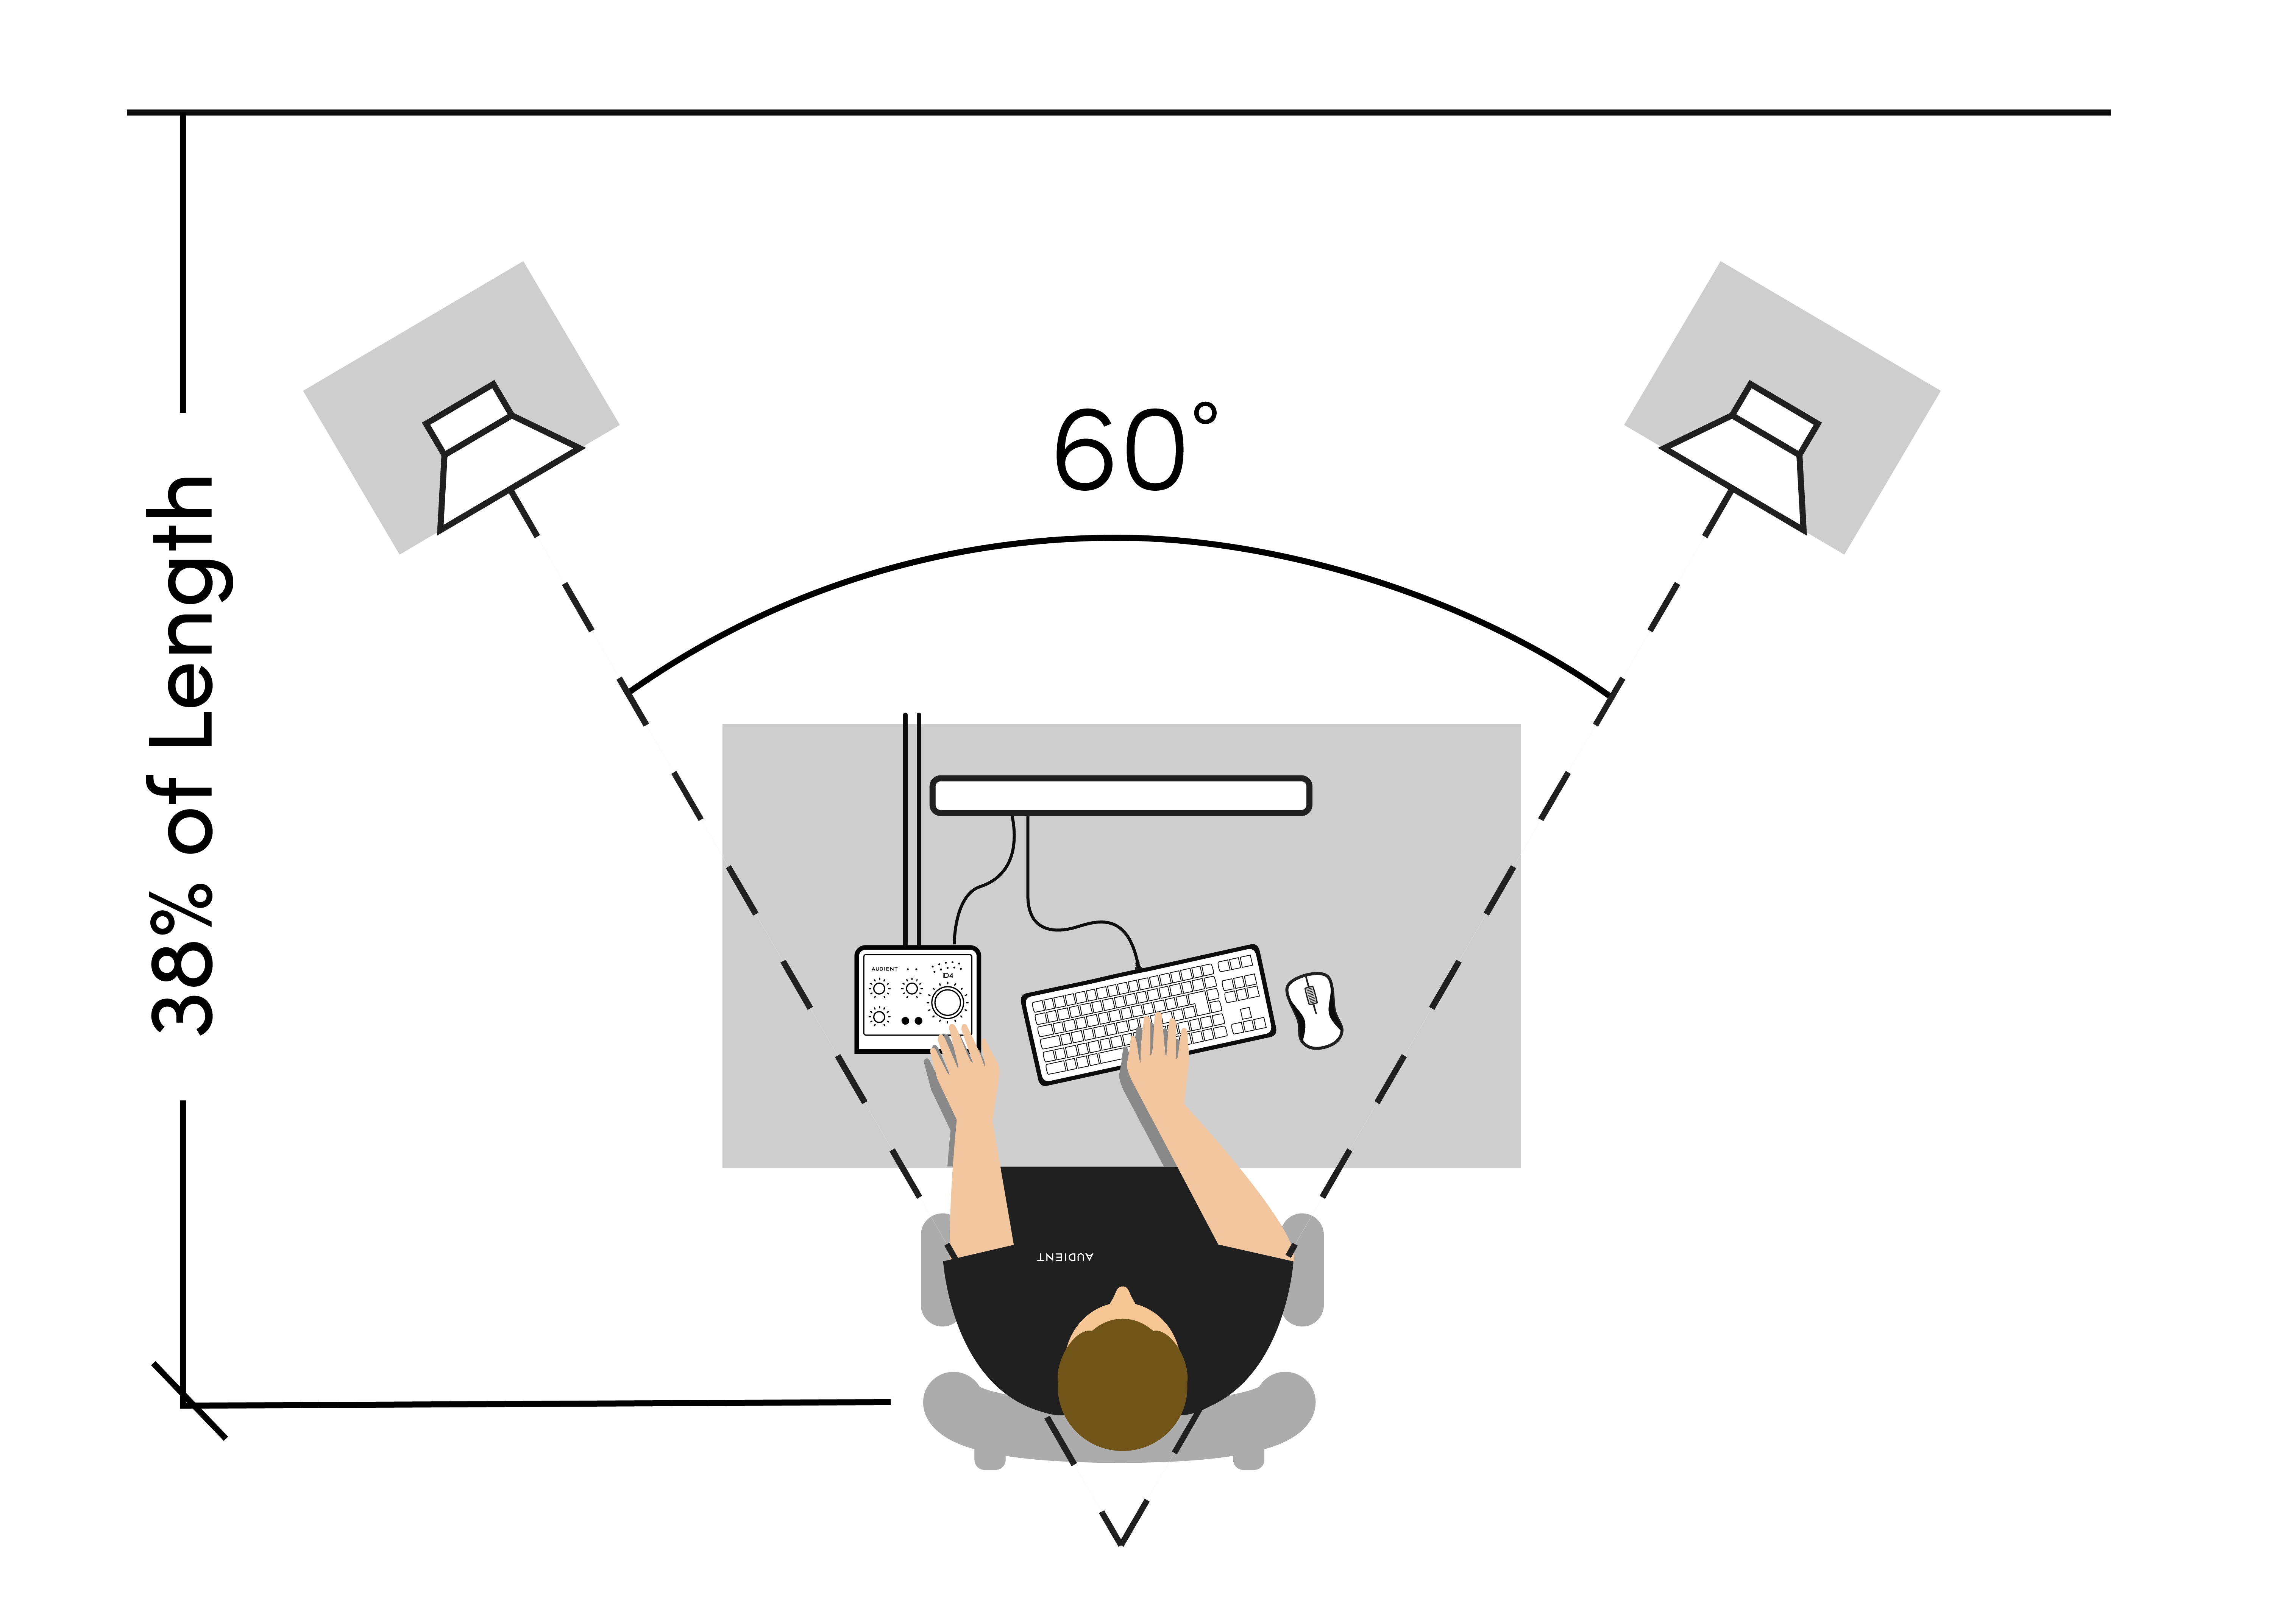
Monitors should be set up so that they and your head form an equilateral triangle, with the tweeters at ear level, and the speakers somewhere between 10-60cm from the wall. If you’re using floor stands, go for a spike-footed model, and fill them with sand to kill any harmonic resonance and prevent vibrations transferring to the floor. If the speakers are on your desk, utilise some form of isolation system, such as the various hugely effective offerings of IsoAcoustics
You may have heard of the “38% rule”, whereby you set your seating position 38% of the way into a rectangular room from the wall in front of you, so as to minimise standing waves. This really only applies if the speakers are mounted in the wall, rather than on stands, but it can still be used as a starting point. The technicalities of mapping standing waves in a room is beyond the scope of this article, but if you want to get your listening position right, you’ll need to bone up on it, then use your calculations to find the sweet spot somewhere around that 38% mark. Do bear in mind, though, that you need to maintain that triangular monitors/head arrangement and keep the speakers within a metre of the front wall at most.
Quick and easy fixes
We’ll spend some money in the next couple of tips, but before that, there are a few things you can do to improve the acoustics of any room without opening your wallet.
First, close the curtains! You want to break up and/or soften hard, straight, parallel surfaces in the room as much as possible, so drawing the curtains is an obvious win – and the more wall those drapes cover, the better. Then, along the same lines, get as much in the way of soft furnishings in the room as you can: a sofa on the back wall can do an amazing job of absorbing reflections, as can beanbags or big cushions in the corners, and a large rug on the floor. Finally, bookshelves filled with books, records and any other collectively irregular-shaped objects are less reflective than bare walls, so put one on any wall that can accommodate it.
Also, bear in mind that you can always neutralise your room completely by using headphones. Obviously, this isn’t a comprehensive solution, as you should never monitor exclusively on headphones, but it’s certainly a viable one for periodic checking of the mix and its individual components in a reflection-free environment.
Use bass traps and absorption panels
If you’re really serious about your acoustic treatment, you’ll need to splash some cash to get it properly sorted. There’s no limit to how far down this particular rabbit hole one can go – especially once you start getting into the potentially expensive word of diffusors – but for those on a budget, a combination of bass traps and acoustic foam absorption panels should get the job done.
Bass traps are designed to dampen exaggerated low frequencies, and are usually placed in the corners of the room, while absorption panels are mounted (in order of priority) on the front (behind the monitors) and side walls, on the ceiling in between the listening position and monitors (ie, over the desk), and on the rear wall if it isn’t already home to the aforementioned shelving. The absorptive properties of any acoustic panel will be significantly enhanced if it’s mounted it in a frame suspended a few centimetres out from the wall, but if that simply isn’t possible and wall mounting is your only option, go for the thickest panels you can find.
There are many brands and types of acoustic foam panelling on the market, so do some research to figure out what’s best for your space.
Speaker calibration
Time for a reality check: even though our suggestions thus far will yield tangible improvements in the sonic properties of your home studio, you’re unlikely to ever realise the “perfect” acoustics you dream of. However, coming at the problem from another direction, there are numerous monitor calibration systems available with which to counteract the negative effects of the room on the output of your speakers. These come in three forms: a plugin inserted into the master output of your DAW (such as Sonarworks SoundID Reference), a hardware box that sits in between the audio interface and monitors (the miniDSP Dirac series, for example), or DSP built into the speakers themselves (IK Multimedia iLoud MTM, Genelec Smart Active Monitors).
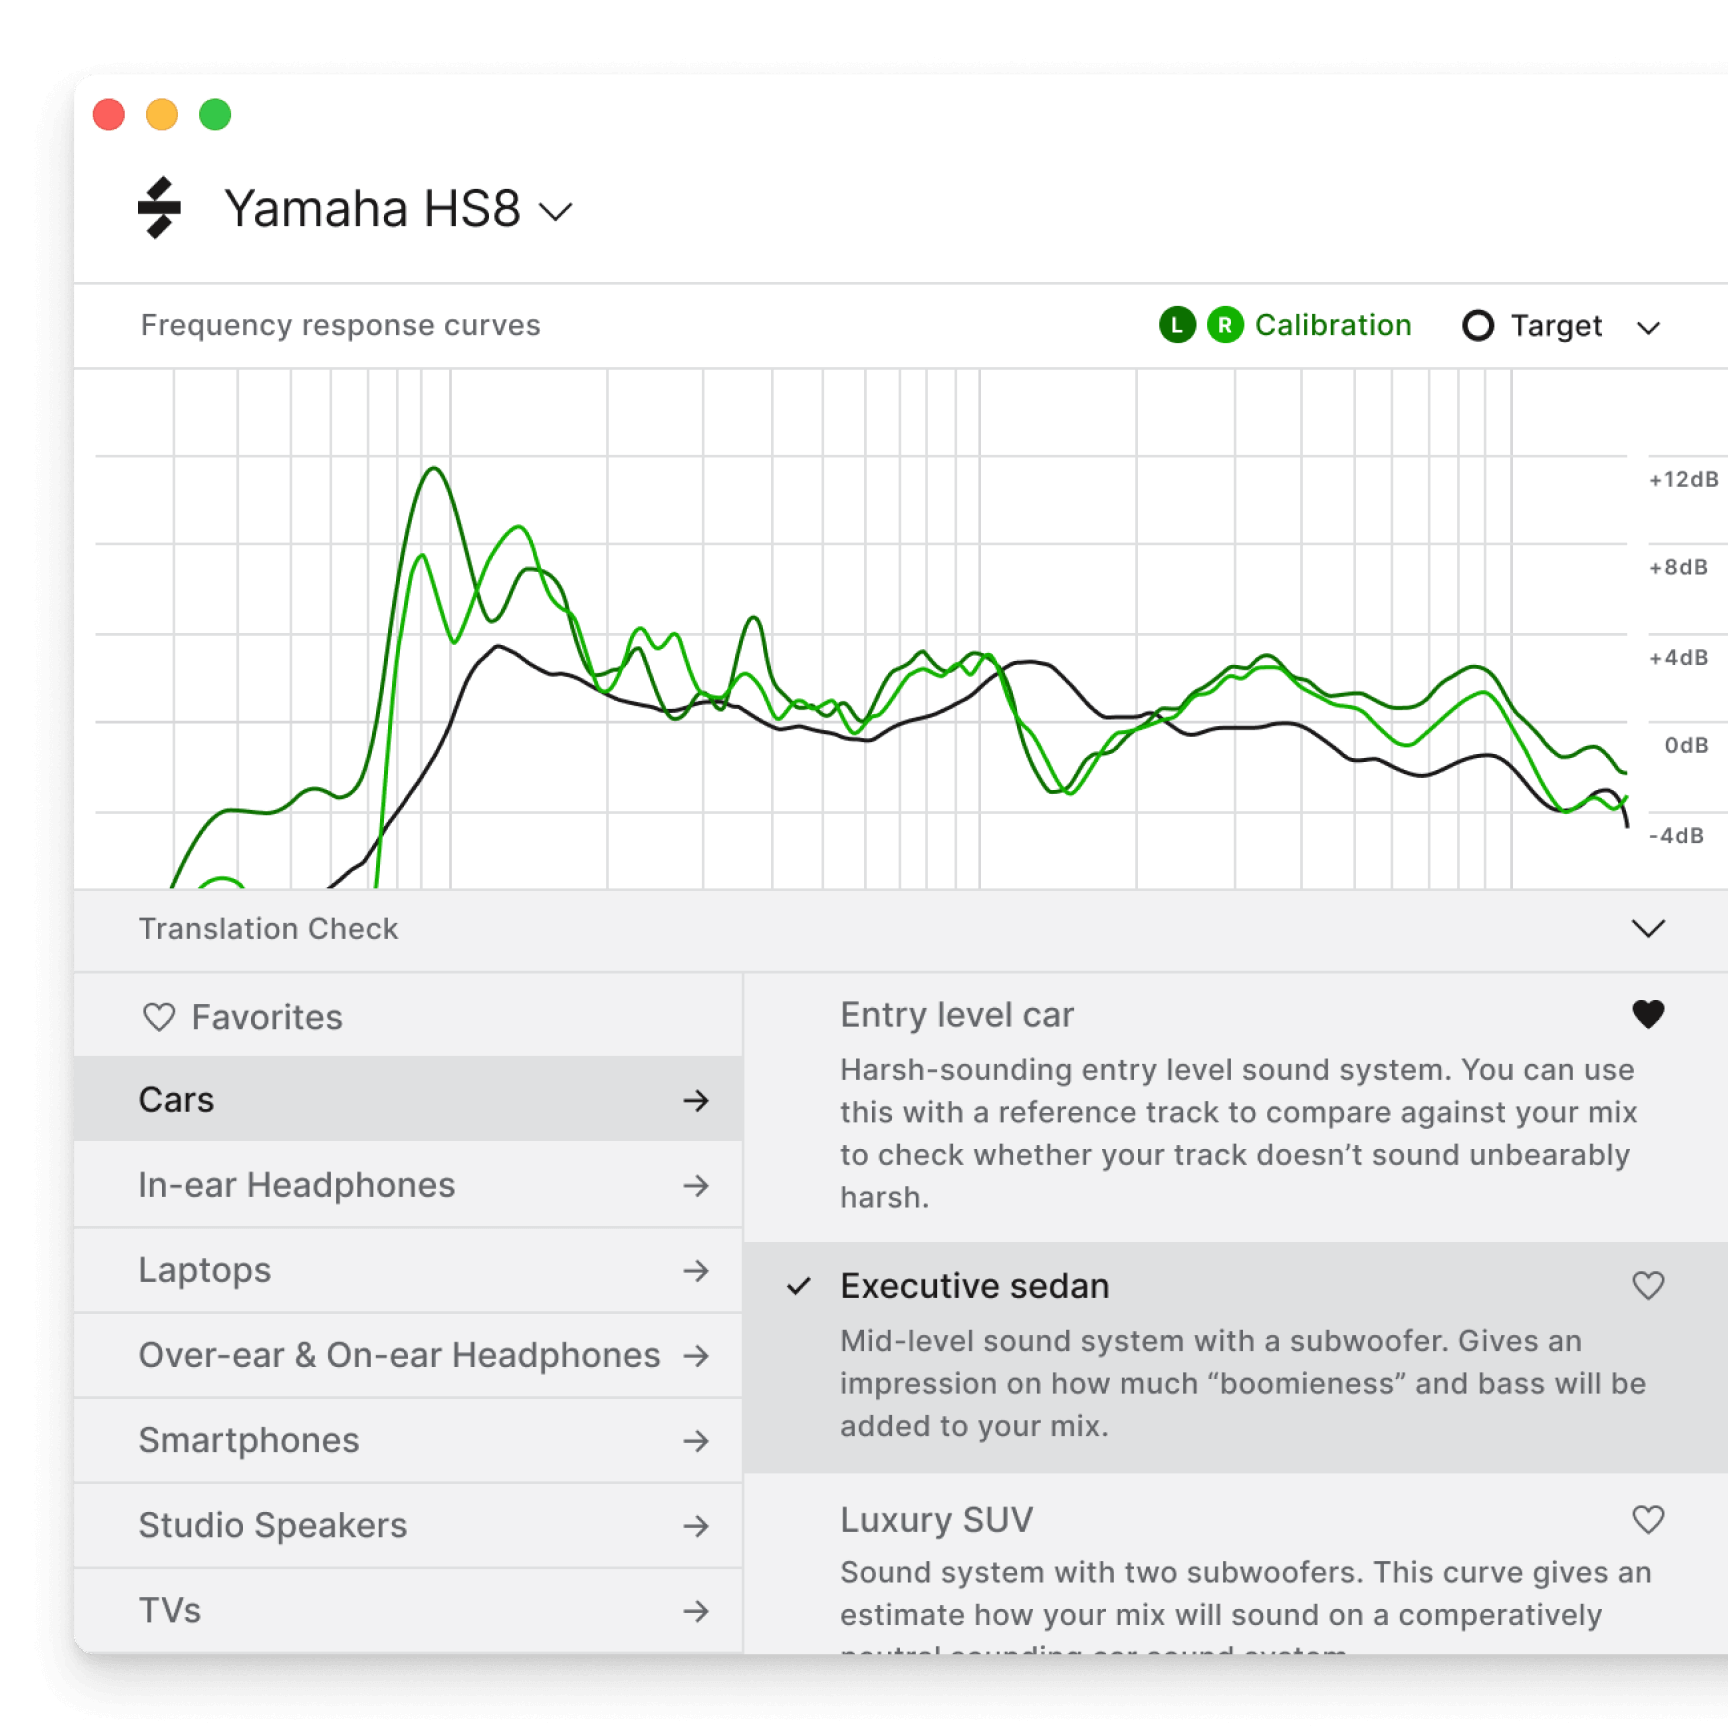
All of them work by playing a series of sine wave sweeps through a reference microphone to analyse the room acoustics, then applying the result as an EQ response curve in the plugin or hardware in question. No matter what the state of your acoustics, speaker calibration can prove transformative, but the flatter the space it has to work with in the first place, the more effective it will be.
Make your own vocal booth
A well tuned and spectrally flat mixing environment is one thing, but a properly anechoic vocal booth is another altogether, and not something that the average home studio-based producer is going to be able to find the space or budget to construct. However, making your own temporary booth is almost literally child’s play – essentially a grown-up version of building a den in the living room.
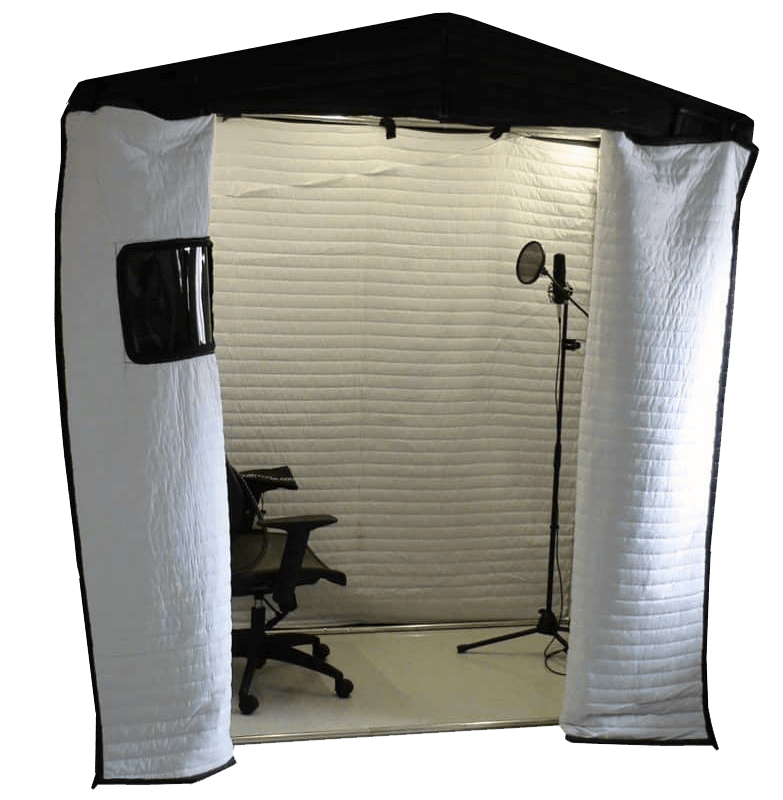
All you’re aiming to do is encase the singer and microphone in soft surfaces, so grab a couple of duvets and suspend them from a door, a ladder, a spare microphone stand, etc, to make a chamber, or line the inside of a cupboard with them. Voila – you now have a completely dead space in which to record your singer (or, indeed, other acoustic instrumentation). It will get very hot in there very quickly, though, so leave one side open until you’re ready to hit the red button.

Our Products
-

2in | 2out Audio Interface
-

10in | 6out Audio Interface
-

10in | 14out Audio Interface
-

20in | 24out Audio Interface
-

24in | 32out Audio Interface
-

2in | 2out Audio Interface
-

4in | 4out Audio Interface
-

24in | 24out Audio Interface
-

Everything you need to start recording
-

8 Channel Smart Preamp with AD/DA
-

8 Channel Mic Pre & ADC
-

8 Channel Mic Pre + Tone Control
-

Modular Analogue Recording Console
-

Small Format Analogue Recording Console
-

Small Format Analogue Recording Console
-

Immersive Audio Interface and Monitor Controller
-

Desktop Monitor Controller