


Read Time: 10 Minutes
Step 1: Preparing the Vocal Track
Before applying any effects, start with a clean and well-recorded vocal track. Ensure there are no unwanted noises and that the vocal performance is strong.

Original vocal clip without editing. There is some room noise and a loud breath before the start of the vocal line.

Clip after basic editing, the breath and room noise have been cut out from the start and end of the passage.
Step 2: Applying EQ (Equalization)
Equalization is the first step in shaping your vocal sound. Use an EQ to remove unwanted frequencies and enhance the vocal’s tonal balance.
- High-Pass Filter: Apply a high-pass filter to remove low-end rumble. Start around 80-100 Hz.
- Remove Muddiness: Attenuate frequencies in the 200-500 Hz range to reduce muddiness.
- Enhance Presence: Boost frequencies between 1-4 kHz to add clarity and presence.
- Add Air: Add a slight boost around 10-15 kHz for a breathy, airy quality.

Above is the EQ curve we used on the vocals, the small dip around 750hz helps reduce some midrange buildup that can make the vocal sound nasal, while the top end boost helps with intelligibility and clarity to cut through the mix. It’s always important too try any EQ changes in both isolation, and in a full mix context too ensure the changes made are benefitting the mix.
To learn the fundamentals of EQ read our article here
Step 3: Compression
Compression controls the dynamic range of the vocal, making the performance more consistent and polished.
- Threshold: Set the threshold so that the compressor engages on the louder parts of the vocal.
- Ratio: Use a moderate ratio (3:1 to 4:1) to smooth out the dynamics.
- Attack and Release: Set a fast attack to catch peaks and a medium release to maintain a natural sound.
- Makeup Gain: Adjust the makeup gain to compensate for any gain reduction.
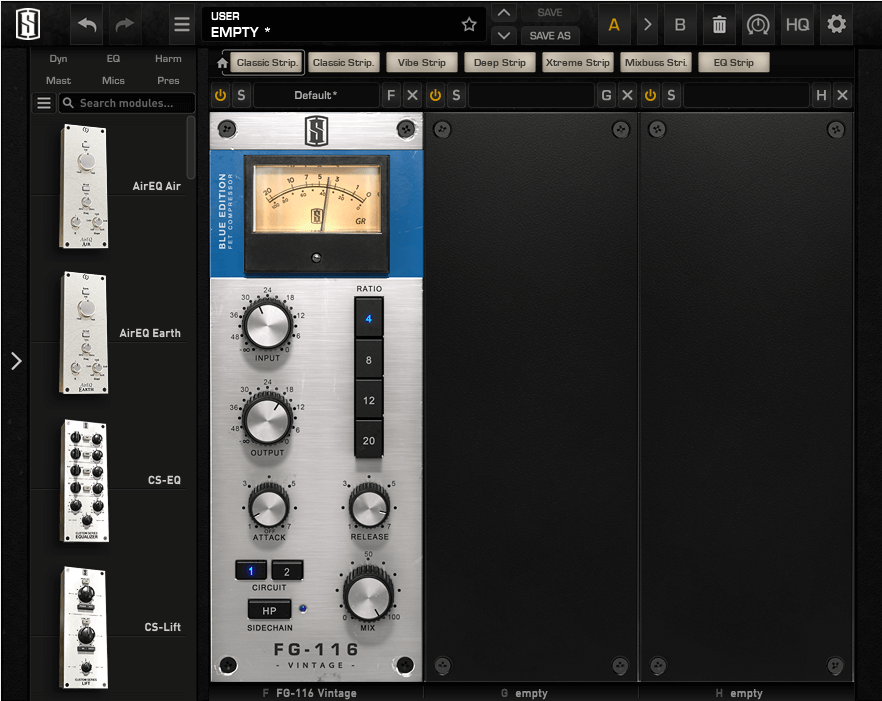
Here we are using the Slate FG-116 which is based on a classic FET style compressor. Known for fast aggressive dynamic control which sounds great on vocals. We hit a max gain reduction of 5dB on the loudest sections to ensure the vocal remains consistent in level. Some engineers will opt too run two compressors, such as a FET into an optical compressor, with both achieving slightly less gain reduction which can be a more transparent way to compress your vocal tracks.
You can read more about that here
Step 4: De-Essing
De-essing targets and reduces harsh sibilant sounds (like “s” and “sh”) that can be distracting.
- Frequency: Identify the sibilant frequencies, typically between 5-10 kHz.
- Threshold: Set the threshold to reduce these frequencies without affecting the overall vocal sound.
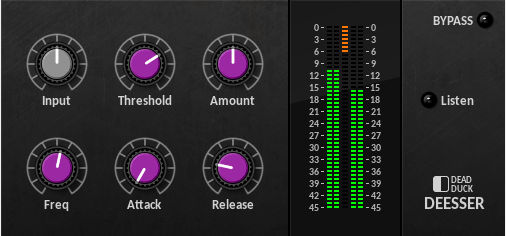
Here we are using a small amount of de-essing, on the loudest sibilant parts we have around 6dB of reduction, bear in mind that the release is set quite fast here, which will help alleviate some of the “pumping” artefacts that too much de-essing could produce.
You can read more about that here in our tutorial here
Step 5: Reverb
Reverb adds space and depth to the vocal, making it sound more natural and cohesive within the mix.
- Type: Choose a reverb type that suits the genre and style (e.g., plate, hall, room).
- Pre-Delay: Set a short pre-delay (10-20 ms) to separate the vocal from the reverb.
- Decay Time: Adjust the decay time to fit the tempo and feel of the song.
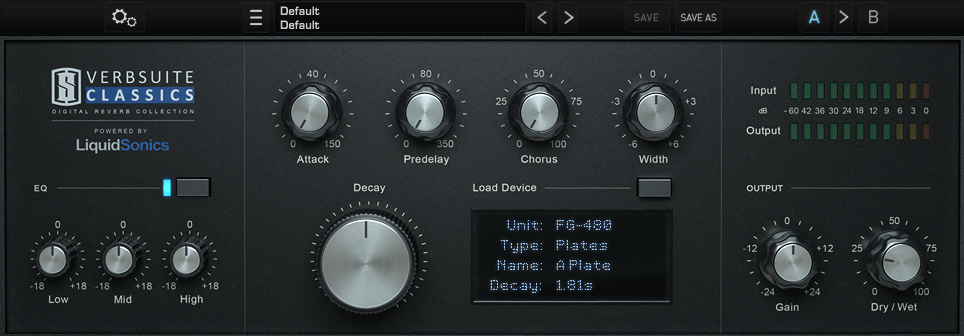
In the reverb settings above, we are using a 1.8 second plate, which gives a great sense of depth and space. It’s very important to play with the mix control (dry/wet in this plugin) as this effectively controls where your vocal will sit in the mix. More reverb will make the vocal sound further away, whereas less reverb will make the vocal feel more intimate.
For more information on using reverb, check out our guide here
Step 6: Delay
Delay can enhance the vocal by adding rhythmic echoes and creating a sense of space.
- Type: Select a delay type (e.g., slapback, ping-pong) that complements the vocal.
- Time: Set the delay time to sync with the song’s tempo.
- Feedback: Adjust the feedback to control the number of repeats.
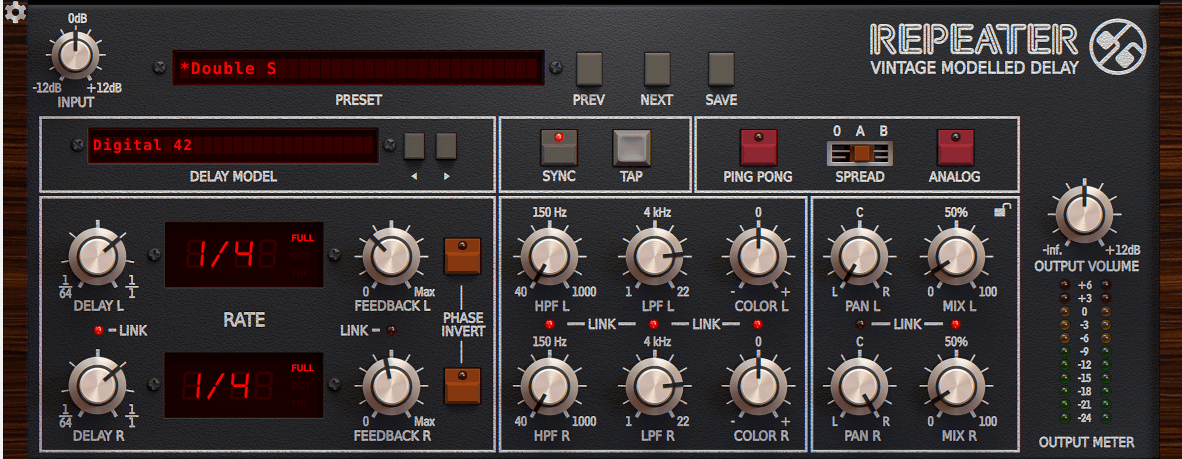
For the delay, we opted for a quarter note with the mix quite low. This helps add some rhythm and motion to the vocals. In the context of a full mix you may not be able to hear the delays themselves, but you’ll certainly feel the extra size it can provide.
For more information on time based effects have a look at our article here
Delay and reverb;
Step 7: Final Touches
After applying these core effects, make any final adjustments to ensure the vocal sits well in the mix.
- Automation: Automate volume, panning, and effects parameters for dynamic changes throughout the song.
- Saturation: Add subtle saturation for warmth and character.
- Additional Effects: Consider using chorus, flanger, or other modulation effects for creative enhancement.
In the clips above, we’ve tried some more experimental effects. First is some extreme saturation, while for this vocal line it might not be ideal, for heavier genres like punk and rock this can be a great way of adding some aggression.
Next is the chorus, which adds some nice space around the vocal. This could be used for a transition or an interesting feel to a section.
Finally we have bitcrush which adds a lo-fi sound to the vocals as well as some digital distortion.
Conclusion
By following these steps, you’ll be able to craft a basic vocal chain that enhances your recordings and gives them a professional edge. Remember, each vocal is unique, so use your ears and adjust settings to suit the specific needs of your track.
For more detailed tutorials and recording tips, check out Audient’s resources and stay tuned for new content. Happy recording!

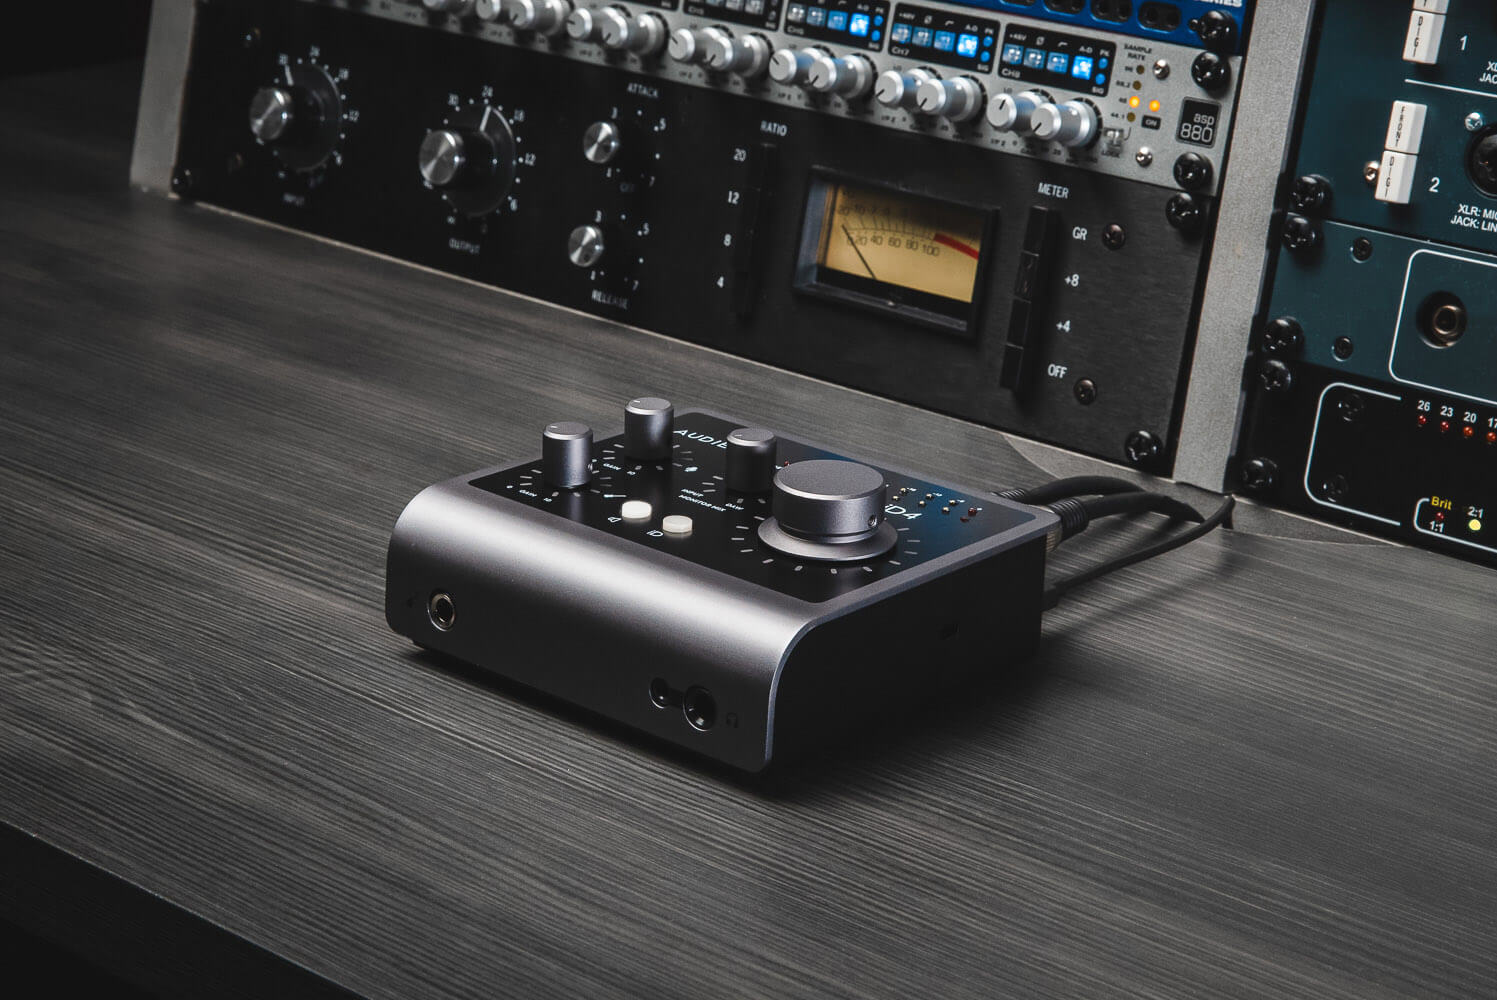
A huge thank you to the fantastic singer/songwriter from Southern California, MISY, for allowing us to use her vocal recordings for this tutorial. The short vocal snippet was taken from her song “American Spirit,” recorded using our iD44 Audio Interface.
For more information on MISY, please see below:
Facebook: @thenameismisy
Instagram: @thenameismisy
Website: https://www.thenameismisy.com/

Our Products
-

2in | 2out Audio Interface
-

10in | 6out Audio Interface
-

10in | 14out Audio Interface
-

20in | 24out Audio Interface
-

24in | 32out Audio Interface
-

2in | 2out Audio Interface
-

4in | 4out Audio Interface
-

24in | 24out Audio Interface
-

Everything you need to start recording
-

8 Channel Smart Preamp with AD/DA
-

8 Channel Mic Pre & ADC
-

8 Channel Mic Pre + Tone Control
-

Modular Analogue Recording Console
-

Small Format Analogue Recording Console
-
Small Format Analogue Recording Console
-

Immersive Audio Interface and Monitor Controller
-

Desktop Monitor Controller