


Mixing in a bad space
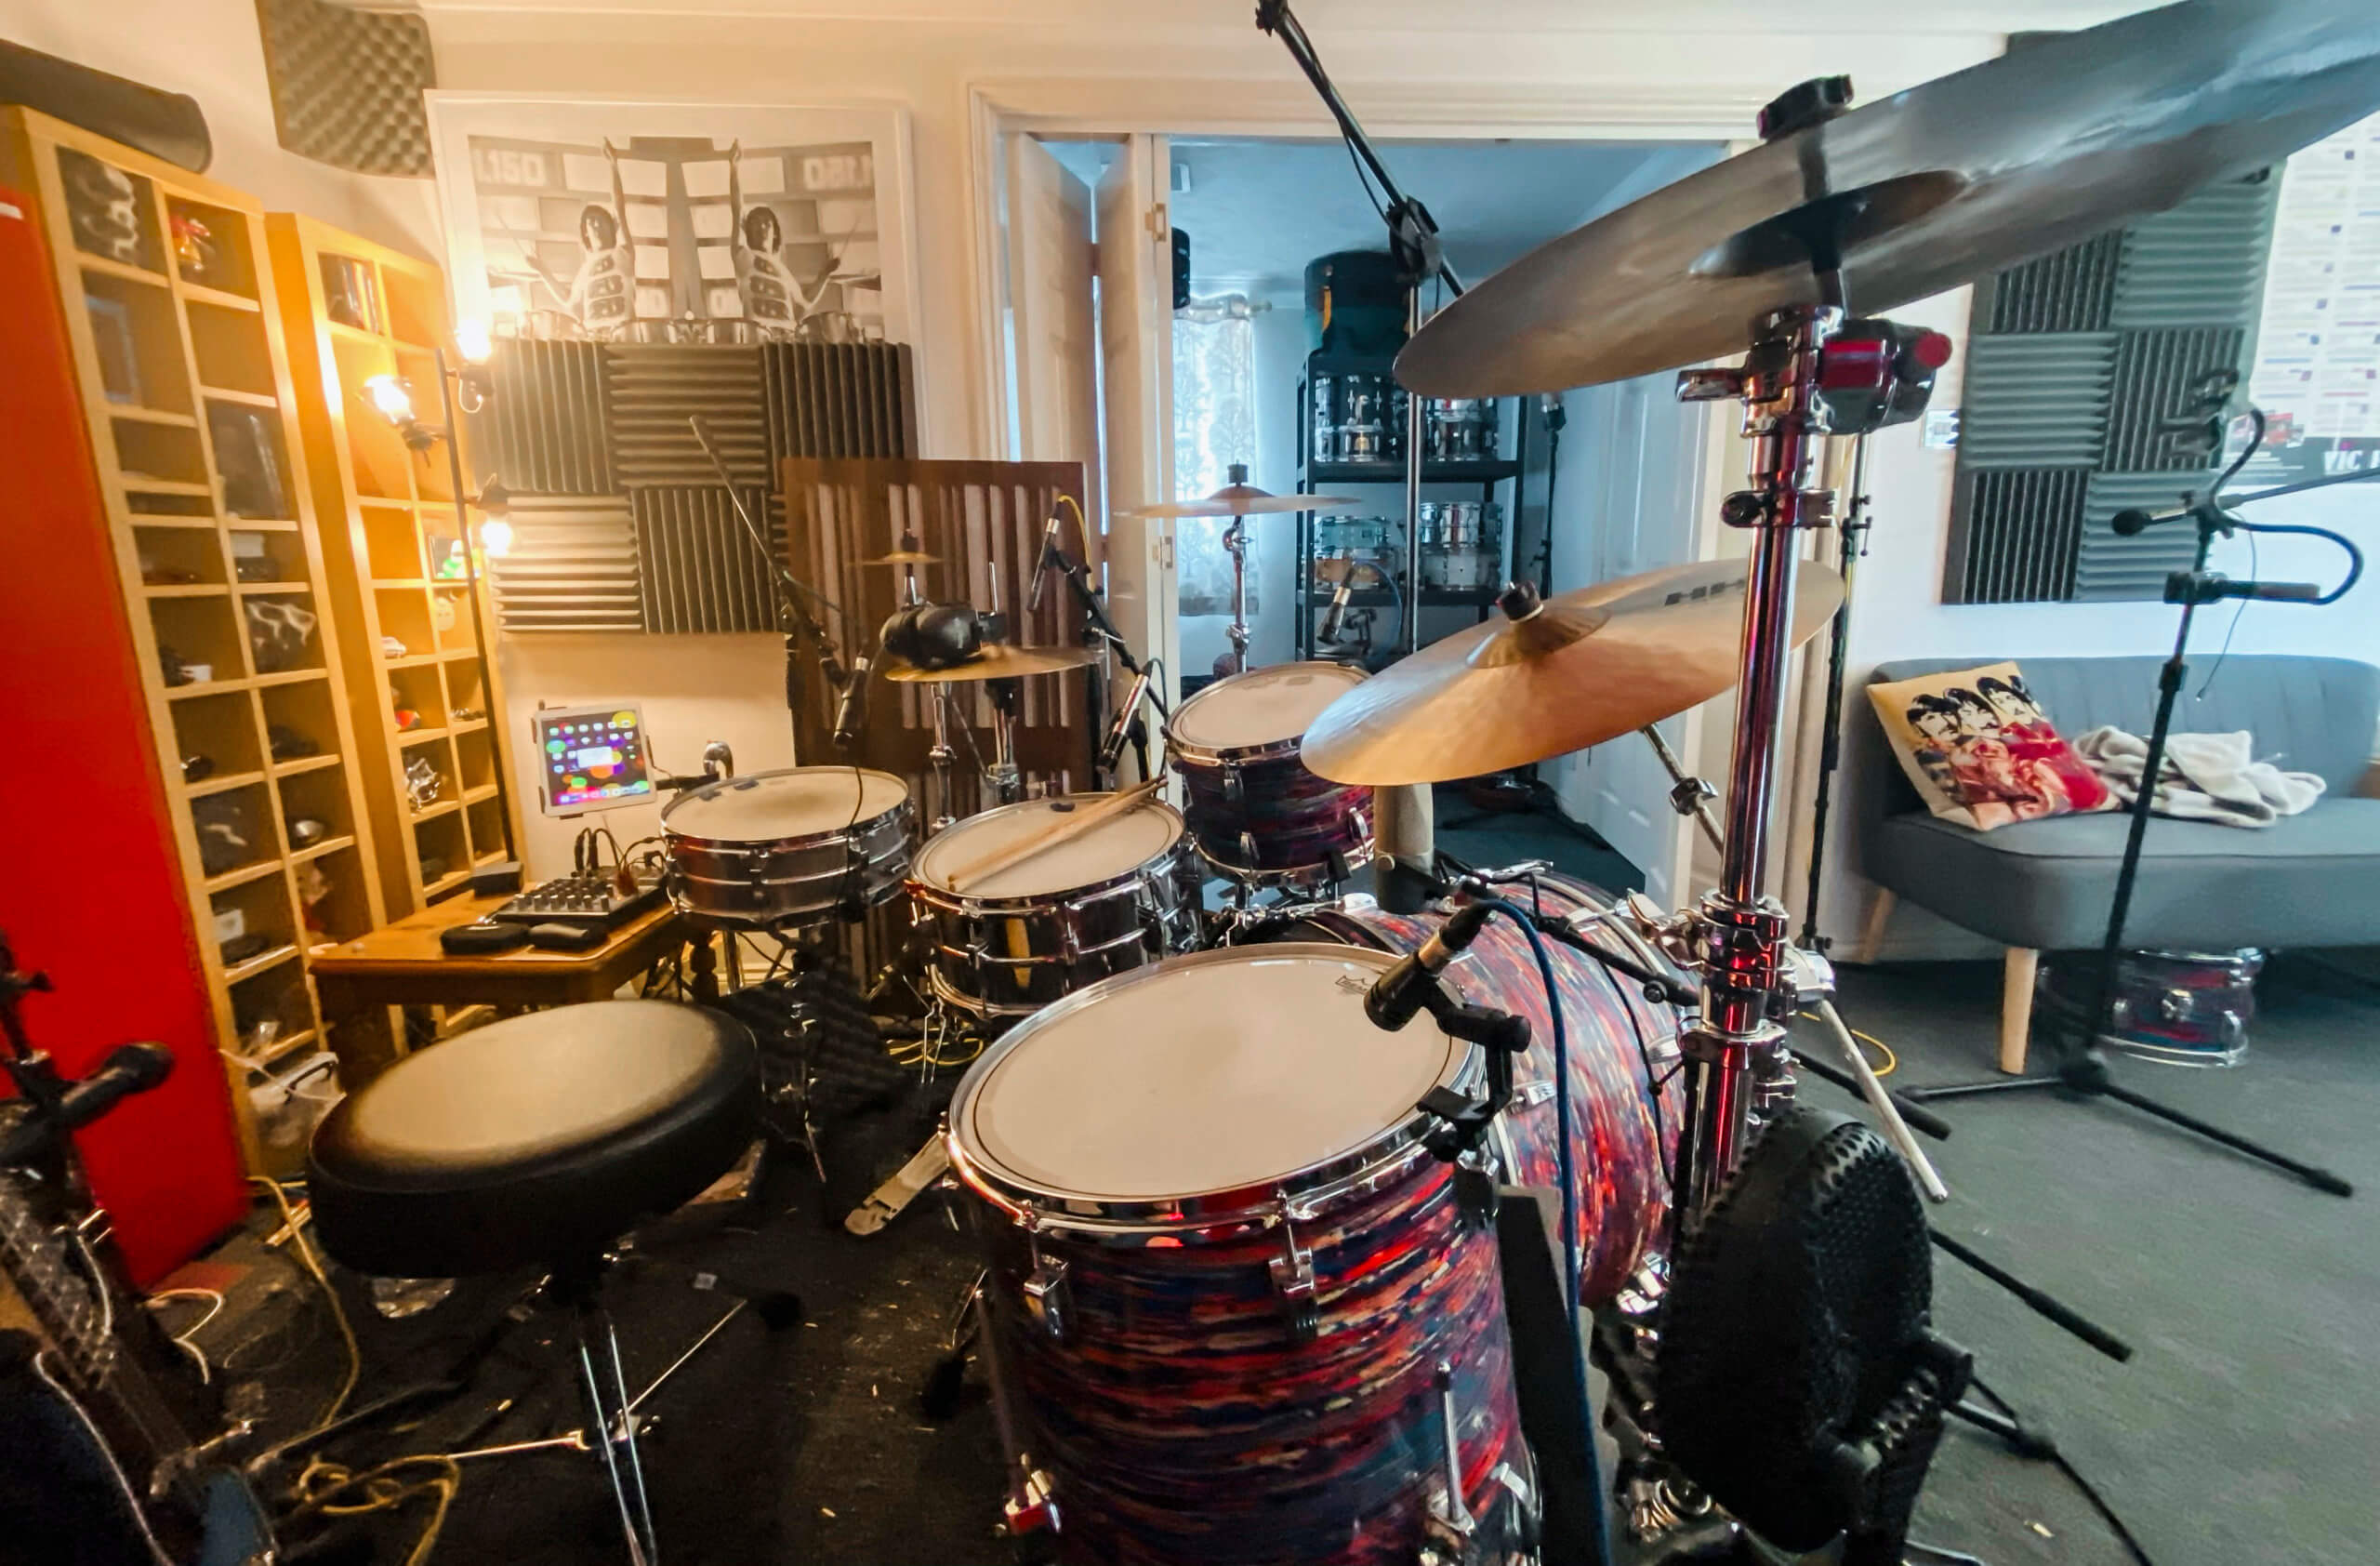
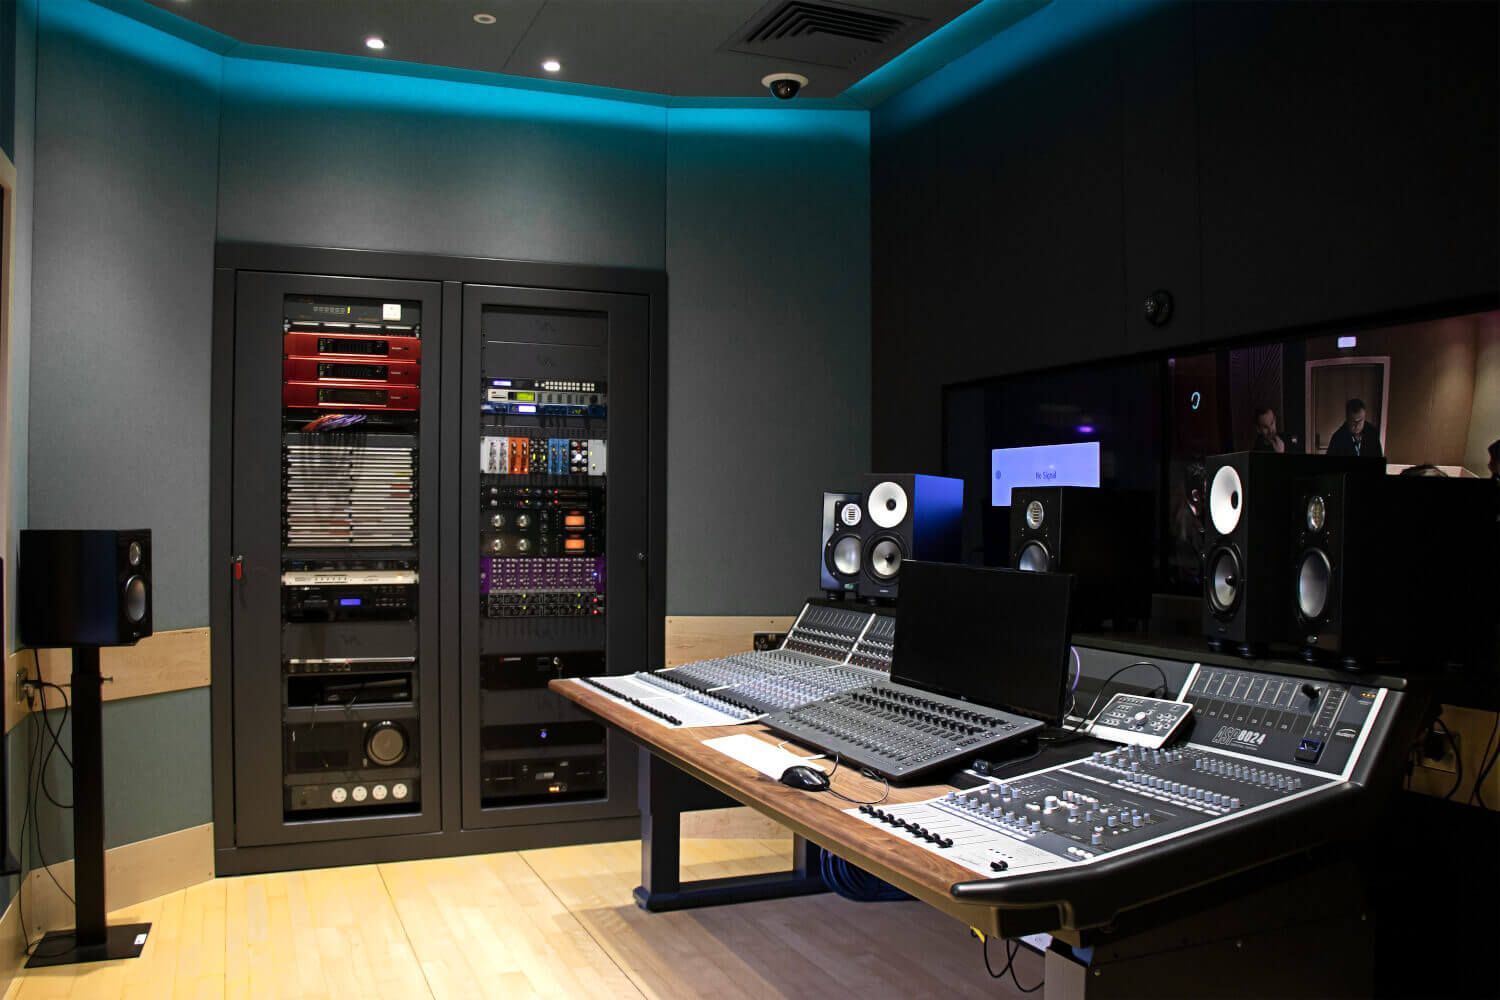
One of the main determinants of the quality of any mix is the spectral neutrality of the monitoring environment in which it was created. If your room isn’t acoustically optimised and your speakers aren’t placed at the right points within it, the result will likely be an unbalanced and obviously ‘damaged’ mix, as your monitoring setup falls victim to standing waves, overblown low frequencies, reverberant reflections and other manageable anomalies.
If you’re serious about your music, then, it’s imperative that you get your mixing space sounding as flat and reverberation-free as possible. If money is available, this can be done through the installation of absorption panels, bass traps and similar interventions; and if not, getting as many soft furnishings and other irregular surfaces (book cases, carpets, wall hangings, heavy curtains) in there as you can will make for a significant improvement. Equally important is getting your speakers positioned correctly and calibrating them to reduce the influence of the room on their frequency response. Find out more about all of this with our indispensable home studio improvement tips.
Spending too much time in Solo mode
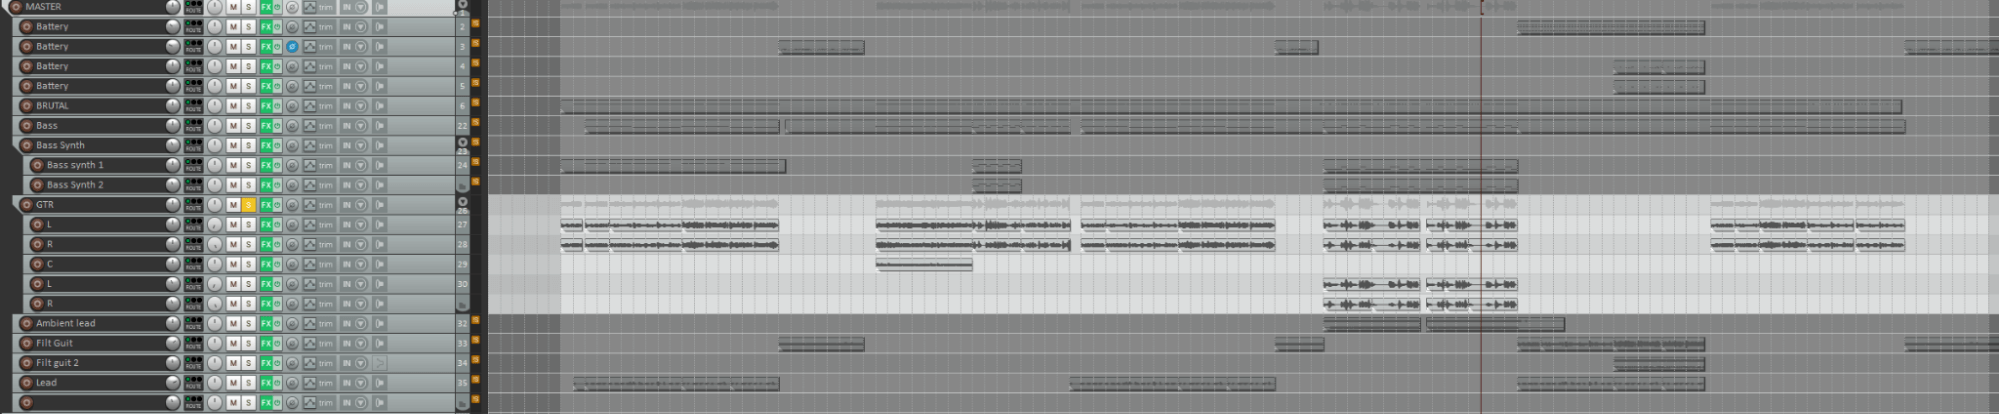
There’s nothing wrong with occasionally soloing instrumental elements within a mix in order to track down irksome resonances or reveal sources of frequency masking issues – that’s what your mixer’s Solo buttons are there for, after all. However, since the mix ultimately only needs to work as an aggregated whole, getting sucked into soloing individual parts in order to fix minor niggles that are never going to be noticed by anyone anyway is pointless and distracting. Indeed, many top mix engineers only ever monitor the full mix without soloing anything, and the benefits this approach can bring in terms of speedy workflow and ‘big picture’ focus are certainly compelling. So, try to resist the temptation to reach for those Solos unless you really need to hear a particular sound in isolation for genuinely corrective purposes, and see if it makes any difference to the final mix at the end of the day. We can almost guarantee that if it does, that difference will be a positive one.
Not using reference mixes
It goes without saying that, like every music producer, you strive to find and cultivate your own sound when mixing; but even the most experienced producers and mixing engineers will keep one or more artistically and commercially proven reference tracks to hand for frequent comparison. When you’re deep in the mixing weeds, your assessment of dynamics and frequency content can quickly and easily become skewed; but regularly flipping to a thoughtfully selected reference track (either on a dedicated channel within the project, or via a plugin such as Adaptr Audio’s Metric AB) serves to recalibrate your ears and brain to the sound of an objectively well-balanced mix. The idea isn’t for the reference(s) to define the sound of your track, but rather to keep you on target when it comes to the fundamental boxes that every mix should check – good frequency balance, tightly controlled dynamic range, etc.

Overusing compression and EQ
Popular modern engineering opinion would have you believe that almost every – if not every – part within any mix demands the application of some degree of dynamics and frequency shaping, even if it’s just a high-pass filter to roll off rumble, or a subtly solidifying touch of compression. Importantly, we would argue that this isn’t necessarily the case, and that if a part sounds right completely unprocessed then it should be left alone; but if you do, understandably, feel the need to insert a compressor and EQ into every channel, just be very clear as to your intentions with them, don’t adjust them with the part soloed, as discussed, and deploy the aforementioned reference track(s) to keep your, er, ear firmly on the prize. Common symptoms of over-compressed, over-EQ’d mixes include an unfocussed low end, muddy mids and tinny high frequencies, crushed dynamics, lack of transient punch, and confused levelling.
Forgetting about phase issues
When mixing Instruments recorded using multiple microphones (and perhaps DI channels) – snare and kick drums, drum kit overheads, amplified guitars, double-miked acoustic guitars and the like – phase is something to be very much aware of. When two simultaneously captured recordings of the same source are played back together out of phase – that is, with the peaks in one waveform aligning with the troughs in the other – the result is a thinning of the sound as the two signals cancel each other out to a greater or lesser extent. The solution is simply to make sure all such recordings are kept in phase, which is done by nudging audio clips into alignment in the arrange page of your DAW, or hitting the phase invert button(s) on what you deem to be the out-of-phase channel(s) in the mixer.
As a matter of course, even if all appears to be well with a given multitrack session, it’s worth flipping the phase of, say, the, top or bottom snare drum channel, or the DI or miked-amp guitar channel, just to check that everything is definitely in phase – it will be very obvious if it isn’t, as the corrected signal will instantly sound weightier and more impactful.

Not knowing when to stop
Finally, possibly the easiest mixing trap to fall into is that of overworking a project through the inability to identify the point at which it should realistically be declared ‘finished’. Your intuition for knowing when to call it a day, stop tinkering around the edges and move on to the mastering stage will only improve with experience, but some rules of thumb include: having some sort of sonic/aesthetic plan in mind from the outset and sticking to it; keeping in mind that less is invariably more; and being confident in stepping away from the mix as soon as any sense of doubt begins to arise as to what it is you’re actually trying to achieve with the tweaks and adjustments being applied.
Our Products
-

Interface audio 2 entrées - 2 sorties
-

Interface audio 10 entrées - 6 sorties
-

10in | 14out Audio Interface
-

Interface audio 20 entrées - 24 sorties
-

24in | 32out Audio Interface
-
Interface audio 10 entrées - 14 sorties
-
Interface audio 10 entrées - 4 sorties
-

Interface audio 2 entrées - 2 sorties
-

Interface audio 4 entrées - 4 sorties
-

24in | 24out Audio Interface
-

Tout ce dont vous avez besoin pour débuter l'enregistrement
-

8 Channel Smart Preamp with AD/DA
-

Préampli micro 8 canaux avec CA/N
-

Préampli micro 8 canaux + Tone Control
-

Console d'enregistrement analogique modulaire
-

Small Format Analogue Recording Console
-

Small Format Analogue Recording Console
-

Immersive Audio Interface and Monitor Controller
-

Contrôleur de monitoring de bureau
-
Contrôleur de monitoring multicanal