


1. Synthesised or sampled?
By and large, you’ll probably select your kick to match the rest of the drum kit with regard to its acoustic/electronic origins. If you’re making a rock track, for example, a synthesised kick is going to sound decidedly odd within your otherwise acoustic drum kit; while a moody techno banger festooned with 909 hats and claps is clearly going to call for a similarly synthetic bass drum. With that in mind, often, the best choice will be self-evident: just load up the kick that comes with the kit in question – job done, right?
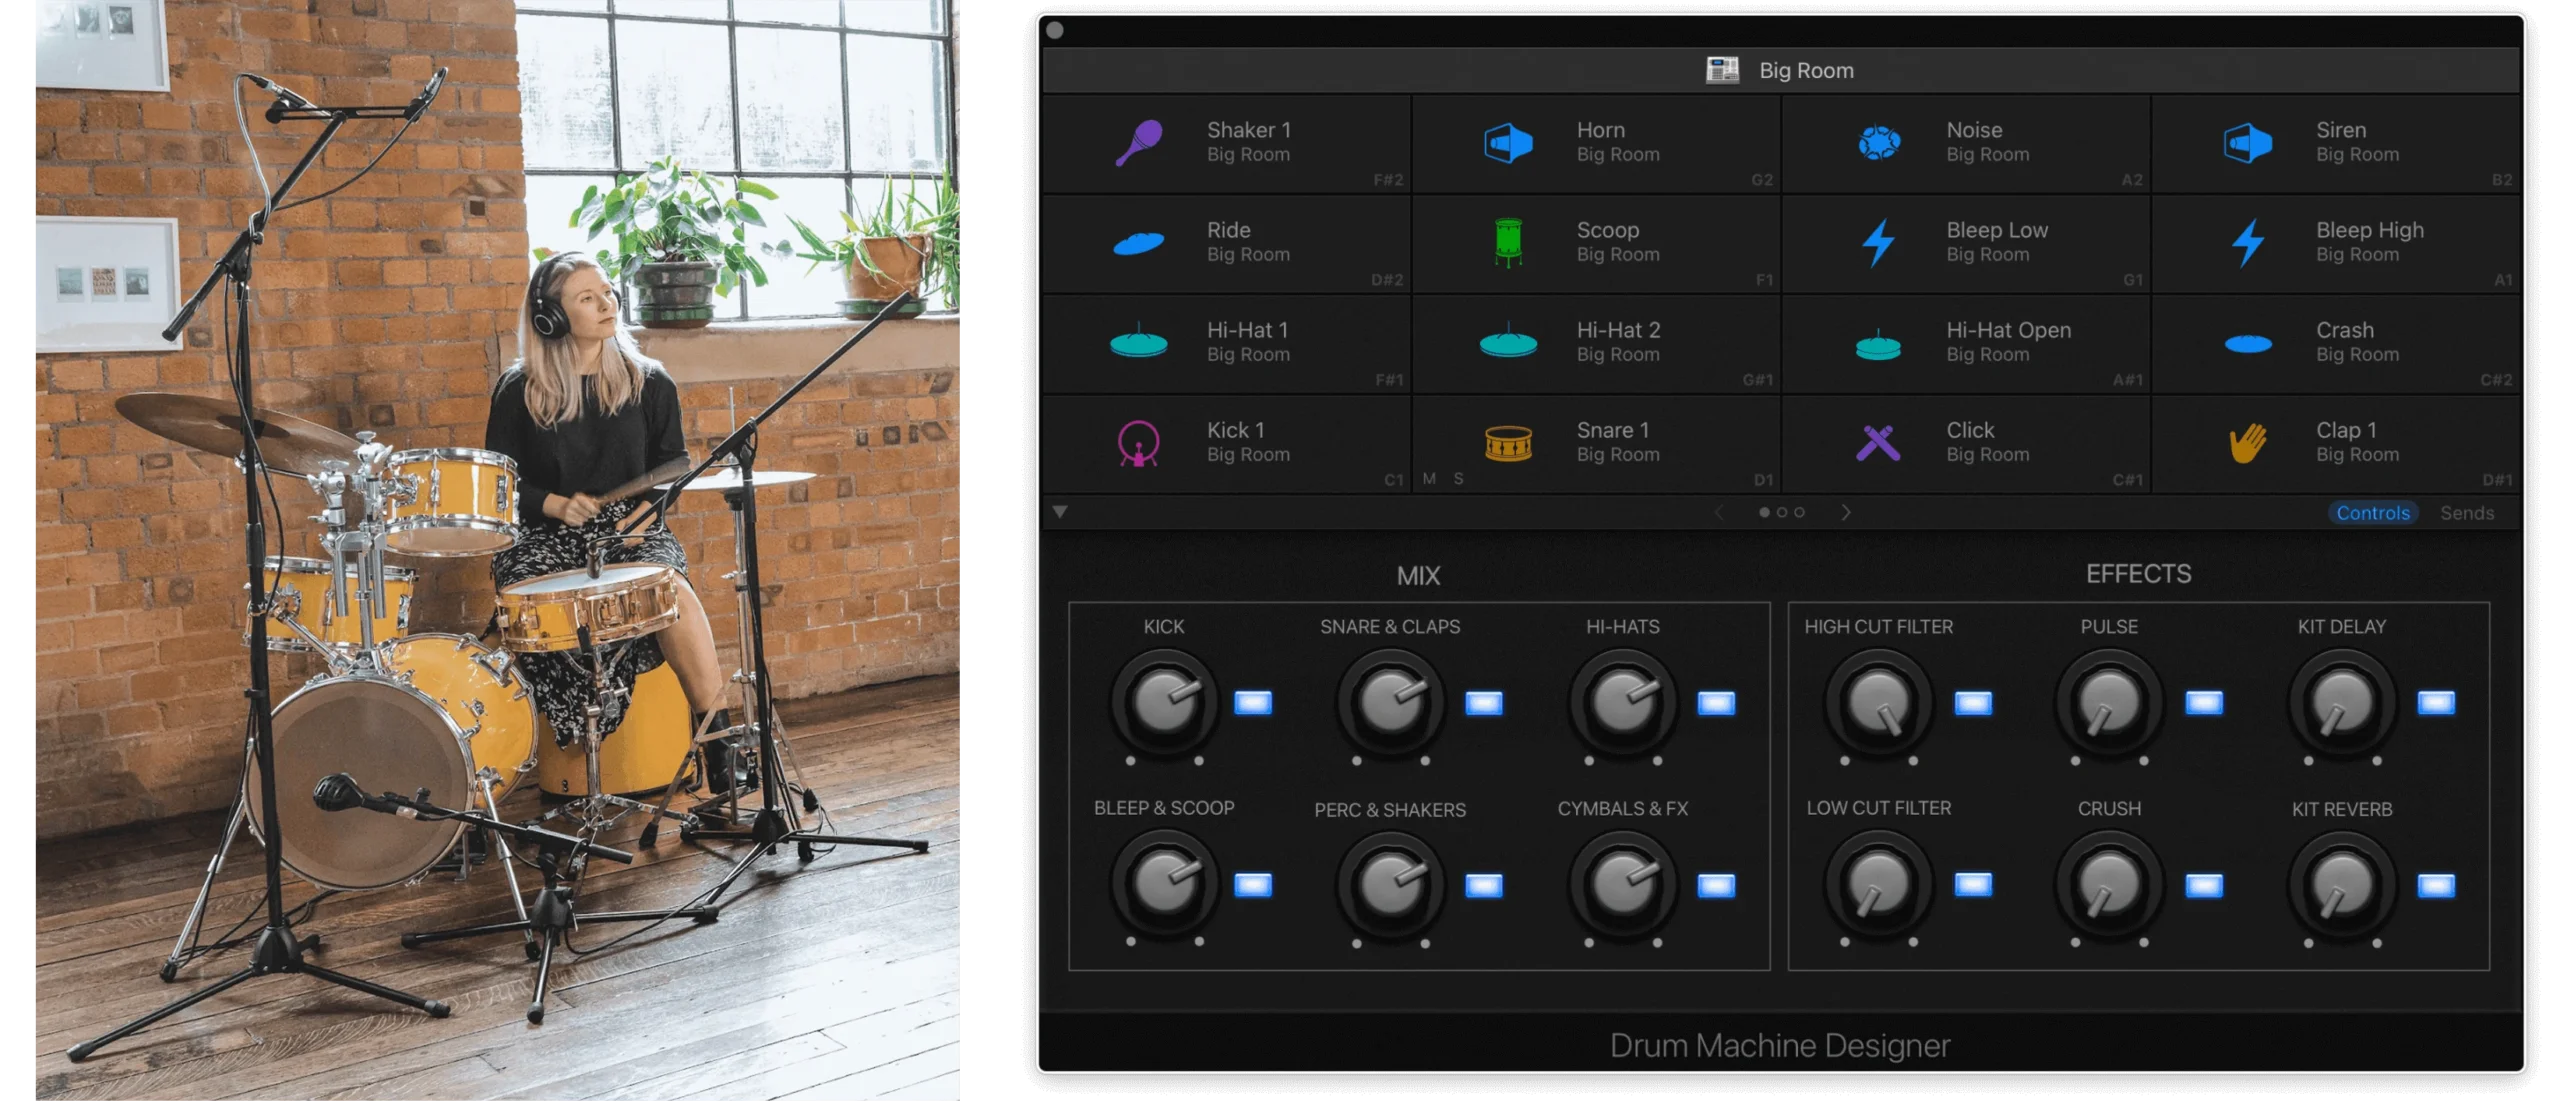
Well, quite possibly, but if you’re looking to mix things up a little, or are building a kit from scratch, you’ll want to try out any number of alternatives in situ to find one that meshes with the rest of the drums and suits the track in the broadest sense. Also, despite our opening sentence, there’s no law saying that acoustic and synthesised elements shouldn’t ever be brought together, so if that sustained 808 kick proves surprisingly effective with the brushed snare and pedalled hi-hat in your gentle acoustic folk number, don’t be afraid to go for it. And dance music producers frequently deploy sampled kicks alongside electronic hats, snares and toms, either on their own or mixed with synthesised components – which brings us neatly on to…
2. Layering: build your dream kick drum
While there’s no doubt that a prefab sample or well-made drum machine preset can ably fulfil even the most specific of bass drum needs, for the utmost in adaptability and personalisation, combining multiple separate parts into a hard-hitting whole is a technique well worth exploring. The aforementioned blending of acoustic and electronic elements is a ubiquitous case in point, with a punchy (sampled) acoustic kick drum transient often attached to a subby synthesised body/sustain component, perhaps with a bit of noise mixed in, too, for grit and presence.

This sort of layering is easily done using instrument racks or grouped tracks in your DAW, as well as dedicated kick drum plugins such as Sonic Academy Kick 2 and D16 PunchBox. Listen out for phase issues when doing it, though, particularly when stacking up multiple attack layers.
3. Apply EQ and dynamics
Like every other instrument, your kick drum will almost invariably demand some degree of equalisation and dynamics shaping to get it sitting comfortably in the mix, particularly relative to the bass. If you’re working with a fully finalised kick drum sample, this may involve nothing more than a smidgeon of low-end boost, say; but for synthesised kicks, the raw output of a virtual drum kit, or the layered constructions described above, EQ and compression ought to be considered pretty much compulsory, and a transient shaper should be kept close at hand as well, for quick and easy control of the attack and sustain stages if required. EQ will likely need to be focused primarily on the fundamental/body range (around 50-100Hz), the problematic ‘muddiness’ range (250-500Hz) and the presence-enhancing high-mids (2-5khz); and compression should be dialled in so that the initial transient punches through before the compressor clamps down on the tail, then releases quickly.
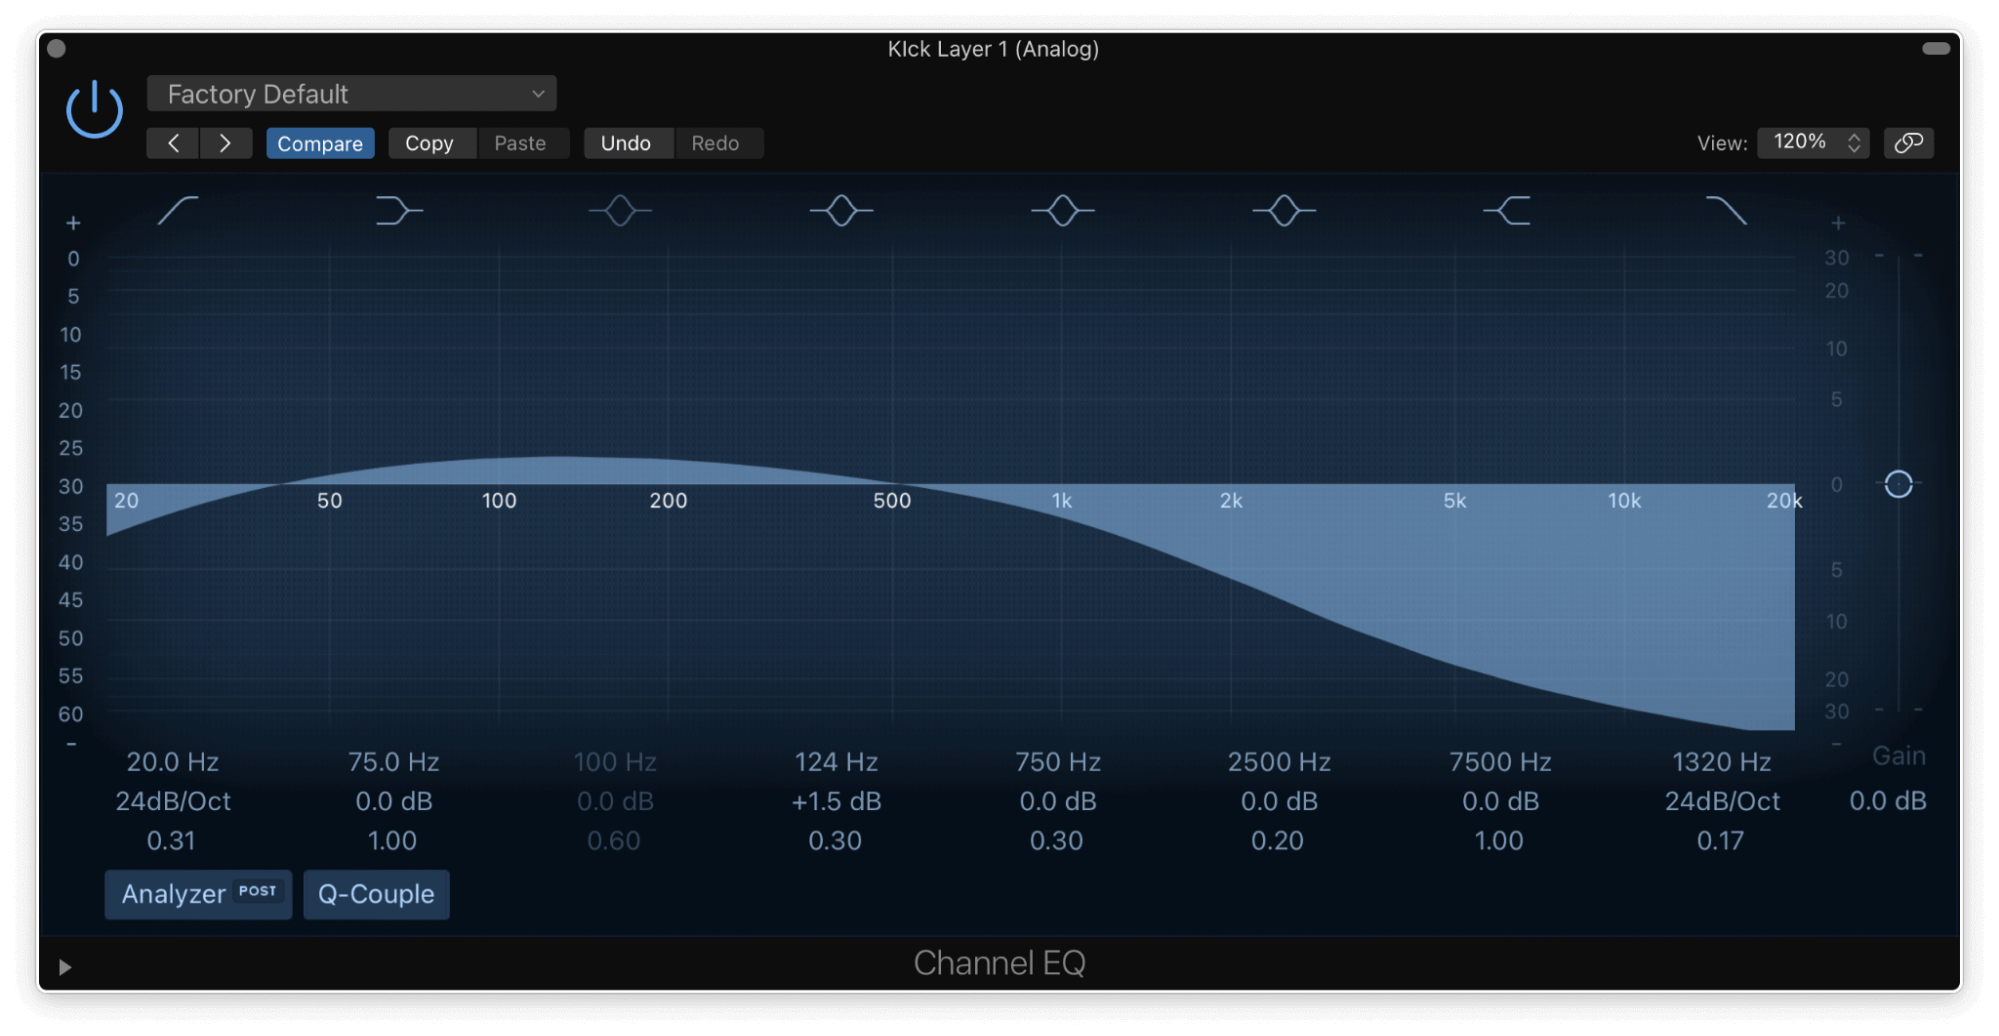
Crucially, not only does the kick drum have to sound great within the soloed drum kit, but it also has to coexist happily with the bassline. Thus, EQ and dynamics processing should be applied to the kick both with the kit in isolation and with the bass in the mix, to ensure that the two don’t clash. Keying the sidechain of a compressor or dynamic EQ on the bass channel off the kick drum can also be extremely helpful on this front.
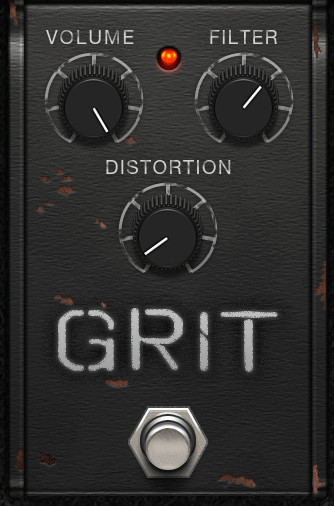
4. Dirty it up with distortion
Almost any sound can benefit from a touch of analogue (real or simulated with a plugin) distortion, and the kick drum is no exception. If your sampled acoustic kick is lacking in warmth and bite, the judicious introduction of tape or valve saturation may well be the solution; and when you need to roughen up an overly smooth 808, try a waveshaper or bitcrusher for instant fizz and energy. As well as the distortion amount control, he dry/wet mix knob on your distortion effect is key here, as you probably don’t want full-on decimation of the whole signal – start at 100% dry and raise the wet signal to taste.
5. Get your kick drum in tune – or not!
With virtual instruments making it so easy to microscopically adjust the pitch of your kick drum, getting it in tune with the song in which it resides is child’s play – and with strongly tonal kicks, such as those generated by the 808 and other synthesised sources, this may or not be worth doing, depending on the nature of the track and the character of the kick. To help you make that decision, just listen to the track, and if the kick sounds harmonically out of place, tweak the pitch controls until it doesn’t, or simply tune it to the root note of the key the track is in.

With sampled acoustic drums, on the other hand, pitching is less of a consideration: a drummer rarely tunes the kick to match the track, since real drums are less overtly pitched than synthesised ones and thus don’t require such targeted tuning. That’s not to say you shouldn’t if you want to, however – as ever with music production, the only rule is that there are no rules.

Our Products
-

2in | 2out Audio Interface
-

10in | 6out Audio Interface
-

10in | 14out Audio Interface
-

20in | 24out Audio Interface
-
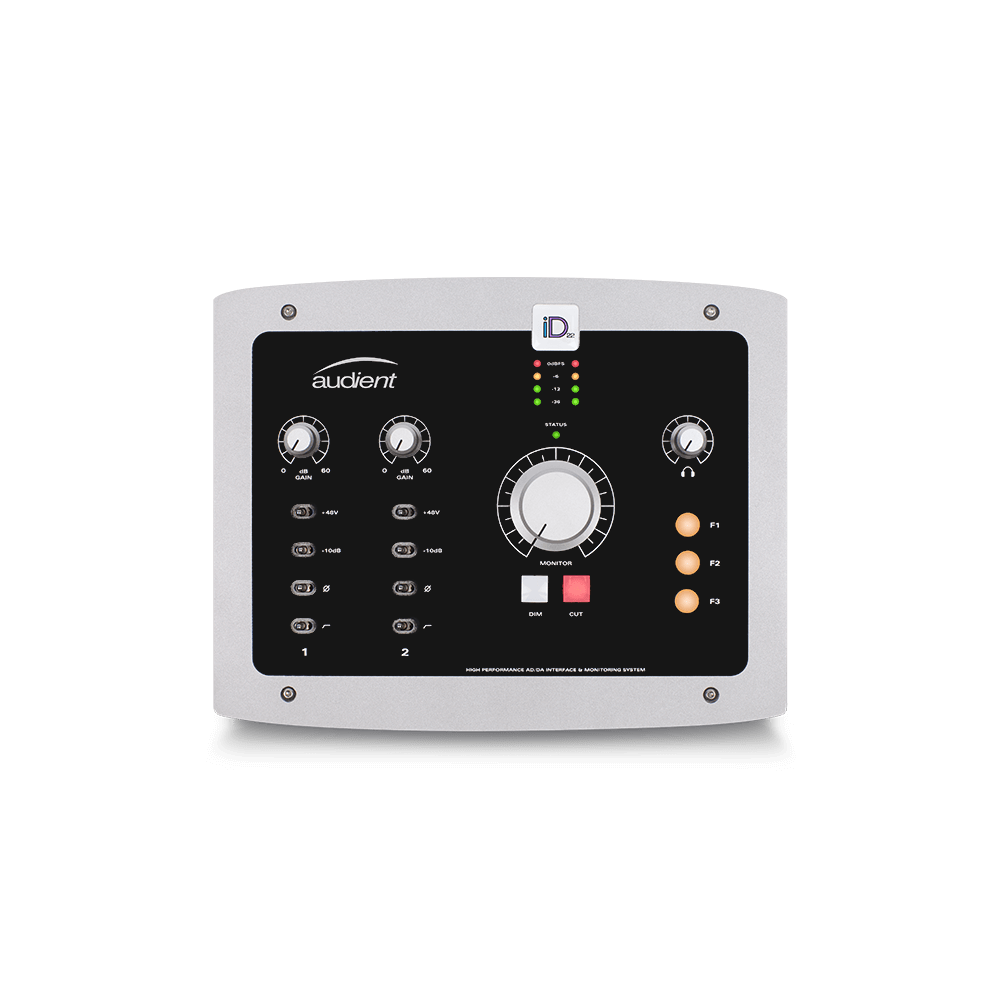
10in | 14out Audio Interface + Monitor Controller
-
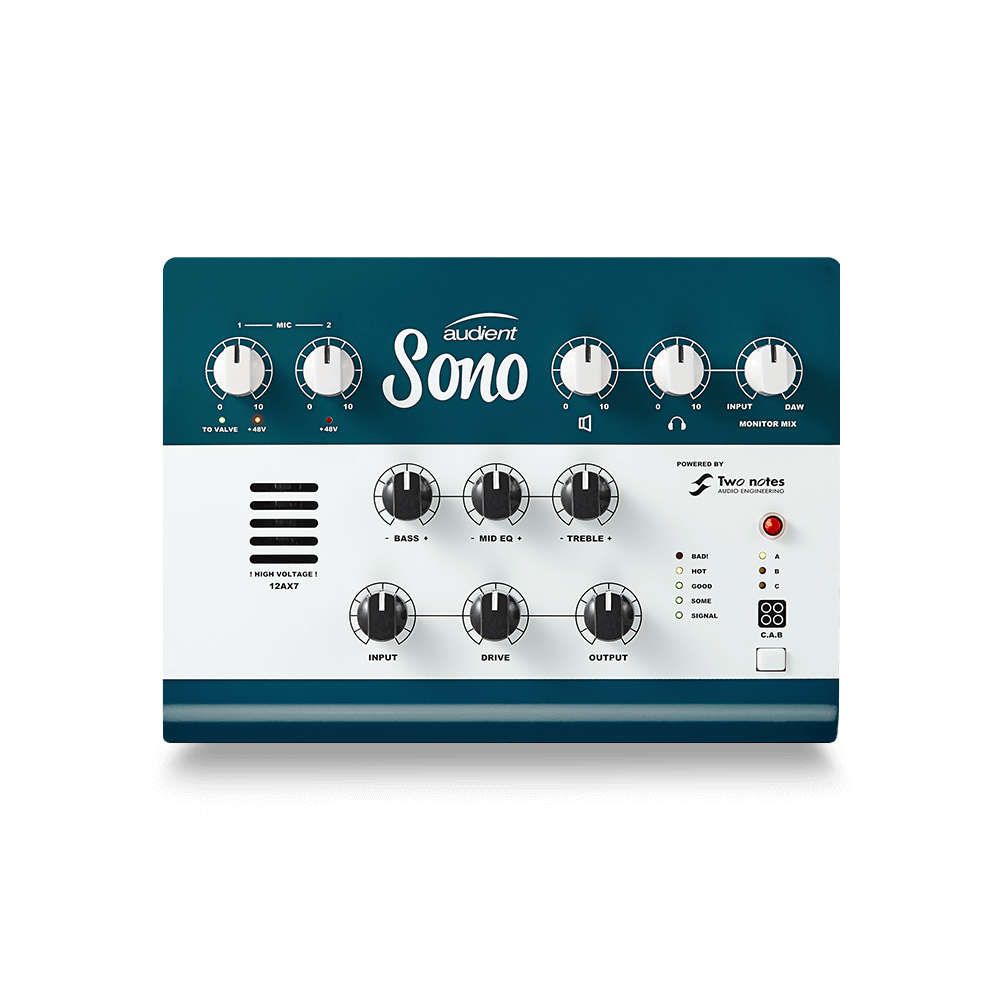
10in | 4out Guitar Interface
-

2in | 2out Audio Interface
-

4in | 4out Audio Interface
-

Everything you need to start recording
-

24in | 24out Audio Interface
-

8 Channel Smart Preamp with AD/DA
-

8 Channel Mic Pre & ADC
-

8 Channel Mic Pre + Tone Control
-

Modular Analogue Recording Console
-

Small Format Analogue Recording Console
-

Small Format Analogue Recording Console
-

Immersive Audio Interface and Monitor Controller
-

Desktop Monitor Controller
-
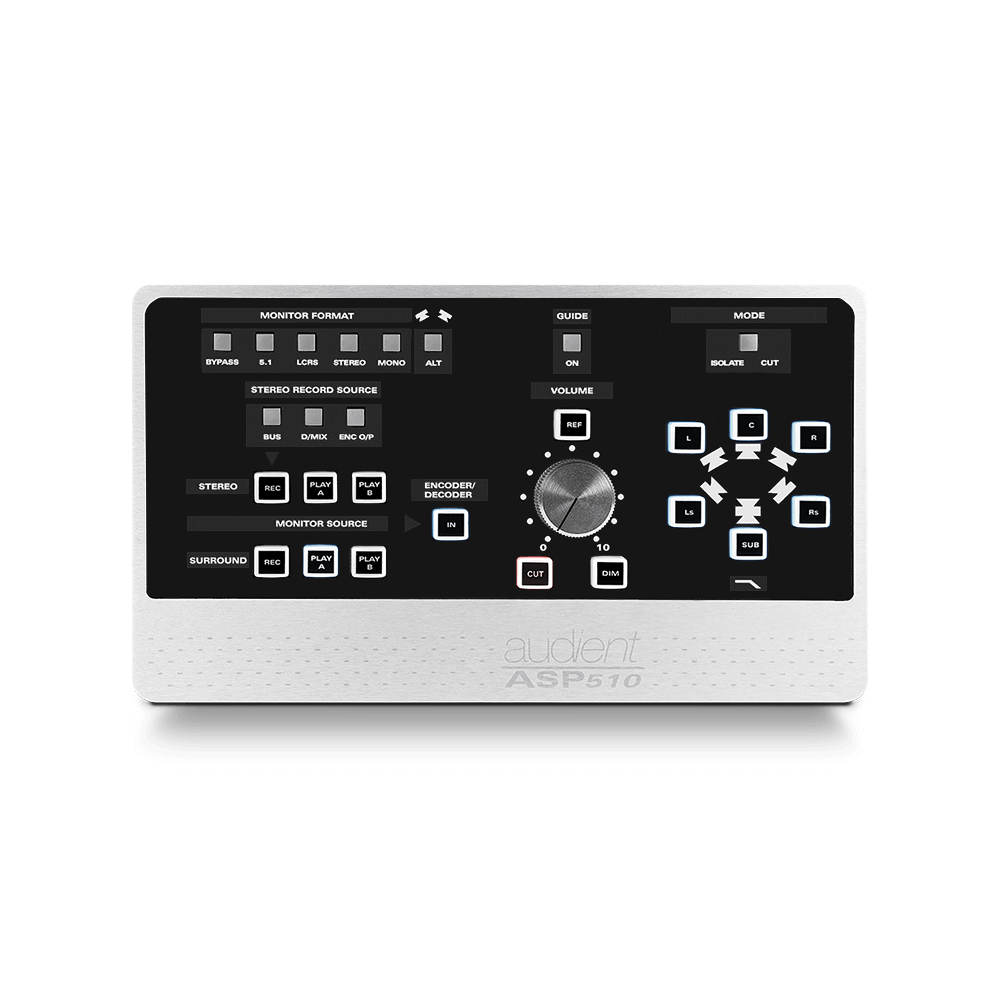
Surround Sound Monitor Controller