


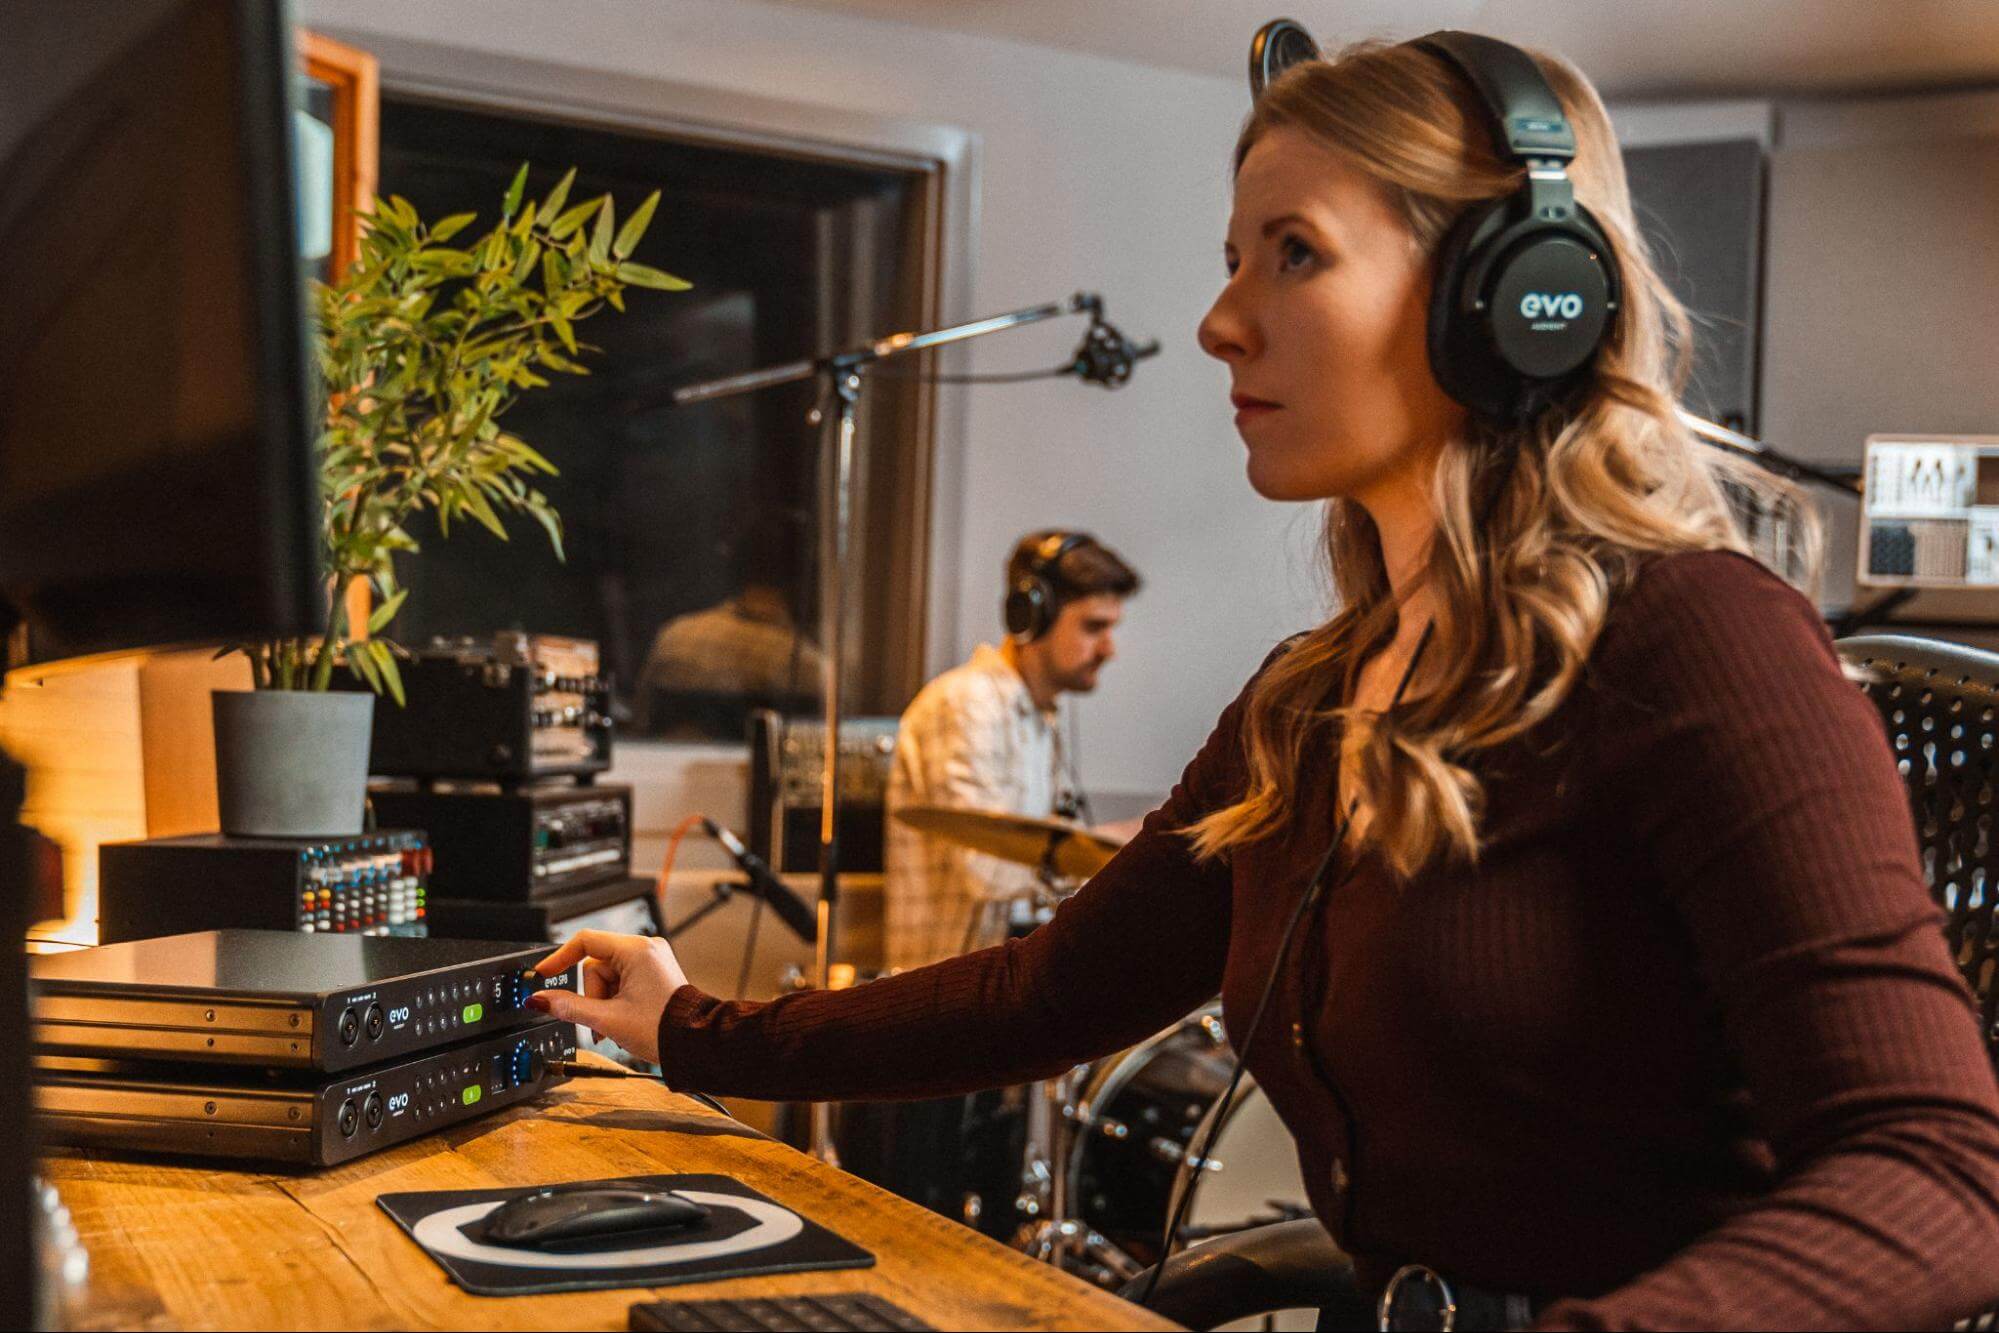
It all starts with a quality recording
Perhaps unsurprisingly, you can only hope to conjure up a top notch drums mix from top notch source material, so make sure your multitrack drum kit recording is up to scratch. Recording drums is an expansive subject that you can read more about here, but in summary, the kit should be miked up correctly, using appropriate microphones, and the recording environment should be acoustically viable in its general sound, ambience and the absence of background noise. Of course, it’s also imperative that you capture your kit through the best preamps you can get your hands on, and as an Audient or EVO audio interface owner, you’ve already got that side of things fully covered. Nice work.
If, on the other hand, you’re programming a sampled drum kit such as Toontrack EZdrummer or Superior Drummer, or FXpansion BFD, you’re already working with exceptionally high quality recordings, so you can happily move on to the mix.
Make sure your multitracks are phase aligned
If you’ve recorded the drums yourself using multiple microphones (spot mics on the kick and snare, plus overheads, for example), one important thing that might need to be addressed is the phase relationship between the channels. The minuscule discrepancies in timing between each microphone imposed by their differing distances from the drums (and positioning above and below the drum in the case of top/front and bottom/back snare or kick mics) can result in the peaks and troughs in their recorded waveforms being slightly misaligned, which adversely affects the sound through phase cancellation – a ‘hollowing’ or ‘thinning’ effect that might not be readily apparent at first, but becomes very obvious once discovered and resolved. Your DAW’s mixer may well feature phase inversion switches, so experiment with those across the relevant channels for a possible fix. If that doesn’t help, you can either zoom right in on the tracks in question and manually align them, or invest in Sound Radix’s miraculous Auto-Align plugin, which literally does the job for you with a single click, and is highly recommended.

Get a rough balance
With your drum tracks in place and correctly phase aligned, the first things to do are adjust their level faders in the mixer to get a balanced overall kit sound, and set up their stereo positioning with the pan controls. For level balancing, start by getting the all-important kick and snare sounding equally prominent and punchy without being overbearing, then bring in the overheads and other spot mics so that the whole kit sounds consistent and dynamically ‘even’.

As for panning, the kick and snare should always be dead centre; spot miked hi-hats can be offset from the centre a touch; toms work well spread across the soundstage by 30-45 degrees away from centre to either side; and stereo overheads should be panned hard left and right.
Sort out mic spill
If you find that spill between microphones (the toms being picked up by the snare drum mic, for example) is messing with the sound, use gate plugins to remove the offending signals. A gate simply reduces the level of everything coming into it below a specified threshold, so by setting it to only open when the input level rises above that of the spilt signal, you can automatically silence said intrusions. Be careful not to overdo it, however, as overly aggressive gating can easily suck the life out of a drum track – use your gate’s envelope controls to tailor the effect.

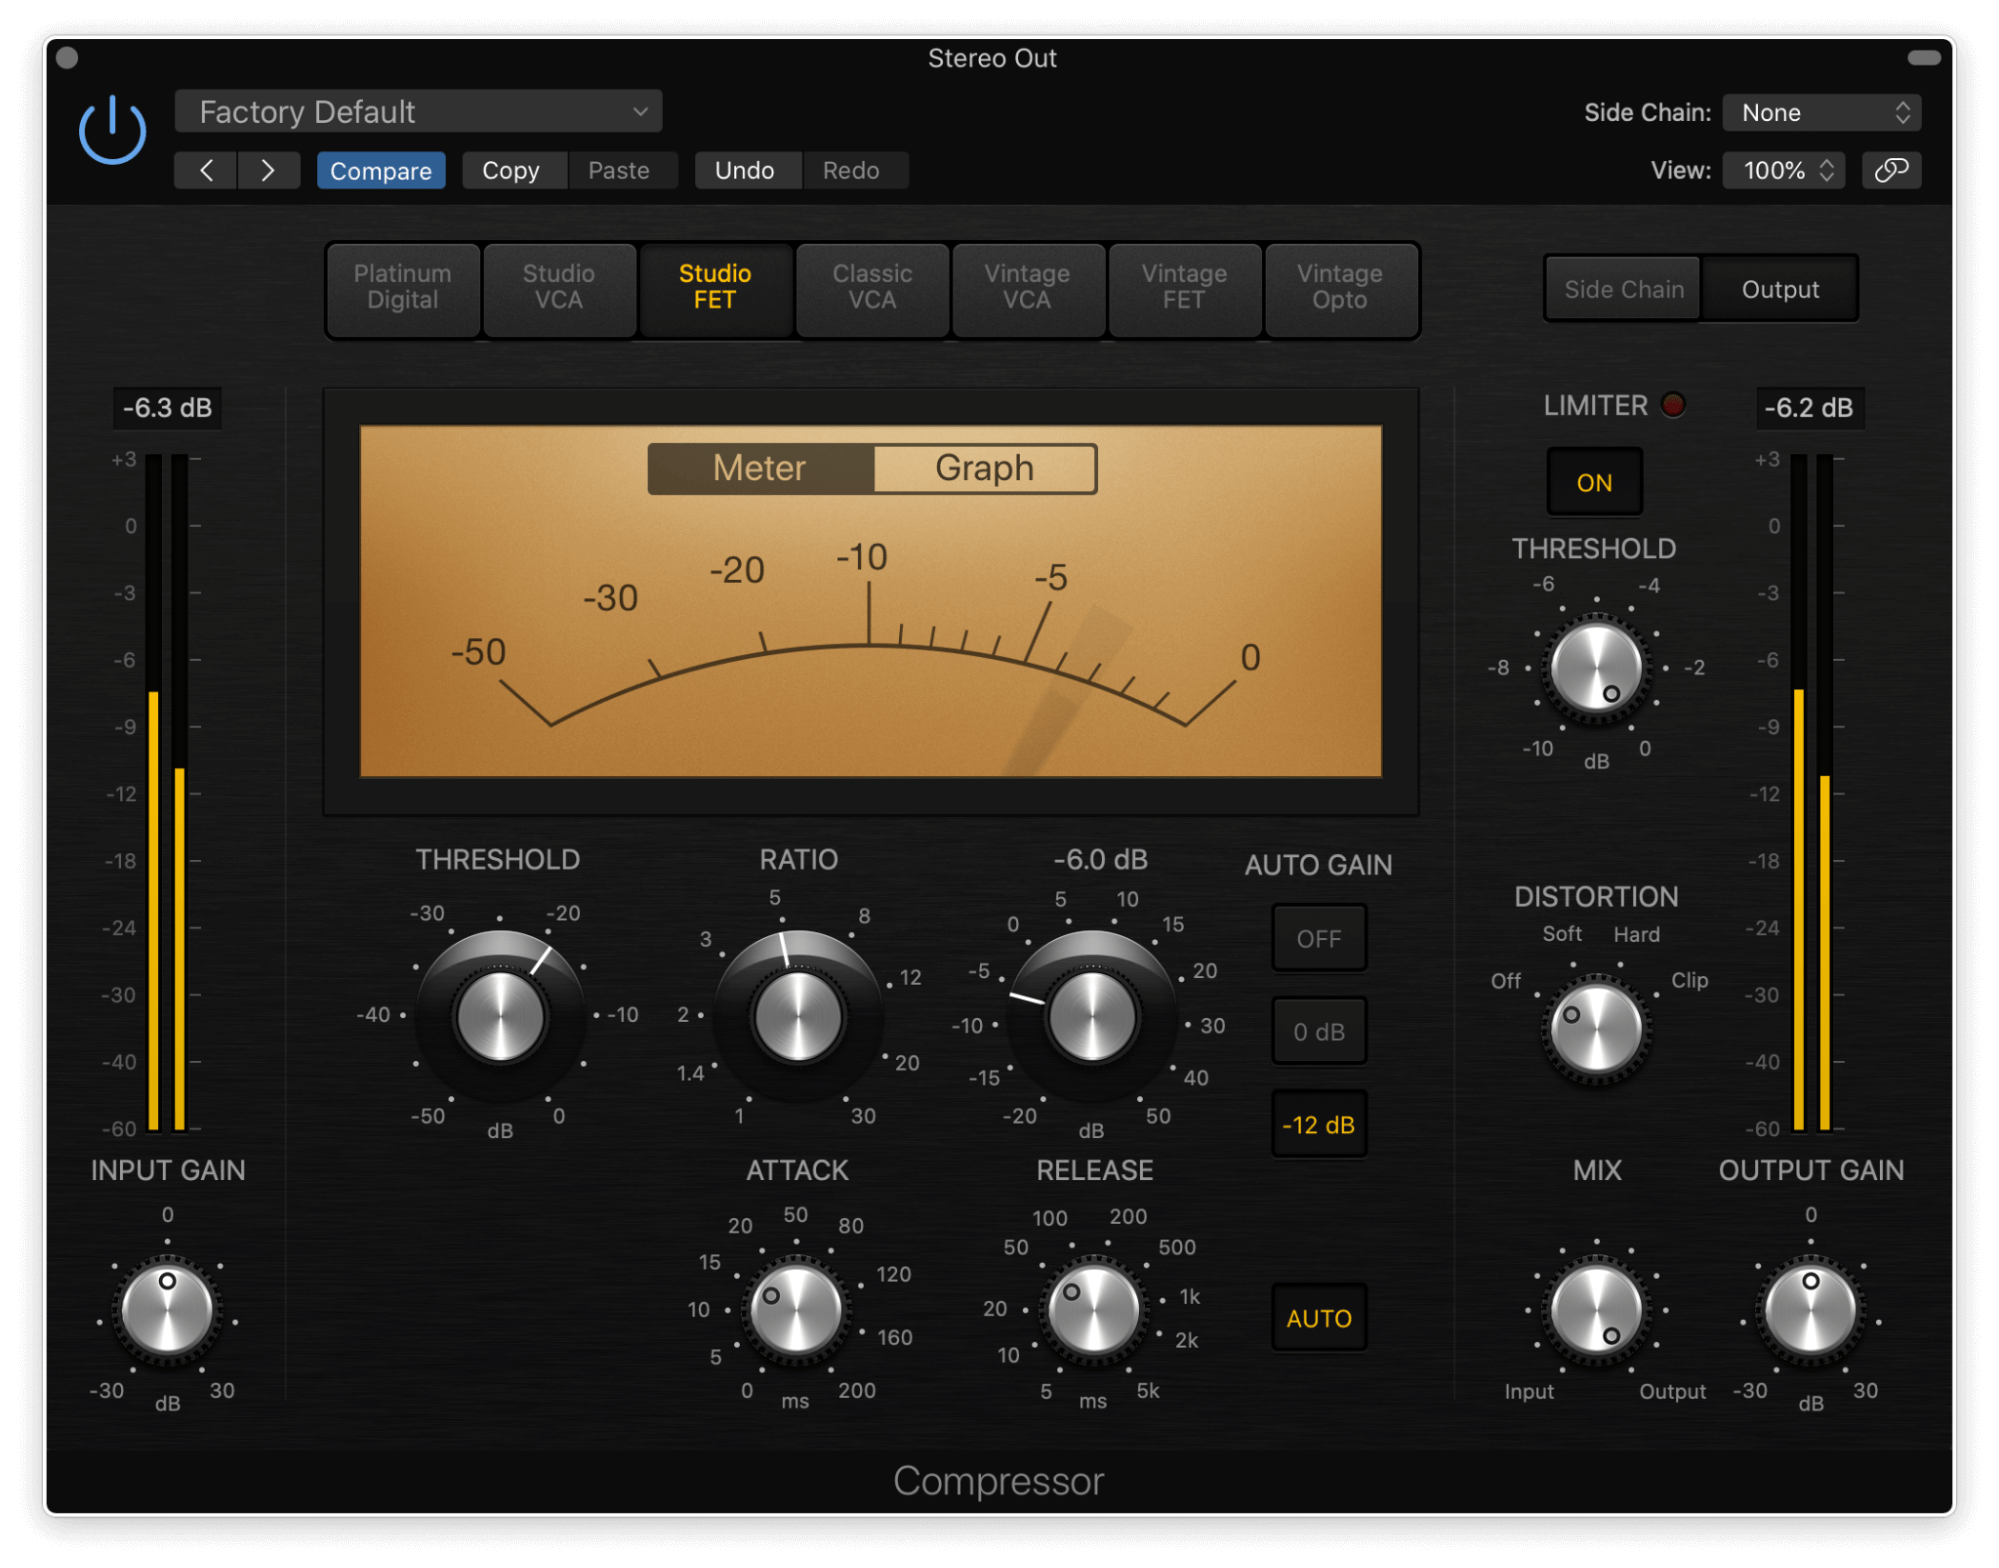
Apply EQ and compression
With your levels balanced (and spill under control if necessary), you can set about tailoring the sounds of your individual drums using EQ and compression, the first shaping the frequency spectrum of each kit element, the second controlling and altering their dynamic profiling. We don’t have the space here to get fully into the specifics of these two engineering fundamentals and the sorts of settings you’ll want to use with them on drums, but do check out our dedicated features on compression (and gating), EQ, and frequency ranges.

Once you’ve got the kit sounding on point in terms of its individual components and their general aggregation as a mix, it’s a good idea to apply a further stage of dynamics shaping to the whole thing by routing all the involved channels to a stereo bus with a compressor inserted. This helps to ‘glue’ the drums and overheads together, and can make a huge difference to how up-front and ‘present’ the kit sounds in the broader mix.
Add effects for colour and character
When you’re happy with the tone, solidity and cohesion of your drum track, you might want to embellish it with effects – although this will entirely depend on the sound you’re going for. Reverb is the most likely candidate here, enabling the placement of your kit in a virtual space of your own design, but other transformative processes include distortion, delay and even phasing/flanging. None of this is by any means essential, though: if your overheads are providing enough room ambience on their own, you certainly shouldn’t feel obliged to introduce a reverb plugin, say.

Use reference tracks
Finally, as is the case with mixing in general, it’s always good to use one or more reference tracks when mixing drums. Obviously, these should be in the same genre as your work in progress, and feature drum tracks that are as close as possible to the sort of sound and feel you’re trying to achieve. Flip between your mix and reference track(s) as frequently as you need to while working through the steps described above, listening closely to compare your drums with those of the selected commercial tracks, and be brutally honest with yourself as to how close you’re getting to them.


Our Products
-

2in | 2out Audio Interface
-

10in | 6out Audio Interface
-

10in | 14out Audio Interface
-

20in | 24out Audio Interface
-

24in | 32out Audio Interface
-

2in | 2out Audio Interface
-

4in | 4out Audio Interface
-

24in | 24out Audio Interface
-

Everything you need to start recording
-

8 Channel Smart Preamp with AD/DA
-

8 Channel Mic Pre & ADC
-

8 Channel Mic Pre + Tone Control
-

Modular Analogue Recording Console
-

Small Format Analogue Recording Console
-

Small Format Analogue Recording Console
-

Immersive Audio Interface and Monitor Controller
-

Desktop Monitor Controller