


Tips for Recording On Location
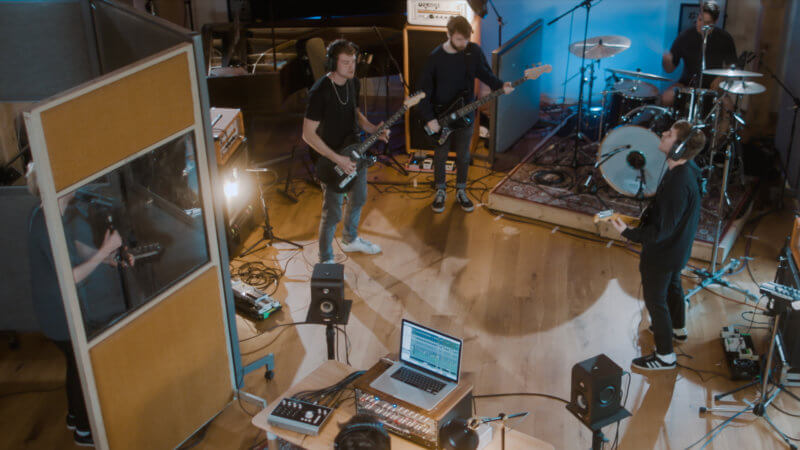
Recording audio on location rather than in a studio environment can be an immensely rewarding experience with plenty of benefits, whether that’s the cosy acoustic of a local hall, the epic reverb of a church or even the natural ambience of recording out in the open.
However, it can throw up a few challenges to test both your logistics and recording skills but with the right preparation and the right mindset, you can get great-sounding results.
Image 1
1i. Preparation
1. Preparation
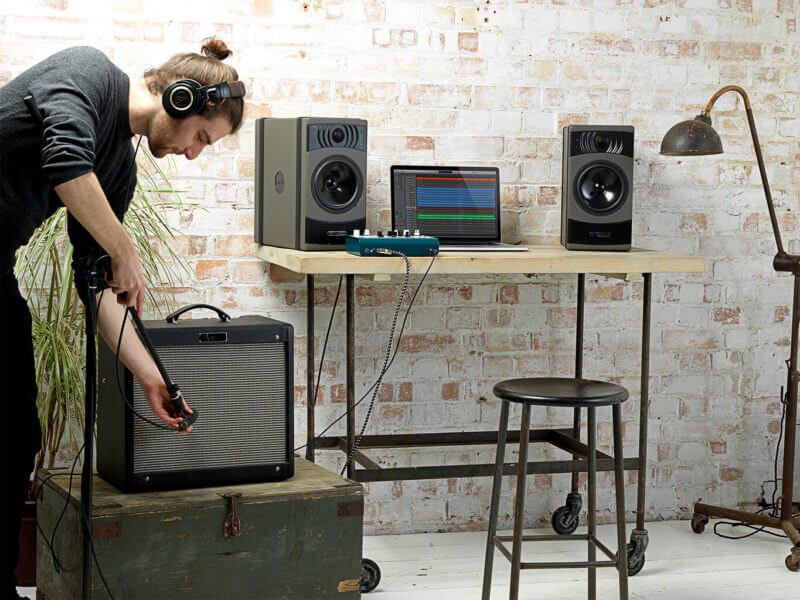
The key to ensuring that your session runs smoothly is making sure you are fully prepared beforehand and ensuring you are well organised throughout the session.
Try and do as much research on your recording as possible. Where is it taking place and how long will it take to get there? Leave plenty of extra time to allow for delays. What equipment will you need? Do you have spare cables and equipment incase something goes wrong?
Learn about your artists. If you don’t already know them personally and you have the chance, meet up with them sometime beforehand and get a rapport going.
Try making a quick sketch of the location you are tracking in and try to plan out a rough microphone placement – this can be extremely helpful in helping you visualise what you need. This may change on the day but at least you have a rough idea of how to get everything placed during what may be a very frantic setup.
Image 2
2. Microphones
2. Microphones
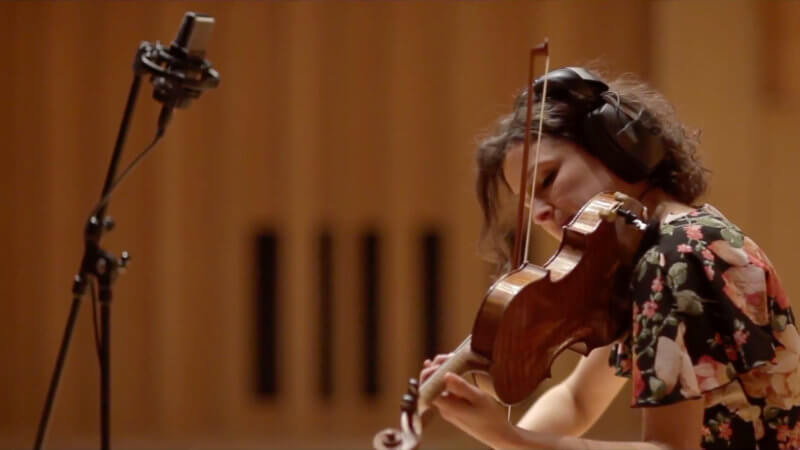
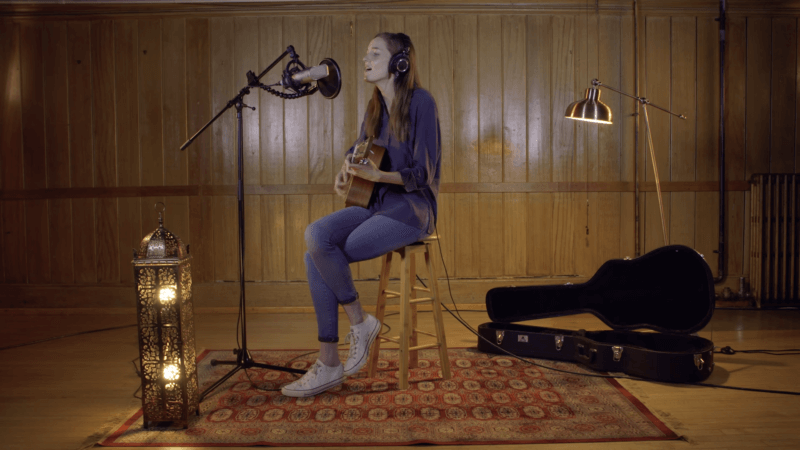
Using your research, you can give yourself a rough idea of what microphones to bring. If you want to fully capture a beautiful acoustic environment such as a cathedral, then Omni microphones are a great shout.
If you are planning to capture the natural reverb of a room then a good trick is to use a pair of figure 8 microphones. Place the microphone sideways, with the Null point of the mic towards the sound source to minimise the pickup of the dry sound while capturing the ambience with the front and back of the microphone. You can then mix this in to taste at mix down.
If you’re concerned about background noise while recording, then a microphone with a very tight pickup pattern such as a hyper-cardioid or shotgun may be your best friend. This helps to minimise the natural ambience around you.
Image 3
3. Audio Interface
3. Audio Interface
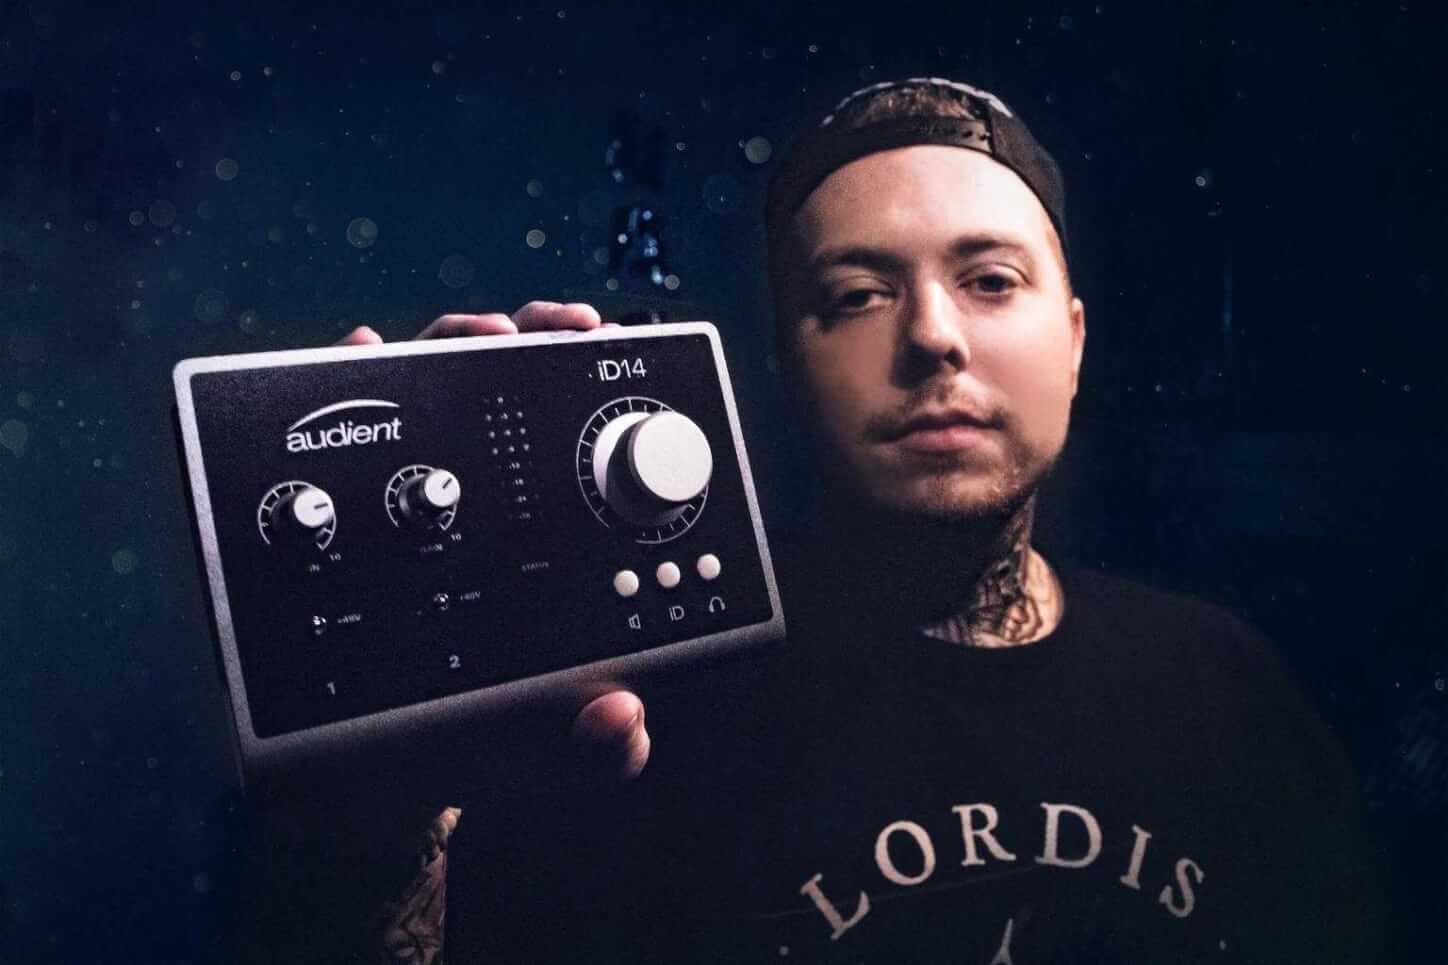
It’s important to have an audio interface which can survive being on the road. An interface with a metal chassis such as the Audient iD range are great as they’ll withstand bumps and bangs whilst being transported around, while also having very transparent preamps and high quality converters to capture your signal perfectly.
If you need more channels than those on your interface then it may be possible to expand your interfaces input and output count using ADAT.
Devices such as the Audient ASP880 can give you up to 8 additional inputs in just a single 1RU rack.
Image 4
4. Monitoring
4. Monitoring
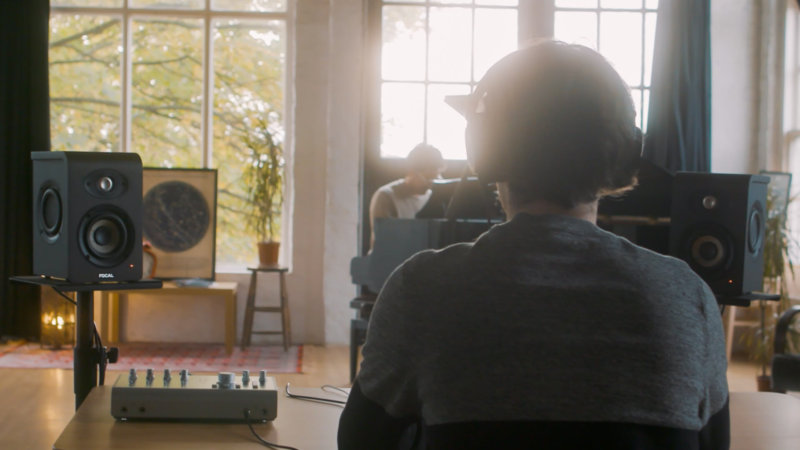
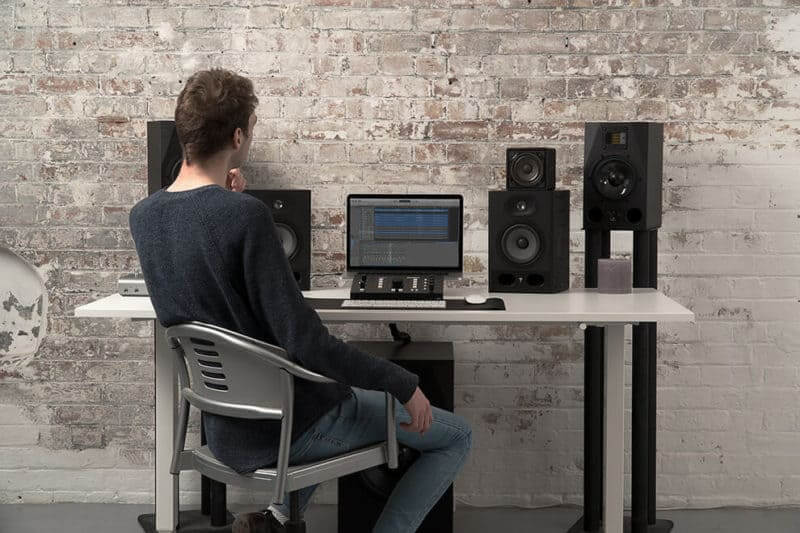
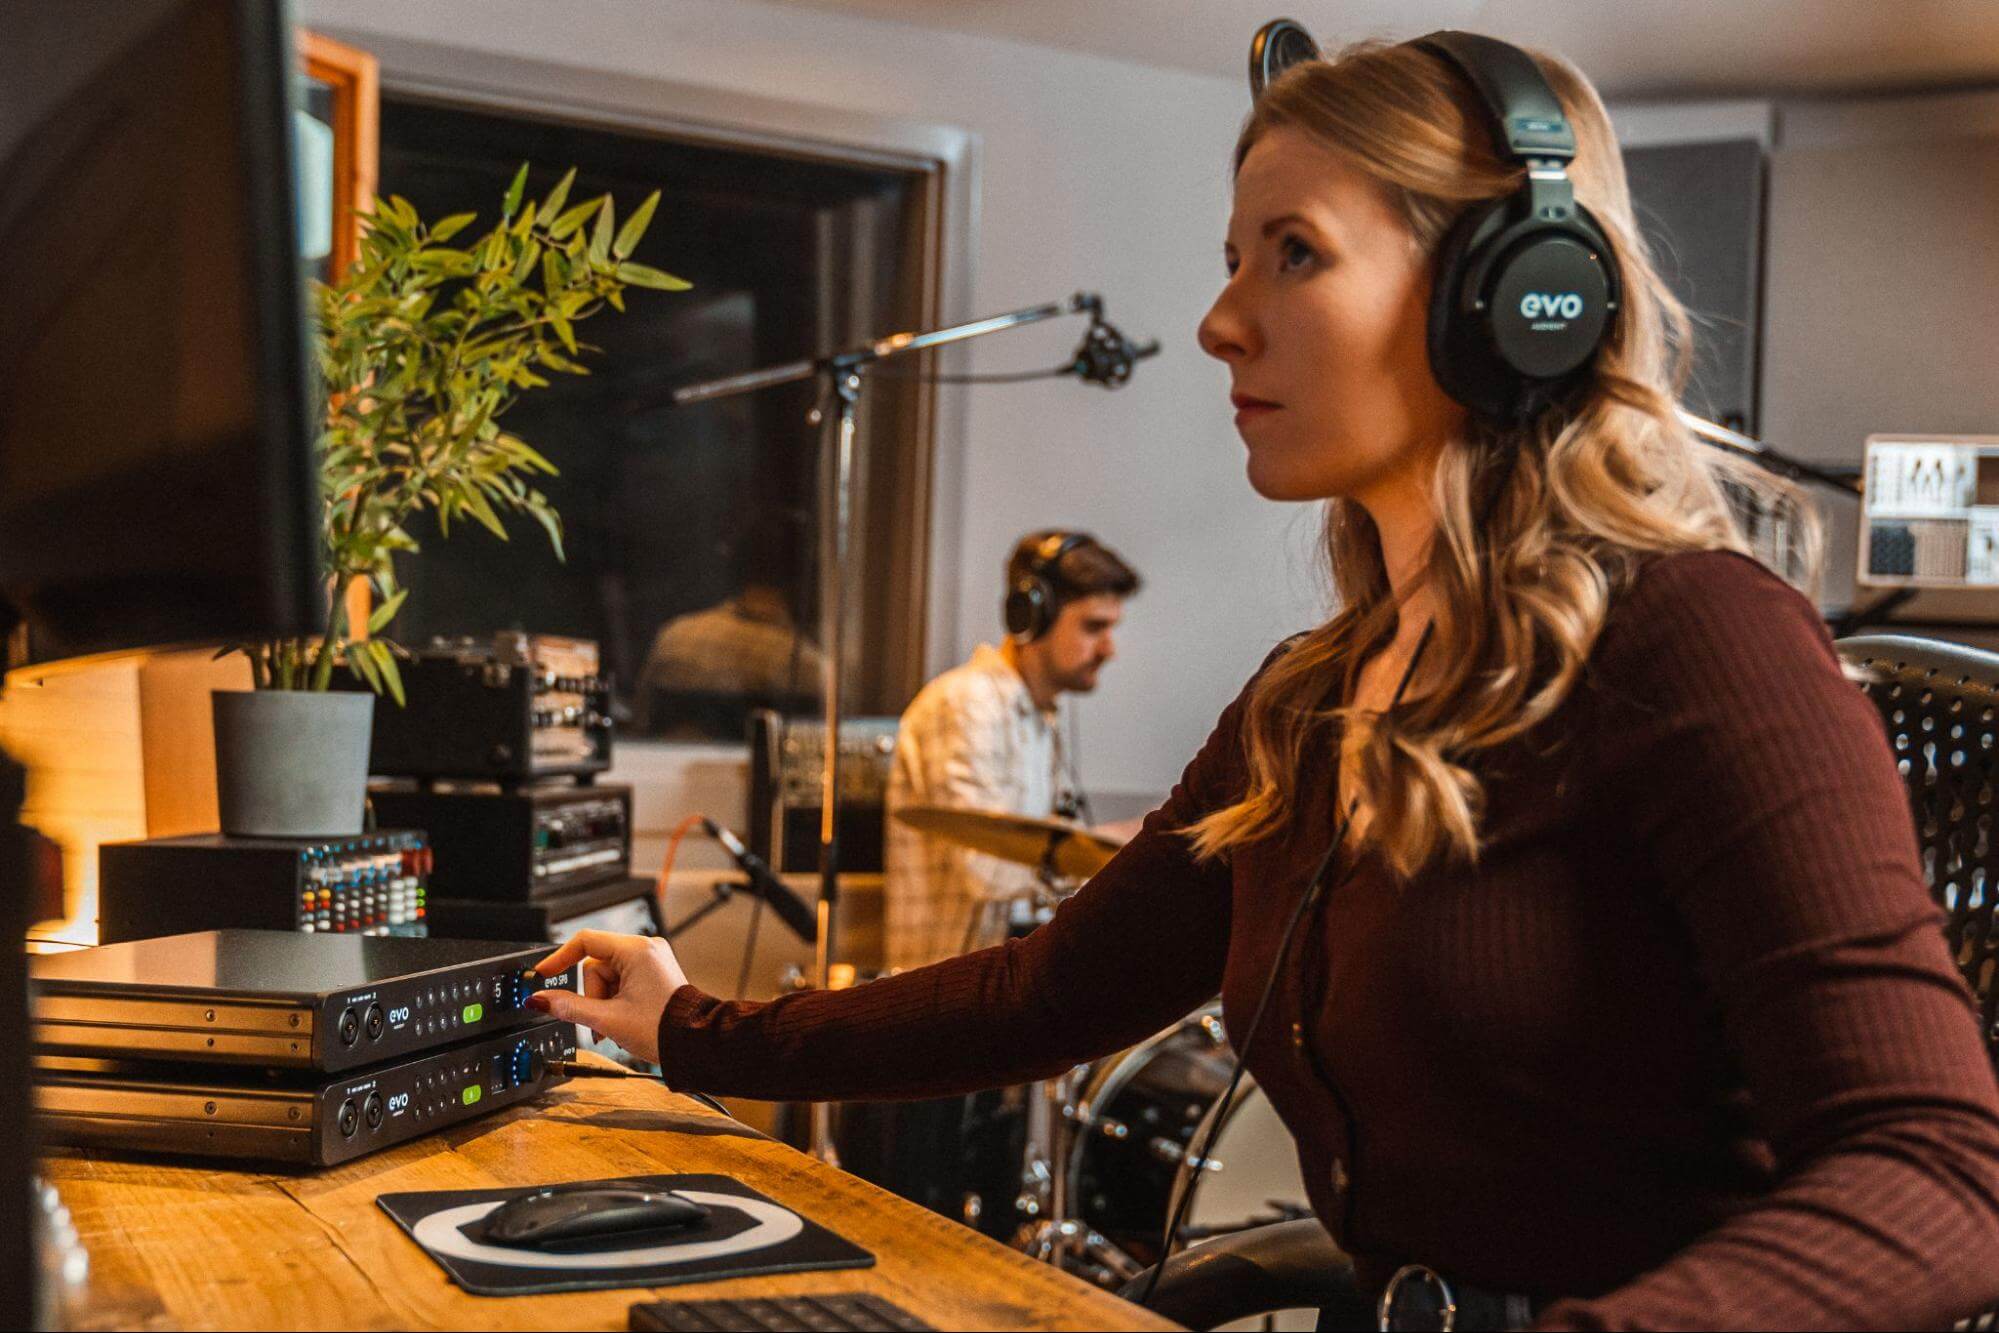
A good pair of closed back headphones are ideal for recording on location, as you may need to be set up in the same room as the musicians, making monitoring on speakers a no-go. However if you have space, consider a small pair of active monitors to allow easy playback to the artist or group between takes to get feedback.
Image 5
5. Foldback
5. Foldback
Having good foldback to your musicians can certainly help them perform at their best. With small groups, you may simply wish to use the headphone outputs on your interface, however with larger groups, you may need to use a headphone splitter or distribution system. Again, closed-back headphones are preferred here to minimise spill or feedback.
Keeping an eye on latency is important as high latency can cause timing issues, so make use of low latency monitoring to prevent distracting delays for your artists.
Note that some musicians may prefer to record without foldback, just listening to the natural ambience of the room instead. It’s good to check this with the artists before the session.
Image 6

6. Outboard Equipment
6. Outboard Equipment
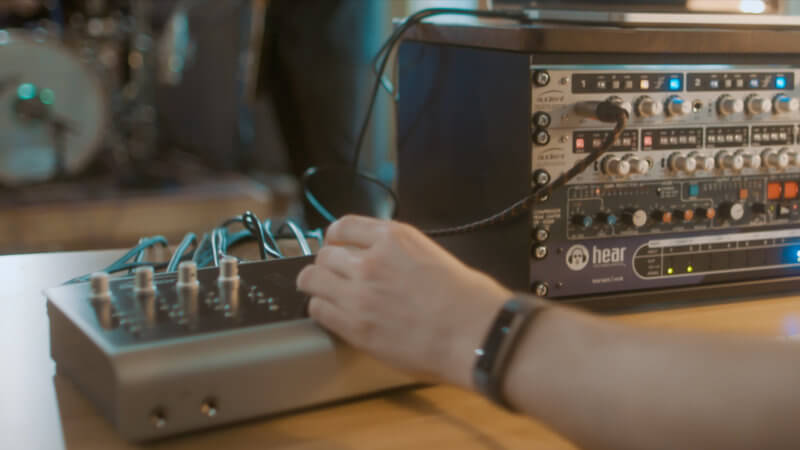
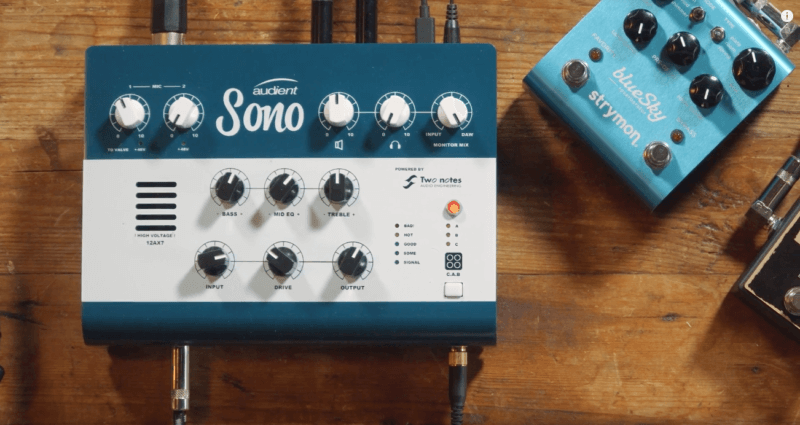
You may wish to bring along outboard equipment such as compressors or EQ’s to use while tracking. Or you may have a particular Mic pre that you wish to use on some sources.
Most equipment will be in a rackmount format so a lightweight rack with handles is a great idea for lugging all your gear around securely.
Image 7
7. Cables and Accessories
7. Cables and Accessories
You’ve got all your gear packed but now you need to connect it all up! Its super easy to forget a cable so we usually make a list of all the interconnects we need to make and which cable we’d need and roughly how long this cable would be. Once you’ve got all your cables sorted, make sure to throw in a few spares just in case a cable gets damaged or you’ve miscounted.
To save you having to detangle a mess of wires when you get to the site, use cable ties or tape to wrap up your cables beforehand.
Make sure you have enough mic stands for your setup and that they are all working and sturdy. Also, double-check that you have all the correct mounts for your microphones. Having to gaffa tape a mic to stand isn’t a good look.
Speaking of which, bring plenty of tape, whether this is to tape down cables to manage trip hazards, taping up coiled cables to keep them tidy or to mark artists positions on the floor.
Image 8
8. Computer
8. Computer
Unless you are feeling super hip and plan on recording to tape, you’ll need a computer to record onto. Most modern laptops should give you plenty of computing power and are nice and easy to transport around. Make sure that you have all the software and plug-ins you need installed and that your licenses are up to date. Also, ensure that you bring along your iLok or E-licenser if you need it!
Make sure you bring along a couple of ways of storing your session data onto such as portable hard drives. Remember, data doesn’t exist unless it’s saved in three places, and you don’t want all your hard work to be lost because if a hard drive failure.
Keep room in your bag for a laptop charger, USB cables to connect up your interface and any other accessories you’ll need such as a mouse or control surface.
Image 9
9. Power
9. Power
In an ideal situation, you’ll be able to simply run an extension lead into the power available at the venue. Always try and bring your own extension leads incase the venue doesn’t have any.
If you haven’t got the luxury of having power on-site then you’ll need to look towards Batteries or power banks. Make sure you have enough capacity for the time you plan on recording and that you are providing the correct voltages to the various parts of your gear.
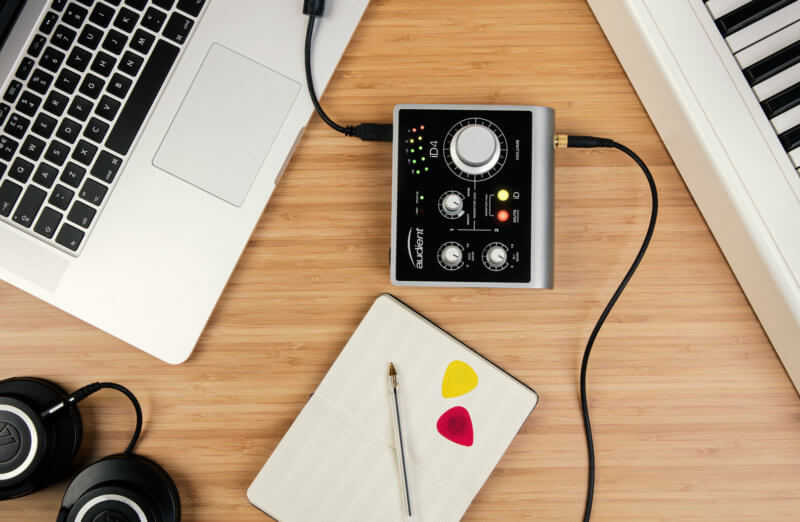
On smaller setups, you could even use a bus-powered interface such as as the Audient ID4 [link: audient.com/iD4] meaning the interface will take power from the computer itself and won’t require its own power source.
There are of course other things to consider, but remember that you likely have limited time and limited equipment, so make sure you are organised with your preparation and on the day itself, that you have reliable equipment, and that you have considered a plan B incase something doesn’t quite go the way you planned!
Image 10
Our Products
-

2in | 2out Audio Interface
-

10in | 6out Audio Interface
-

10in | 14out Audio Interface
-

20in | 24out Audio Interface
-

24in | 32out Audio Interface
-

2in | 2out Audio Interface
-

4in | 4out Audio Interface
-

24in | 24out Audio Interface
-

Everything you need to start recording
-

8 Channel Smart Preamp with AD/DA
-

8 Channel Mic Pre & ADC
-

8 Channel Mic Pre + Tone Control
-

Modular Analogue Recording Console
-

Small Format Analogue Recording Console
-
Small Format Analogue Recording Console
-

Immersive Audio Interface and Monitor Controller
-

Desktop Monitor Controller