


Dan Lenard Intro
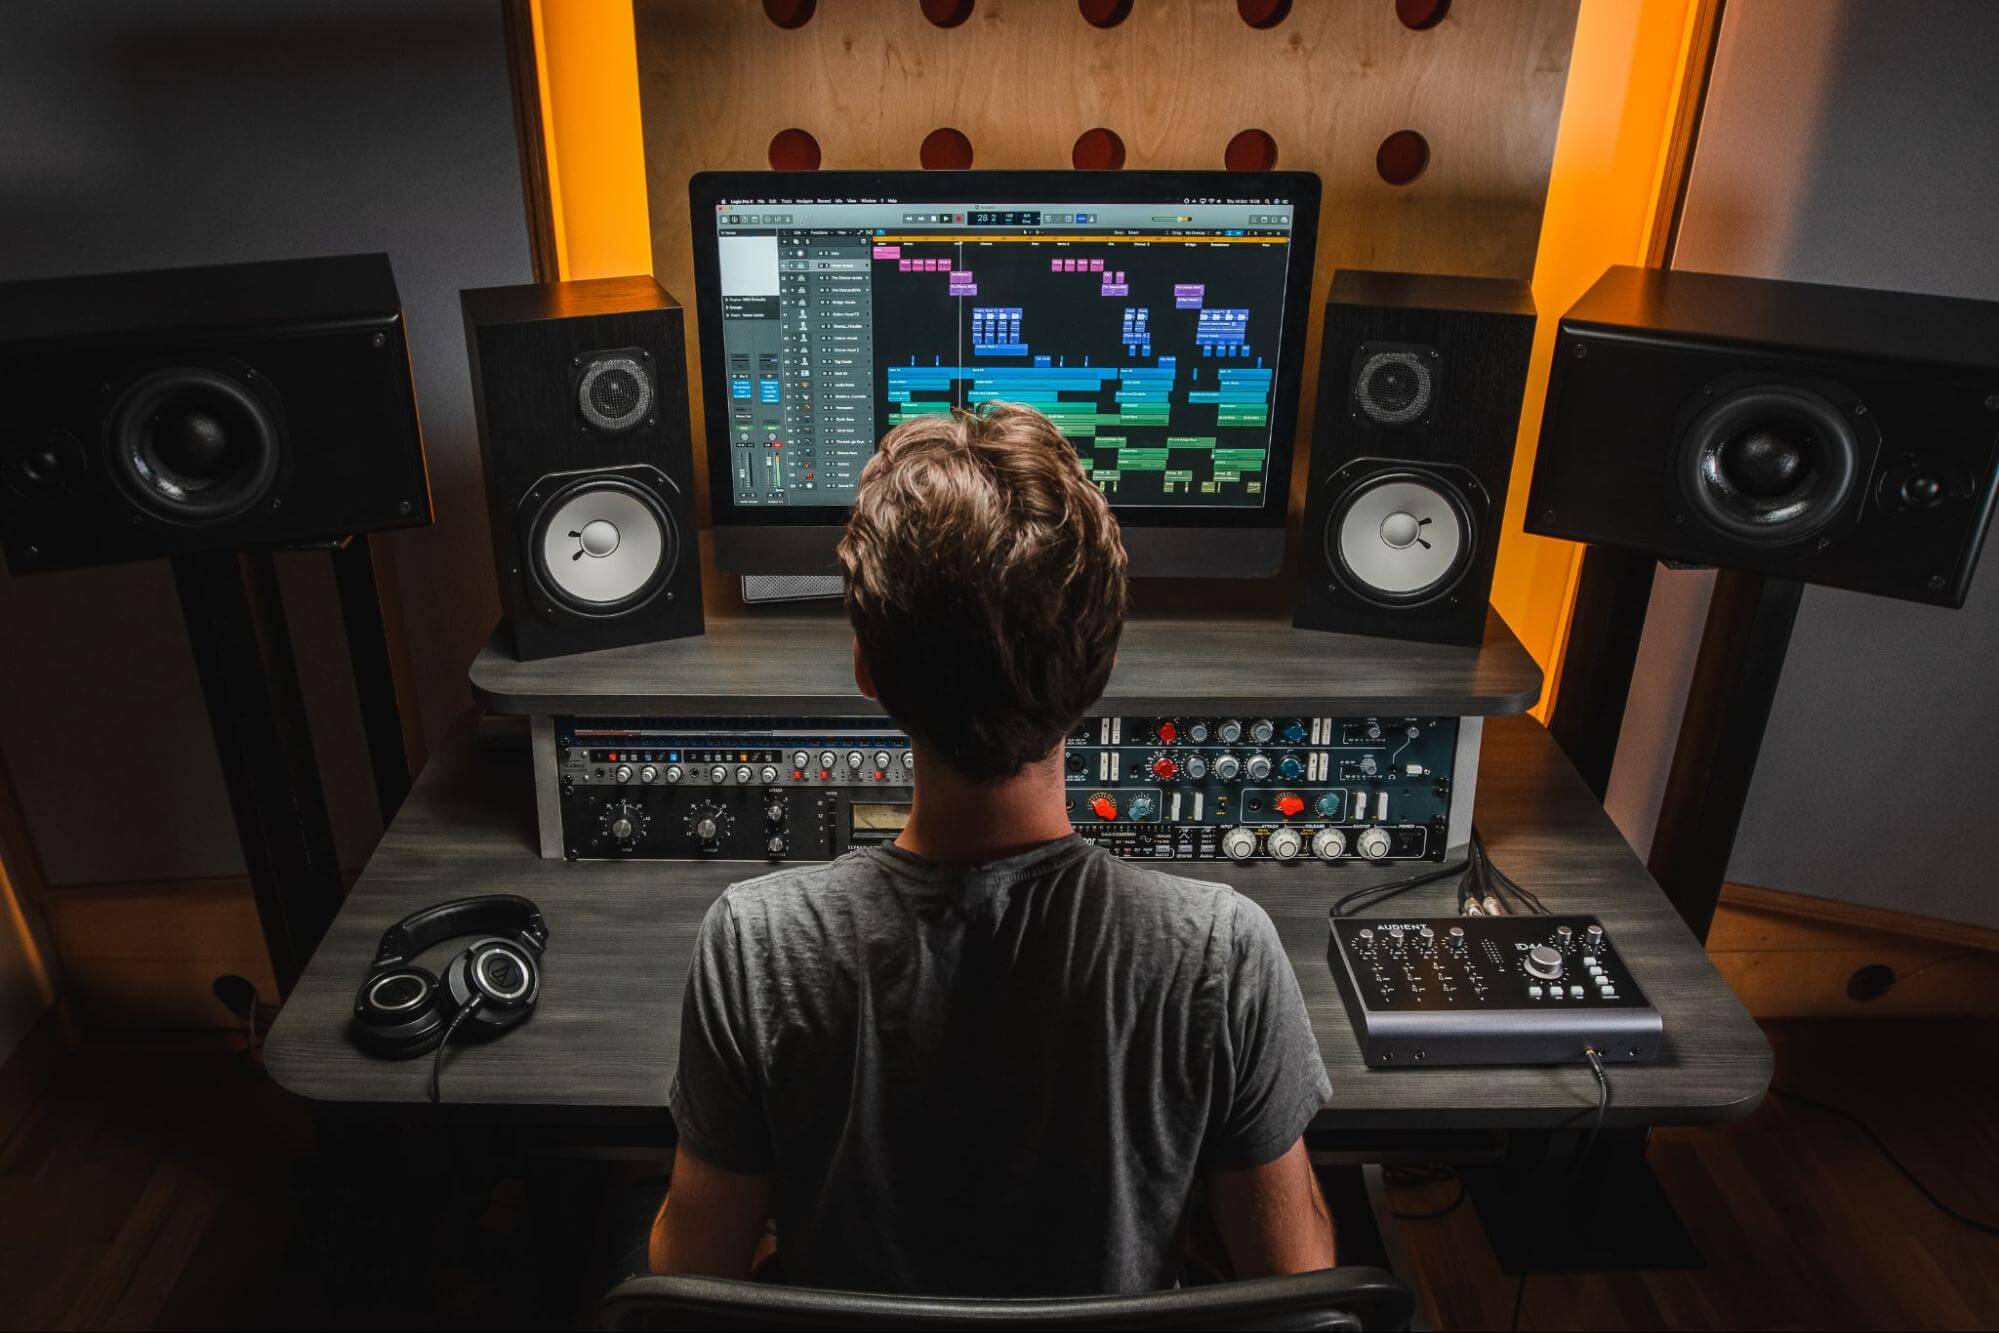
The audio quality of your podcast depends on a number of factors. in previous Audient articles, we’ve discussed the acoustics of the room you record in and how to set proper input levels in previous Audient articles. The third key to great audio is how you USE your microphone. What we’ll refer to as “Mic Technique.”
Microphone Types
Microphone Types
There are two primary types of microphones. Dynamic and Condenser. They both have specific purposes. Dynamic microphones are for live performances, on stage vocals, public address systems and very popular in radio studios. They’re good for Podcasters doing single voice programs and interview panels. You address them very close.
Condenser microphones work on a different principle and are much more sensitive. They hear the environment much more like the human ear. You’ll find them in recording studios for recording acoustical music, orchestras and isolated vocals. They are also the primary microphone for recording voice overs for commercials, narration and audiobooks.
One minor point is in regards to “pick-up patterns.” I say minor because the majority microphones we use in podcasting have a “cardioid” or heart-shaped pick-up pattern. Also, that pattern is not in a flat plane, but in a hemispherical shape surrounding the mics diaphragm.
Dan Photo 1
Dan Photo 2
Dan Photo 3
Dan Photo 4
What sound do you want for your podcast?
What sound do you want for your podcast?
2. Waveform Para
Podcasting content can take several forms: Narrative, interviews, panel discussions, re-enactments and the popular return of audio drama. So the question of what mic to use and how to use it becomes one of what you are doing.
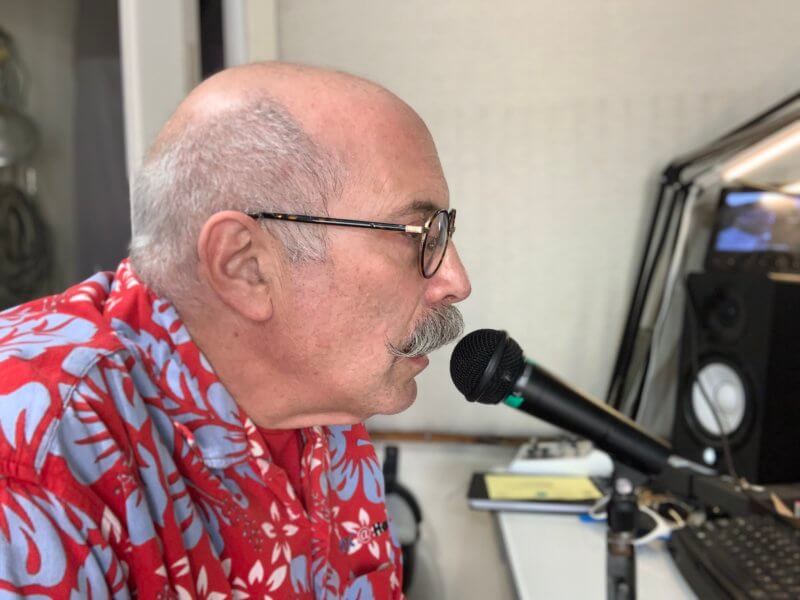
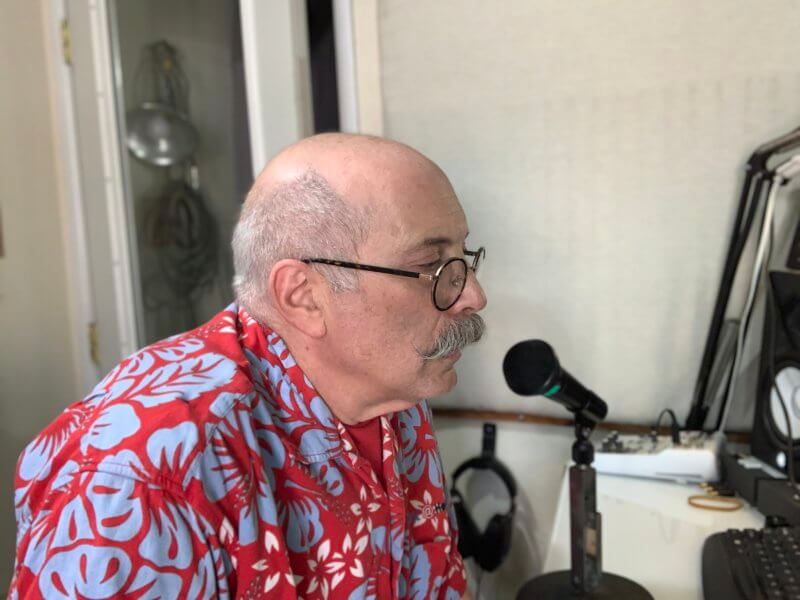
For the majority of podcasts, which are narrative or a single person espousing one’s opinion, reporting on a story, interviewing someone on a topic or a panel discussion, a good dynamic mic will usually suffice. The popular technique is simply talk into the mic 3-5” (80-120mm) away, directly into the diaphragm.
Close micing though causes the dreaded “Pops” or “plosives.” To me, it’s a distraction from the material being presented. How do you prevent that? Many believe a foam “wind” screen will reduce plosives. it does, a little, but the foam windscreen is for wind, outside, not the hurricane that is the human voice an inch away from the diaphragm.
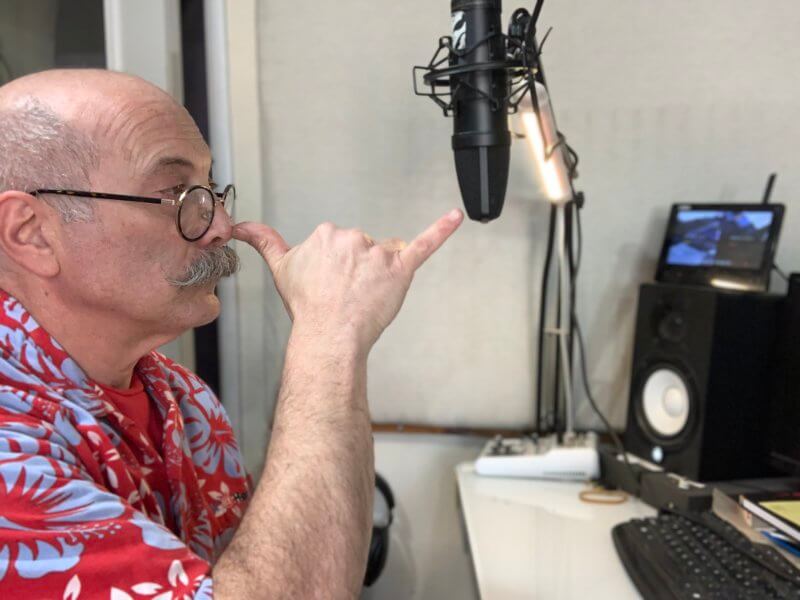
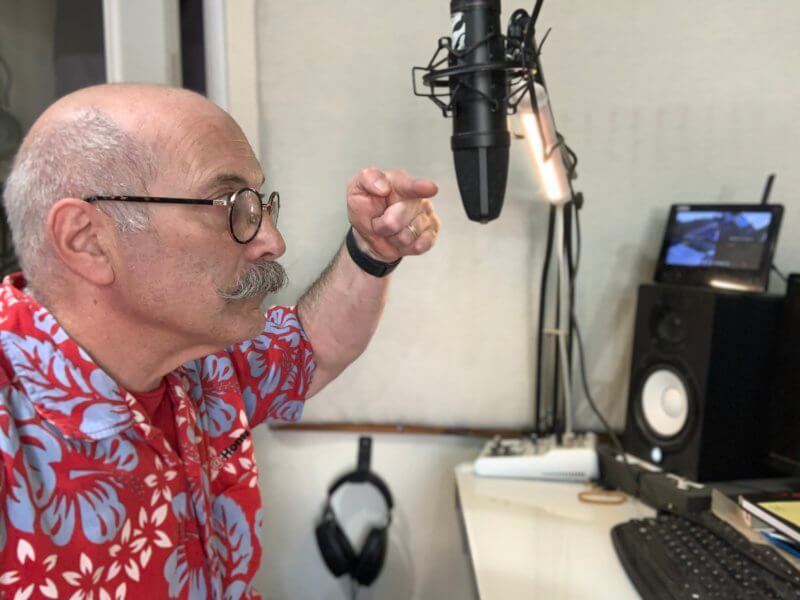
Also, a mesh “pop” screen is popular. It also helps, a little. A better solution is to talk a little “Off Axis.” Angle the mic about 30 degrees to the side so you aren’t addressing the diaphragm directly. Remember the pick-up pattern from earlier. You can be slightly off axis and the mic will still hear you.
But is this a “natural” sound? We don’t speak to people an inch from their eardrums. Your voice and words will be clear, if you set your input levels properly. Also, however, the closer you talk to a mic, “proximity” effect takes place. Your voice will sound deeper due the physics involved in how sound travels through the air.
Lower frequencies dissipate the further away the mic is from the source. It creates more of that “Radio DJ sound.” In a radio type format, thats probably ok. But if you want a more natural sound to your podcast, you might want to consider a “condenser” mic.
The sound you will get from a condenser mic will sound more natural, like you are having a conversation with your audience from the same room, not talking in their ear. This is great for audio drama, large group presentations, but can also work great for the narrative and interview format. It just requires a different technique and acoustical environment.
Like the dynamics, most condenser mics have that cardioid pick-pattern. As I mentioned, condenser mics are far more sensitive and far more prone to plosives. Contrary to what many people may think, based from the photographs they see “pop” screens are far more for preventing singing vocalists from spitting on $10,000 microphones!
The proper way to address a condenser mic is also “off axis.” The best technique I have found is hanging the mic upside down, facing you with the manufacturers logo or pick-up pattern. Address the mic from 5- 8” (120-200mm) and just talk naturally. Adjust your input levels on your iD14 to the proper setting for full modulation.
Again, condenser mics require a proper acoustical environment. Proper mounting requires a “boom” type mic stand so you can hang them upside down, or the popular, flexible, reticulated mic arm that you see in radio studios. Just don’t address a condenser mic straight on, close up.
So what sound do you want? Here are some audio examples demonstrating the different sounds you get from these mics, both bad and good. Once you hear these, you can determine what is the sound for your podcast.
Mic MP3

About the author
Dan Lenard, “the Knowledgeable Voice” and “The Home Studio Master” Dan Lenard is a Podcast Producer, professional voice artist and is a recognized industry expert and consultant in home Voice over and podcast studio set –up and problem solving.

Our Products
-

2in | 2out Audio Interface
-

10in | 6out Audio Interface
-

10in | 14out Audio Interface
-

20in | 24out Audio Interface
-

24in | 32out Audio Interface
-

2in | 2out Audio Interface
-

4in | 4out Audio Interface
-

24in | 24out Audio Interface
-

Everything you need to start recording
-

8 Channel Smart Preamp with AD/DA
-

8 Channel Mic Pre & ADC
-

8 Channel Mic Pre + Tone Control
-

Modular Analogue Recording Console
-

Small Format Analogue Recording Console
-
Small Format Analogue Recording Console
-

Immersive Audio Interface and Monitor Controller
-

Desktop Monitor Controller