Intro
Most people might start their mix by soloing the Kick Drum, spend 20 minutes adding tons of plugins (tape emulation, clipper, gate, compressor, Passive EQ emulation, 2nd compressor, and limiter), do the same with the Snare and the Hi-Hat but at the end, you’d be very lucky if your drums sound good or even fit the song!
Would a painter start by painting a toe, or a rabbit a the bottom of the frame? He starts with a sketch, then he goes from the general shapes to the colours and details. The sculptor starts with a model and the architect with a drawing.
The point in common is that at the very beginning, they all have a clear idea of final result they desire. This is the path you should take if you want to achieve a balanced and musical mix.
As a teacher at Brest University, these are the first pieces of advice I give to the class.
1. Listen To The Music
1. Listen To The Music
Take the time to listen to the whole song and make sure you listen to both the music and sonic characteristics.
Try to feel the artist intention, memorize the structure of the song, get familiar with the instrumentation, the solos and the shifts. Determine what are the important instruments or sounds in the song.
The kick drum and the guitars would be crucial in rock, the lead voice should be one of your first concern in pop, the woodwind and the brass instruments are primordial in a big band and so on.
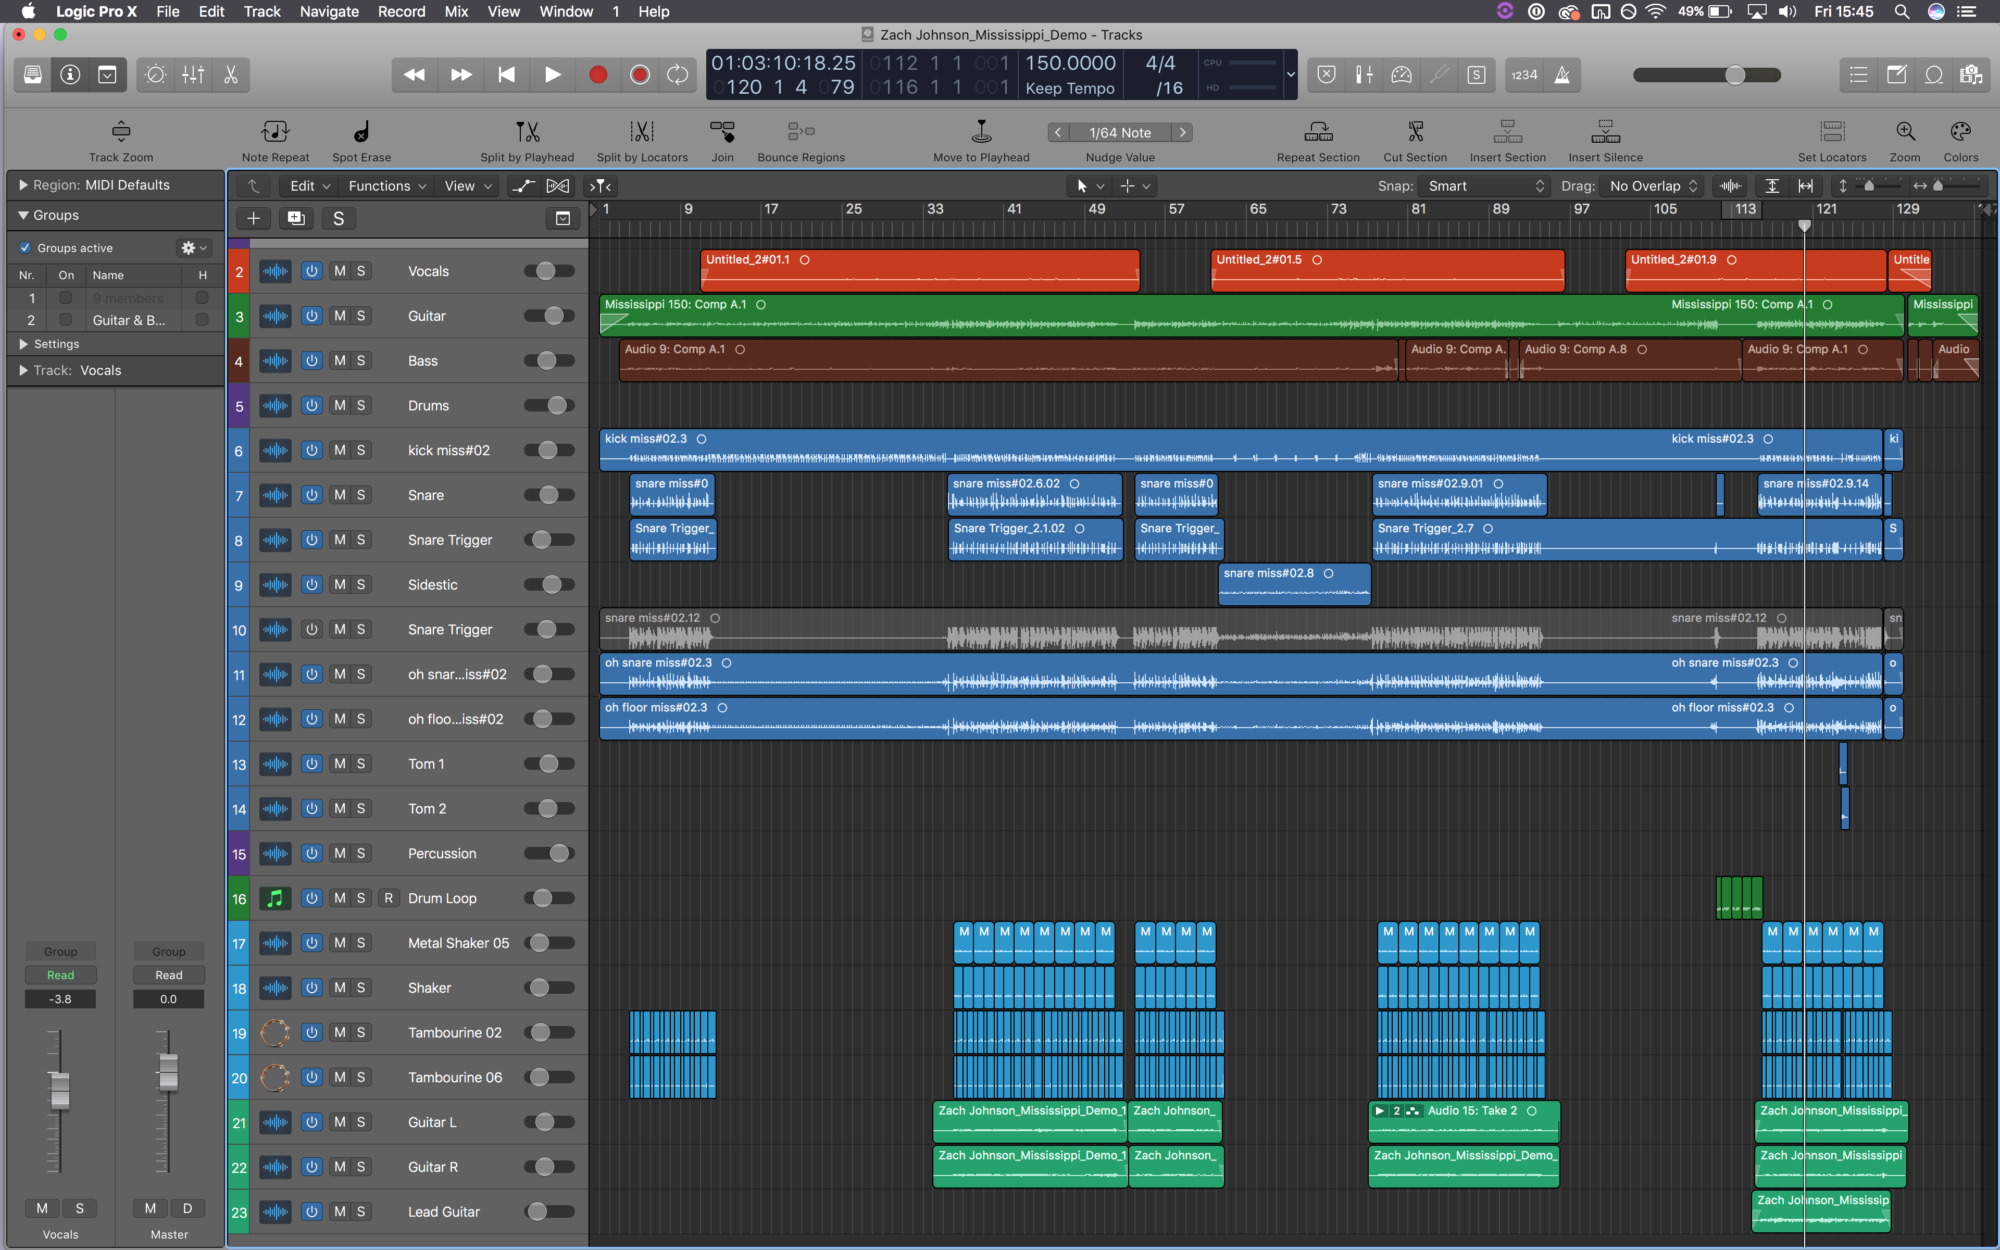
What is the most important part of your song?
Listen to your tracks one by one. How good do they sound? How were they recorded? Is the source too close to the mic, giving you the proximity effect, or is the source too far away leaving you with a poor roomy sounding recording?
Is the general tone balanced and are the dynamics controlled? At this point, you should already know how your mix should sound at the end.
It’s important to listen to all types of music and understand how they sound, to help give you a clearer direction in your mixes.
2. Start With Rough Mix
2. Start With Rough Mix
First try to do the best mix you can by using the faders and the pan pots only.
Carefully check the stereo tracks and balance them if needed. Now is the right moment to create busses. Usually it’s best to group similar tracks together. For example you’d group all of the drums to a drum bus and all the guitars to a guitar bus and so on.
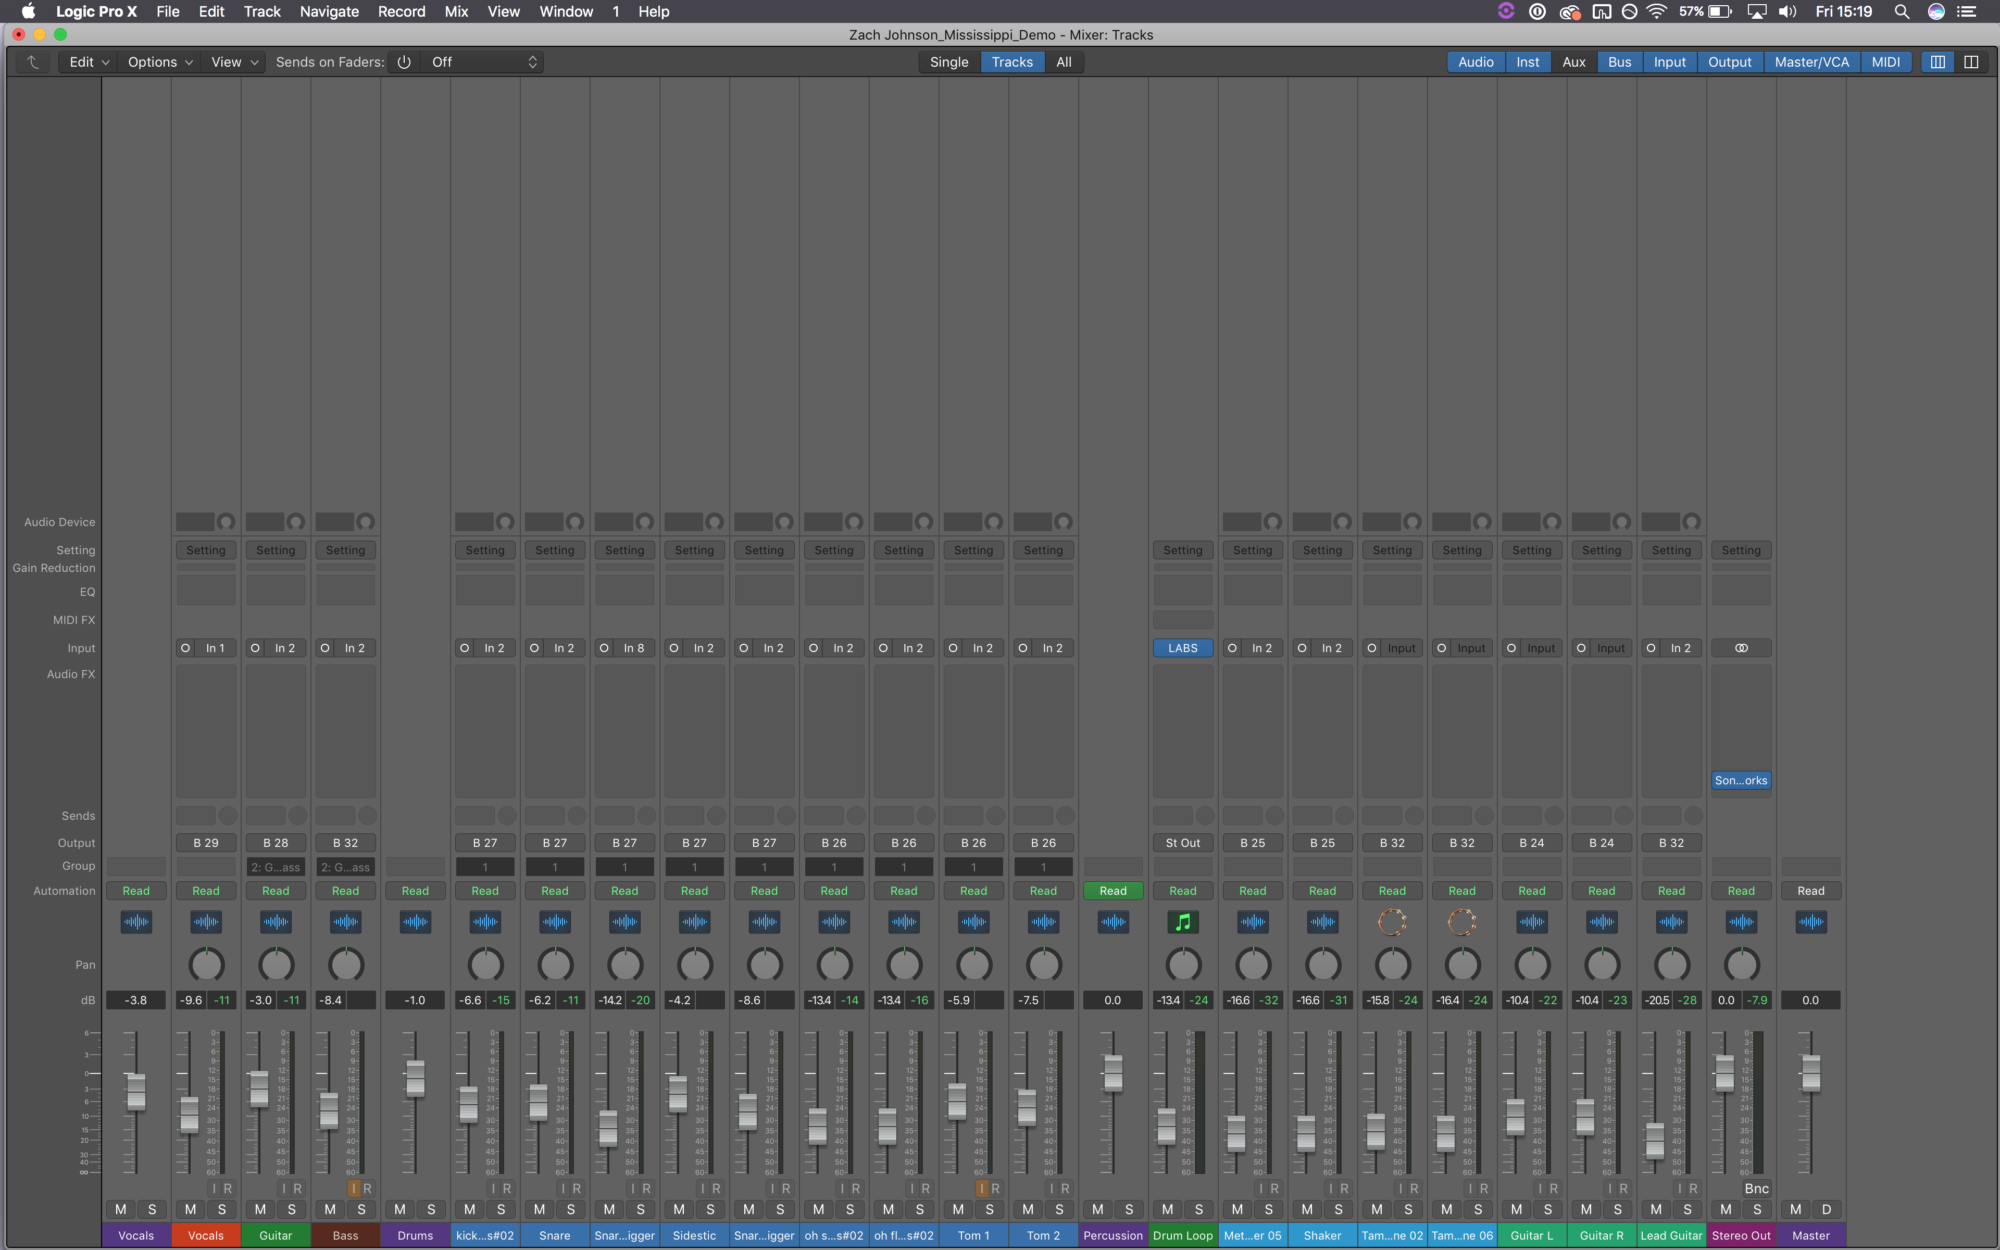
Getting the right balance between the instruments is key!
This is good for manipulating groups of tracks as a whole. Take your time to balance their contents, it’ll greatly help you later in the mix process.
3. Use Pan Pots For The Width And Reverb For The Depth
3. Use Pan Pots For The Width And Reverb For The Depth
Do not try to reinvent the history of mixing in your first mixes. It’s best to keep your lead vocal, Bass, Kick and Snare in the centre as these are usually the most important instruments.
Generally, heavy and bassy sounds fit well in the centre and the less important ‘shiny’ ones on the sides. When panning, try to keep a certain spectrum symmetry in your mix.
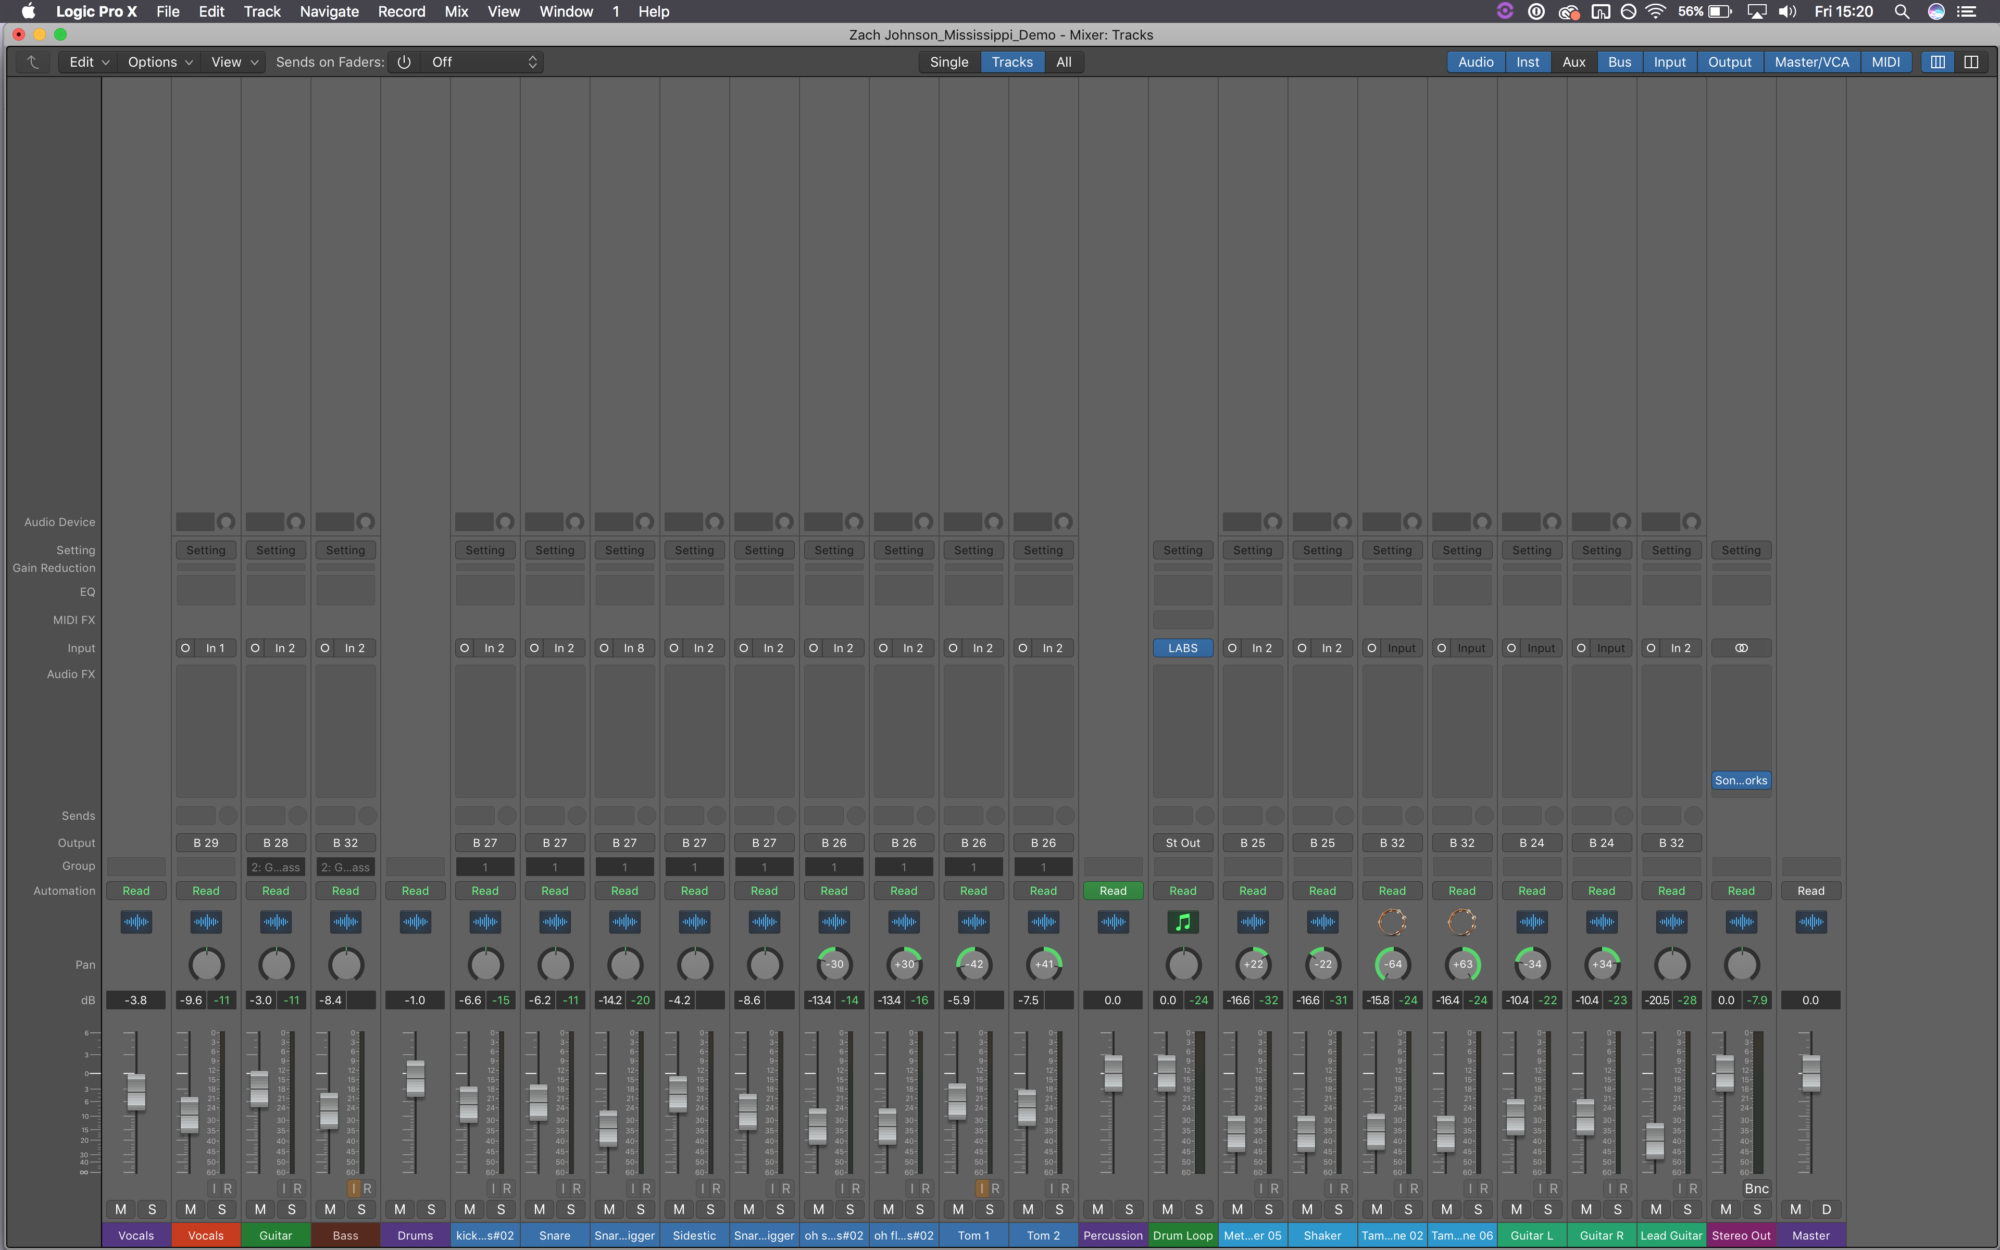
It’s up to you whether you’re going to be hard panning or just panning moderately
Add reverbs and start to make different layers. There’s a lot to talk about the reverb but put simply, the more reverb you add on a source, the further away it sounds.
So far, EQ, dynamic processing or effects should not be added. With a good band and a good recording, it should already sound pretty good! Now it is time to go into the details.
4. Solo Button: Your Worst Enemy
4. Solo Button: Your Worst Enemy
If you’ve listened carefully to your tracks on their own you might have noticed that, for example, you can hear the kick drum in your snare track or your snare in your hi-hat track and so on.
This is fine as it’s more important to hear the overall sound of the kit rather than just the individual elements on their own.
Another psychoacoustic phenomena you should be aware of is the masking effect. If two tracks are close in a frequency range, the lower frequencies tend to mask the higher ones, for instance, a bass sound could mask a kick drum.
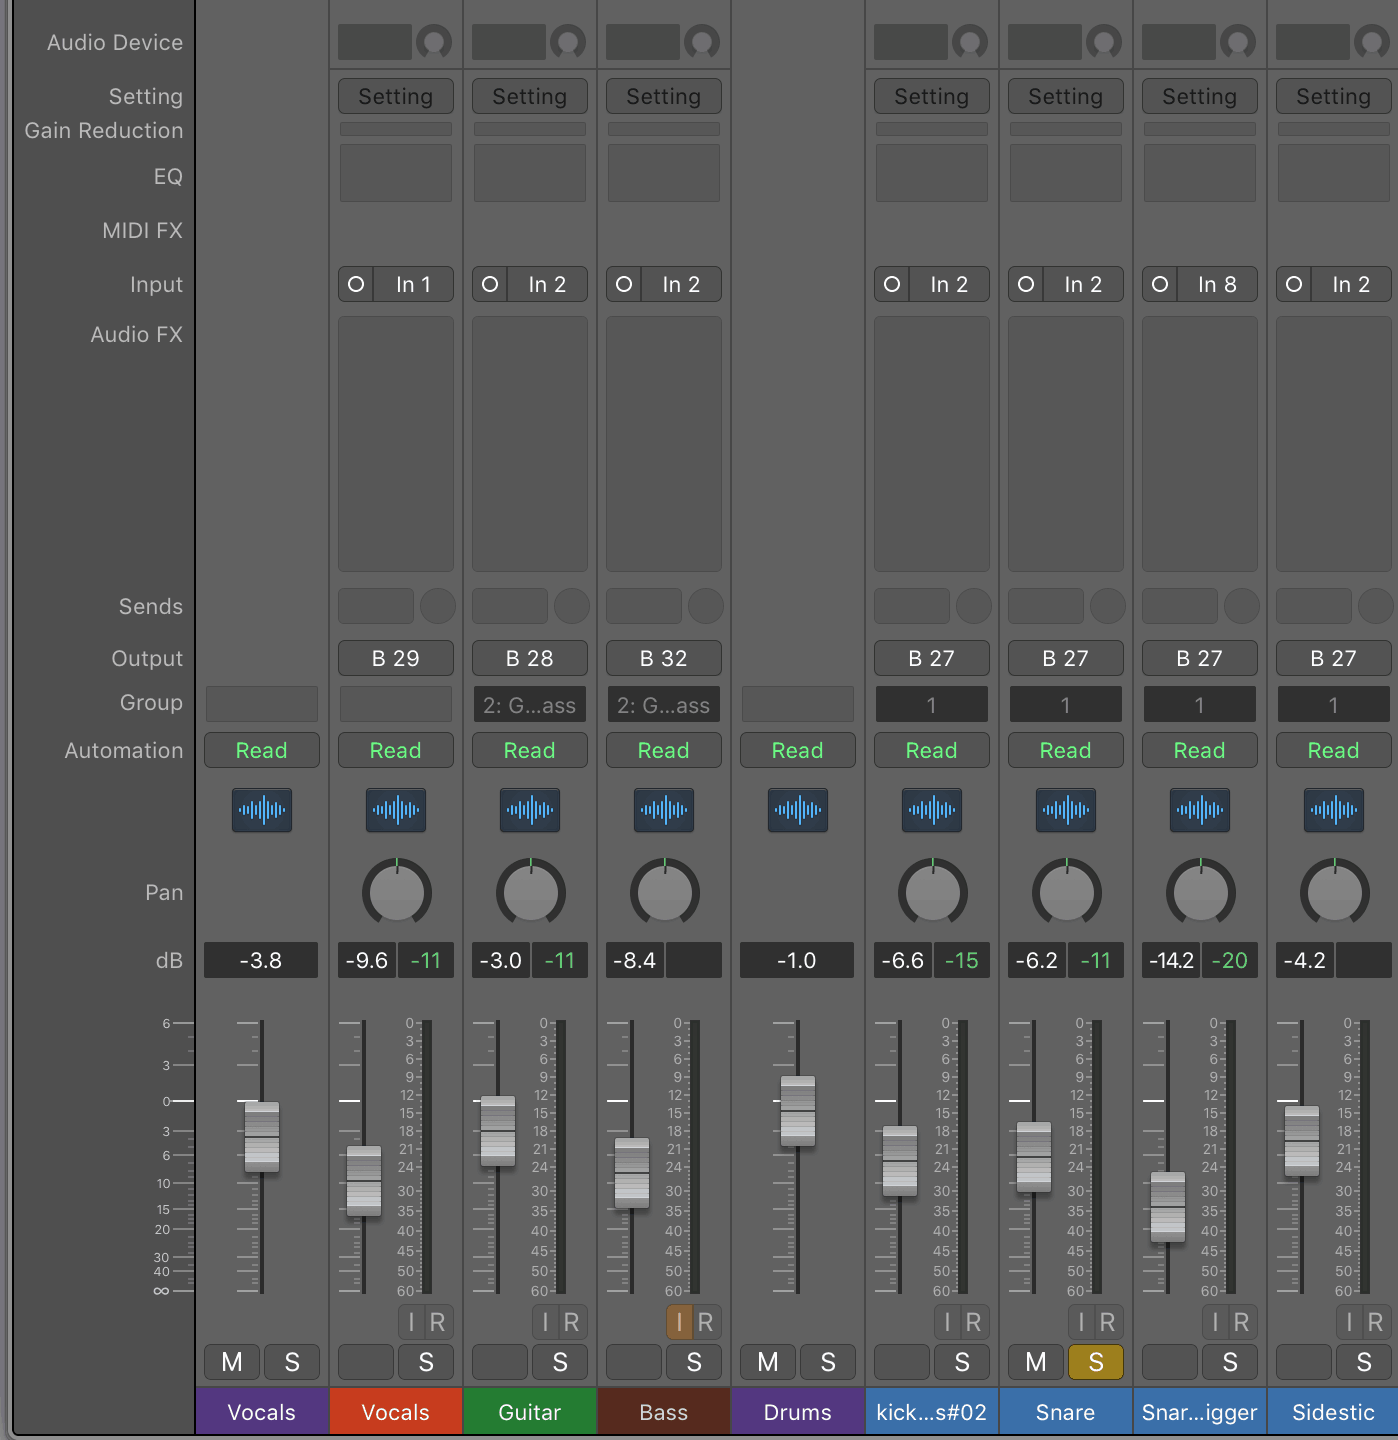
Tracks interact and influence each other, thus, using an EQ on a soloed track is counterproductive
Listen to your rough mix and determine what is the biggest flaw. If you could change only one thing, what would it be?
For instance, if your mix sounds too thin then boosting the bottom of your bass would help. Despite your strong desire to press that solo button, don’t! What you want to achieve is the correct amount of bass in your mix, so listen to your mix and not to your bass track.
Like we said earlier, some masking might be happening so just boosting the bass might not be the trick. You might have to cut some frequencies from the kick for the bass boost to shine through.
Keep listing to your mix and correct the biggest flaw as soon as you can identify it. The corrections should become smaller and smaller as time goes on.
5a. Practice Makes Perfect
5. Bypass And Mute Buttons Are Your Best Allies
Going deeper into the details requires skills and experience. Subtle timbre corrections, dynamic adjustments or small amount of stereo room mics can be hard to hear so always use the mute and bypass buttons to hear what you’re doing when manipulating the sound.
Another important psychoacoustic law to know is “louder sounds always better”. If you have two identical sounds and one is 1db louder then this one will sound better. Try this trick at home, you’ll be surprised!
However, this can be a booby trap. If you compress a guitar with a bit of makeup gain as you add some energy, you will certainly prefer the compressed just because it sounds louder. So as much as you can, make sure both sounds are at the same level before comparing.
If you feel that something is wrong with a track but you can’t identify the problem, then now is the time to use the solo button! It’s obviously easiest to hear an unpleasant resonant frequency on a single track.
Once you’ve corrected the mistake, listen to the whole mix and use the plugin bypass button to hear the benefit of your correction and adjust it if necessary.
At the end, you may have some weird sounding tracks in solo that work perfectly in the mix. Just remember, no one is going to be listening to your tracks in solo, but as a whole!
Don’t expect too much from miraculous tricks or magic fancy plugins – a good mix is very often the right combination of small details, and most of the time, simple ones. Getting a great sounding mix is entirely possible using stock plugins.
If you do have 5 plugins on a track and it still not sounding great in your mix, it often means you did something wrong. Take your plugins off and try again from the dry sound. It’s okay to make mistakes as it’s the easiest way to learn!
6. When Is The Mix Finished?
6. When Is The Mix Finished?
There will be unavoidably a moment where you won’t find anything to change in your mix. Now is the right time to take a long break, you can also reset your ears by listening to references recordings.
Mixing for a whole day is very stressful for your ears, so make sure you’re not mixing too loud. Don’t let the music roll when you’re not focused on your listening. Take breaks during the day.
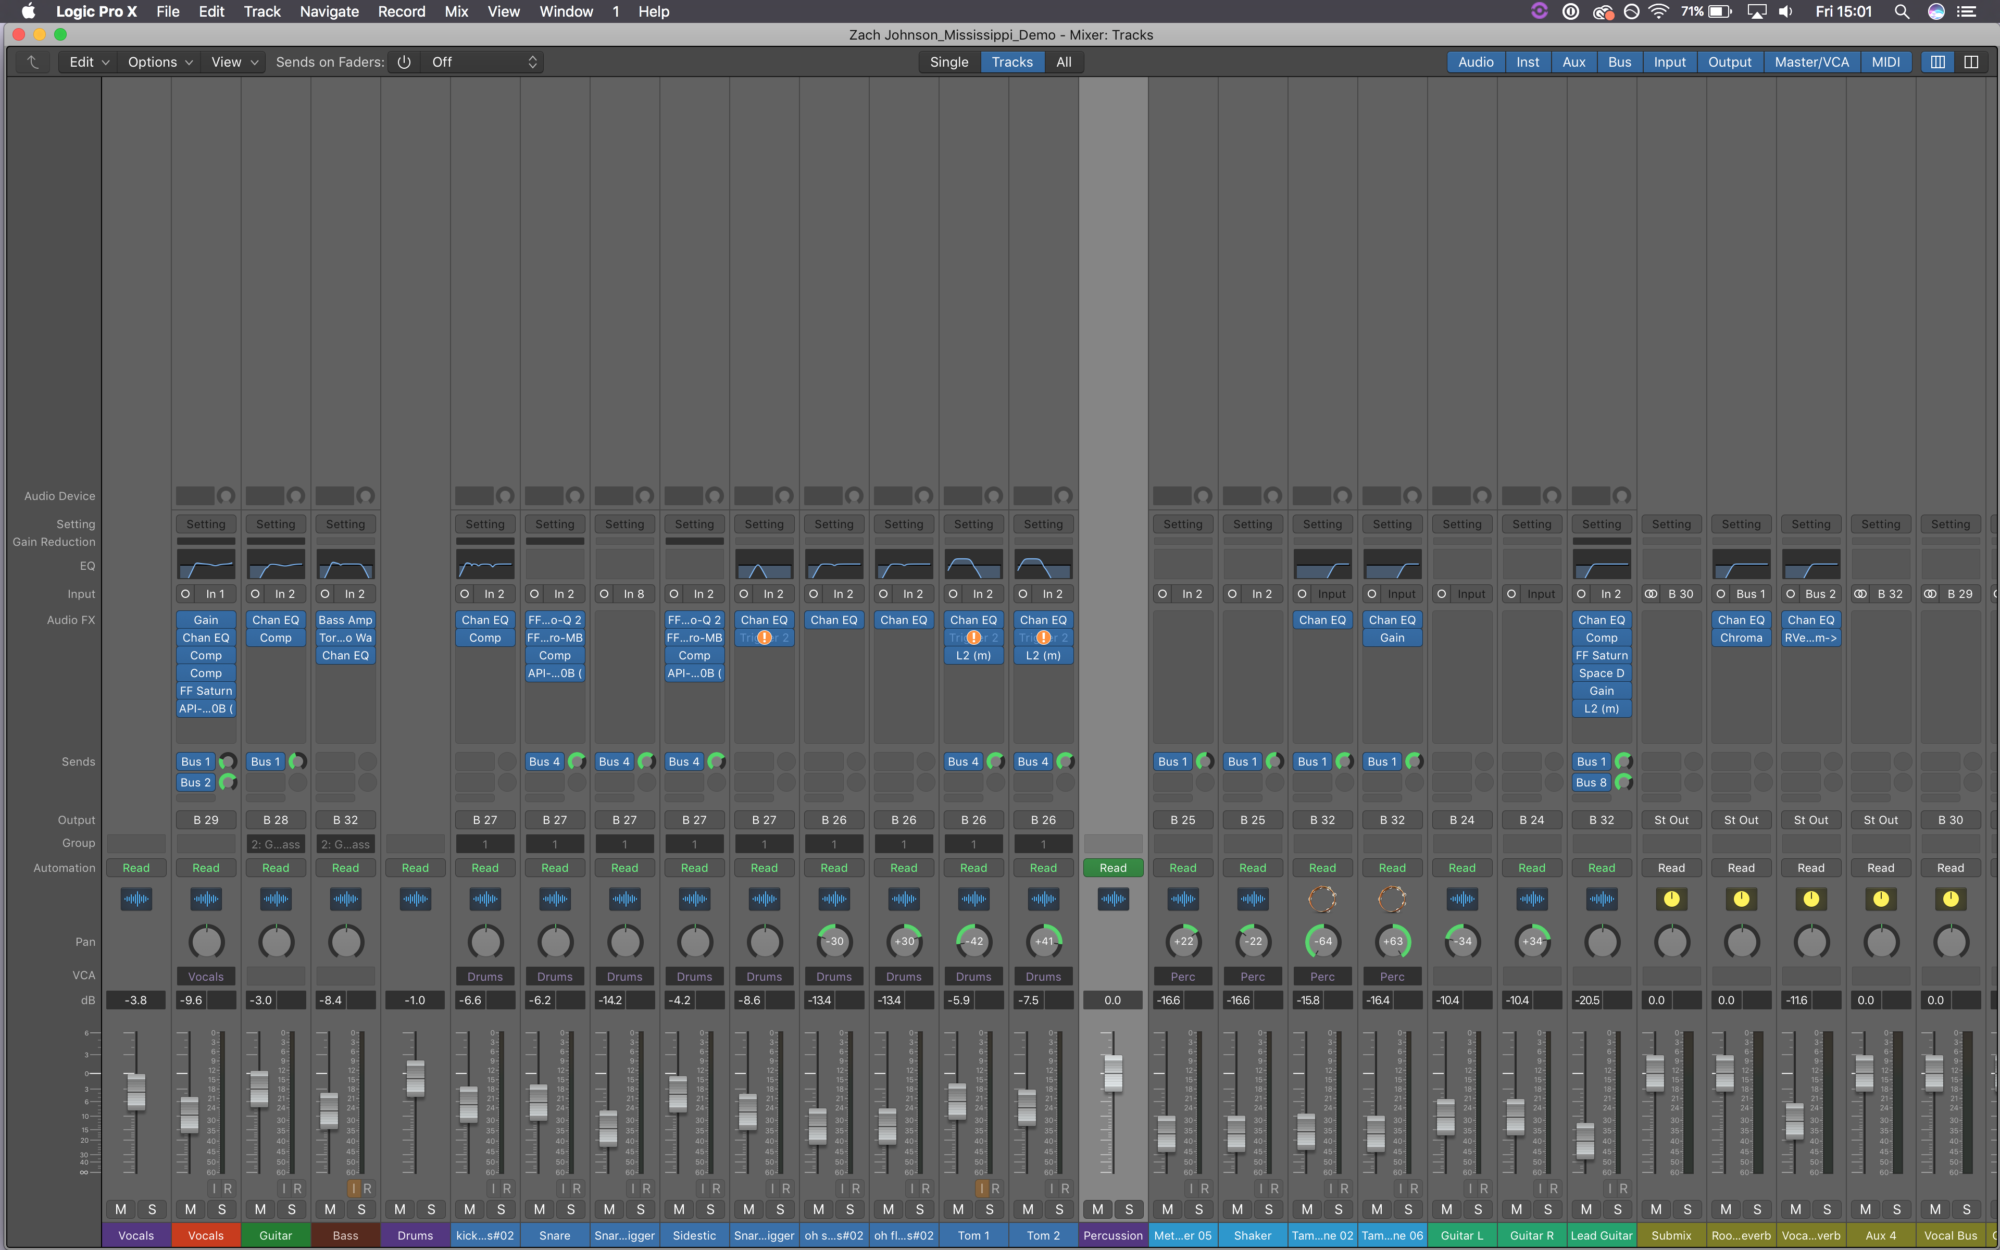
Most of all, never consider the mix as finished at the end of a mixing day. Always check your mix with fresh ears the next morning as you might have some big surprises.
With a bit of experience, you will learn to work fast, that’s the best way to spare your ears.
When you can’t find anything to change, you can consider your mix finished, it means you did the best you could according to your skills.
Conclusion
You might not be satisfied with your mix, but don’t worry. It’s like running – the more you practice, the better you become.
One of the most efficient exercises is to mix a song and compare the result with other people mixing the same song. There are some websites where you can find tons of multitrack packages in different styles and practice your mixing skills.
About the author
Kenan Trevien is a sound engineer who practices recording, mixing, sound designing and teaching. After his beginnings at Théâtre de la Ville (Paris), working with many choreographers, directors, and musicians. He has worked with le collectif AOC, Gisèle Vienne, Declan Donnellan, IRCAM, Mimi Lorenzini, Erwan Keravec, and many others.
Kenan mostly record and mix Jazz, classical music, improvised music, contemporary music, world music but likes every kind of music. Since 2008, Kenan works as a sessional instructor at the university of Brest where he teaches studio and live mixing at Master Image et Son.
Our Products
-

2in | 2out Audio Interface
-

10in | 6out Audio Interface
-

10in | 14out Audio Interface
-

20in | 24out Audio Interface
-

24in | 32out Audio Interface
-

2in | 2out Audio Interface
-

4in | 4out Audio Interface
-

24in | 24out Audio Interface
-

Everything you need to start recording
-

8 Channel Smart Preamp with AD/DA
-

8 Channel Mic Pre & ADC
-

8 Channel Mic Pre + Tone Control
-

Modular Analogue Recording Console
-

Small Format Analogue Recording Console
-
Small Format Analogue Recording Console
-

Immersive Audio Interface and Monitor Controller
-

Desktop Monitor Controller


