


With the current generation of virtual drums kits – Toontrack Superior 3 and EZdrummer 3, InMusic BFD3, XLN Audio Addictive Drums 2, Logic Pro’s Drummer, and countless libraries for Native Instruments’ Kontakt, to name but a few – making it genuinely possible to create wholly convincing ‘live’ drum kit performances in your DAW, learning how to program MIDI parts that authentically recreate the movements of a real drummer could be considered a fundamental part of any producer’s education. Central to success in this department, naturally, is understanding the basic stylistic and technical limitations that drummers work within, for which YouTube has you entirely covered, but there’s plenty to think about beyond that, too. Here are five concepts and tips to get you started.
Use the highest quality sample library you can find
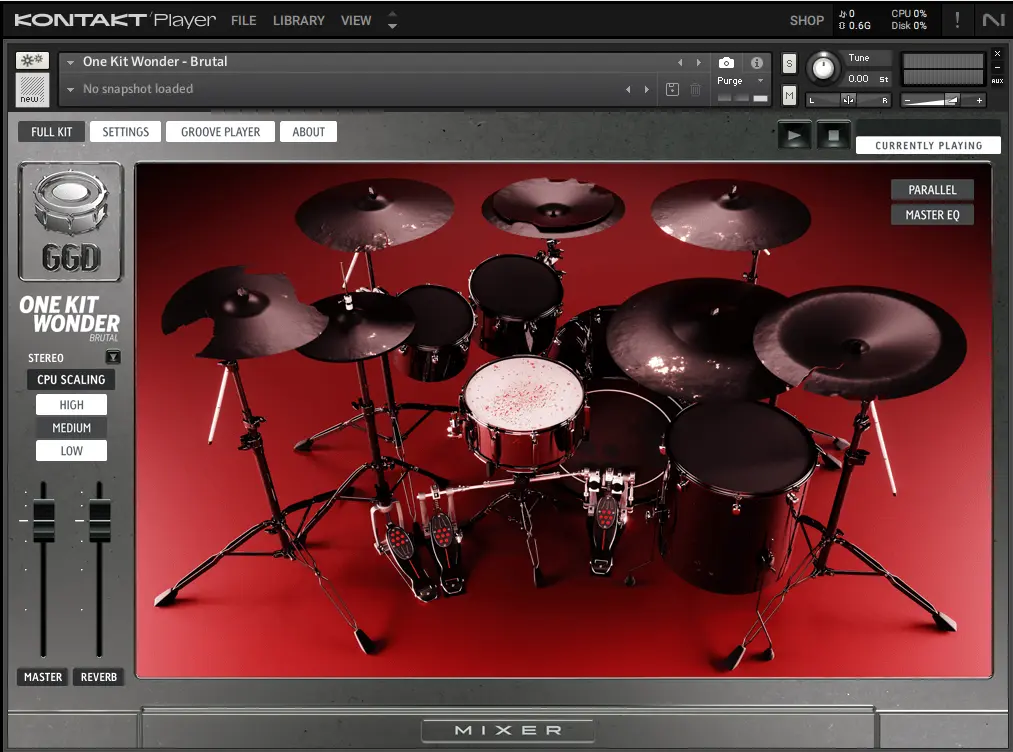
If you break it down into its constituent elements (kick, snare, hi-hats, toms and cymbals), the drum kit is a relatively straightforward instrument to multisample, as it isn’t melodic and only has a comparatively small range of articulations and nuances that require capturing. For that reason, a high-quality virtual drum kit really does provide the full capability and ‘experience’ of its source instrument, to such an extent that a drummer could play it every bit as effectively as a real kit via a good set of MIDI drum pads – not something you could say about a sampled guitar, violin or trumpet.
What to look for in a prospective virtual drum kit plugin, then? Well, as with any instrumental sample library, you want as many velocity layers as possible (at least eight, but ideally many more), separate left and right hand samples (not essential but great to have), and some form of round robin implementation, whereby groups of variations on single hits are randomly switched between for a more ‘human’ feel. Happily, there aren’t that many articulations you need to think about with drums, but at a minimum you need centre, edge and rimshot snare hits; open, closed, half-open and pedalled hi-hats; rim and centre tom hits; and bow and bell ride cymbal strokes.
As for the overall sound of the kit, the heavyweight likes of Superior and BFD provide full-on mixing environments in which to imbue their dry source samples with whatever sonic character you like; but many sample libraries are recorded specifically to achieve a particular sound – ‘rock’, ‘retro’, ‘metal’, ‘jazz’, etc – so make sure you know what you’re getting before you splash the cash.
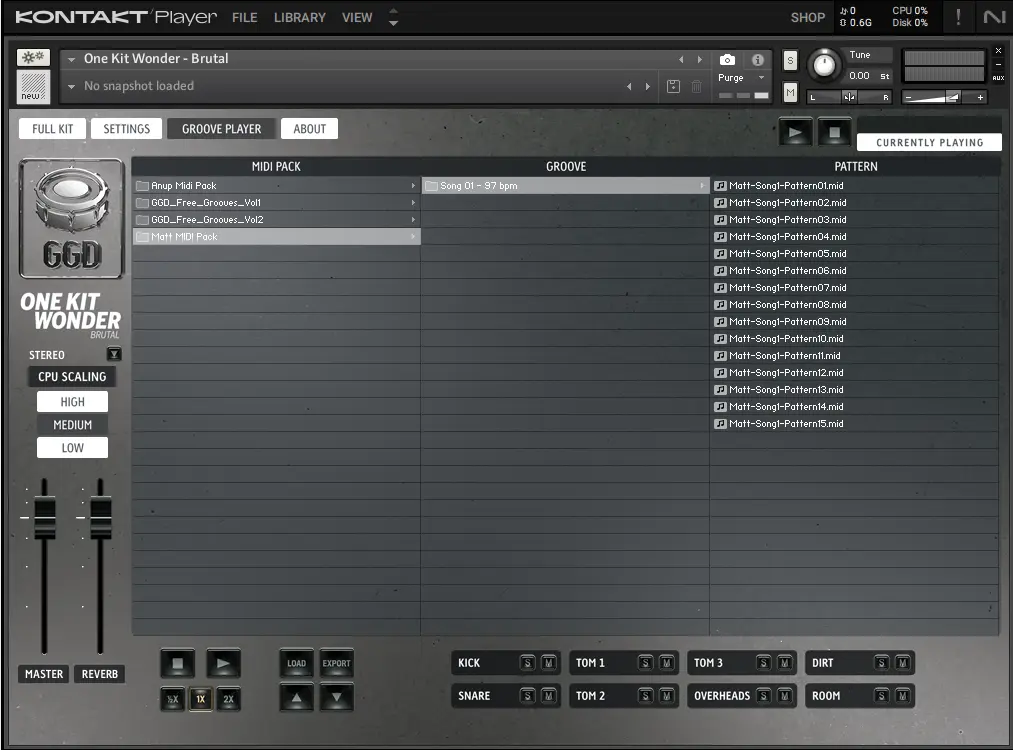
Explore the factory MIDI patterns built into your kit
Whatever virtual kit you go for, it’ll undoubtedly include a sizeable library of MIDI clips, performed by real drummers, and there’s absolutely nothing wrong with plundering them wholesale if you don’t want to program your own parts or just need to get a beat down in a hurry. And even if you’re fully committed to designing your own grooves in the name of originality, these (hopefully!) expertly played grooves can still serve as inspirational reference material or fantastic starting points on which to build – drag one in, then embellish it with snare drum grace notes (see below), thin the kick drum out, double-time the hi-hats, or whatever.
Stick to the rules
It should come as no surprise to learn that there’s a very clear limit to how many kit pieces a drummer can operate at once, that number being precisely four – two arms, two feet. That might seem screamingly obvious, but for the newcomer to drum programming, it can be all too easy to inadvertently draw in an extra hit that simply wouldn’t be possible in the real world – simultaneous snare, tom and cymbal strokes, for example, or a flam on the snare at the same time as a hi-hat hit. If in doubt, try air-drumming the passage in question to see if your proposed manoeuvre is feasible.
Bear in mind, too, that pedalled and struck hi-hats can’t happen at the same time… Well, they can, but it doesn’t sound anything like what you get by stacking ‘pedal’ and ‘closed’ articulations, so don’t do it.
Keep it real
Alongside the biological imperative described above, the two key things to bear in mind when programming MIDI parts simulating live drummer performances are timing and dynamics. While dance and pop music beats are often flawlessly metronomic in their adherence to the quantise grid, no drummer can or would necessarily want to match the temporal precision of a drum machine – so when drawing ‘human’ beats into the piano roll, do it with the snap function turned off. You’re still aiming that pencil tool at the grid lines, of course, but the slight deviations from them that you’ll get by wielding it freehand will make all the difference in terms of organic feel. The idea is still for the part to be ‘in time’, though, so pull any notes that stray too far back in as required – a bit of post-programming iterative quantise can work wonders here.
Similarly, the strength with which a drummer hits any given drum will vary from stroke to stroke, so don’t just slap every snare note in at 127 velocity, or alternate the hi-hats between the same two fixed velocity values from start to finish – draw in small velocity variations to mimic the natural fluctuations of a real player.
Audio clips to demonstrate quantized vs unquantized drum parts
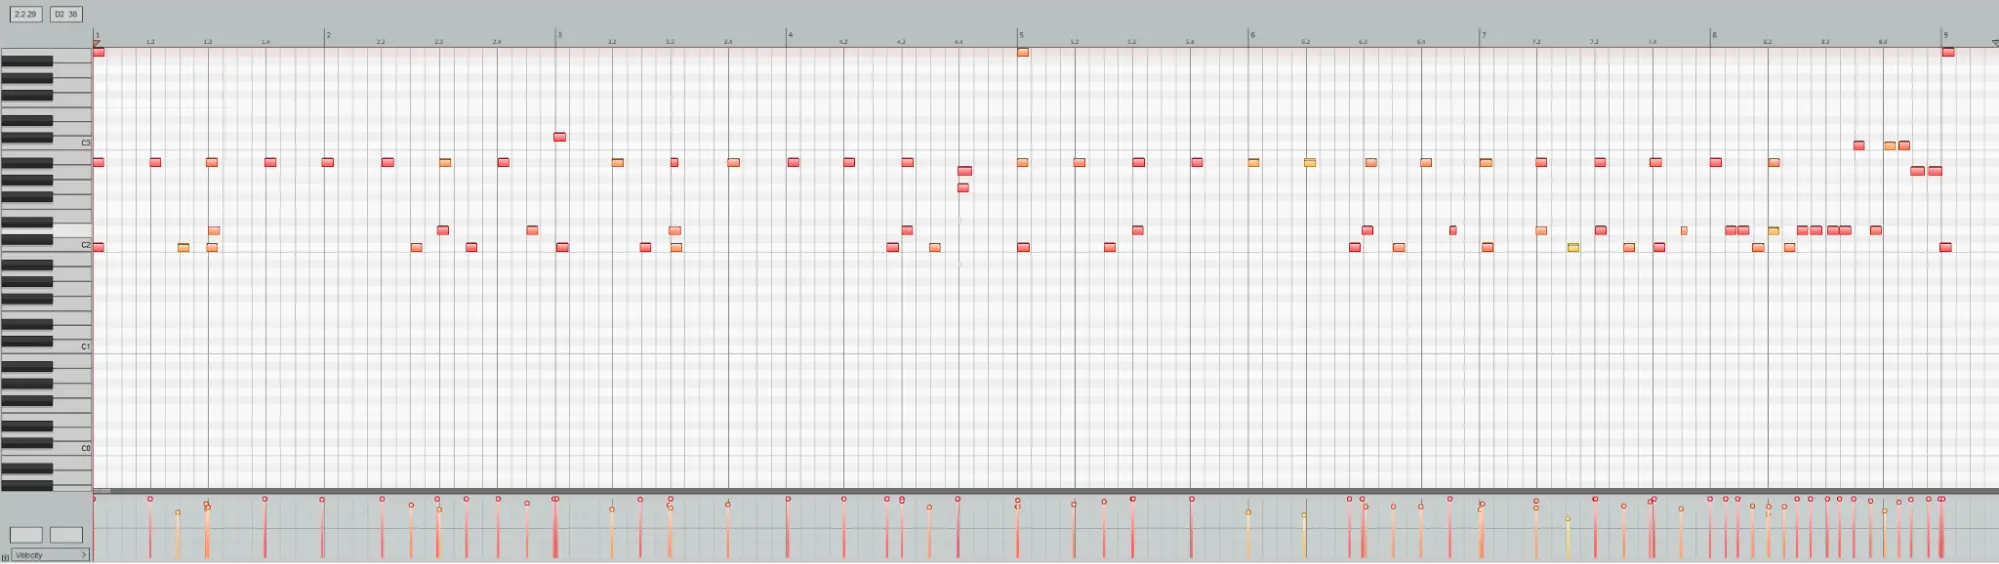
Example to show midi velocity fluctuations
Become the drummer!
Taking the previous tip to its logical conclusion, if you really want to deliver the feel of a flesh-and-blood drummer with your MIDI parts, what better way to do it than to actually play them in live? Don’t worry, you don’t have to invest in a MIDI drum kit and six months of drum lessons – although that’s certainly worth thinking about! – you can just play your drum tracks in on the drum pads or keys of your MIDI keyboard, line by line. Start with the kick, then overdub the snare, then the hi-hats, taking as many attempts as you need to get the perfect take(s), and perhaps dropping the project tempo while recording to boost the accuracy of your performance.

Our Products
-

2in | 2out Audio Interface
-

10in | 6out Audio Interface
-

10in | 14out Audio Interface
-

20in | 24out Audio Interface
-

24in | 32out Audio Interface
-

2in | 2out Audio Interface
-

4in | 4out Audio Interface
-

24in | 24out Audio Interface
-

Everything you need to start recording
-

8 Channel Smart Preamp with AD/DA
-

8 Channel Mic Pre & ADC
-

8 Channel Mic Pre + Tone Control
-

Modular Analogue Recording Console
-

Small Format Analogue Recording Console
-
Small Format Analogue Recording Console
-

Immersive Audio Interface and Monitor Controller
-

Desktop Monitor Controller