Make sure the bass is up to scratch
It will come as no surprise that when it comes to establishing a fabulous sound of any kind, like so many things in life, garbage in equals garbage out. The first stage in getting a flawless DI bass down, then, is ensuring that the instrument in question is 100% fit for purpose. If the strings are dirty, clean them thoroughly; and if they’re old and overstretched, replace them with new ones – the difference this can make with regard to presence and brightness can be profound. Track down and fix any rattling or other extraneous noises that might be coming from the hardware, set the action to minimise buzz (without compromising playability or tone, of course), and run the bass to the audio interface or DI box with the best instrument cable you can get your hands on. And needless to say, your bass should be perfectly in tune – as amazing as modern pitch correction plugins are, it’s obviously better to hit the right notes in the first place than have to fix them up after the fact.
Use a high-quality DI box or audio interface
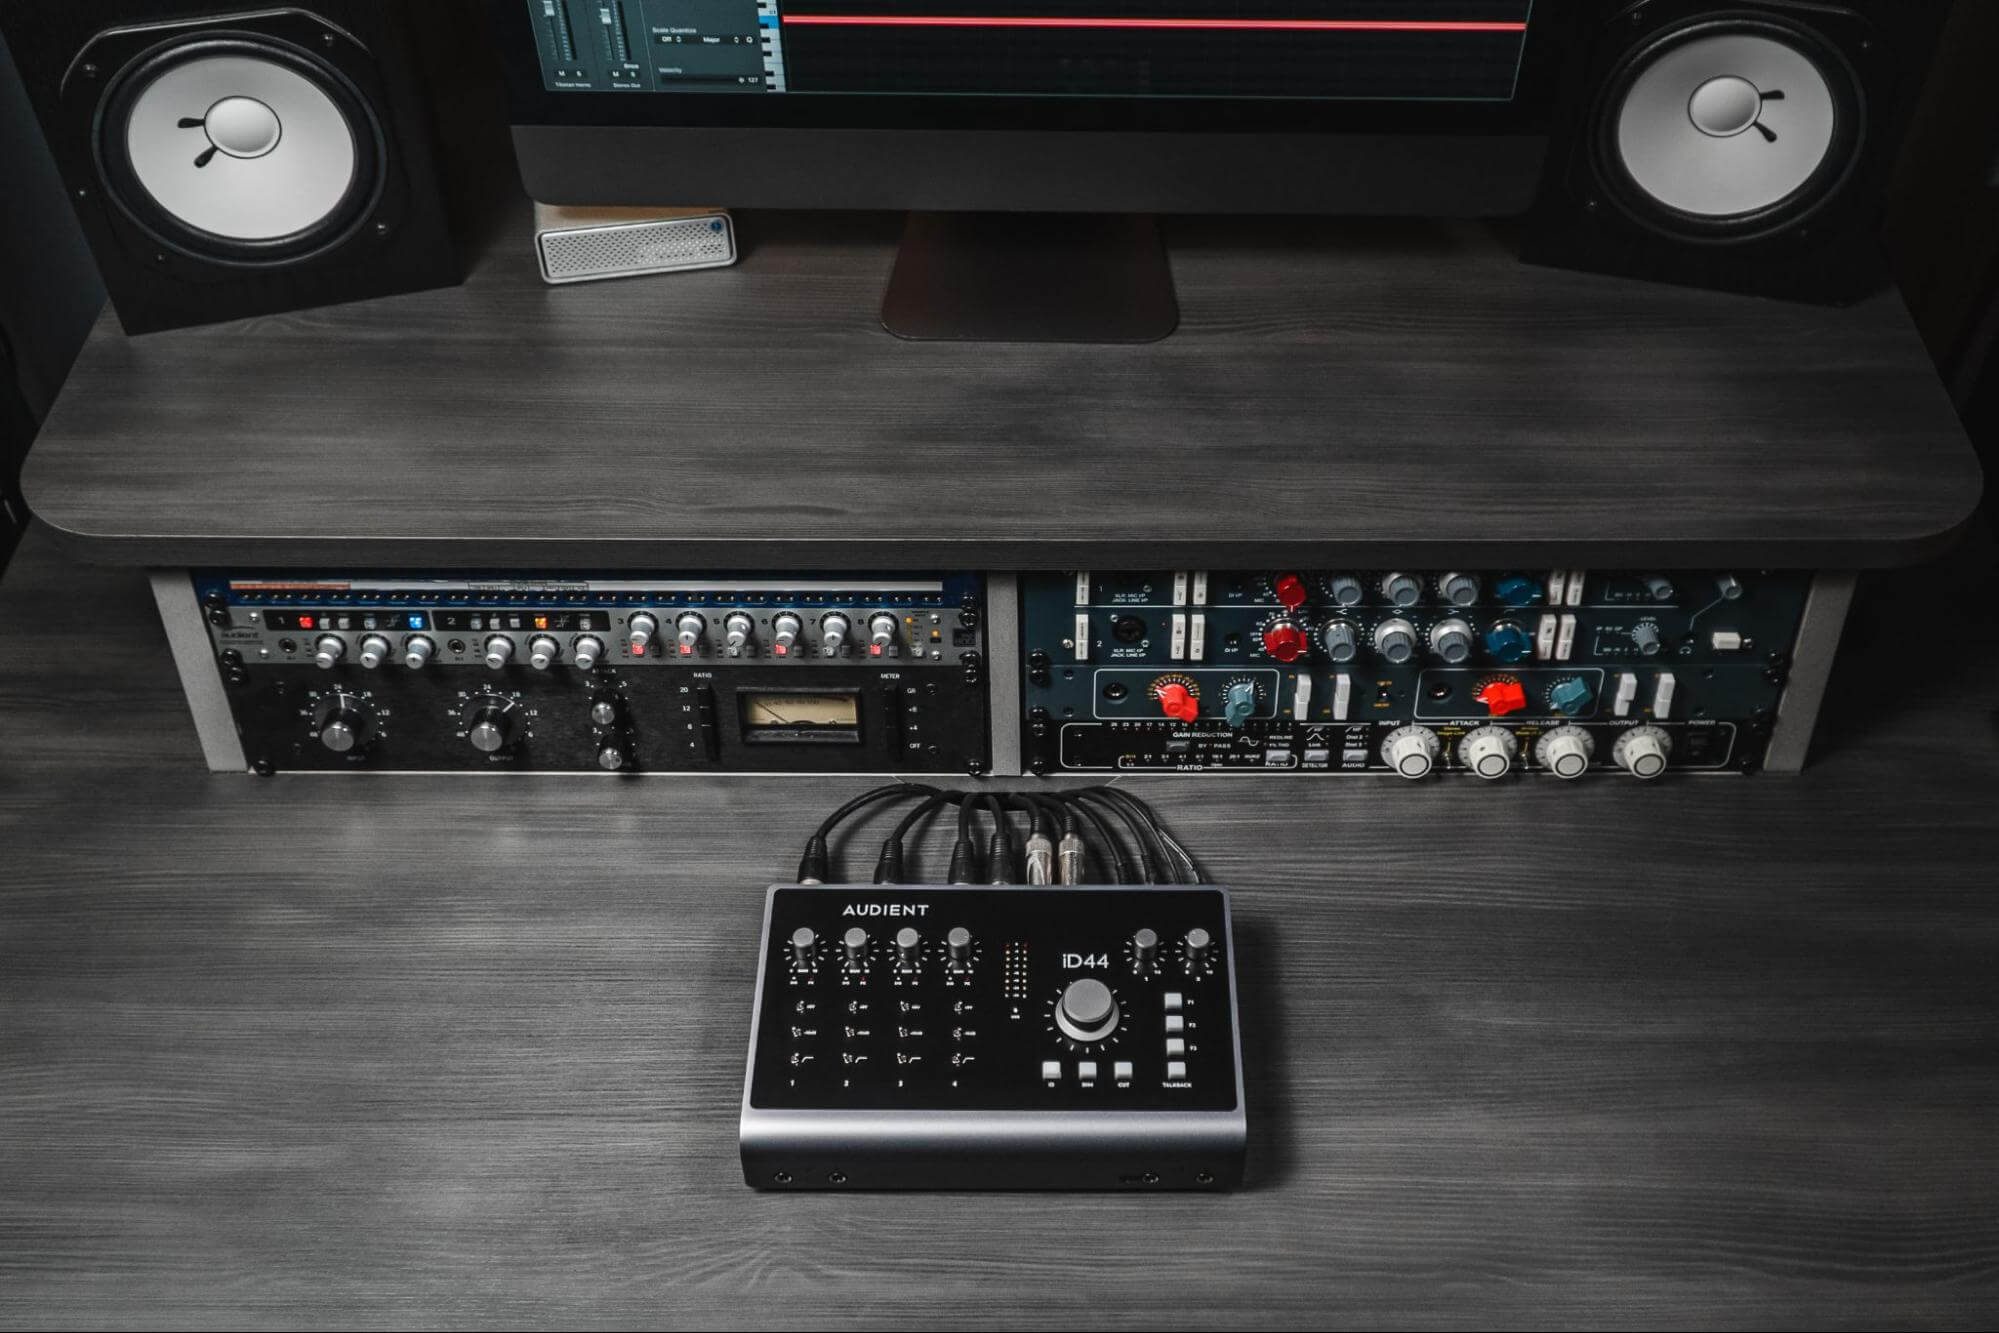
The specification of your recording/monitoring input – ie, the point at which the signal from the instrument is fed into the DAW and/or monitoring system – is one of the most important considerations in any DI bass sound. If you’re connecting directly to a mic input on an audio interface or mixer, you’ll need a DI box to convert the high-impedance output of your bass to a mic-level signal, and we’d recommend not skimping on this seemingly innocuous add-on, as the quality of its circuitry can have a significant effect on noise levels and general sonic integrity.
However, as an Audient or EVO audio interface owner, such paraphernalia is surplus to requirements, as the built-in JFET instrument inputs on every one of our interfaces, from the EVO 4 to the iD44, not only provide the requisite signal handling for DI bass, but also replicate a valve amp input stage, bringing a very appealing warmth and fatness to the sound that can make all the difference to the end result. The ideal plug-and-play solution!
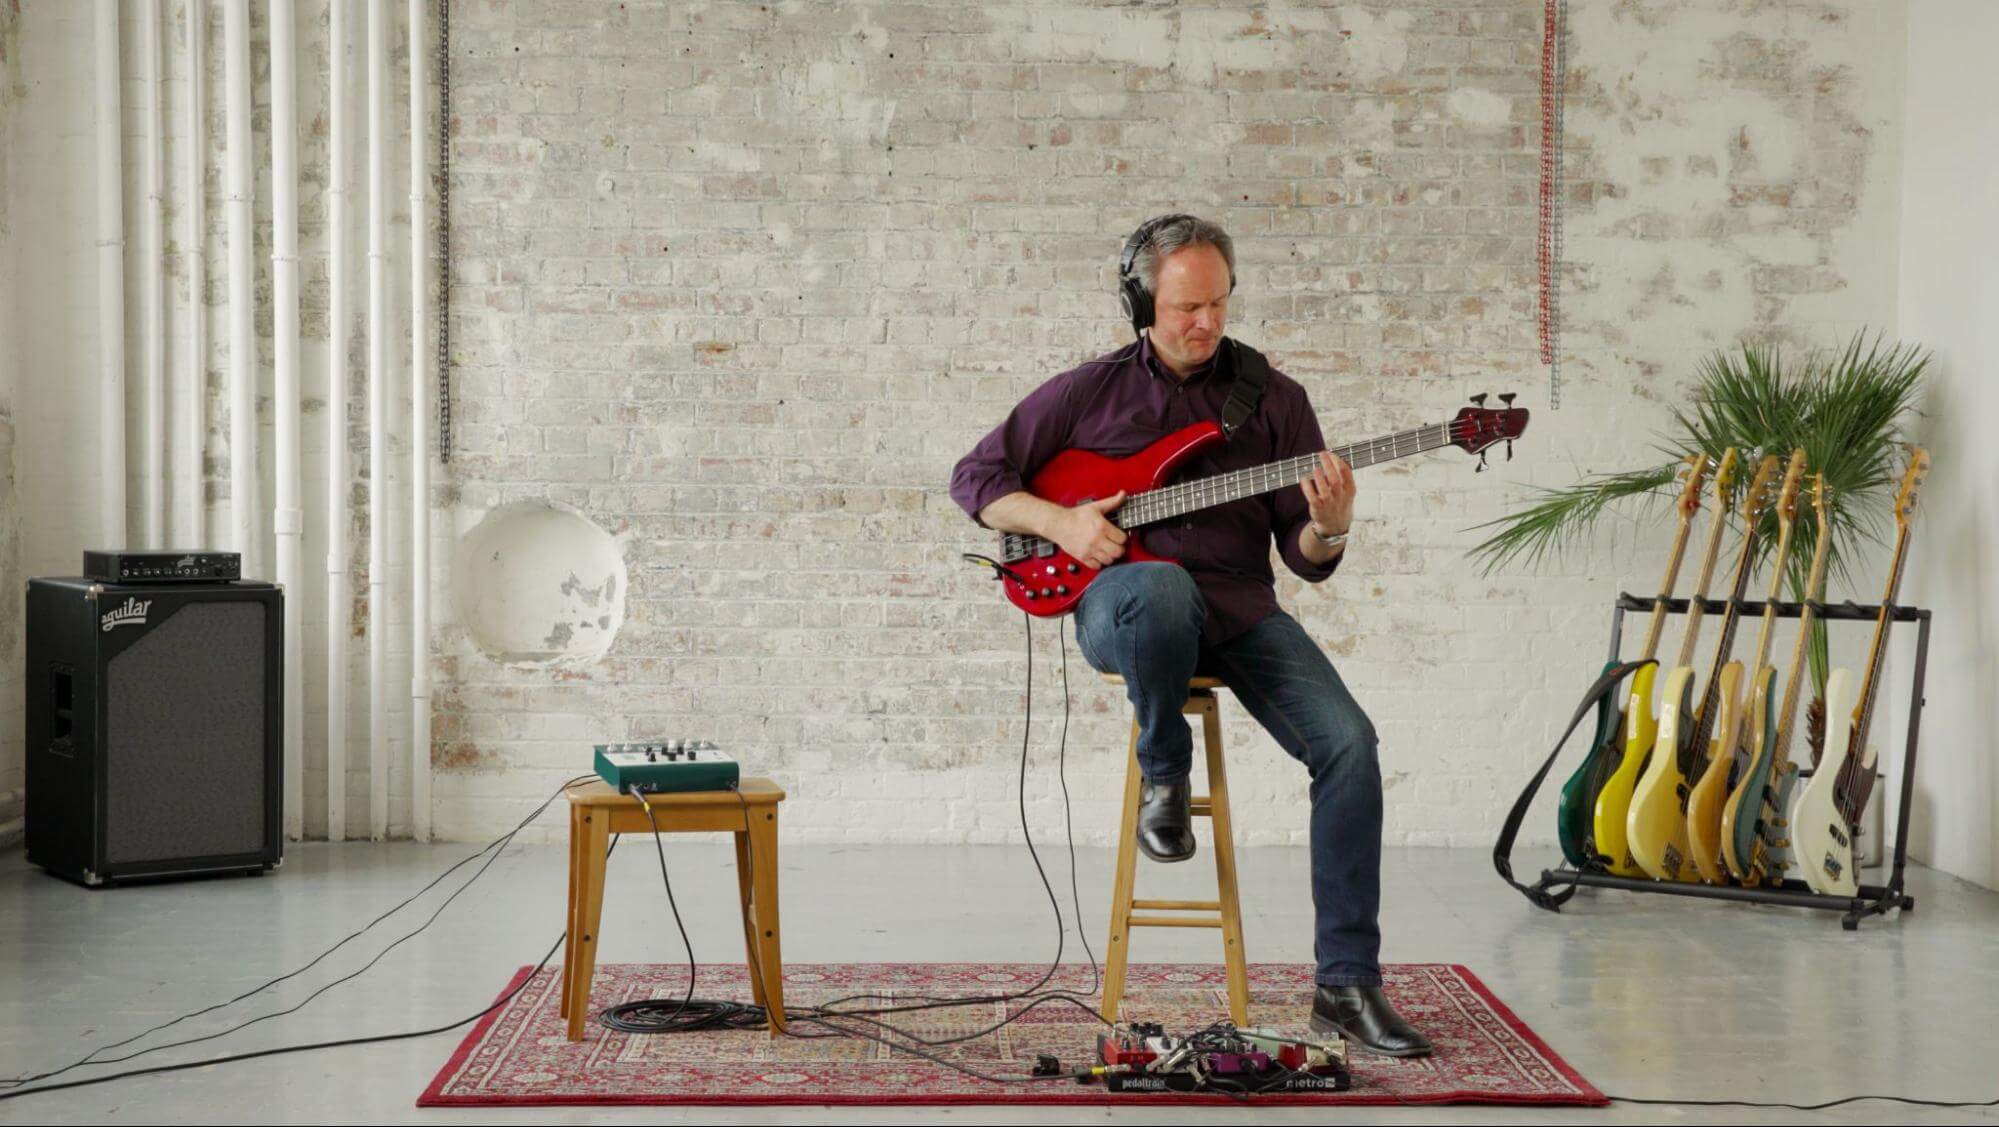
Focus on tone and performance
Having optimised the literal quality of your signal for monitoring and recording with our first two tips, securing a great DI bass ultimately boils down to two things: finding a great tone and a nailing a great performance, both of which demand that you and/or your bass player really know what you’re doing. The tone of a bass guitar is determined by the combination of its immutable design and numerous adjustable properties, the latter including action and string type, and pickup specification and mix (if more than one pickup is onboard). Spend as much time as you need to on these crucial elements to achieve a clean, powerful, frequency-rich tone. And naturally, as with any instrumental recording, the performance of the musical part itself is absolutely central to this whole endeavour, so make sure you’ve got enough time available in the session for as many takes as it, er, takes, and record all of them for comping afterwards if necessary.
Compression and EQ
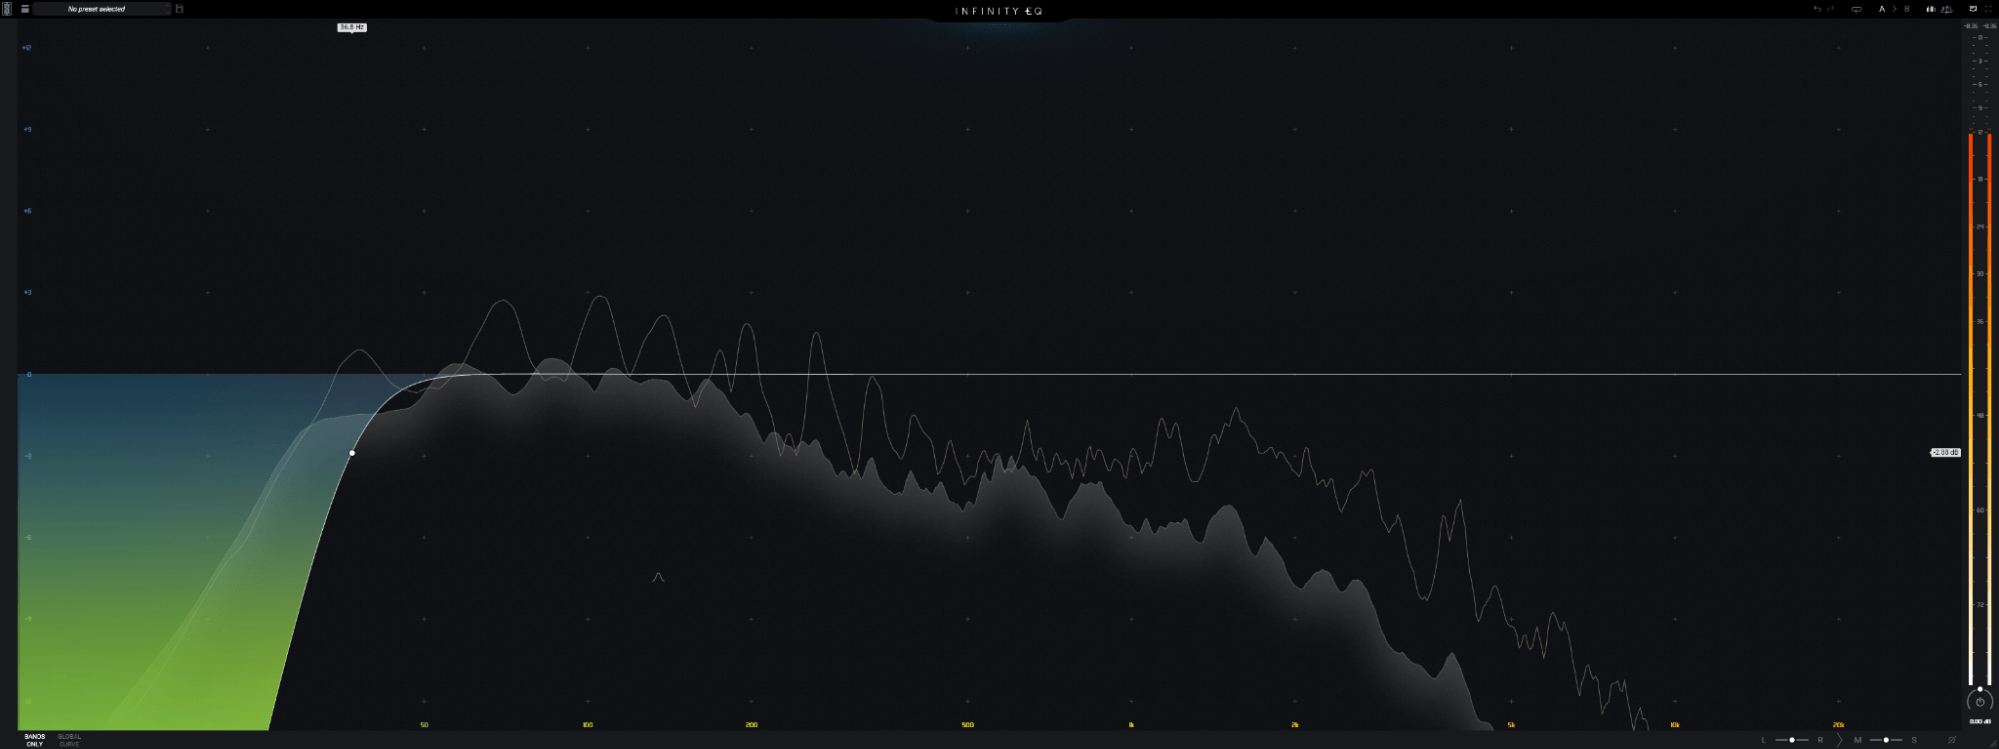
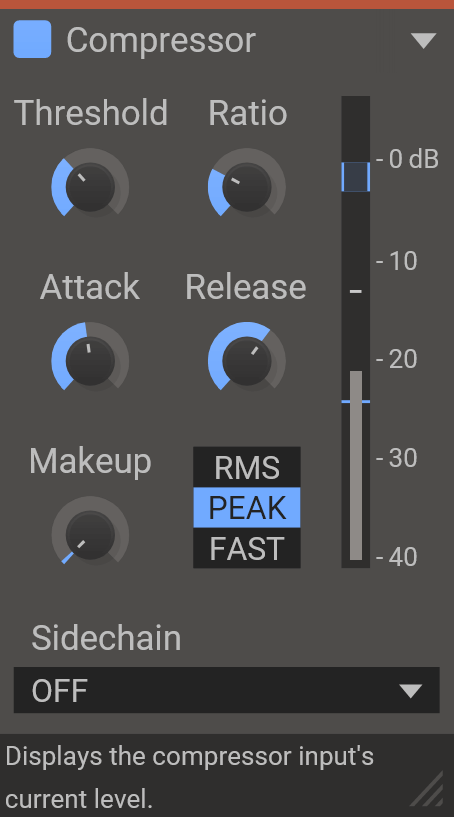
No matter how expertly you capture your raw recorded DI bass, once you place it in the mix, it’s almost certain that compression and EQ will be required to get it sitting comfortably alongside the drums, guitars and other low-frequency-inclusive instrumentation. If the performance is solid and consistent, a compression ratio of around 2-5:1, with attack and release times set according to the nature of the part, ought to be enough to keep the dynamics under control. With EQ, a high-pass filter is often a must for rolling off headroom-sapping sub-bass frequencies below 30-40Hz, and beyond that, the general idea is to emphasise the notes, definition and body of the bass, while eliminating mid-range ‘honk’. Here’s a great introduction to bass EQ by Journeyman bassist James Lomenzo.
Transform your DI with amp sims and effects
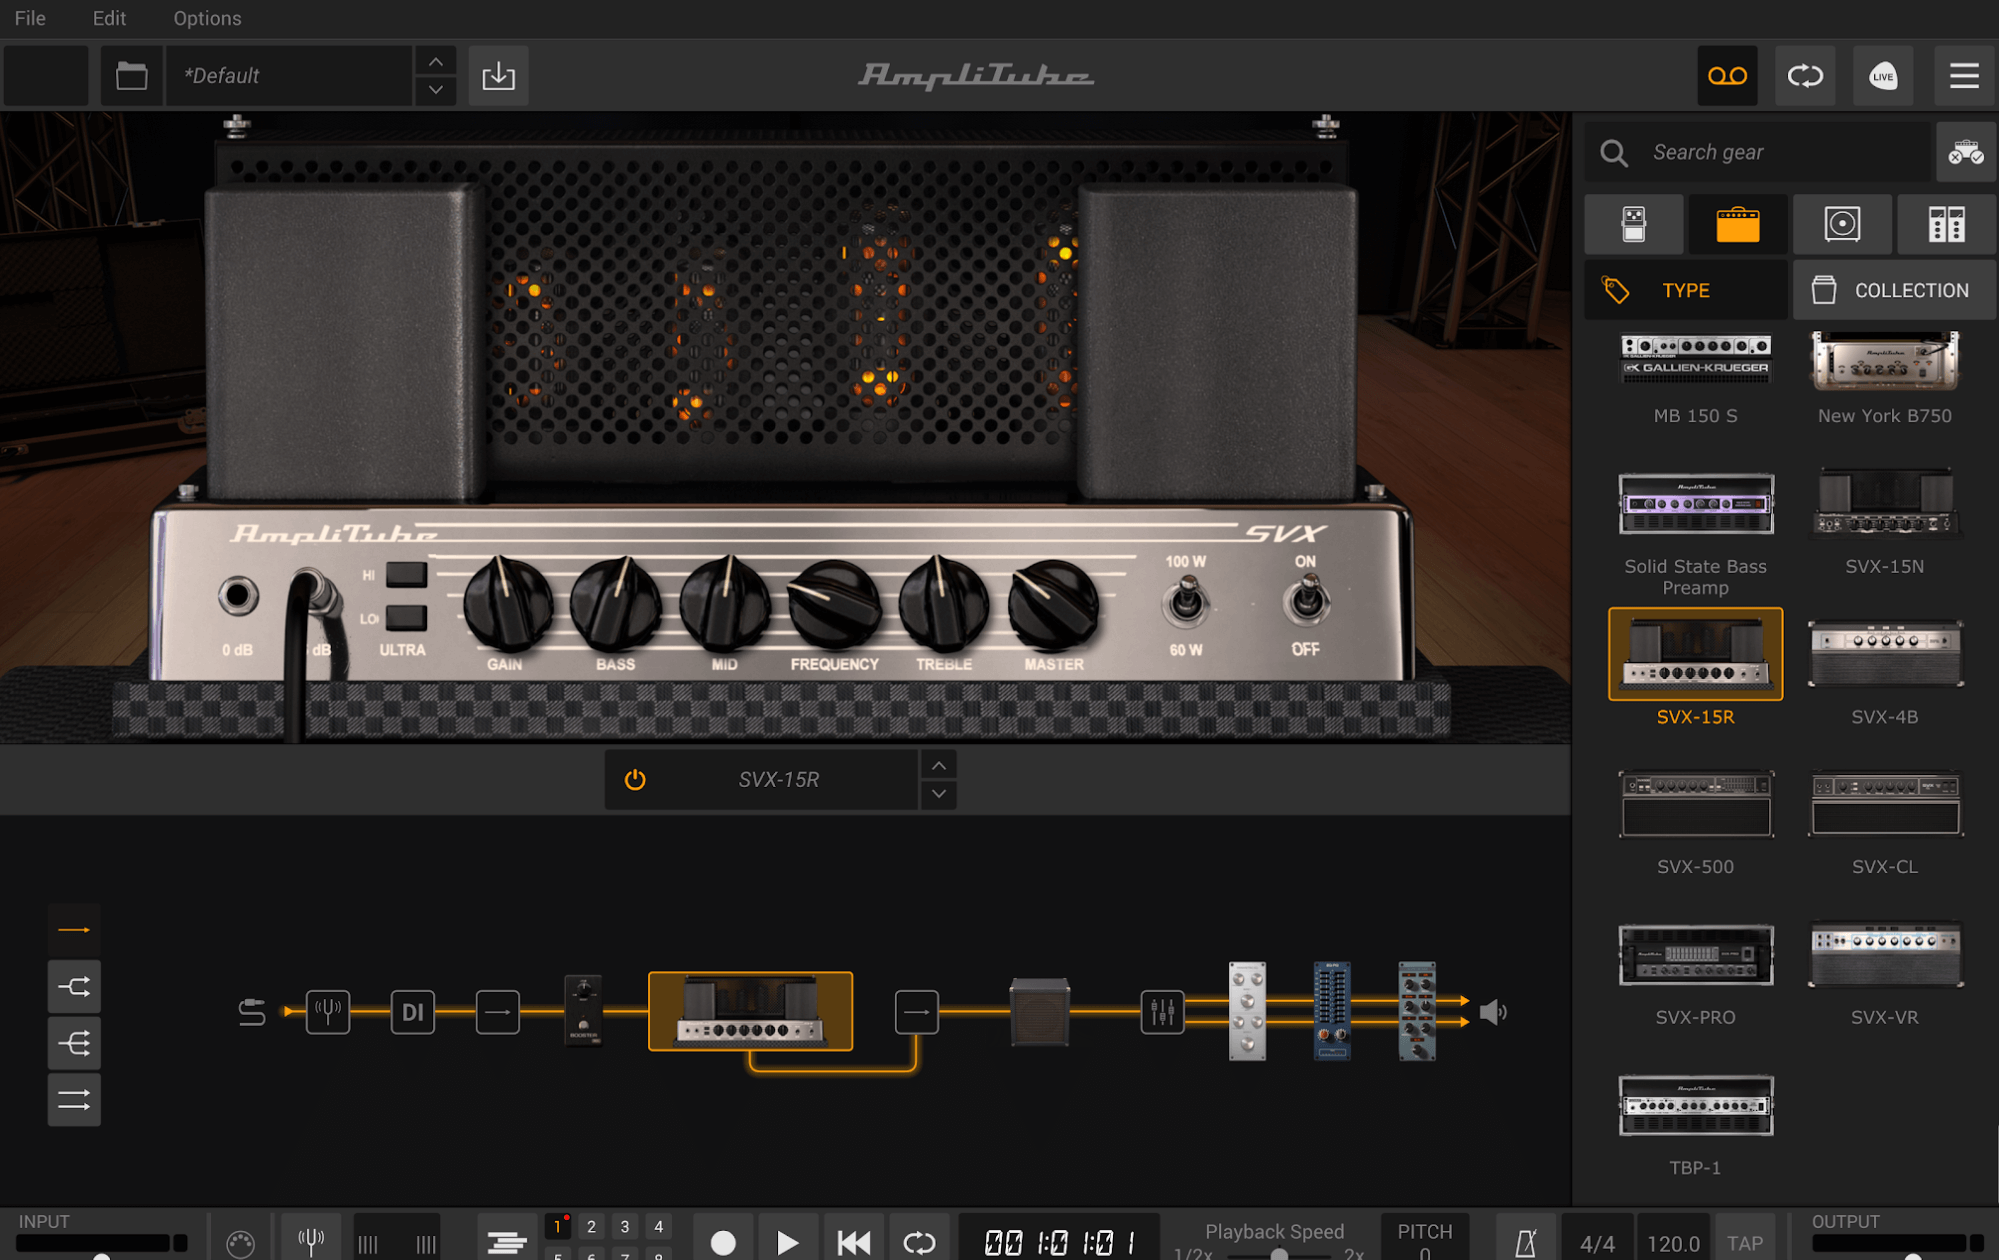
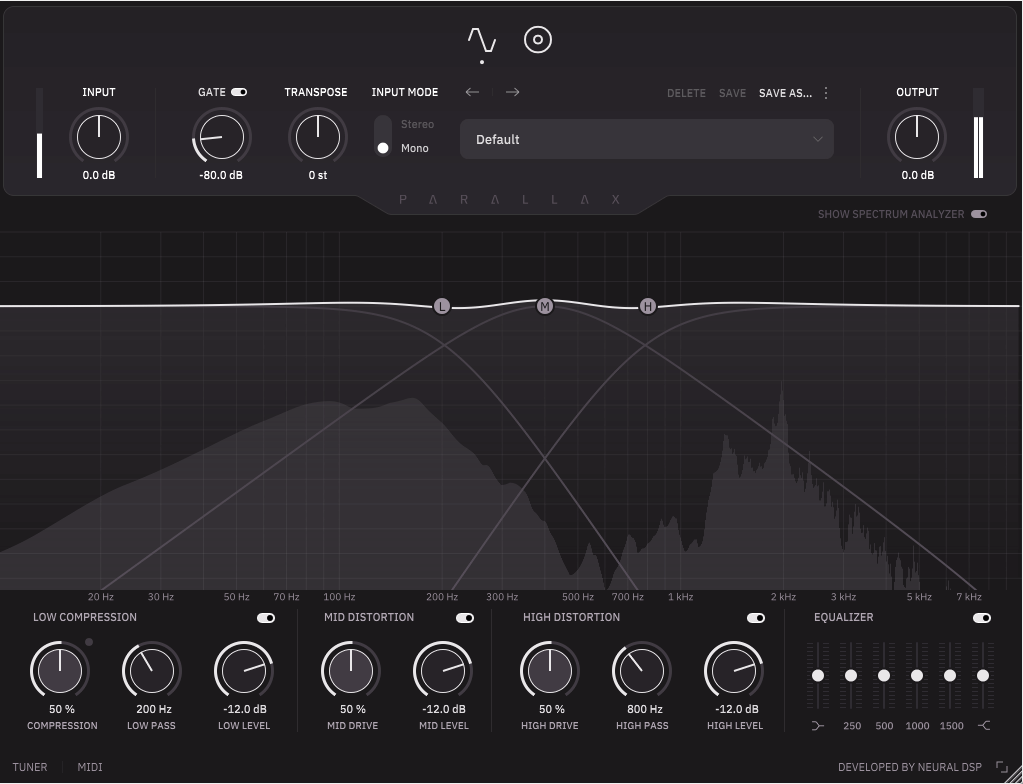
Thanks to the power and versatility of plugin effects, that beautifully recorded DI doesn’t have to be the end point in your quest for the ultimate bass tone if the project at hand eventually calls for something more characterful. Indeed, part of the point in DI’ing bass is that it delivers a clean recording that can then be non-destructively bolstered with amplification and distortion if needed, as opposed to tracking the instrument through an overtly colouring amplifier stage or miked-up cabinet, which can’t subsequently be ‘undone’. While in the pre-software era, reamping a DI recording would have involved routing it out to the amp or cab, then back in to the recording system, nowadays we can experiment with virtual amplifiers and other effects freely and completely reversibly. So, when you want to add grit, heft and harmonic energy to your pristine DI, firing up a dedicated guitar/bass amp and effects suite such as Native Instruments’ Guitar Rig, IK Multimedia’s Amplitube or United Plugins’ Bassment, and playing around with amplifier saturation, overdrive, cabinet mic positions and FX pedals, can prove utterly transformative. And it doesn’t need to be an either/or situation: by mixing your DI and processed signals in parallel, you can get the best of both – the smoothness and clarity of the first with the weight and crunch of the second, say.
Our Products
-

2in | 2out Audio Interface
-

10in | 6out Audio Interface
-

10in | 14out Audio Interface
-

20in | 24out Audio Interface
-

24in | 32out Audio Interface
-

2in | 2out Audio Interface
-

4in | 4out Audio Interface
-

24in | 24out Audio Interface
-

Everything you need to start recording
-

8 Channel Smart Preamp with AD/DA
-

8 Channel Mic Pre & ADC
-

8 Channel Mic Pre + Tone Control
-

Modular Analogue Recording Console
-

Small Format Analogue Recording Console
-
Small Format Analogue Recording Console
-

Immersive Audio Interface and Monitor Controller
-

Desktop Monitor Controller
