


What does this article cover?
• A 10-Step Guide to an affordable home studio
• Tips on when to spend and when to skimp
• Get professional-quality sounds without needing a mortgage
Digital age technology enables us to deliver great-sounding results from a home studio built on a limited budget. Case in point: Billie Eilish’s award-winning debut album was recorded and produced in her home recording studio. This is good news for a home recording enthusiast or independent artist.
The most frugal way to build a cost-effective home studio is to keep it simple. It starts with an honest assessment of the critical components in your workflow. Outline your needs, shortlist a few different options, and get your money’s worth from everything you buy.
Budget Home Studios: How cheap is cheap?
A studio can be cheap without sounding cheap. It is not about buying the cheapest entry-level equipment across the board. It is about ‘budgeting’ and making smart choices. Spend when it is essential, and save when it is practical.
The flip side is that the process is daunting, especially for newcomers. There’s a dizzying list of options wrapped in persuasive marketing. You have to sift through lots of reviews and research. And, then there is an always-around-the-corner chance of the dreaded Gear Acquisition Syndrome (GAS).
Economical options and clever workarounds can save you a few hundred dollars. Luckily we’re here to streamline that process for you with a checklist of essential gear to set up a home studio and discuss ways to do it cost-effectively. Here is what we are looking at:
1. Space
2. Computer (System, RAM, Storage)
3. Audio Interface
4. Studio Monitors
5. DAW
6. Microphones
7. Headphones + Headphone Amp
8. MIDI Keyboard
9. Cables, Stands, and Hardware
10. Room Treatment
10 Steps to Building a Home Recording Studio
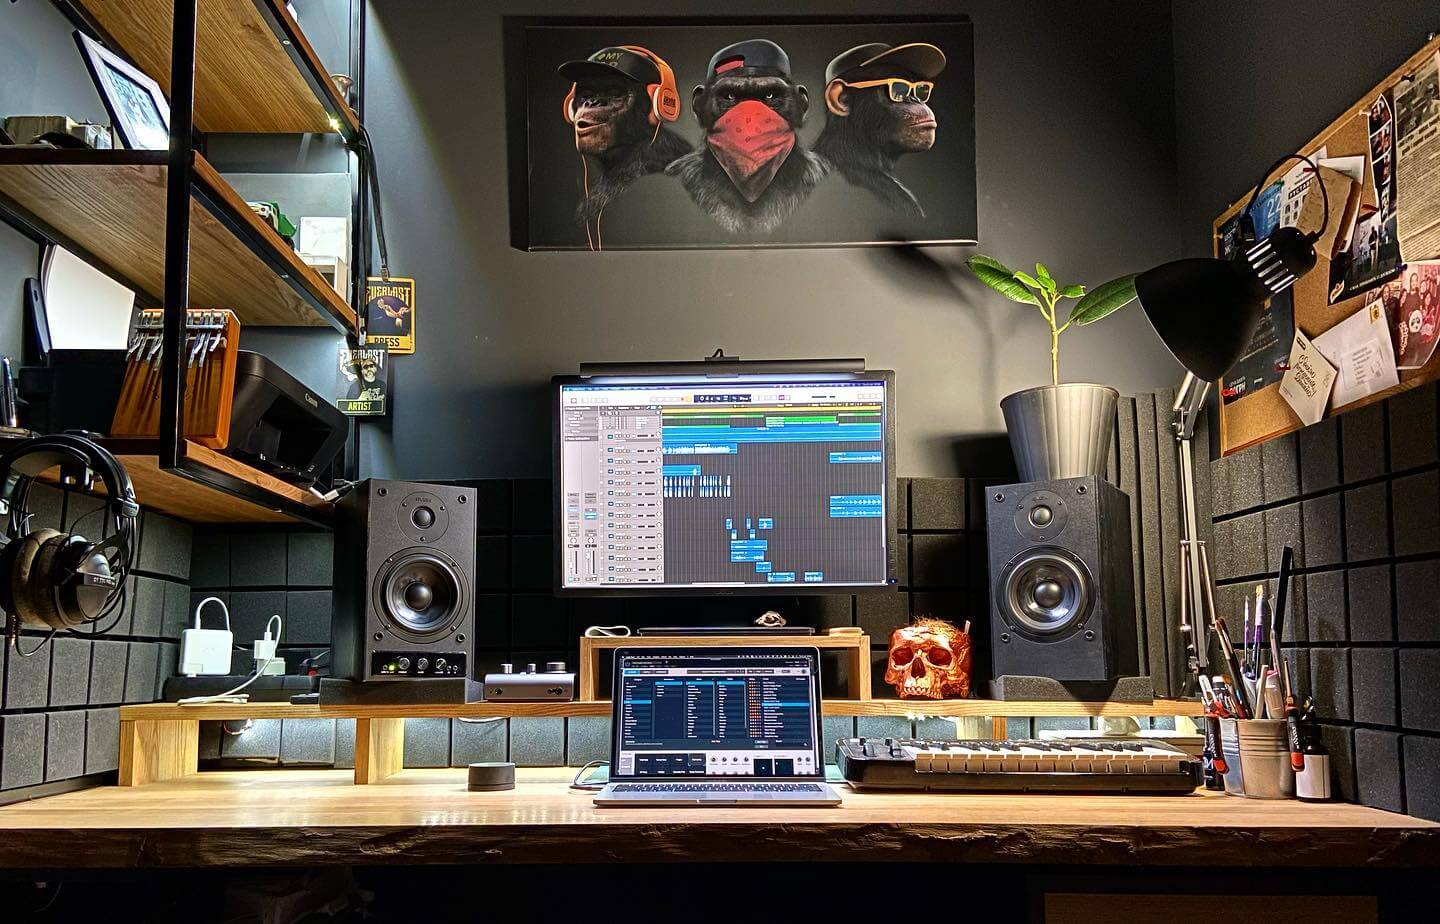
Step 1: Pick a space
The size of your home recording studio depends entirely upon how you plan to use it. Are you planning to track a drum set or a full band? Find a space large enough to accommodate a band plus the equipment. Think spare garages, large basements, and the sort.
If you’re a self-producing songwriter, an electronic music artist, or need a recording space to only record vocals, guitar, keyboards, and other individual instruments with only one or two people performing at a time, a regular-sized spare room or bedroom will suffice.
If your home setup were going to be used purely for mixing purposes, your focus would need to be on your speaker setup, acoustic treatment and any actions to make your studio sound better, which we will deal with in the later section of this post.
While choosing a space to record, remember two things: avoid low ceilings and square rooms. Because of the physics of sound waves, low ceilings reflect sound. This results in muddy and unclear microphone recordings.
If you’re stuck with a low ceiling, acoustically treating the ceiling becomes necessary (budget for the additional expense). Square rooms are symmetrical. They have null points where frequencies cancel out due to reflections from parallel walls. It causes nasty empty spots in the sound in that room, which can throw off your accuracy.
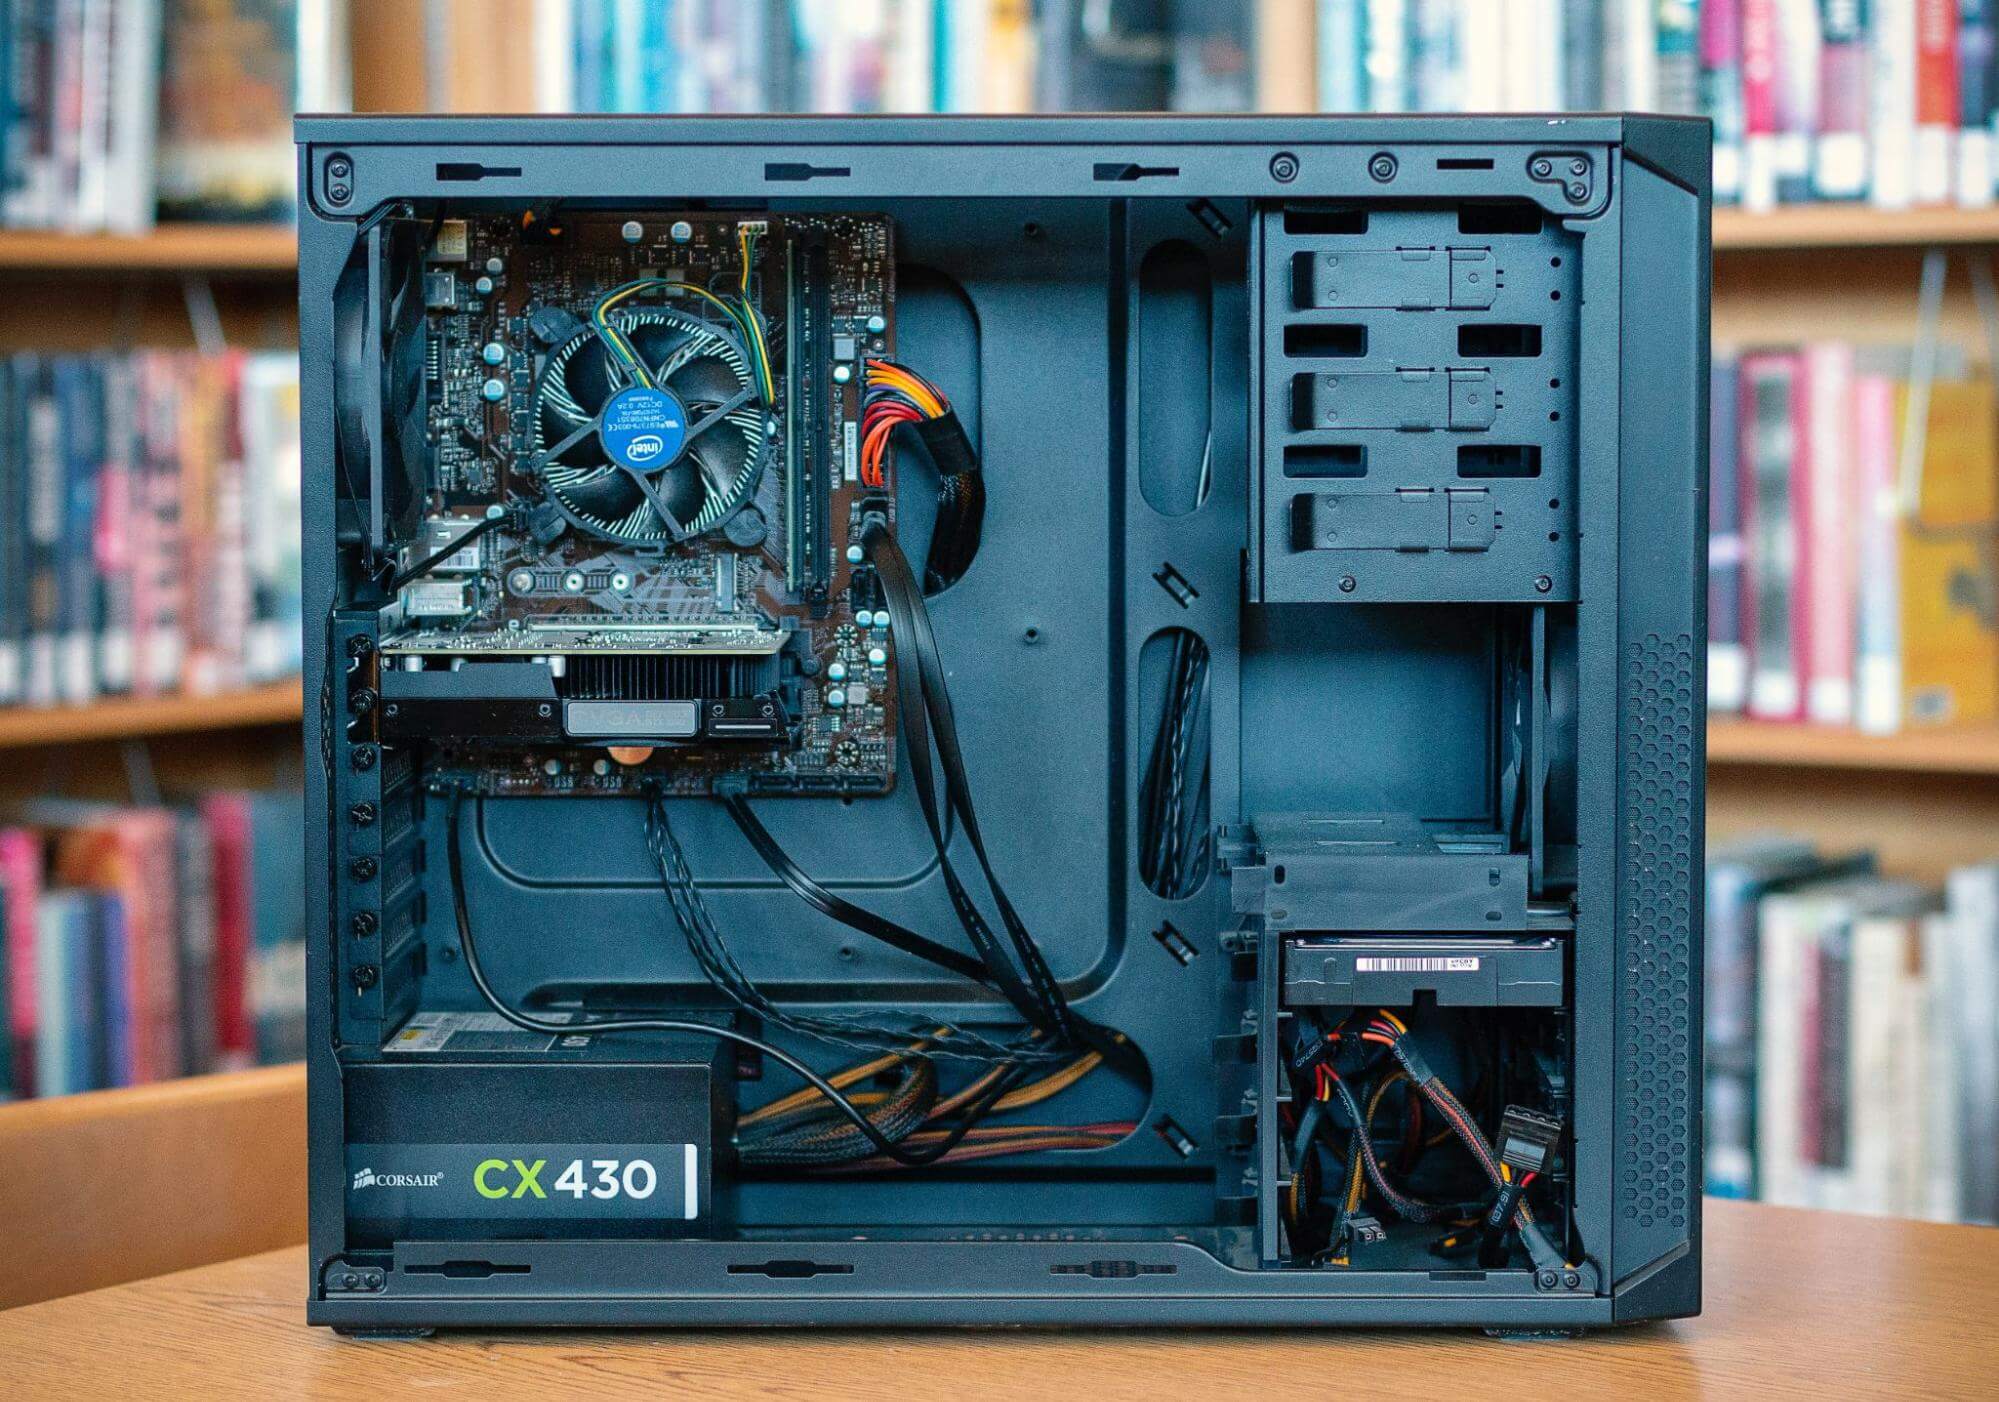
Step 2: Piece together a PC
In theory, any average consumer system or business laptop can be used to record and produce some basic music. In practice, modest computer specs reveal their limits when the complexity of your production scales up. Nothing kills the mojo faster than a laggy computer.
We’d recommend investing in a high-performance computer with a 64-bit operating system. It has to champion a significant amount of tracks, plugins, and sample libraries without choking up. Budget for it generously and buy the best you can afford at the given moment.
Now would be a good time to go through this guide on the minimum laptop/PC specs for music production. As a baseline, I recommend a computer with at least 8GB RAM and a 4-core processor. It’s also worth optimising your computer for music production.
That will work if you are using synths, producing electronic music, or any genre that doesn’t depend too much on large sample libraries. Yes, you can get by with 4GB but just barely so. Can you afford a better processor with 16 to 32GB of RAM? Just do it (Shia LaBeouf voice).
Storage: SSD or HDD?
Dealing with audio can rack up a lot of files over time. Start with 1TB of internal hard drive space and add more external drives later. For the sharpest performance, use a Solid State Drive (SSD) as the primary (OS) drive, with a hard disk drive (HDD) for secondary storage.
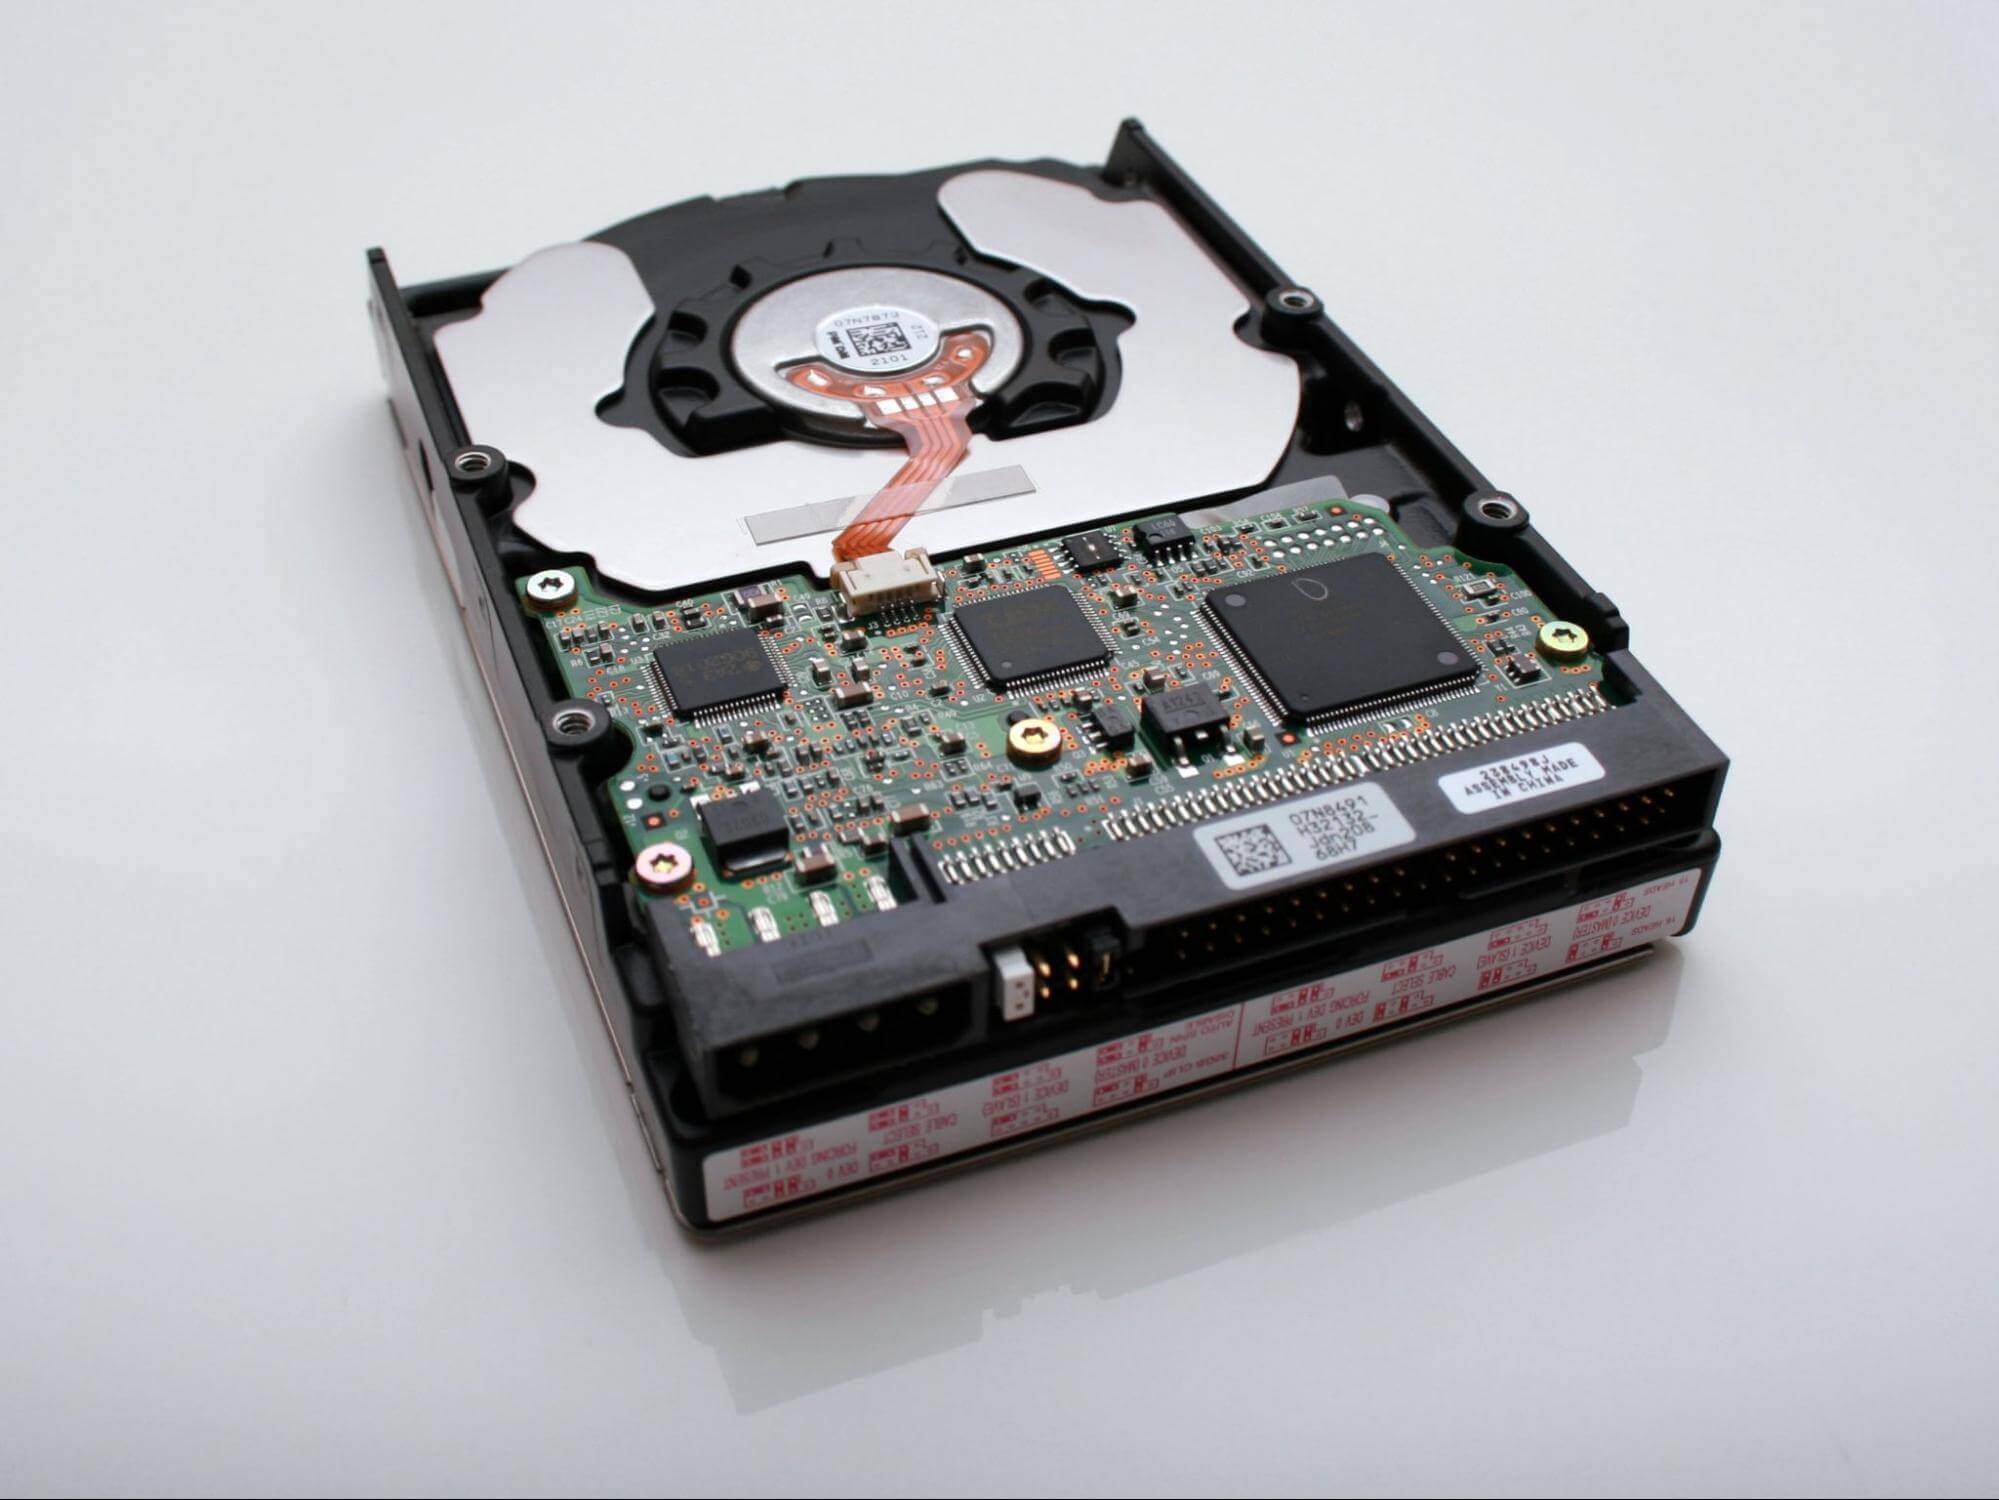
SSDs are more expensive than HDDs, so a hybrid approach allows you to choose a relatively small SSD (128 or 256GB) for your core programs, and use slower but cheaper HDDs (1TB) for large files and libraries. It is a good middle-ground for those on a budget.
You don’t need a dedicated GPU for music production.
A ‘dedicated’ graphics card is nonessential if you only work with audio. Unless, of course, you want to play games during breaks with your buds. That or you plan to do video editing, animation, or other graphics-intensive tasks. That said, music software has a lot of visual content so ensure that the integrated graphics on the system is of reasonably high quality.
Cost-Effective Tip: Custom vs. Pre-Built vs. MAC
If you are looking at Macs, you should throw ‘on a budget’ out the window. We’re talking anything between $1300 and $2000 depending on your configuration. The premium price is for Apple’s ease of use, tight integration with Apple products, and access to Logic Pro X.
Building a custom PC by sourcing individual parts gives you multiple options. It works out cheaper than buying pre-built systems. With the above configuration, you could build the right computer for less than a thousand dollars.
If you want your rig to be portable, laptops with similar configurations can also be found for around the same price. However, a laptop’s size and power restrictions can’t square up to desktop systems within the same price range. I only advise laptops (with a 15-inch screen) if you value portability and/or need it to double up for live performances.
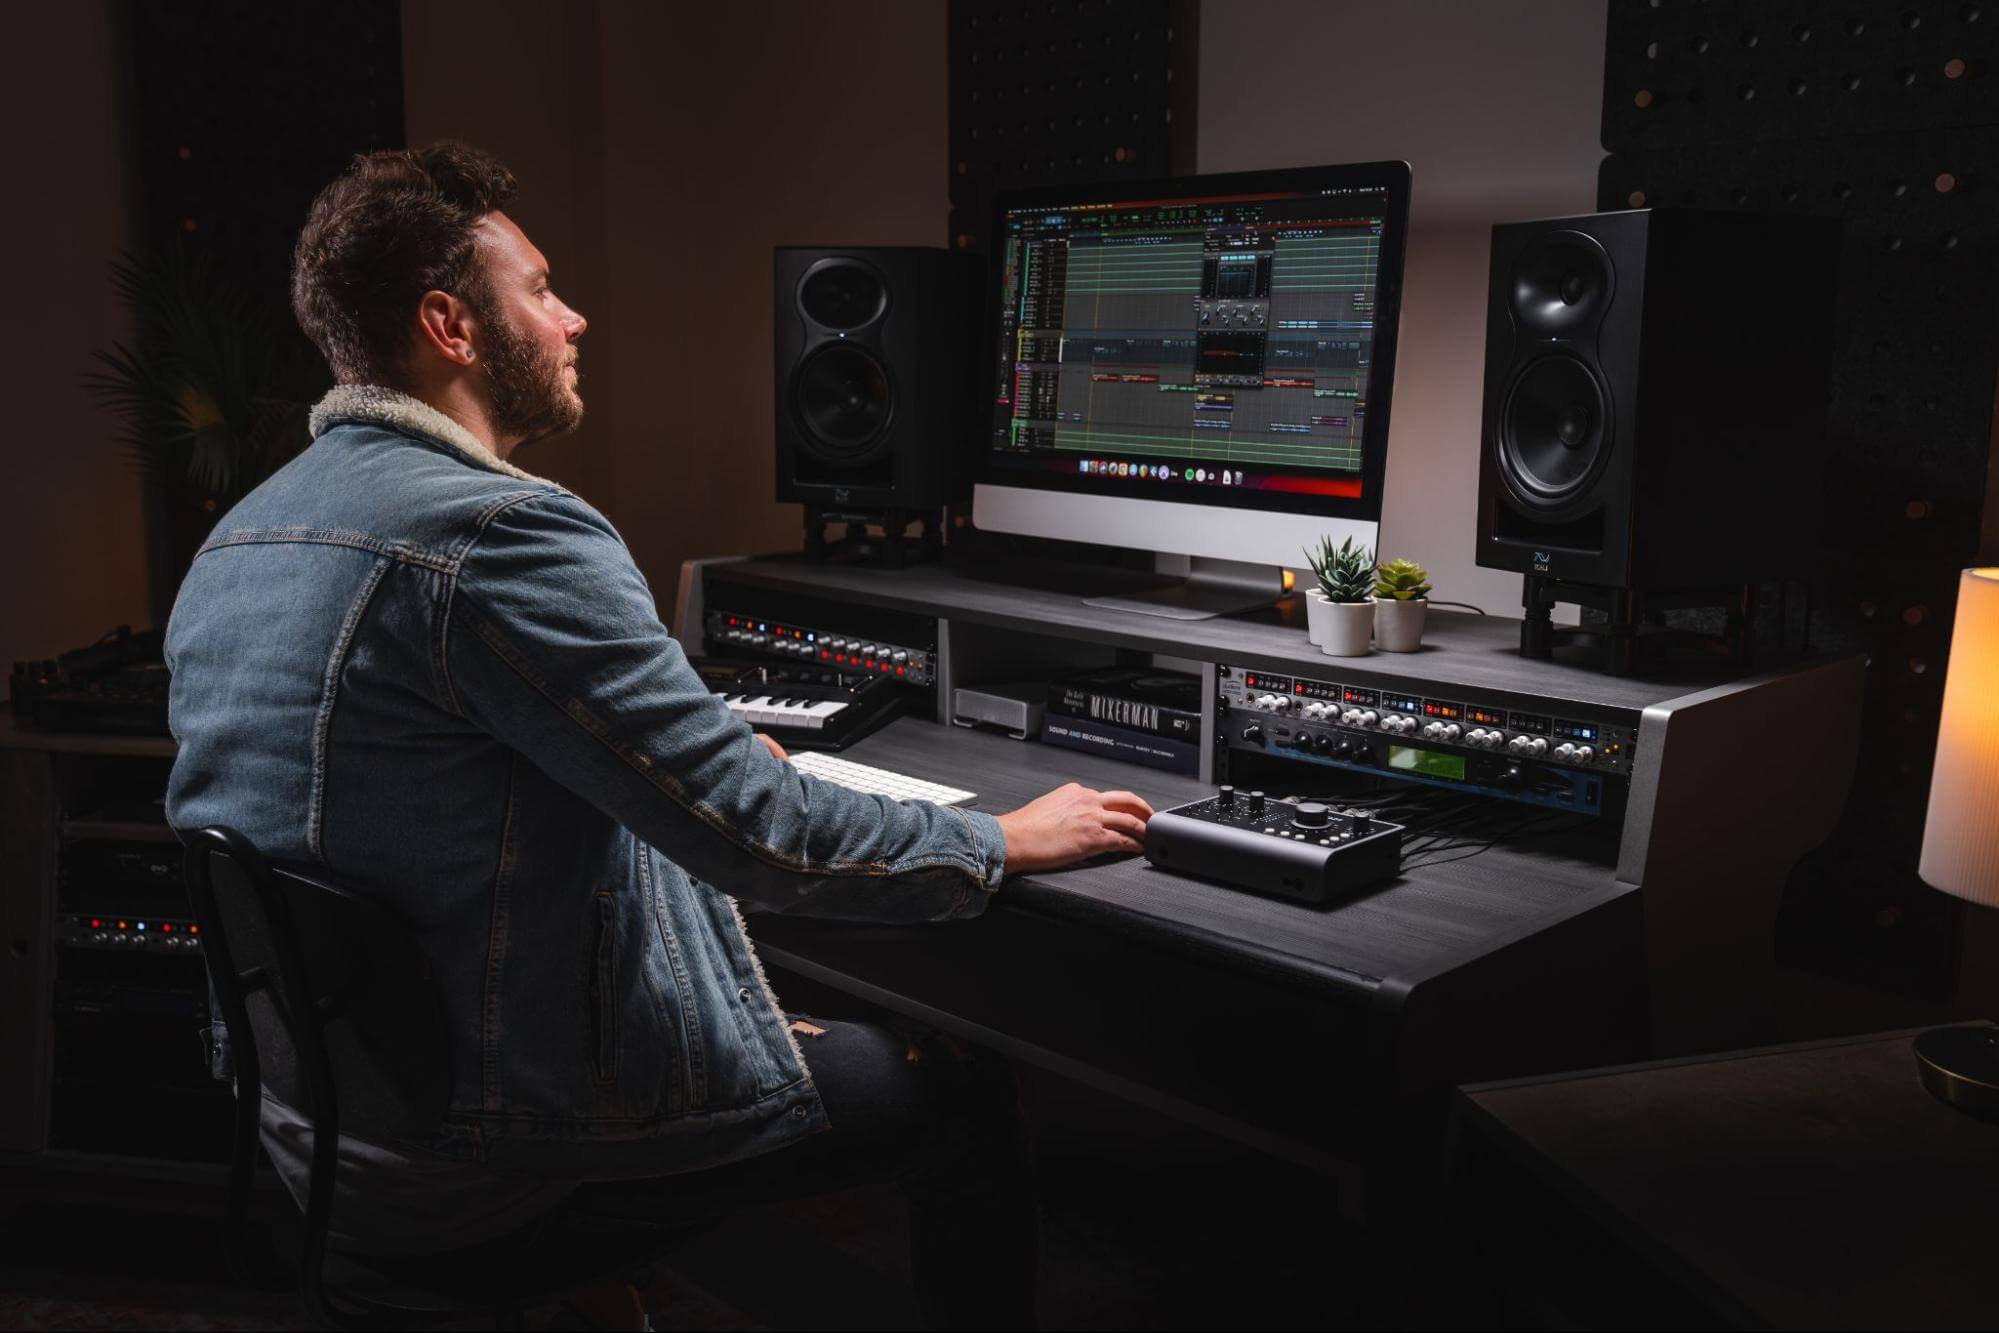
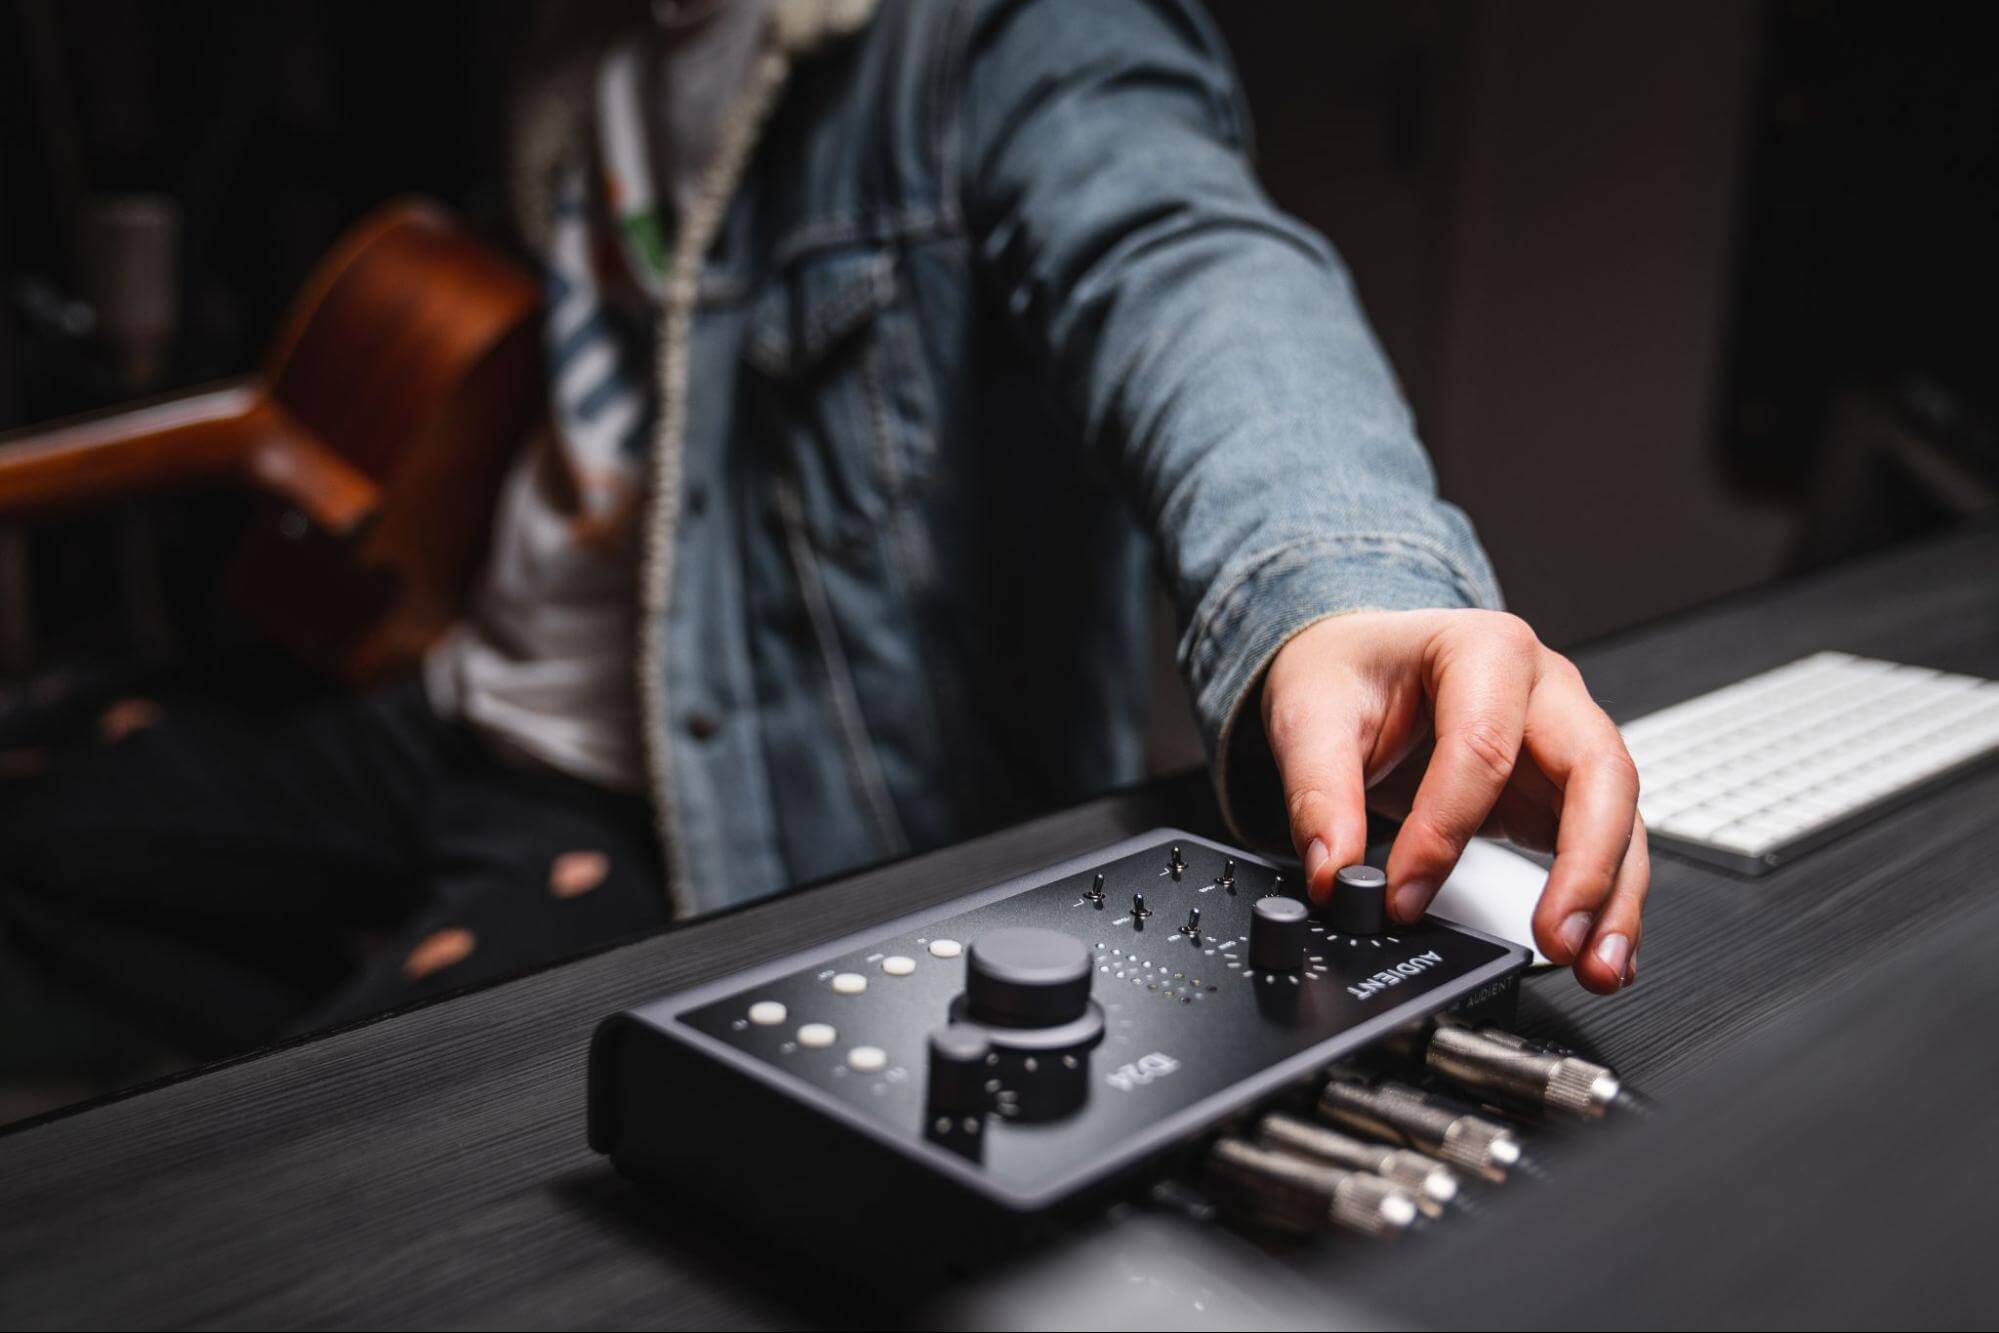
Step 3: Choose an Audio Interface
An audio interface acts as the intermediary between the analog realm of sound and the digital realm of your computer.
Your choice of an interface must factor how many inputs you need or how many sources you plan to record at once. Audio interfaces vary primarily in terms of the number of inputs and outputs. More inputs mean more sources (instruments or microphones) can be recorded simultaneously.
What about outputs? Most people only use a single pair of studio monitors. Two outputs are necessary. Nevertheless, mixing engineers may need multiple reference speakers (near field monitors) and/or outboard gear in their setup. This mandates an interface with at least 4 outputs.
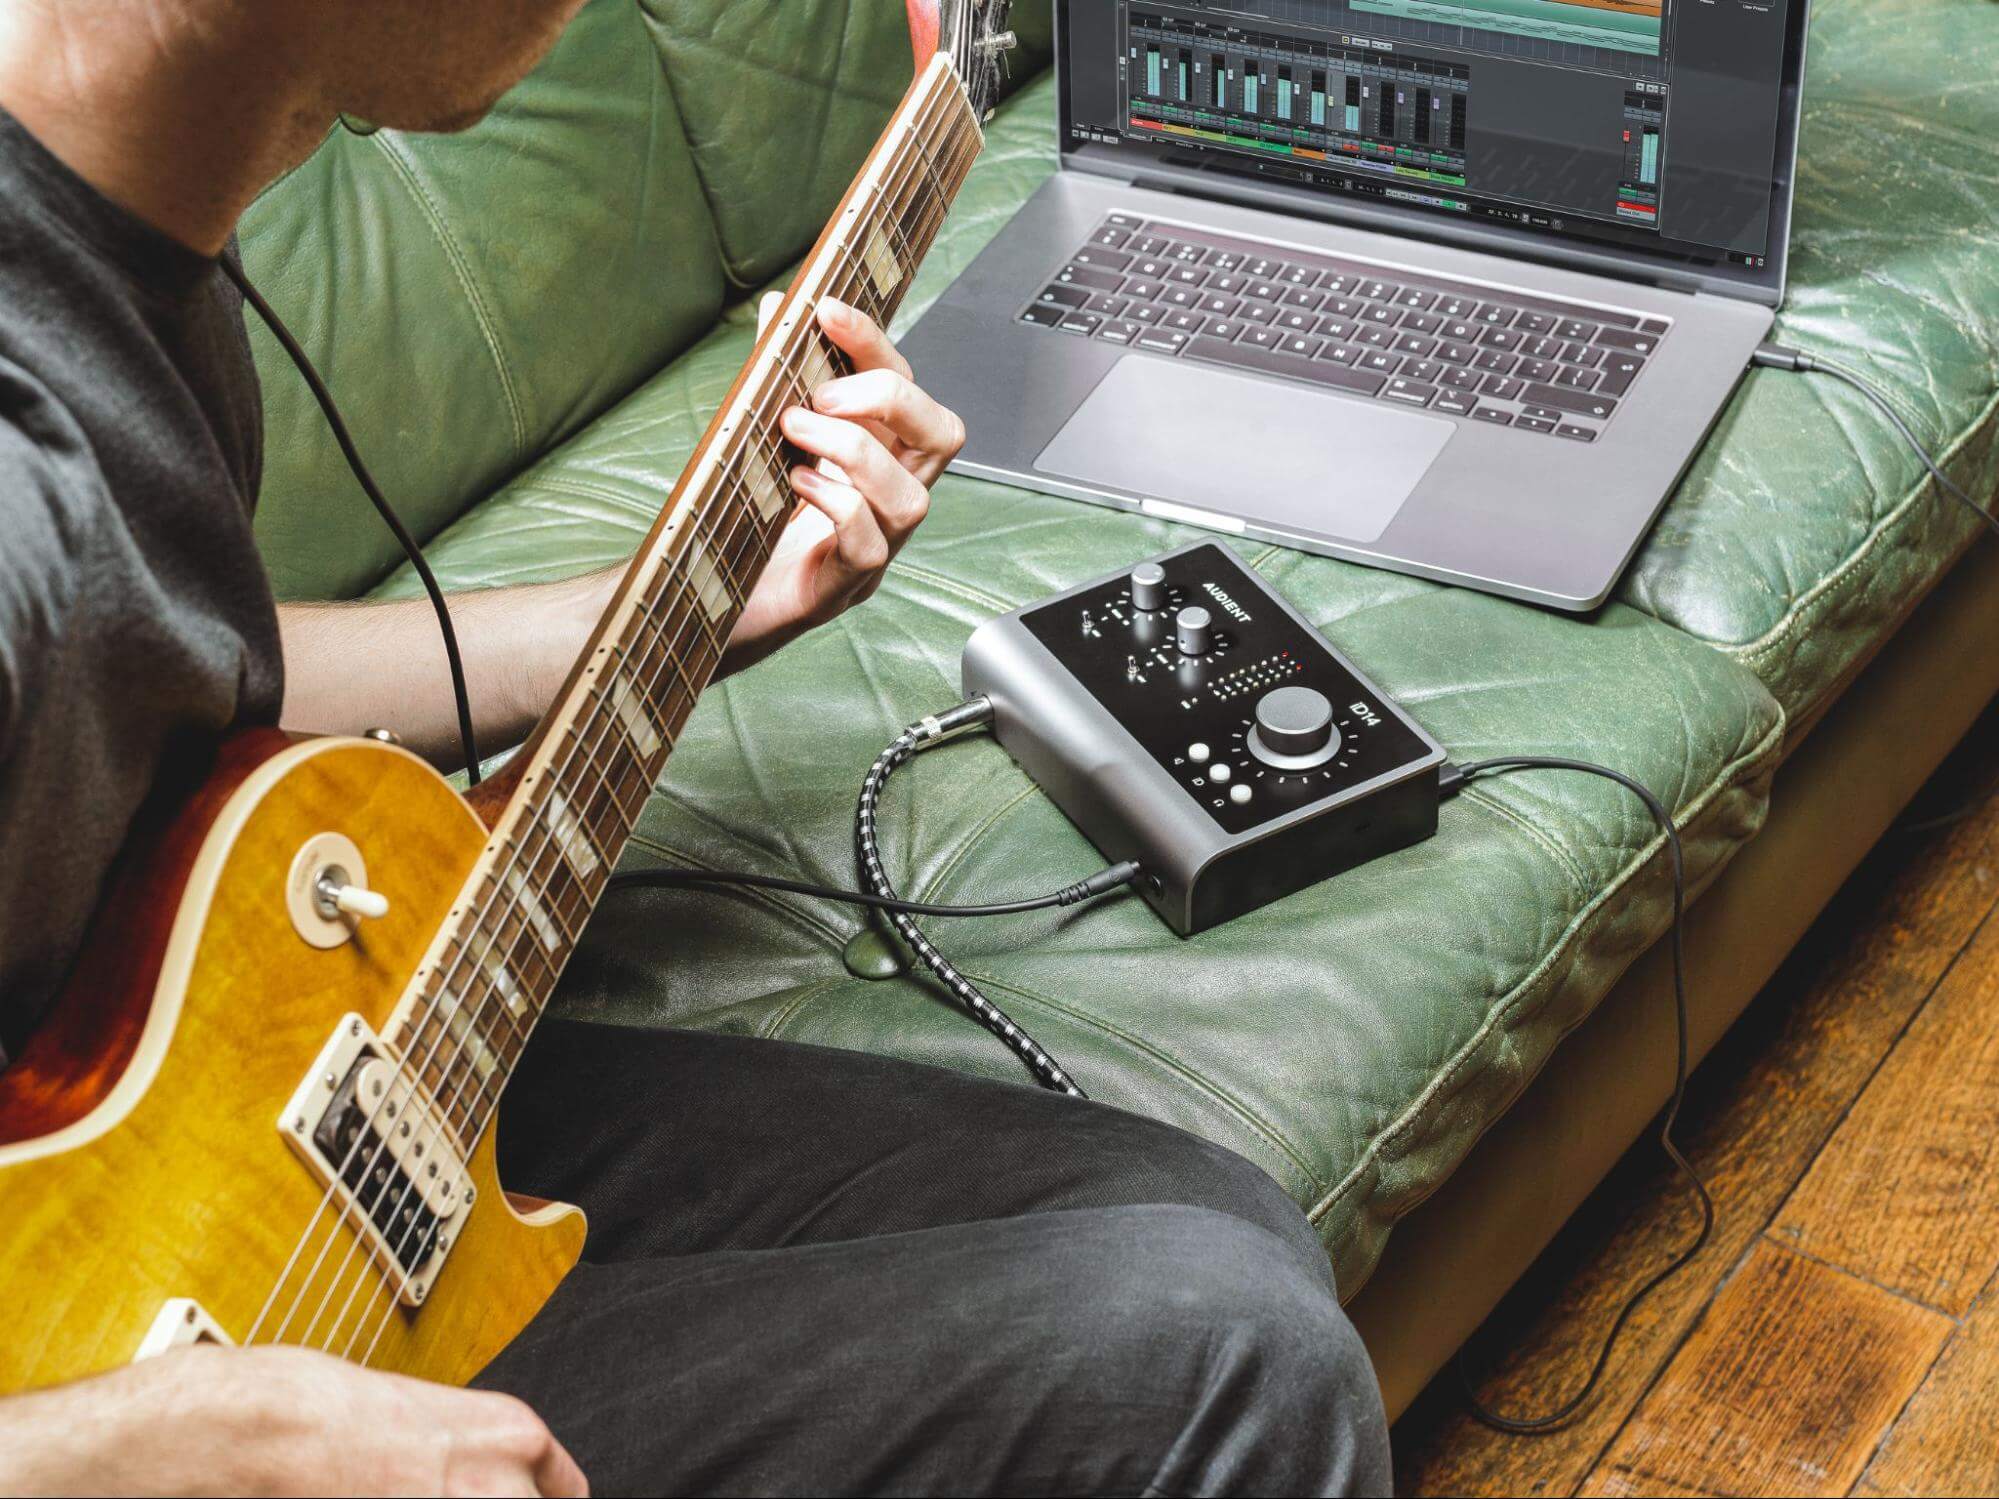
If you only plan to record one or two sources at a time, for instance, a singer-songwriter playing guitar and singing simultaneously, 2 inputs will suffice. Most interfaces in the entry-level category have 2-input and are geared towards small recording studios.
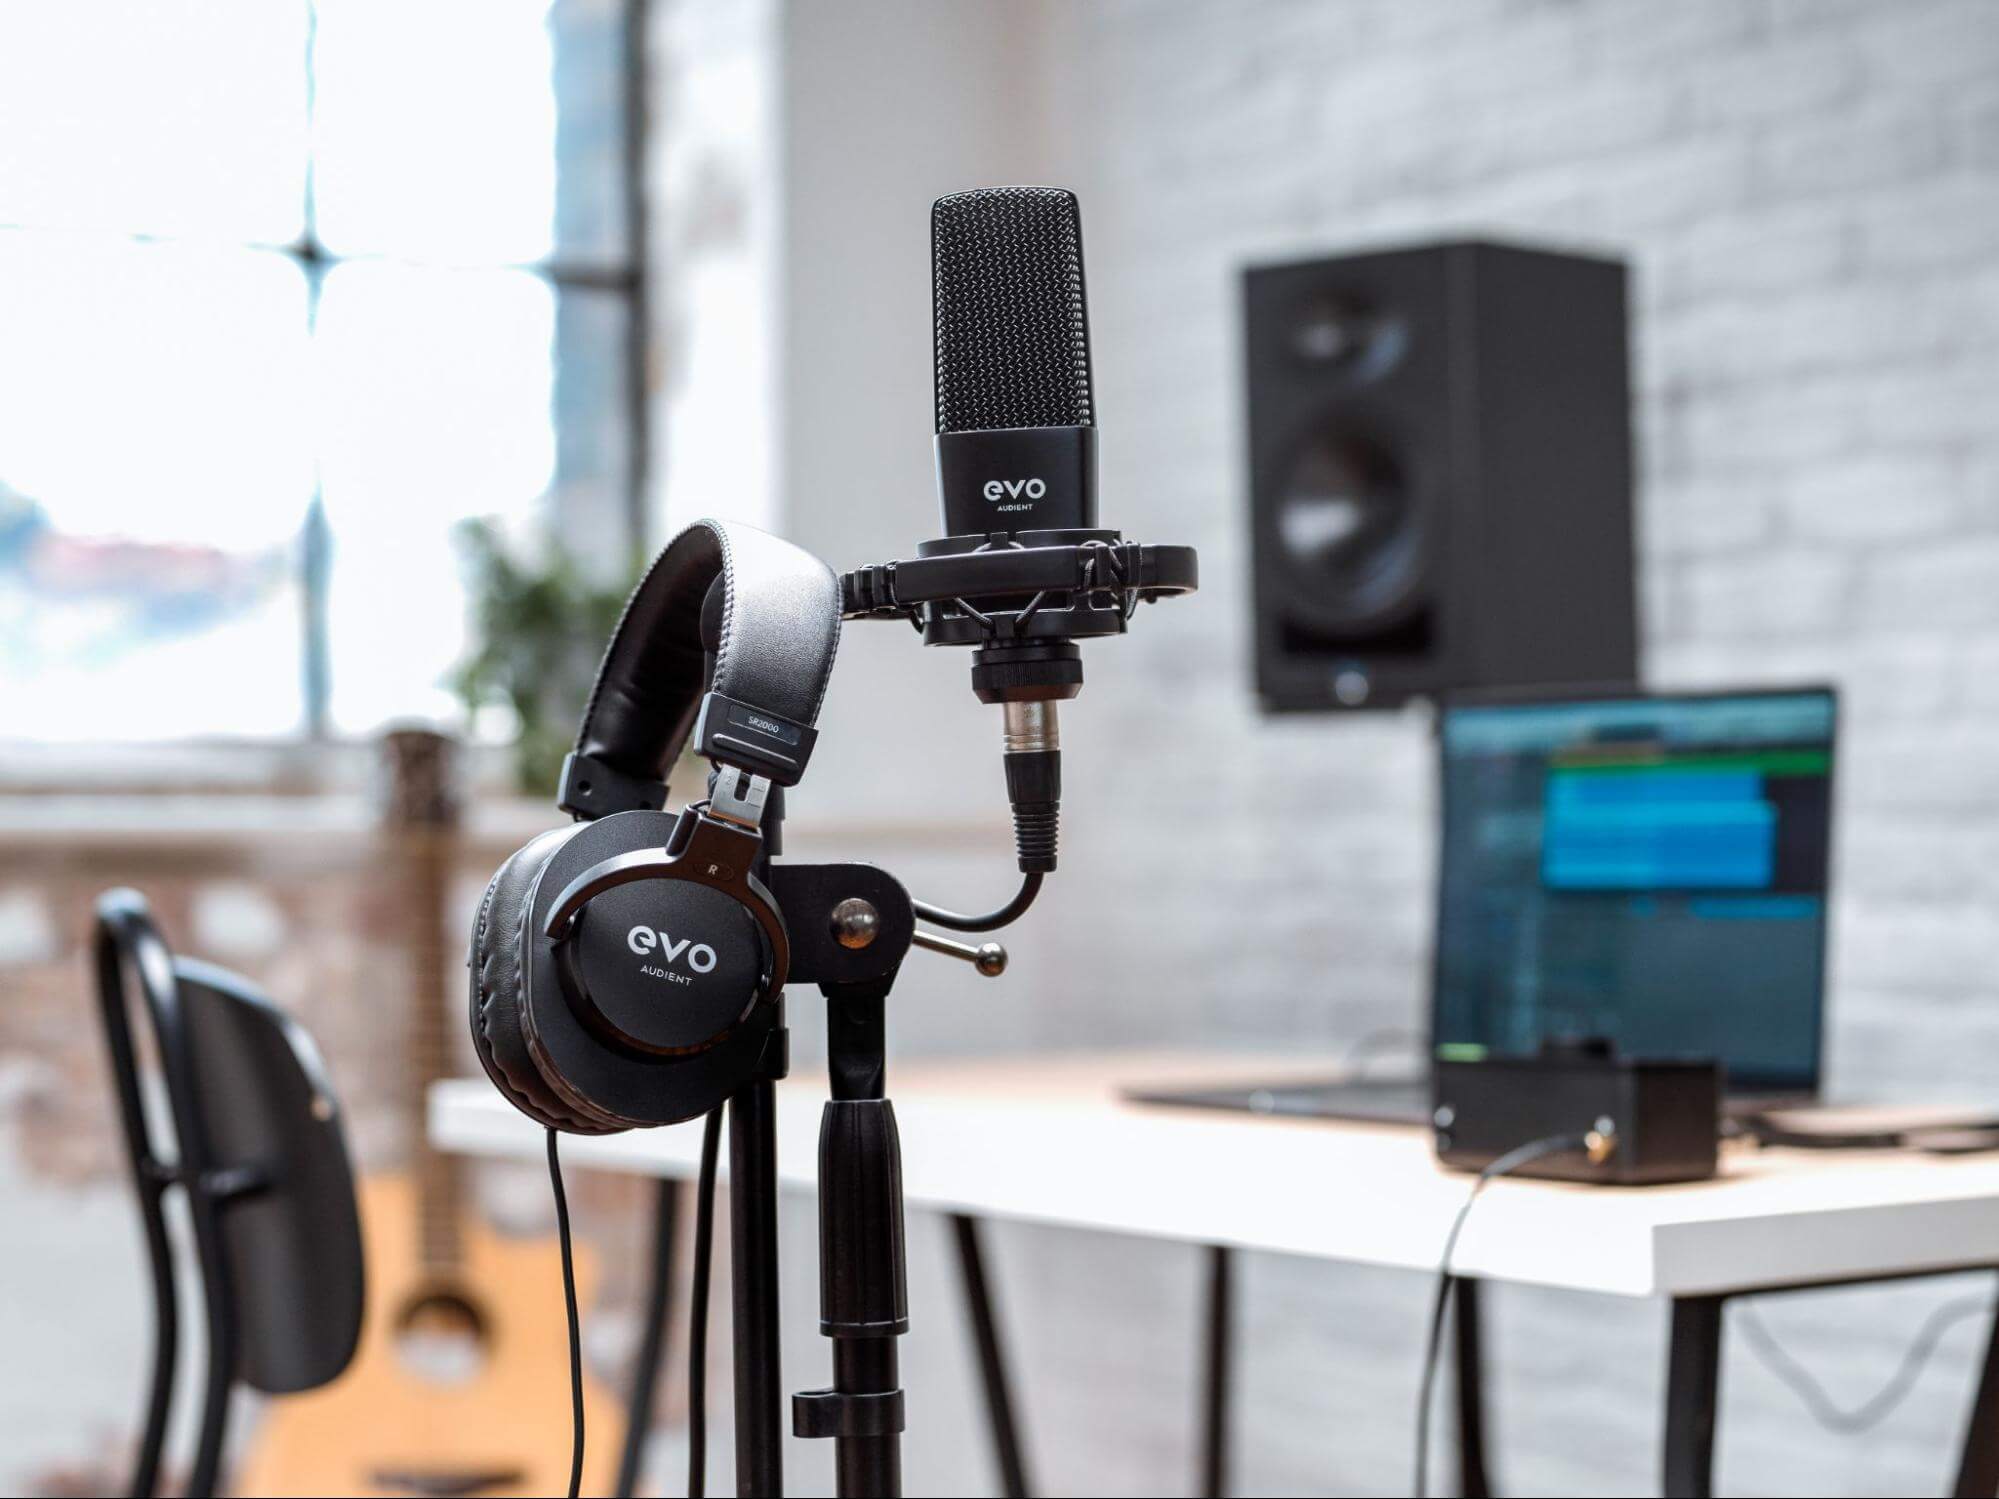
The EVO 4 (and EVO Start Recording Bundle) are both solid options, sound great and won’t cost the earth. If you plan to record a drum kit or a full band, you need more inputs or a good interface with ADAT expansions (like the iD14).
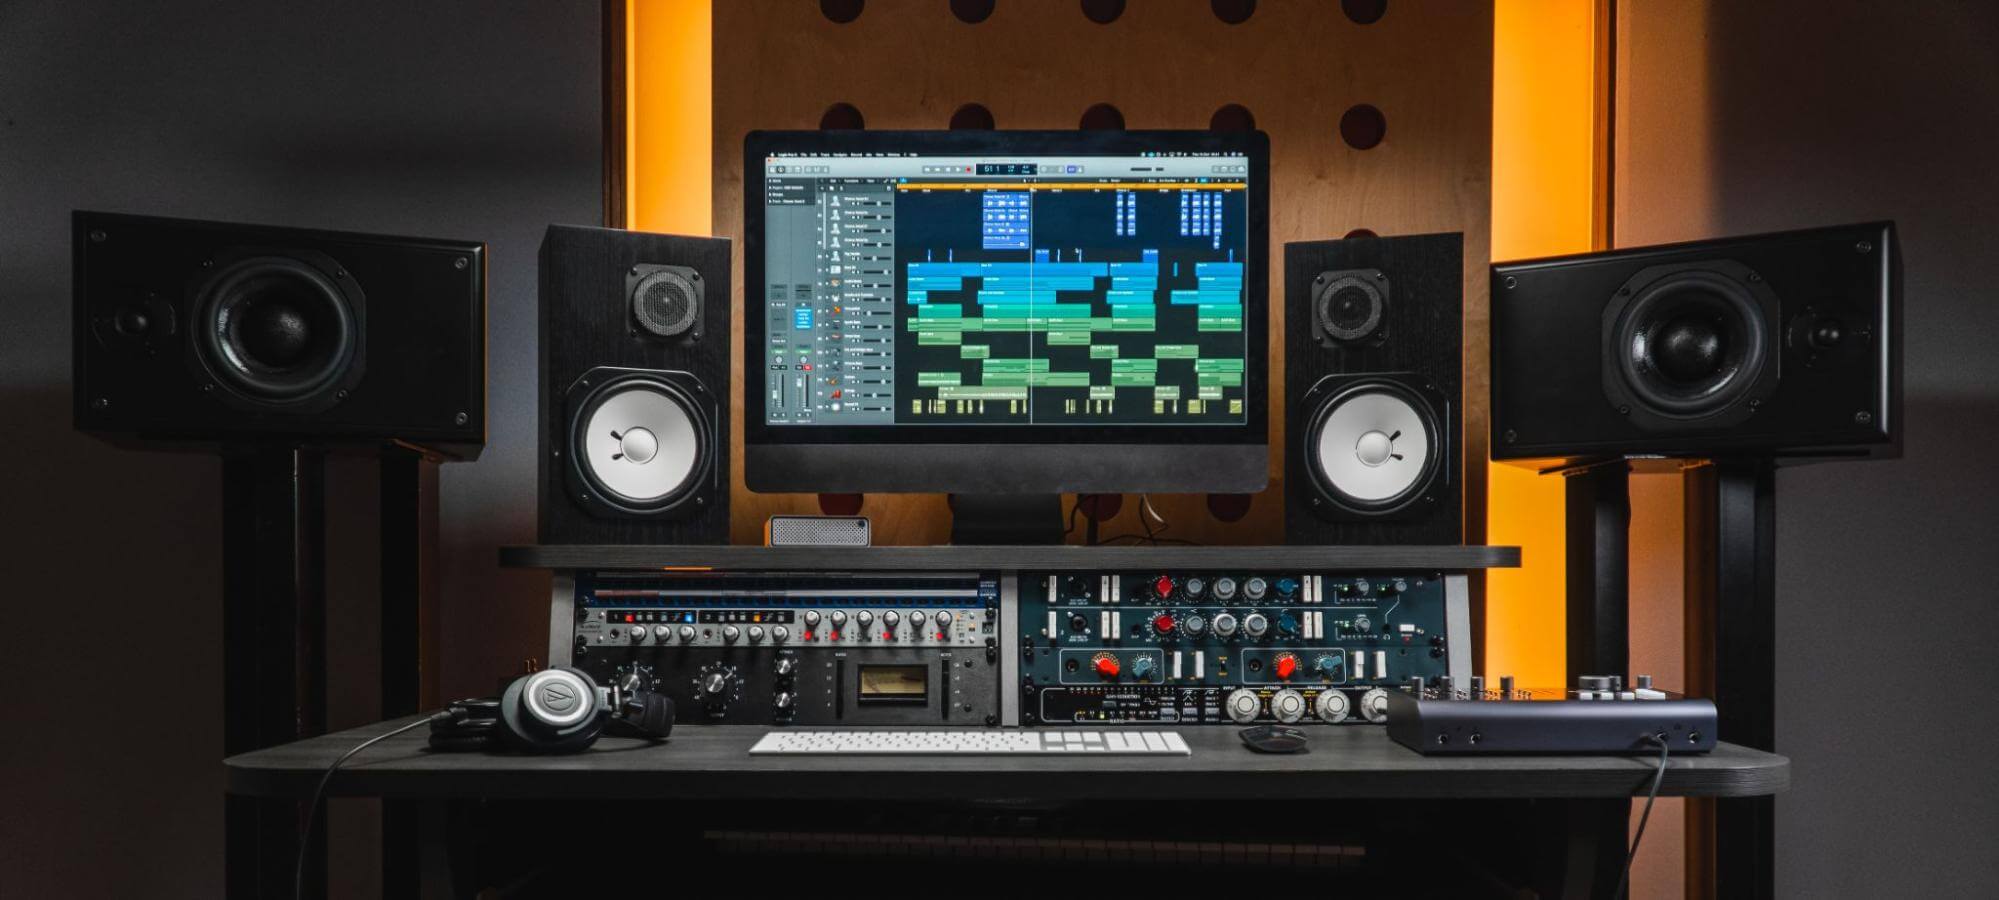
Step 4: ‘Pair’ it with Studio Monitors
Studio monitors are designed to be sonically flat or neutral, meaning that no frequencies are artificially boosted or cut. They ensure your music translates as well as possible across a variety of consumer systems, without skewing your reference perspective.
Good reference speakers will make a noticeable difference to your home recording studio, more so if you plan to mix and master in a home studio setup. Even so, recommending a specific type or size is tricky as that would vary based on your setup.

Monitors are typically classified in terms of the size of their driver, ranging from 3 or 4 inches up to 10 or 12 inches. Simply put, bigger drivers output more power and can produce lower frequencies.
Lower frequencies, however, can tend to become problematic in untreated or small rooms, so bigger doesn’t necessarily mean better for your purposes. How neutral even the best pair of monitors will sound depends on other factors like speaker placement and room treatment, which we will touch upon later.
For small to medium-sized rooms (8′ x 10′), studio monitors with 5 or 6-inch drivers will suffice and you can usually get hold of them for around $300 to $400 for a pair.
If you have a room larger than that (12′ x 15′) and want a frequency response that goes lower, opt for 6.5 to 8-inch studio monitors. Sizes above that aren’t highly recommended (or needed) for a first studio as they mandate considerable acoustic treatment to sound right.
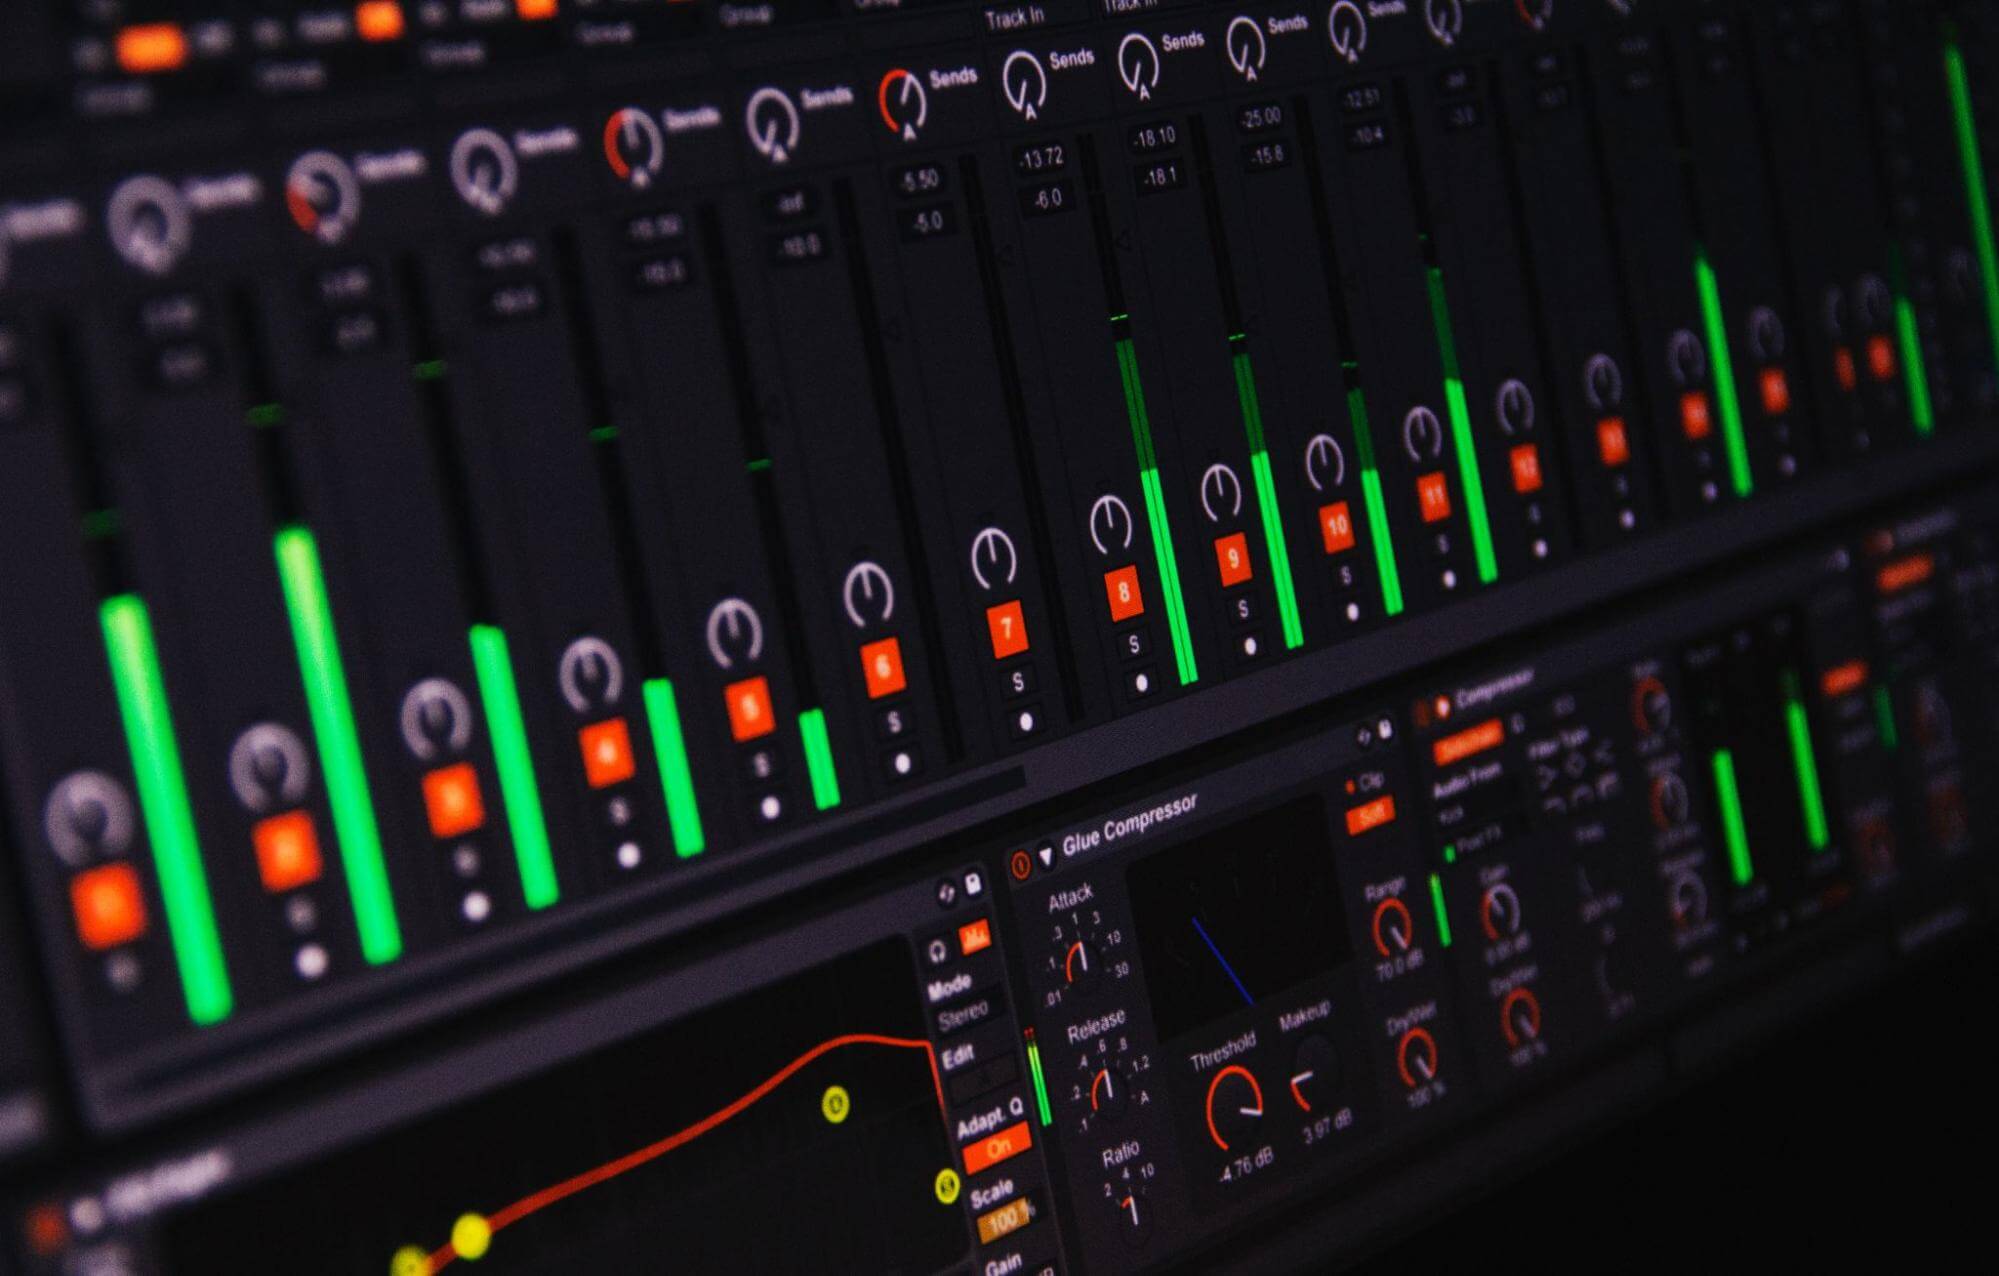
Step 5: Digital Audio Workstation (DAW)
If you are unsure about what a DAW is and how to decide what is right for you, we’d recommend that you start here. When it comes to DAW (in the context of pricing), you have three choices:
Free DAWS: This refers to any DAW offered as a free version such as Audacity, GarageBand, and Cakewalk by BandLab. Some of these are (almost) full-featured but they pale in comparison to paid options.
We’d only recommend these for beginners who have no experience with audio production. You can rely on them temporarily if your budget is drastically low, but only until you save up enough for a full-capacity professional DAW.
Limited Functionality DAWs: DAWs offer a free trial period via trial versions to ‘test’ the software before you commit to buying it. You ought to get at least one of these free with the other gear you buy.
Many audio interfaces include a ‘Lite’ version of a digital audio workstation like Abelton, Cubase, or others. They aren’t long-term solutions. You have to commit to a full version sooner or later.
Paid DAWs: Pro-grade DAWs include FL Studio, Reaper, Pro Tools, Cubase, Logic Pro X, among others. They differ in features, workflow, and pricing. We could spend hours discussing these. Ultimately, you have to choose one based on what appeals to you in terms of functionality, UI, and workflow.
Abelton Live and FL Studio are optimized for electronic or sampled-based production. Logic Pro X is a no-brainer if you are on a Mac system due to its rich feature set. Reaper, Cubase, Pro Tools have an efficient workflow if your focus is on recording, mixing and editing audio.
Budgeting for a DAW:
As far as pricing goes, Reaper is the cheapest full-fledged DAW available at $60 for a personal/small business license (with the caveat that it doesn’t come with any bundled virtual instruments). This price also covers two major version upgrades.
Logic Pro X, Studio One, Cubase, FL Studio, and Ableton Live are priced between $200 and $500 (standard versions), with Logic and FL providing free upgrades. Another option is to opt for a subscription model like PreSonus Studio One, which offers a yearly subscription at little over $100.
Pro Tools, while arguably the “industry standard” for major studios, remains the most expensive, with a subscription-only option at $500 yearly for its ultimate version. It is a difficult choice for new budget-conscious home studios.
Step 6: Load the Microphones
Every studio needs at least one or two microphones to record audio, especially vocals, acoustic guitar, and other instruments. Your microphone collection can (and will) grow over time. For now, the best strategy is to acquire one workhorse and one ‘specialty’ microphone.
A workhorse would be dynamic mics like Shure SM57, SM58, or Audio Technica AT202. These are tried and tested classics that yield good results with practically anything you throw at them. All these mics cost around about $100.
Your ‘specialty’ microphone should be a condenser or a niche mic (optional) for particular use in your genre. As we’ve mentioned the EVO Start Recording Bundle includes a condenser mic that sounds great and is perfect to get you started in home recording.
Step 7: Headphones and Amplifier
Good “cans” are essential for monitoring or as a second reference while producing or mixing. Like with monitors, sonically flat headphones are preferable in the studio. A flat sound ensures accurate reproduction without adding its own EQ or enhancements.
Additionally, they should be flexible and must seal firmly around your ears. Ergonomic designs are essential to avoid pain or discomfort after prolonged usage. A good seal, on the other hand, prevents leakage (bleed) into the microphone when you record.
If you’re picking up the Start Recording Bundle you’ll get a quality set of headphones included, too.
If you will be recording multiple musicians simultaneously, you need enough headphones to cover monitoring for everyone. The Nero will do just that!
Step 8: Get a MIDI keyboard
I considered making this step optional, but considering how ubiquitous MIDI keyboards have become in a modern music studio, a home setup would be lacking without one.
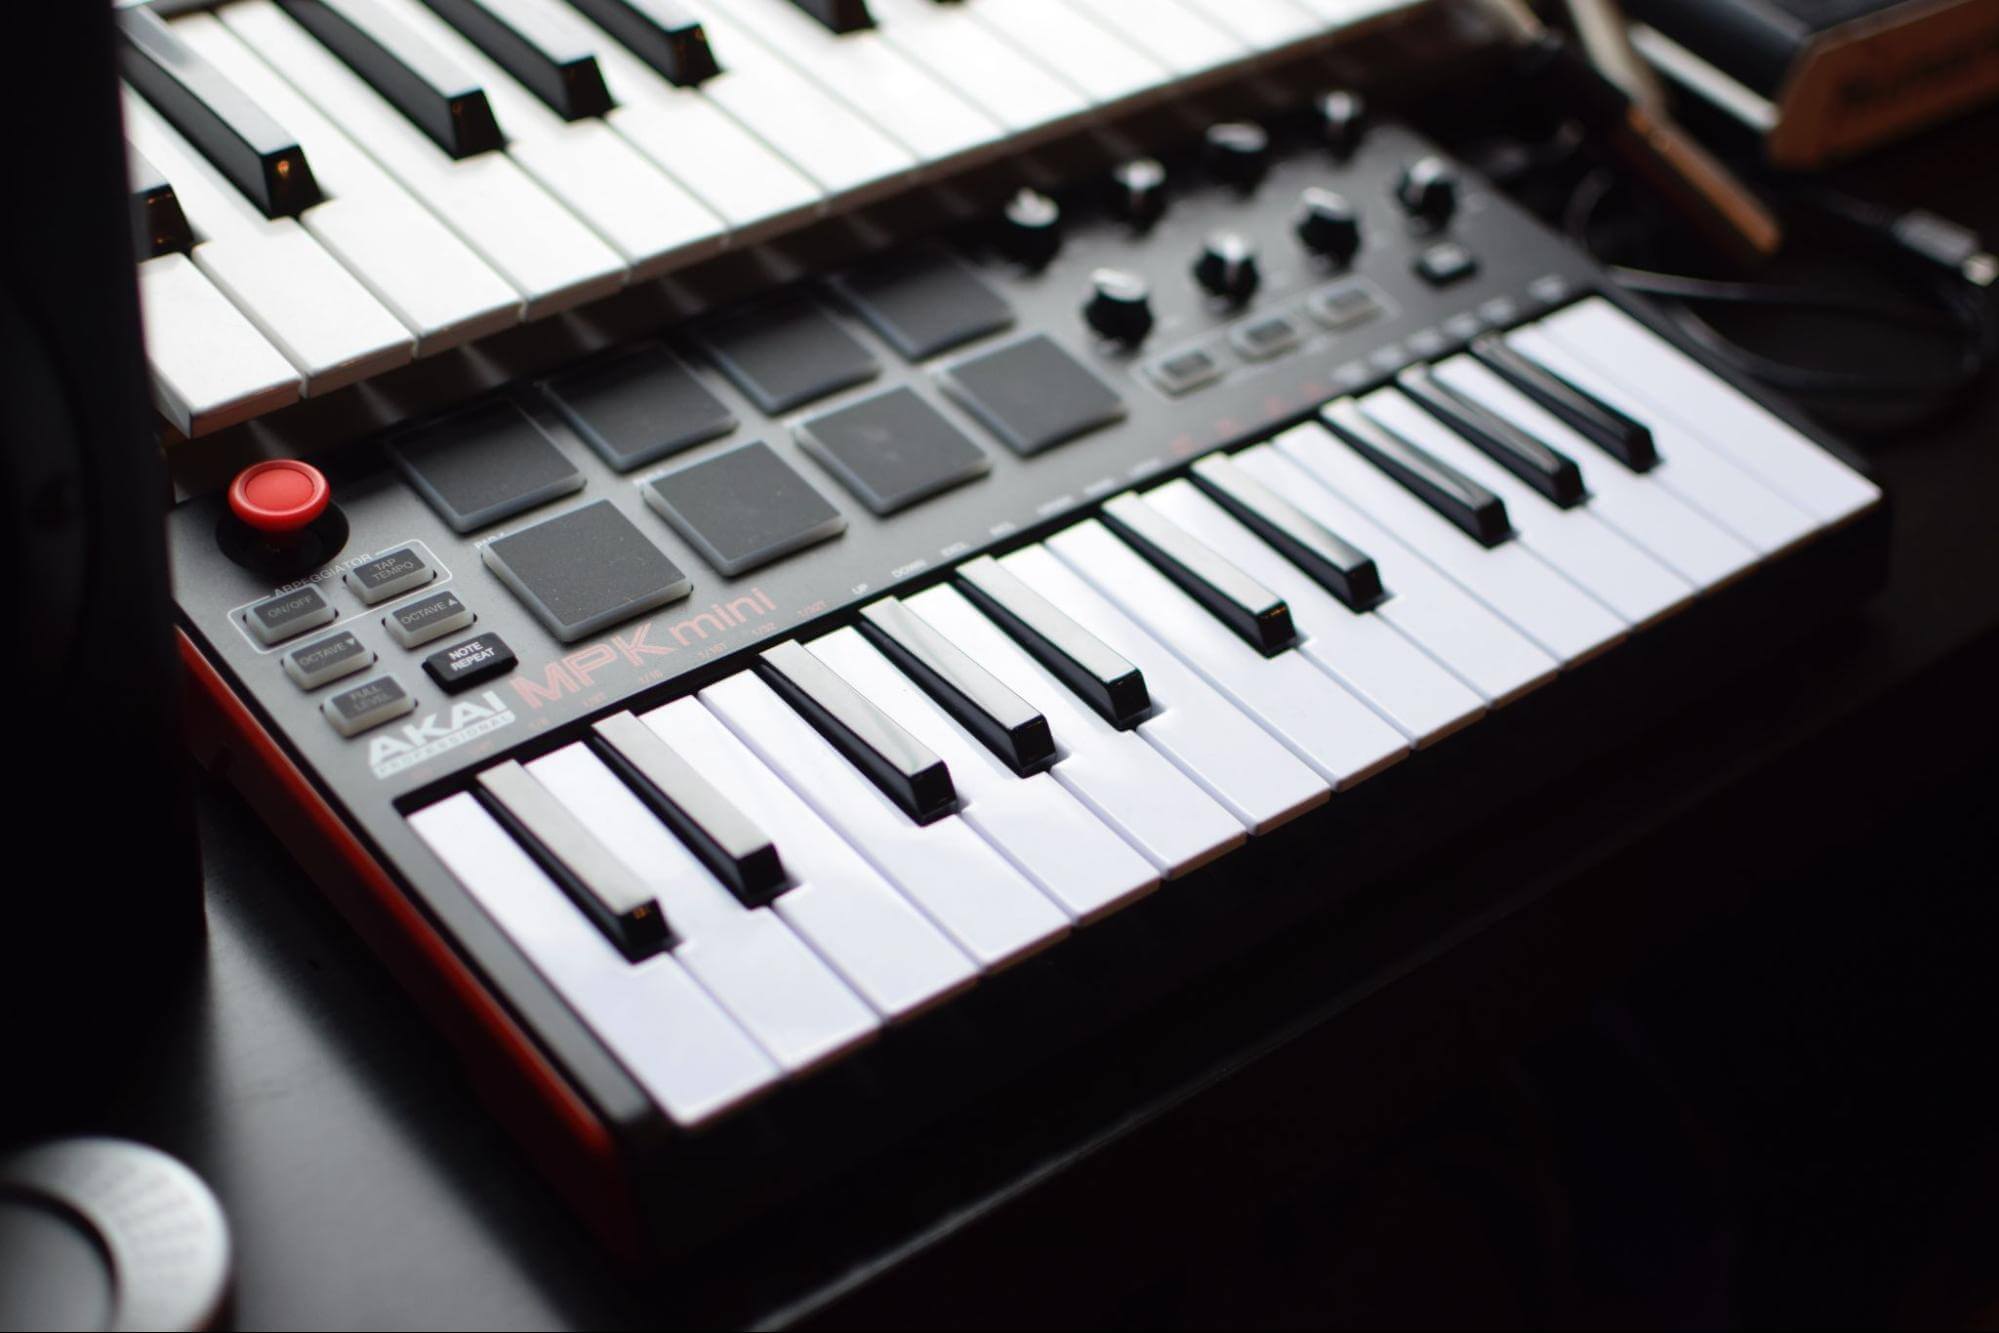
Apart from just playing virtual instruments, MIDI keyboards are useful for production tasks like triggering automation, samples, patch changes, and a lot more. The flexibility of MIDI in post-production means you can edit, correct, and layer performances as required.
Depending on your size requirements and space abilities, MIDI keyboards can range from compact 25-key models to 88 keys with full-sized keys. For a good budget keyboard, you’re looking at a cost ranging from $150 to $300 varying with the size and features.
Step 9: Consider room treatment
Whether you’re recording through a microphone or mixing a track, your biggest enemy is the sound reflecting off walls and other surfaces. Room treatment is the key to high-quality sound in a home recording studio.
Room treatment involves using special materials to minimize these reflections. Bass frequencies tend to be the most problematic to control in small rooms. They can reflect off walls and interact with the original sound wave, creating points of bass buildup and bass null alternately.
To combat this, panels of absorptive material like foam panels, rockwool, or glasswool can be placed in strategic positions to minimize low-end reflection. Widely available acoustic foam is also useful to control reflections of higher frequencies.
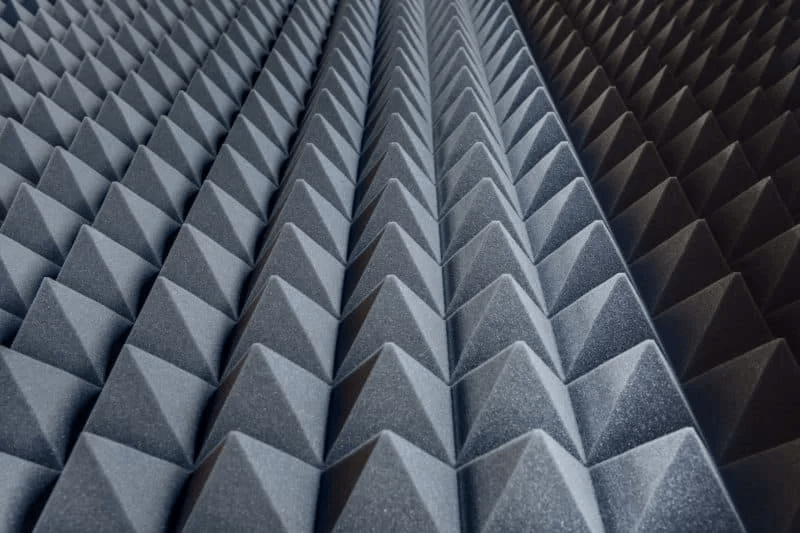
A combination of high and low-frequency absorption materials can be used to ‘deaden’ a room in a balanced way to ensure maximum neutrality. There is no dearth of information on the internet about acoustical treatment, including measurements, materials, and pricing.
Although ready-made room treatment kits are available, I highly suggest sourcing raw material and hiring a local carpenter to build custom treatment for your room. This usually works out much cheaper while also being tailored to your specific space.
Producer Hive conducted a podcast with the founder of Sonarworks, covering lots of tips on how to best treat your home studio. I recommend giving it a watch!
Step 10: Round it up with cables and hardware
From keyboard stands to a vocal booth to screen arms, there are lots of miscellaneous considerations. Some of these are mandatory, others correspond to your recording equipment (i.e. electric guitar amps). You can fit in as much stuff as possible to improve your efficiency and comfort.
Among the essentials, you need a pop filter for condenser mics and a microphone stand. Pop filters are important when you are recording vocals using a condenser microphone. However, most of them do the same thing so you can settle on the first decent one you find.
I highly recommend a decent pair of microphone stands. A sturdy mic stand is important. I have seen far too many cheap ones tip over. I would rather pay a few extra dollars for higher quality than contend with a smashed condenser.
Lastly, you need instrument cables and mic cables – XLR Cables for dynamic mics. You can get a basic 25-foot XLR cable for $12 a pop. For more options, you can check out our post on the best XLR cables for home recording.
Final Thoughts
We first build a studio in our home and then build a home in our studio. Whether its a decked-out professional studio or an improvised space up under the stairs, the arc of our swivel chair is our window to the world – outside and within. Cosign?
My motive, with this post, was to highlight how you can save money and build a studio to achieve great recordings within a reasonable budget. It’s possible without having to take out another mortgage. Of course, as you grow, you will GAS over ribbon mics and vintage hardware.
The mortgage will happen anyway.

About the author
Sean is Co-founder & Editor In Chief at Producer Hive, a community-run music production blog, YouTube channel, and podcast. As Commit, he has released music on renowned deep dubstep labels such as Deep Heads and Interchill Records.
Our Products
-

2in | 2out Audio Interface
-

10in | 6out Audio Interface
-

10in | 14out Audio Interface
-

20in | 24out Audio Interface
-

24in | 32out Audio Interface
-

2in | 2out Audio Interface
-

4in | 4out Audio Interface
-

24in | 24out Audio Interface
-

Everything you need to start recording
-

8 Channel Smart Preamp with AD/DA
-

8 Channel Mic Pre & ADC
-

8 Channel Mic Pre + Tone Control
-

Modular Analogue Recording Console
-

Small Format Analogue Recording Console
-
Small Format Analogue Recording Console
-

Immersive Audio Interface and Monitor Controller
-

Desktop Monitor Controller