


1. Choose the right microphone
Inevitably, the microphone you elect to point at the speaker cabinet from which your amplified guitar is emanating has a major impact on the quality and character of the recording you end up with. For loud, high-gain rock guitars, a dynamic mic such as the stalwart Shure SM57 or Sennheiser MD 421 is often the best option, delivering a tough, punchy sound and able to handle high volume levels without distorting. For cleaner, less aggressive styles, a condenser may well prove the most effective choice, being more detailed and sensitive to dynamic variation, and offering a wider frequency response than its dynamic counterpart. Be careful not to hit your condenser too hard with sudden extreme changes in volume, though, as they’re prone to distortion (of the bad kind!) when overloaded.
Ribbon mics are also worth considering for their accurate frequency response and dynamic honesty. The Royer R-121 is perhaps the easiest recommendation here, being rugged enough to deal with the demands of high energy axe work, and sounding every bit as fabulous as its hefty price tag would suggest.
2. Experiment with mic placement
Just as important as the selection of microphone is its positioning relative to the speaker cone in the cabinet. The further away from the cab you put the mic, the less upfront and focused the captured sound will be, and the more the reverberant room will be grabbed along with it (which we’ll return to shortly); while the location between the edge and centre of the cone affects the frequency response – more bass at the centre, more high frequencies at the edge, essentially.
Start with the mic an inch or two from the centre of the cone and perpendicular to it, then play around with the distancing, radial placement and angle to find the sound you’re after.
3. Use multiple microphones
While you can certainly achieve fantastic guitar sounds with only a single microphone, bringing a second one into the picture can greatly expand the sonic palette available to you, with each mic recorded onto its own track for mixing to taste. For example, close miking both the centre and edge of the cone separately lets you balance their frequency responses, while combining dynamic and condenser mics will net you two very different tonal colours to similarly blend as you see fit.
Be aware of potential phase issues when using multiple mics, though. If the mixed signal sounds ‘hollow’ or weird in any way, press/click the phase invert button on one of the channels – if phasing is the cause, this will immediately fix it.
4. Consider the recording space
The room in which your cabinet is situated will also have an effect on the sound captured by the microphone(s), and unless you’re in a purpose built space (ie, a commercial recording studio), this will likely be something you want to minimise. The easiest way to do this is to use a cardioid dynamic mic, as discussed above, since its lower sensitivity and forward-focused polar pattern will largely reject any sound waves not coming at it from the front – this will often be all that’s required to keep the sound tight and in-your-face. Alternatively (or also), you could rig up a reverb-deadening ‘chamber’ around the cabinet using suspended duvets, cushions and other soft furnishings, or apply a de-reverbing plugin such as Acon Digital’s DeVerberate 3 to the recording after the fact.

On the other hand, of course, there’s nothing stopping you from capitalising on the sound of your recording room if you feel it actually benefits the guitar part in question. For this, we’d suggest moving the mic (which will probably need to be a condenser in this case, for greater sensitivity) away from the cabinet to find the right balance of guitar and room; or close miking the cabinet, then sticking a second mic (condenser or ribbon) up as far away from it as possible to capture the sound of the room, and recording each to its own track for mixing afterwards.
5. Set the gain level correctly
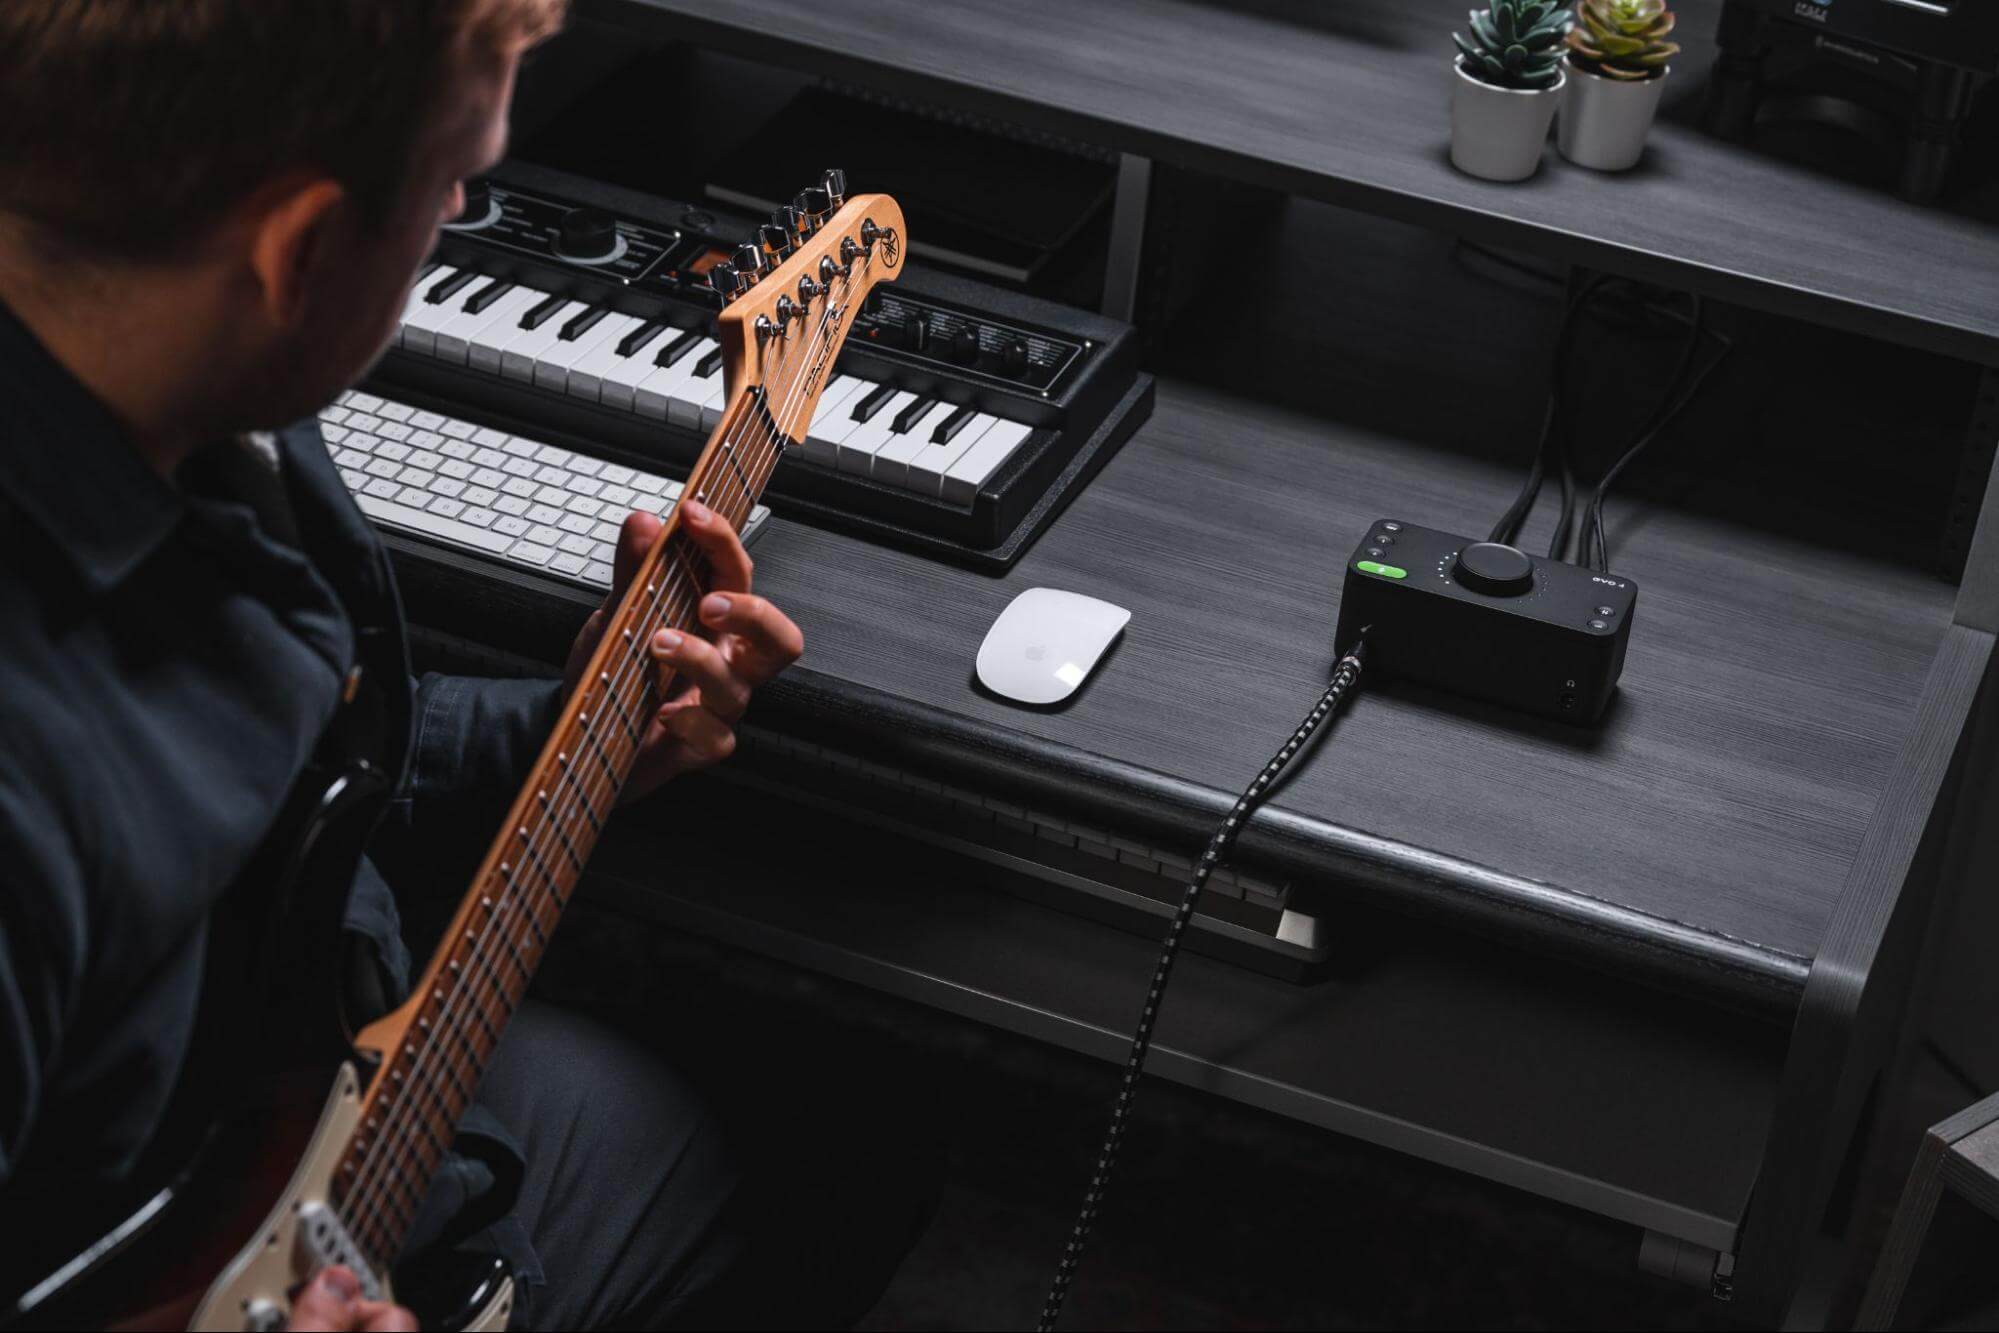
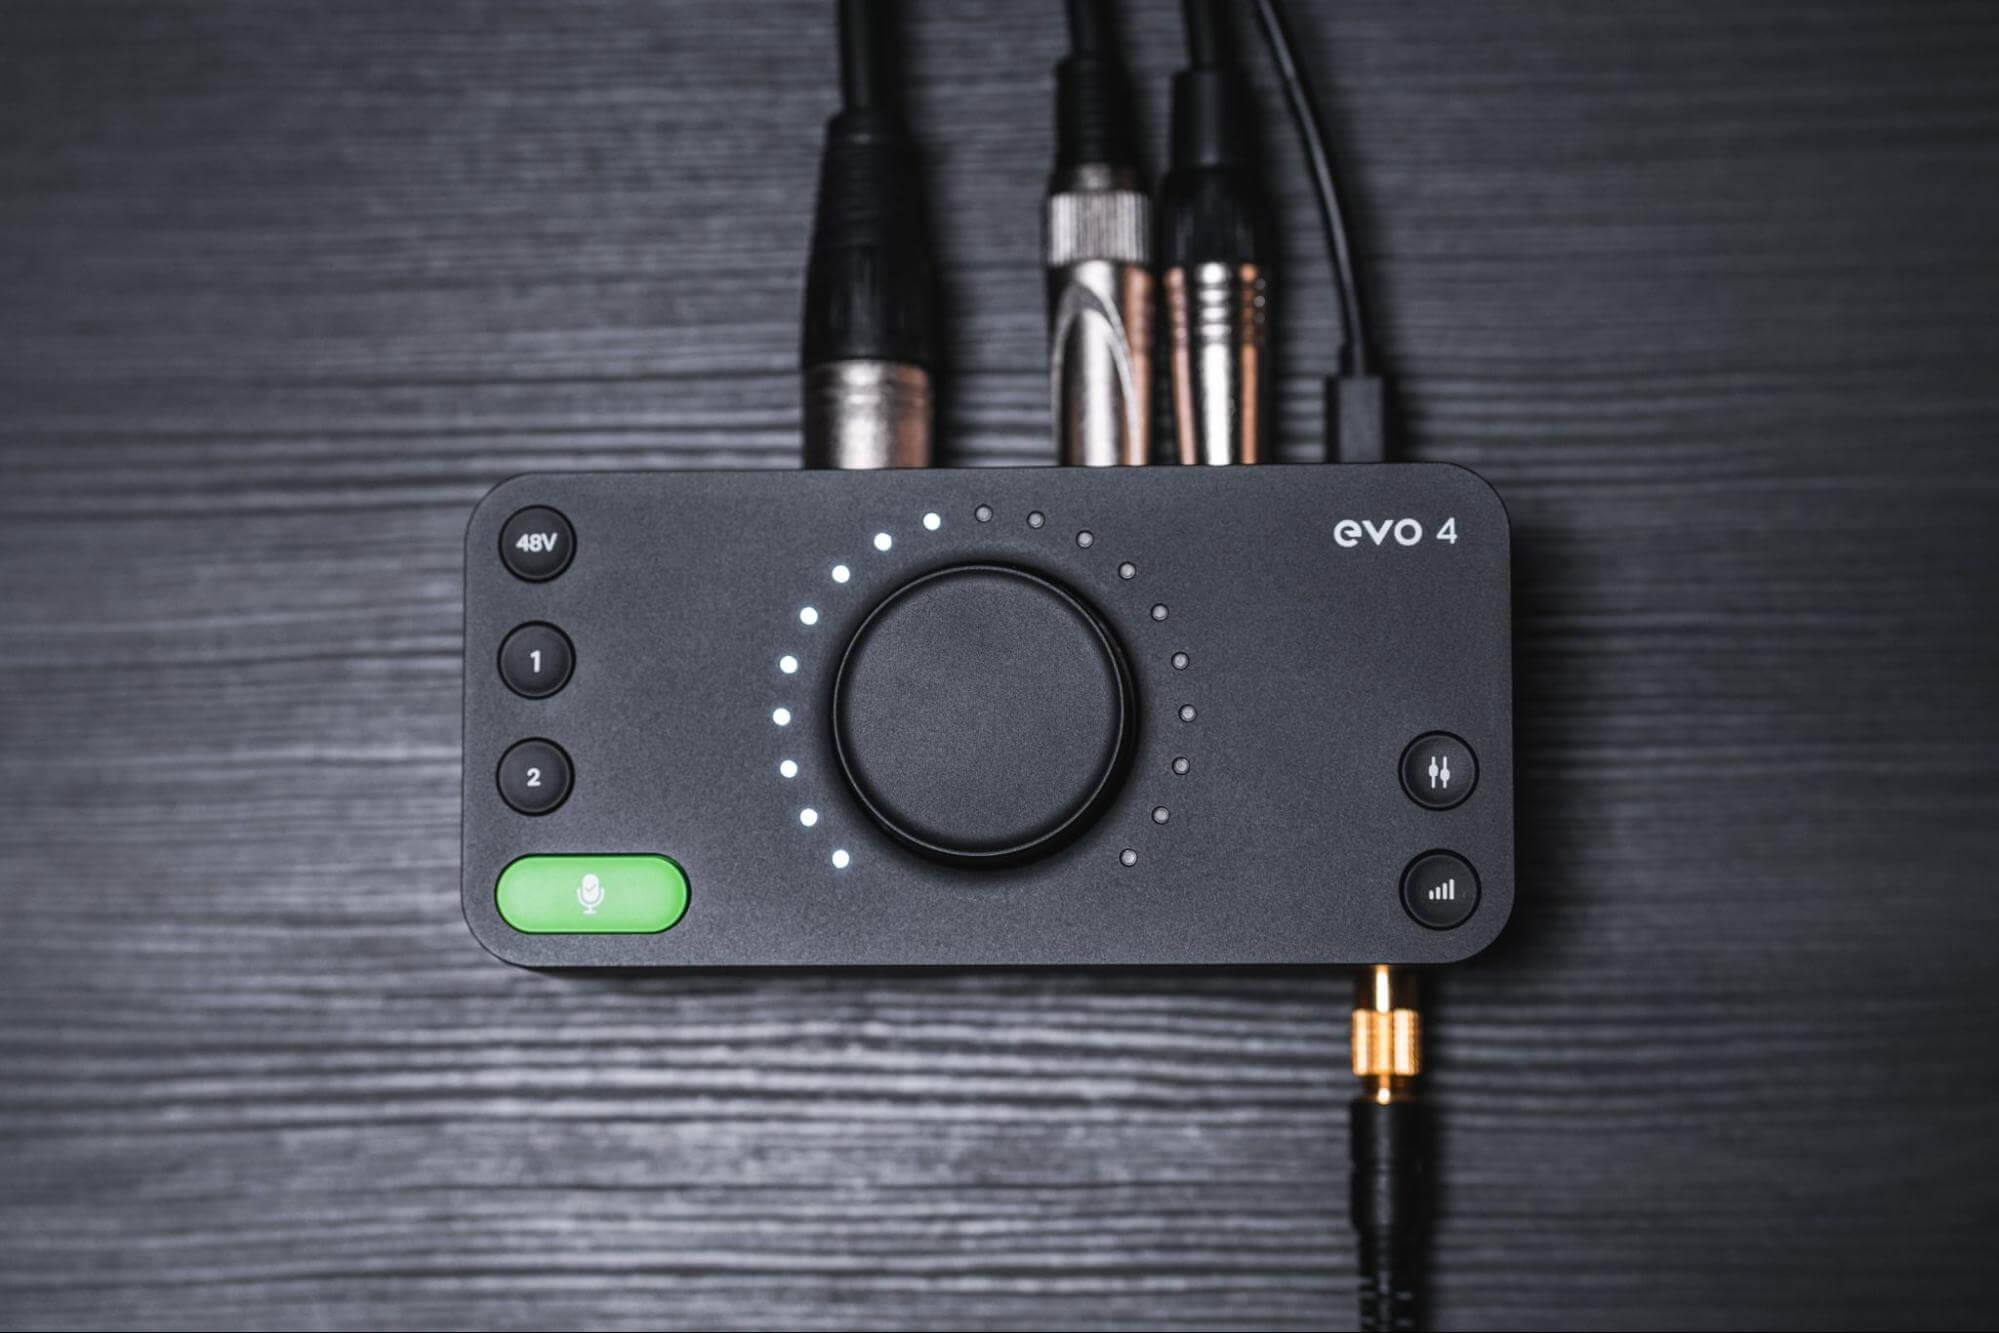
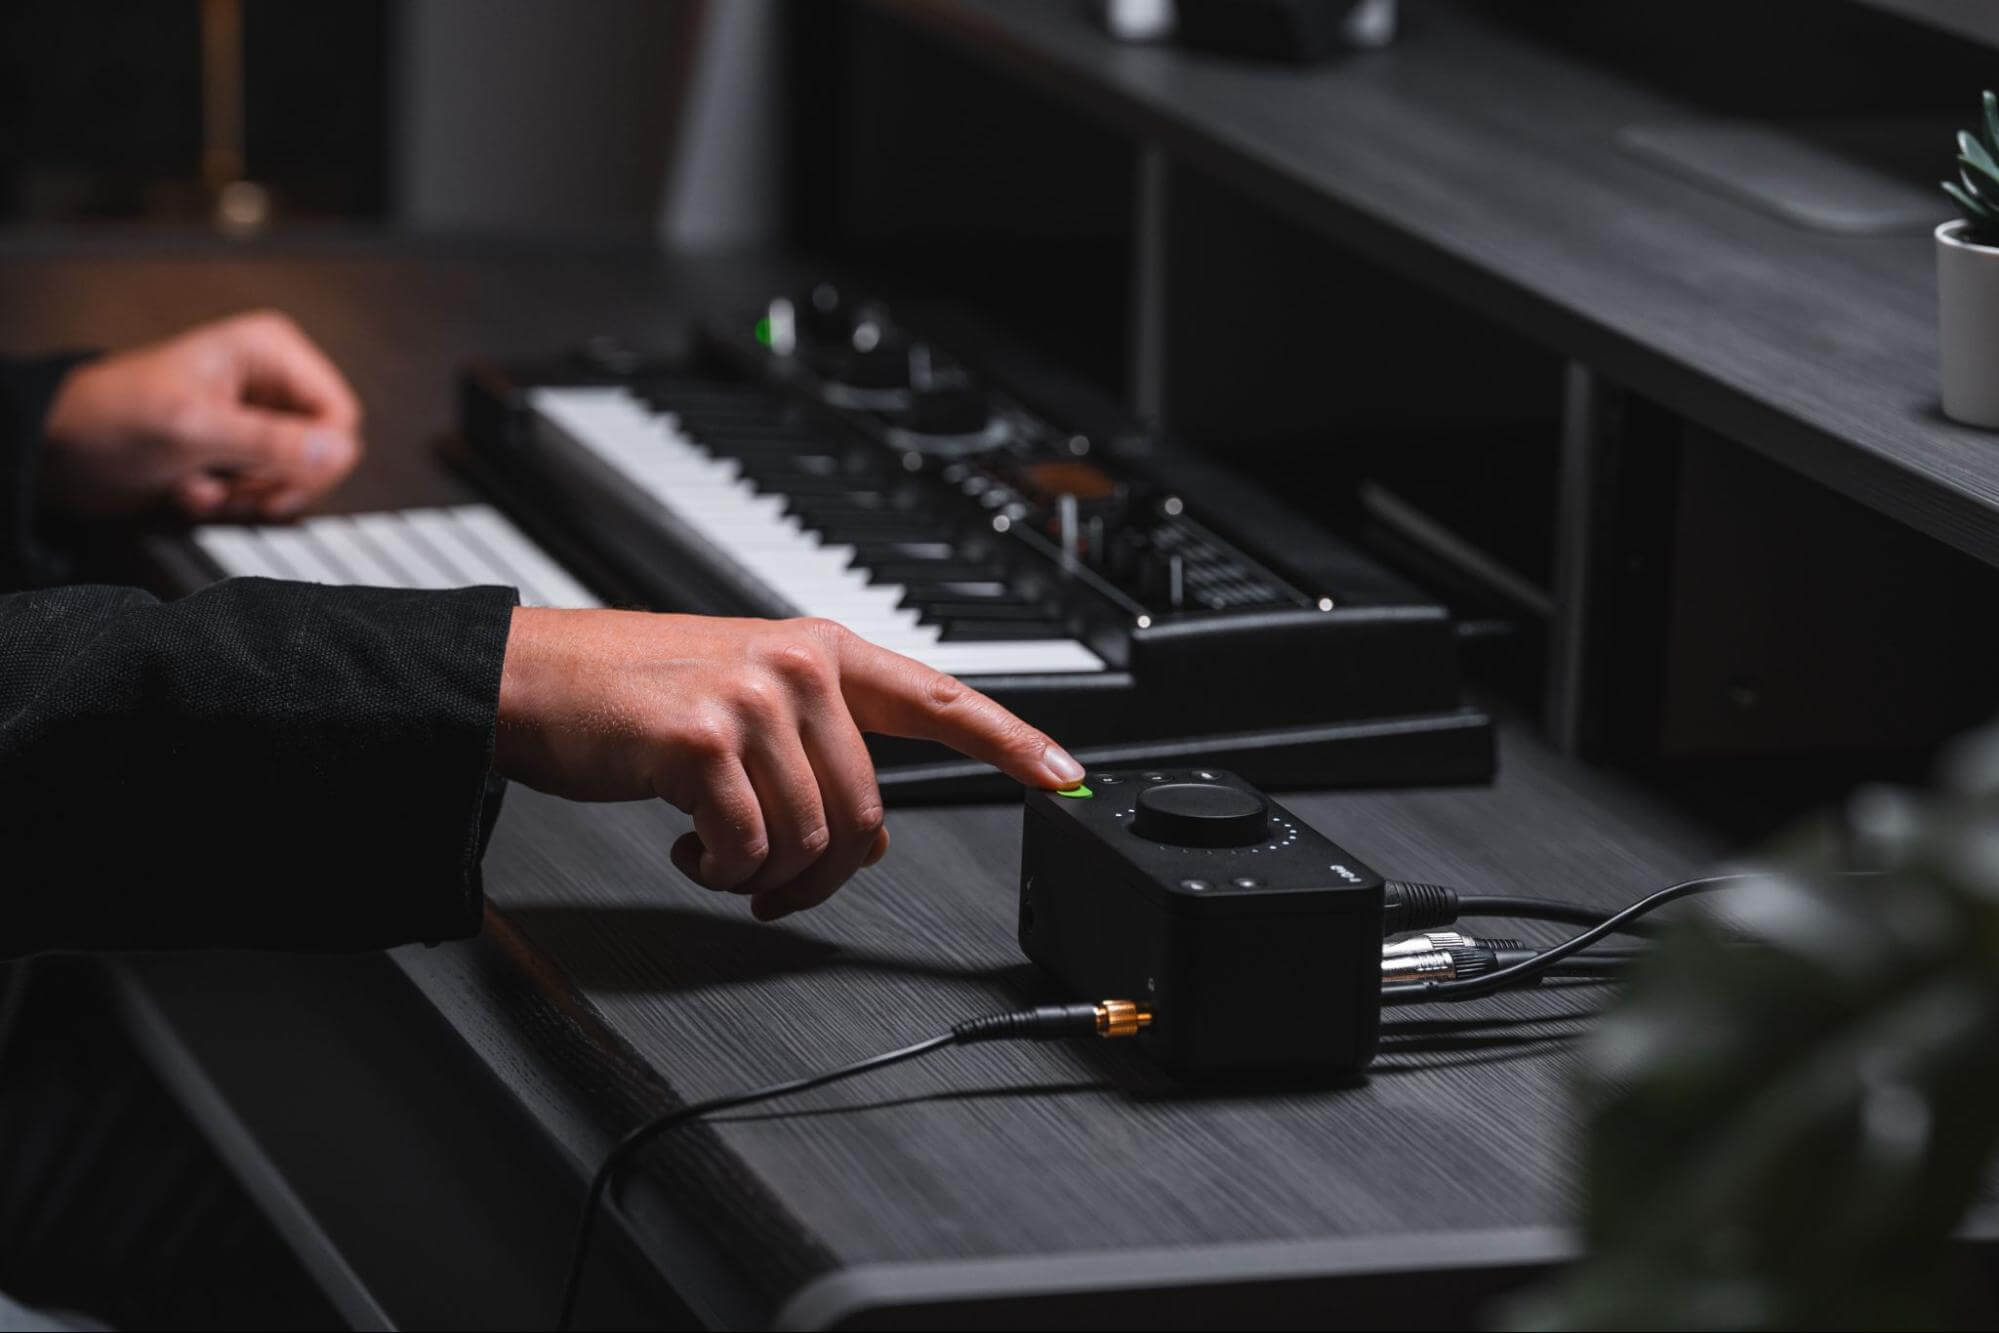
With the cabinet miked up and ready to rock, the last thing to address before hitting the record button is the level of the signal running into the audio interface, which is easily checked by playing the part to be recorded and watching the level meters on the the interface itself or the input channel in your DAW’s mixer. A good rule of thumb here is to aim for an average level of -18dBFS, with peaks going no higher than -12dB; and always adjust the input level on the interface to meet this target, not the output level on the amp, so as to not risk inadvertently changing the quality of your amplified tone.
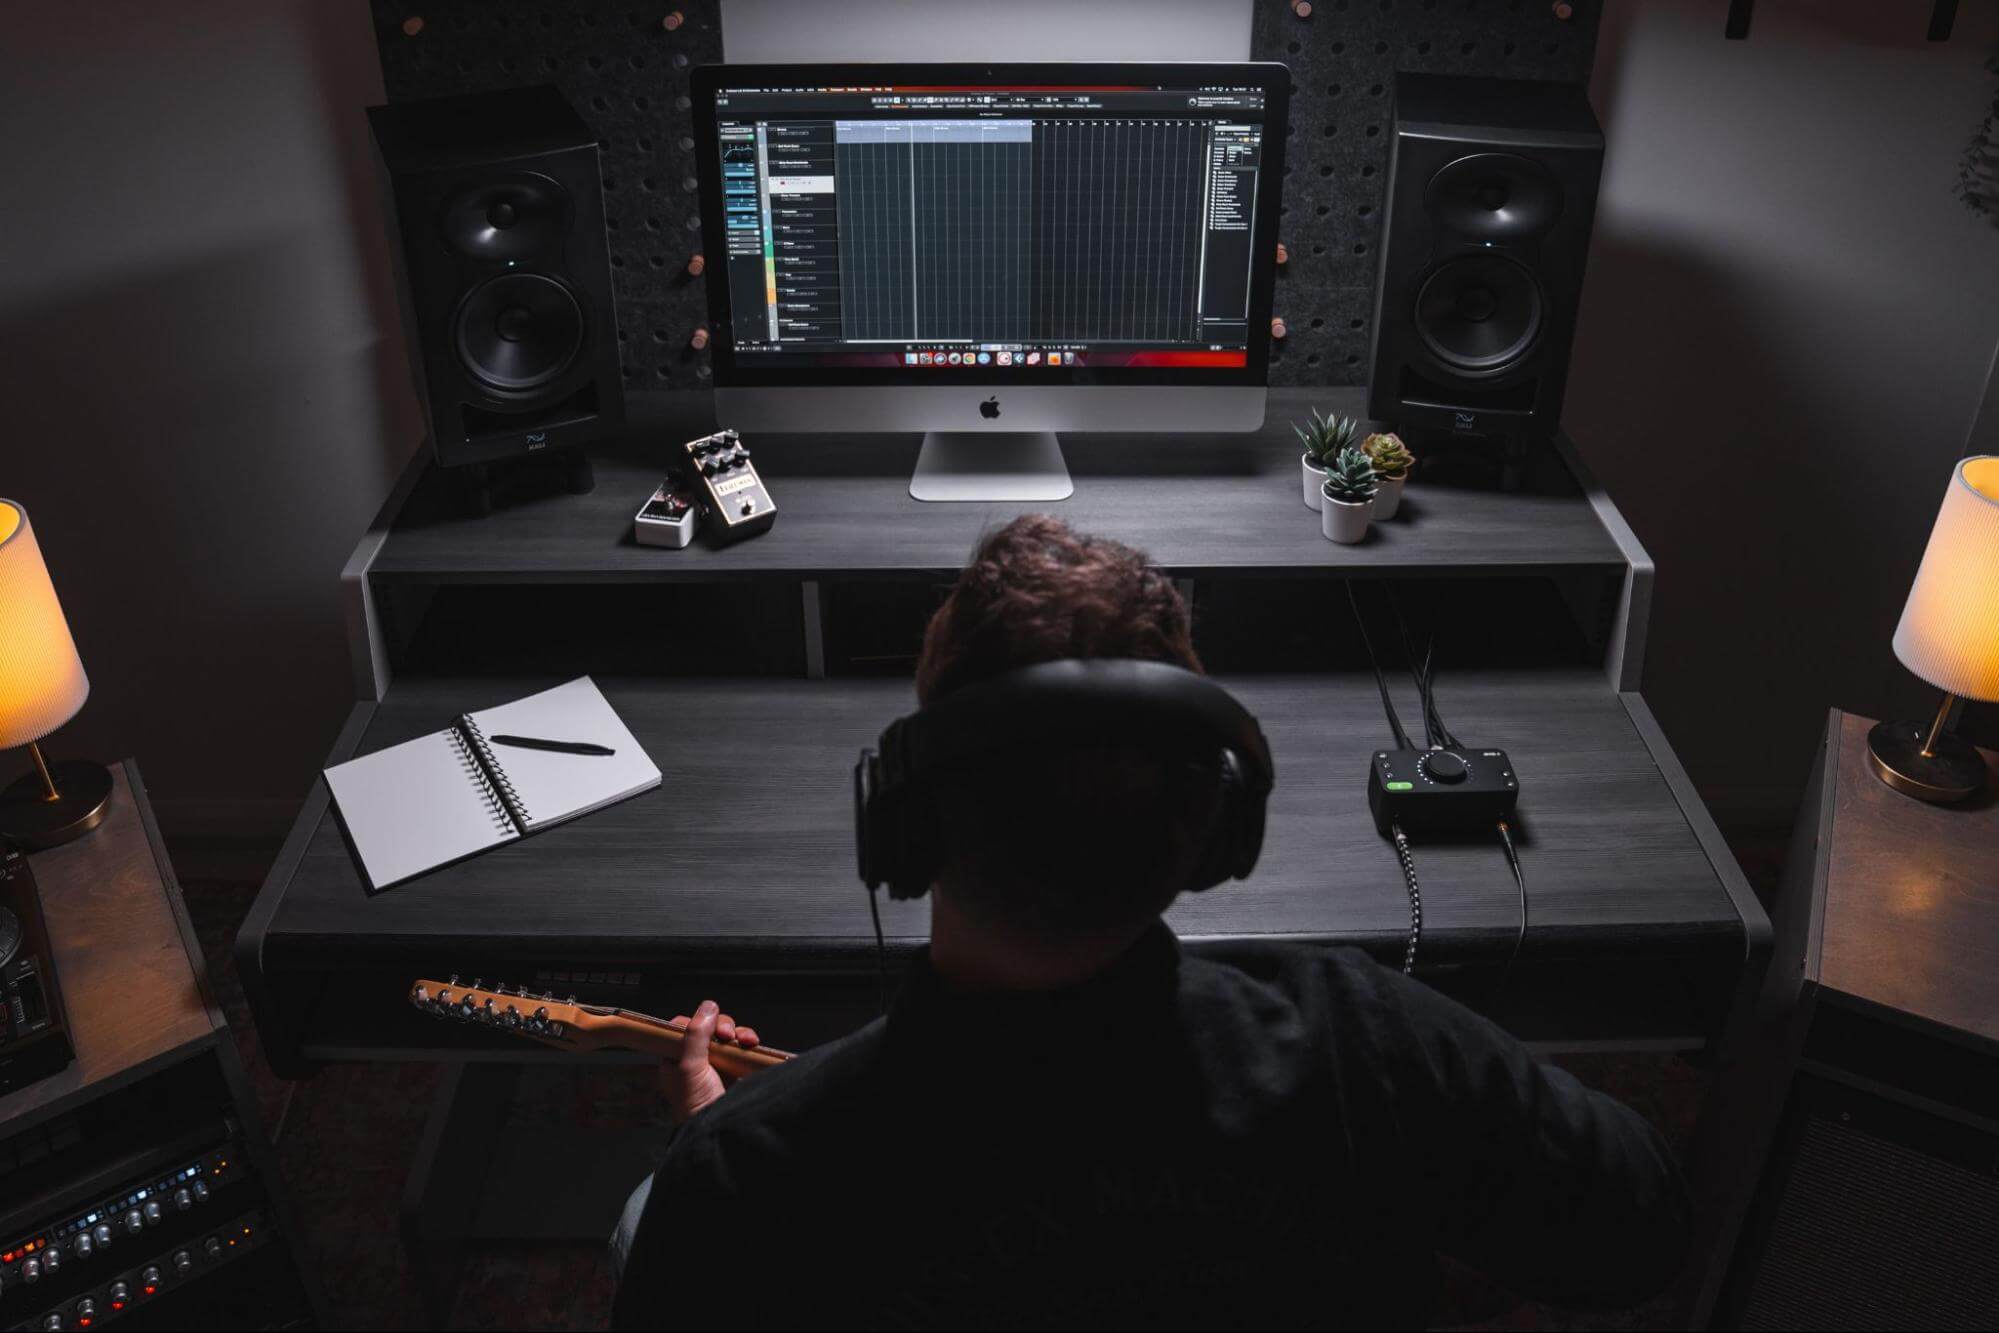
If you’re using an EVO audio interface, you can save time here by pressing the Smartgain button, which will automatically set the input gain for you, so that it peaks at -12dB.
6. Record the DI as well
Okay, so our final tip isn’t specifically about miking up a cabinet, but it is thoroughly relevant nonetheless. No matter how decisively you reckon you’ve nailed the amplified guitar sound for your project in progress, always be sure to record the DI signal at the same time. This gives you a safety net to fall into should the amped recording become in any way unsuitable for whatever reason – a general change of direction for the track, say – as you can simply send that clean signal out to the amp (or a plugin amp sim) for re-recording, rather than having to play the part again.
Our Products
-

2in | 2out Audio Interface
-

10in | 6out Audio Interface
-

10in | 14out Audio Interface
-

20in | 24out Audio Interface
-

24in | 32out Audio Interface
-

2in | 2out Audio Interface
-

4in | 4out Audio Interface
-

24in | 24out Audio Interface
-

Everything you need to start recording
-

8 Channel Smart Preamp with AD/DA
-

8 Channel Mic Pre & ADC
-

8 Channel Mic Pre + Tone Control
-

Modular Analogue Recording Console
-

Small Format Analogue Recording Console
-
Small Format Analogue Recording Console
-

Immersive Audio Interface and Monitor Controller
-

Desktop Monitor Controller