


Pop music today is more diverse than ever, drawing on a panoply of influencing styles, from EDM, house and bass music to hip-hop, rock and lo-fi, while consistently maintaining the timeless cornerstones of the genre: unforgettable hooks, irresistible beats, high production values and – yes indeed – flawlessly delivered vocals.
While the first three of those staples are readily attainable by any musically inspired producer with a DAW and a handful of plugins at their disposal, for many, vocals are a real sticking point, shrouded in technical mystery, and intimidating to the point of avoidance. In actuality, though, recording the human voice is one of the most rewarding and enjoyable things you can get up to the studio, and all you need to do it are a quality audio interface, a microphone and a singer. Here are five tips to get you rolling…
1. Prepare your vocalist
As the centrepiece of any pop production, the vocal performance must be on point, which means your singer needs to bring their A game on the day, both mentally and physically. Advise them to avoid alcohol and get a good night’s sleep the night before, and when they get to the studio, go out of your way to make them feel comfortable, appreciated and positive about the project in general and the part they’re playing in it. Alcohol during the session is also a no-no, as it can mess with the larynx – instead, relax and hydrate them with herbal or green tea, or honey and lemon. Not terribly rock ’n’ roll, certainly, but the song will thank you for it.

It’s also important to ready your singer for the possibility of enduring more takes than they might be expecting to. There are any number of reasons why a vocal recording session can run into endless retakes and overdubs – from poor performances and the addition of double tracks, to technical issues, lyric rewrites and the powerful comping systems in today’s DAWs encouraging over-provision – but ultimately, it takes as many takes as it takes, so put that notion in the singer’s head right from the off, and book them for the whole day if necessary.
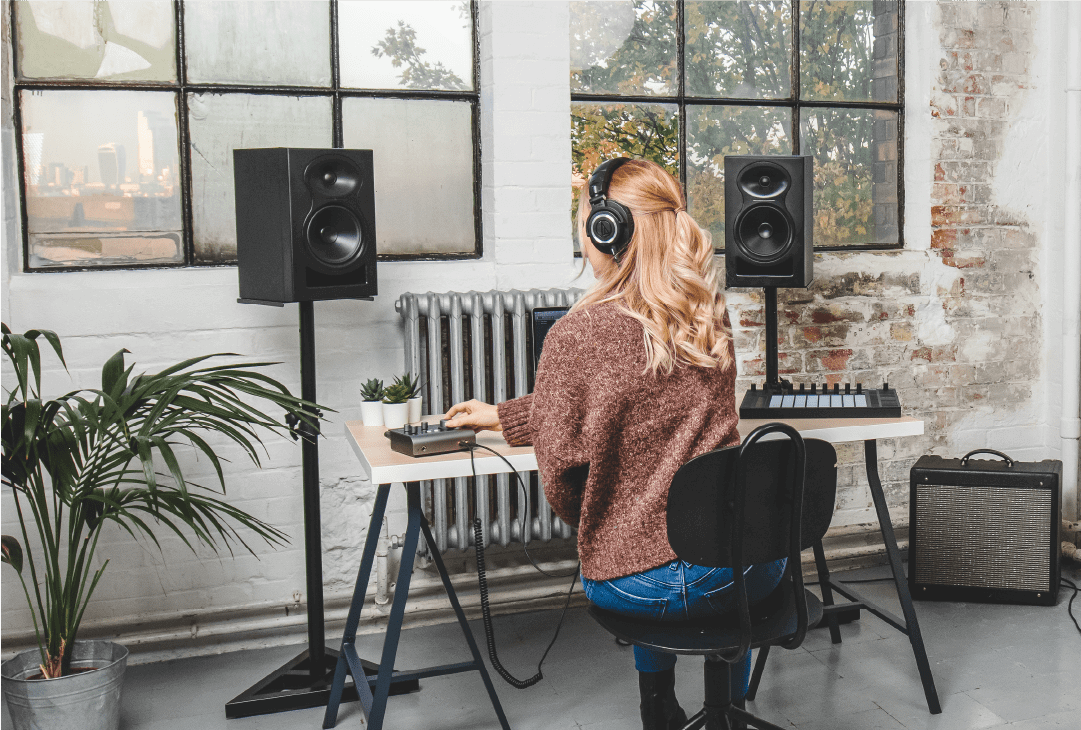
Finally, for monitoring, they’ll need a good pair of closed-back headphones, and will probably ask for a bit of reverb in their mix. To sidestep latency issues, this can be provided via a hardware reverb unit, or by routing a muted input channel in your DAW to a reverb plugin on an auxiliary send, pre-fader, then mixing it back in with the parallel dry signal, which is monitored directly through your audio interface.
2. Pick the right mic…
Choosing the right vocal microphone is obviously essential for any pop production, and while, ideally, your singer will have enough experience to be able to advise on models that they know work well with their voice and style, it’s likely that you’ll have to make this call based on the needs of the song as well as the sound of voice. For that expansive, bright, frequency-rich pop sound, a large diaphragm condenser such as the classic Neumann U87 or Rode NT1-A is always a winner; but if the track requires a particularly shouty delivery, a dynamic mic can work wonders for reigning in excessive top end and sibilance, and generally toughening up the tone – look no further than the Shure SM58 or SM7B.

With your pop vocal undoubtedly destined for a lot of dynamics, EQ and effects processing (see below), you’re going to want to capture it as cleanly as possible with minimal room ambience. To that end, your mic should have a cardioid or hyper-cardioid polar pattern, so that it rejects most of the sound coming at it from anywhere but directly in front of the capsule.
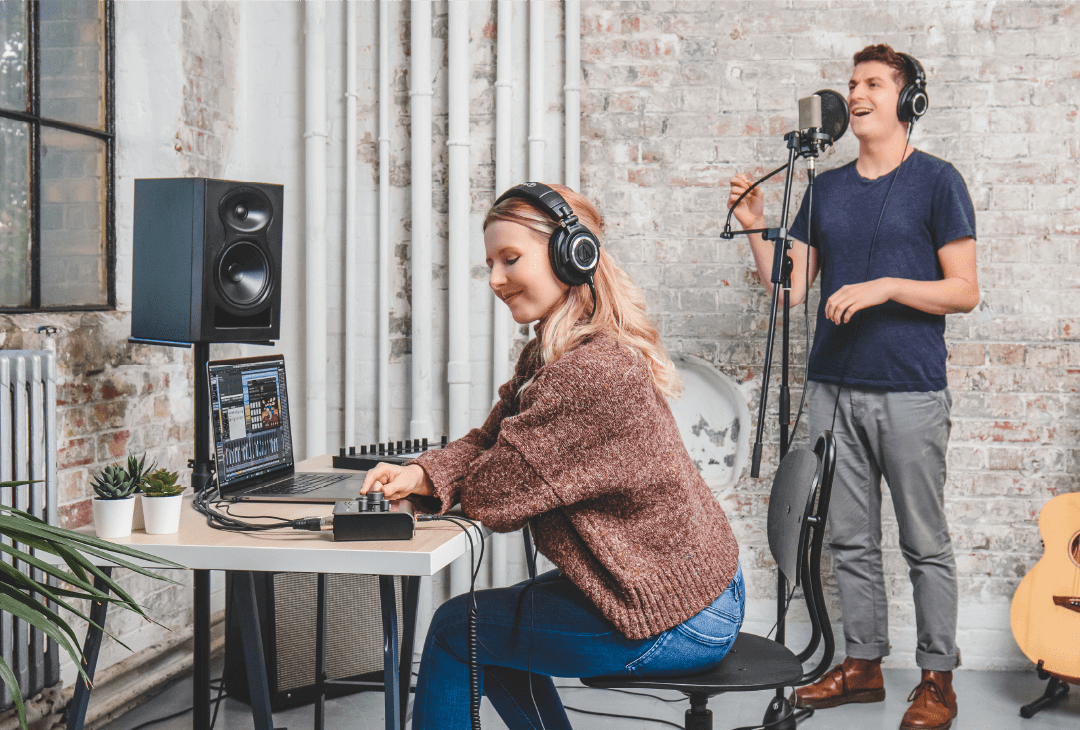
3. …and put it in the right place!
Having decided on your mic, it’s equally important to get it set it up correctly on the stand and establish the right distance between it and the singer. This is highly contextual, but by and large, for a large diaphragm condenser, it’s a good idea to start with the mic at mouth level, about six inches in front of the singer, directly on axis, and with a pop shield half way between. Moving the mic in closer will increase the proximity effect, which can be useful for a bass boost but potentially detrimental to the recording, while backing it off an inch or two can add ‘air’.
Oh, and don’t neglect your gain staging, either. You want the output of your audio interface’s mic preamp hitting your DAW at an average of around -18dBFS, and peaking no higher than -6dBFS at the loudest points in the performance, so as to retain adequate headroom for mixing purposes.
4. Build your own booth
As suggested earlier, pop vocals should be recorded with as little room reverberation as possible, in order to provide a dry, neutral starting point for reverb, compression, EQ and other processing. Unless you have the luxury of an actual vocal booth in your home studio, then, you’re going to have to make your own.
Don’t worry – this is far easier than it sounds: just hang/stand a few duvets, blankets and/or mattresses up in the corner of a room to construct an acoustically dead chamber around the singer and microphone stand. Honestly, it really needn’t be any more complicated than that – the hardest part is rigging the frame off which to hang it all, for which you can press into service step ladders, doors, spare mic stands, cheap plastic or cardboard tubing, and anything else tall and supportive that you can get your hands on.
Incidentally, while stand-mounted reflection filters might be marketed as miraculously convenient solutions to the issue of room reverb, they’re really only effective when used in conjunction with broader sound-damping setups, rather than on their own. Would that physics were so kind to the space-limited producer…
5. Process the vocal for a pop sound
With your vocal recorded, comped and edited into the perfect take, the next stage is the all-important shaping of its dynamic profile and frequency spectrum, followed by the application of effects to give it that hyper-real modern pop sound. All of this, of course, is heavily dependent on the song and the styling of the mix, but there are a few generalities to bear in mind nonetheless.
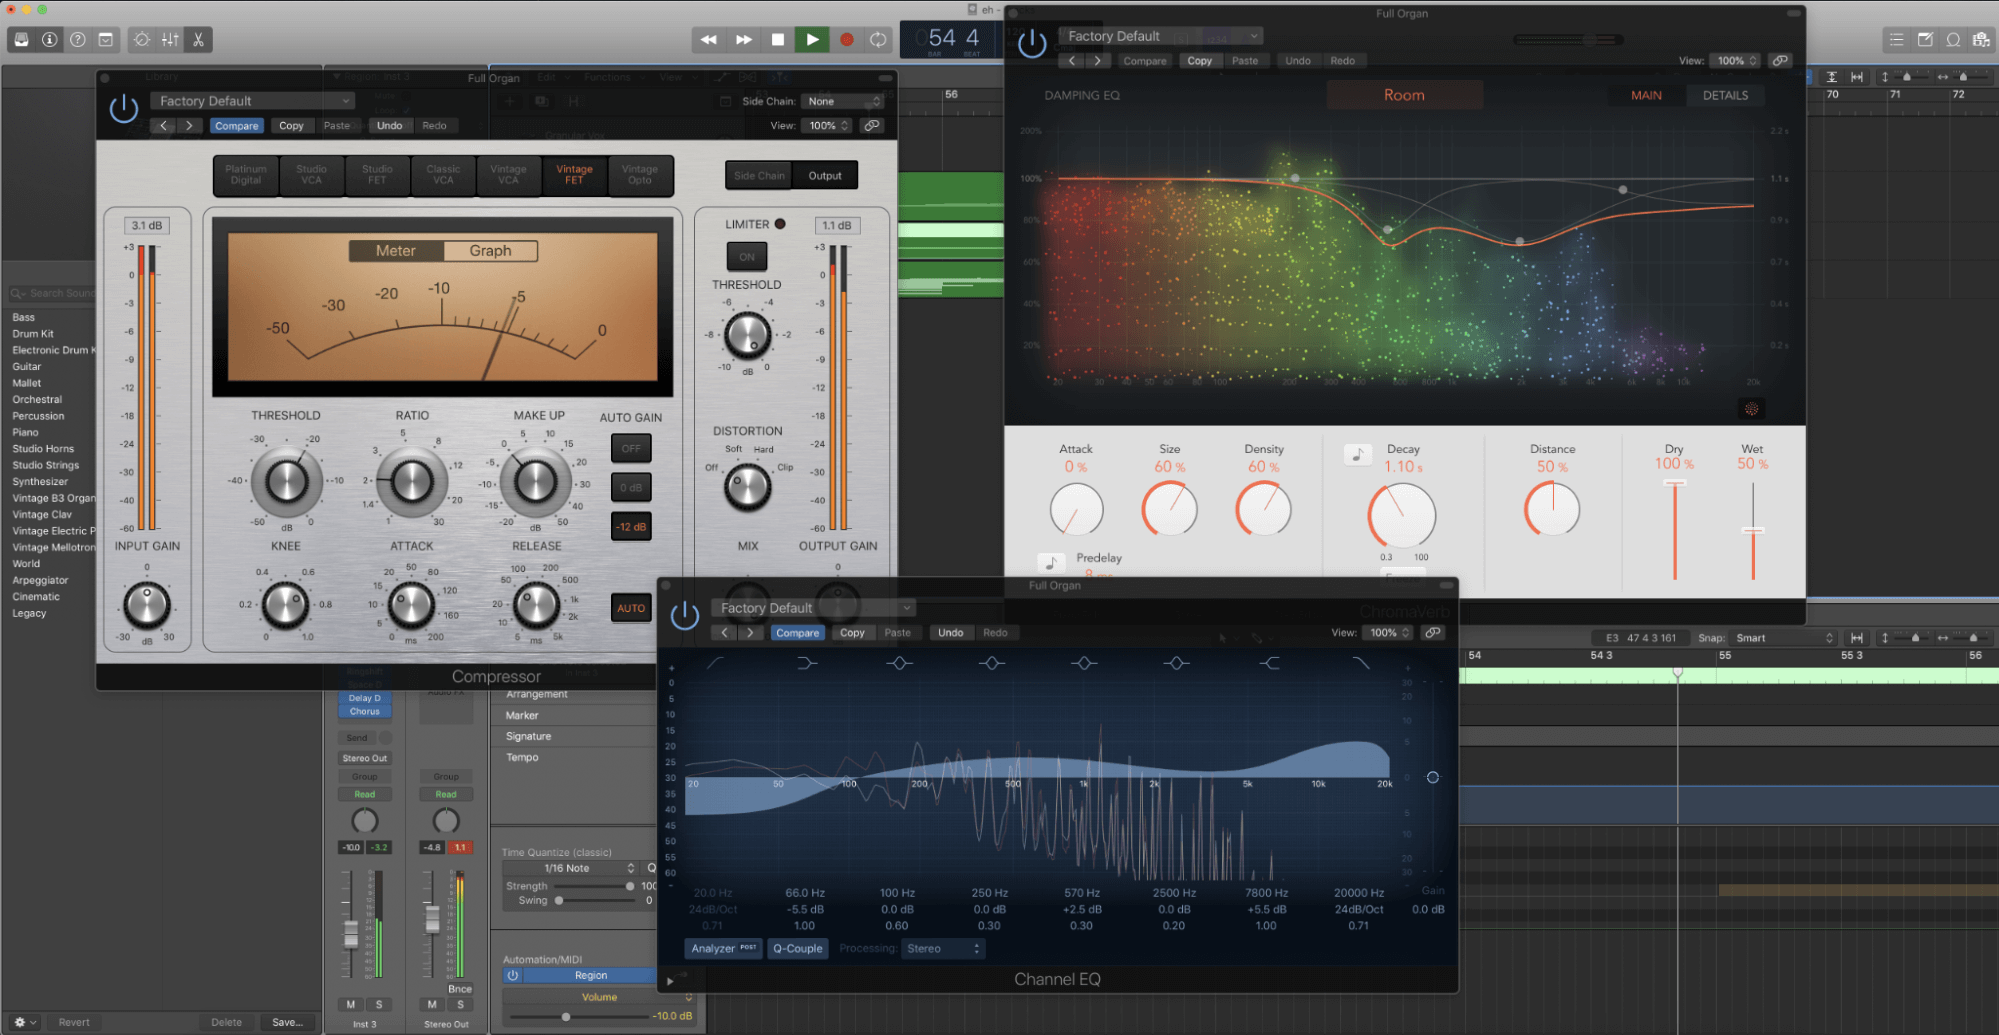
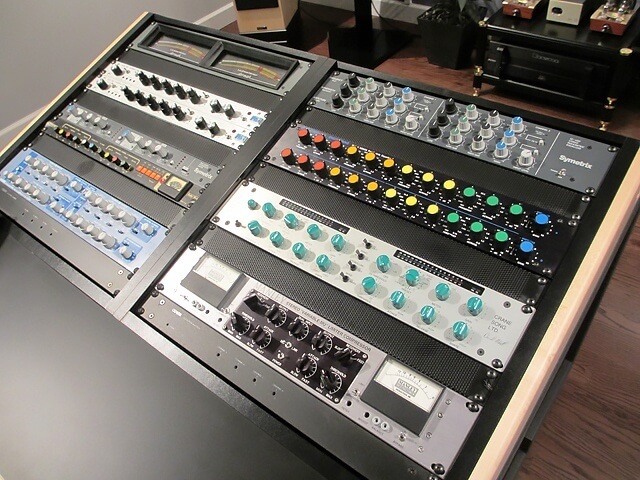
First, a good pop vocal has to be punchy and energetic, and the key to that is compression, which should be dialled in to really squeeze the dynamic range – ie, low threshold, high ratio, and medium-to-slow attack and release.
Second, equalisation should be judiciously applied to combat resonances and bring out that poptastic sparkling top end – reach for an EQ with an ultra-high ‘air’ band (a shelf cornering at frequencies well above the limit of human hearing, essentially), such as Mäag Audio EQ4 or Eiosis AirEQ.
Third, Auto-Tune, Melodyne and other pitch correction plugins are not only ‘allowed’ in pop production, they’re positively encouraged, so don’t be shy about snapping even slightly wayward notes to the pitch grid, albeit preferably without introducing the Cher effect – unless that’s what you’re going for. Similarly, harmonies and double tracks in pop are always super tight, and while you can absolutely achieve great results in this regard using the editing tools built into your DAW, if it’s something you find yourself wrestling with regularly, be sure check out Synchro Arts’ amazing VocAlign Ultra, which does the job for you by independently aligning the timing and pitch of multiple vocal tracks at once.
And finally, while reverb, delay and other glamourising special effects are part and parcel of pop vocal production, don’t let them overwhelm the human performance at the heart of the song – less cab often be more, even in the most hyperkinetic of pop tracks.


Our Products
-

2in | 2out Audio Interface
-

10in | 6out Audio Interface
-

10in | 14out Audio Interface
-

20in | 24out Audio Interface
-

24in | 32out Audio Interface
-

2in | 2out Audio Interface
-

4in | 4out Audio Interface
-

24in | 24out Audio Interface
-

Everything you need to start recording
-

8 Channel Smart Preamp with AD/DA
-

8 Channel Mic Pre & ADC
-

8 Channel Mic Pre + Tone Control
-

Modular Analogue Recording Console
-

Small Format Analogue Recording Console
-
Small Format Analogue Recording Console
-

Immersive Audio Interface and Monitor Controller
-

Desktop Monitor Controller