


Whether you’re capturing carefully designed amplified tones or injecting straight into the box, we’ve got five pointers to get you well on the way to making great guitar recordings with your DAW and Audient audio interface.
1. Set your guitar up for recording
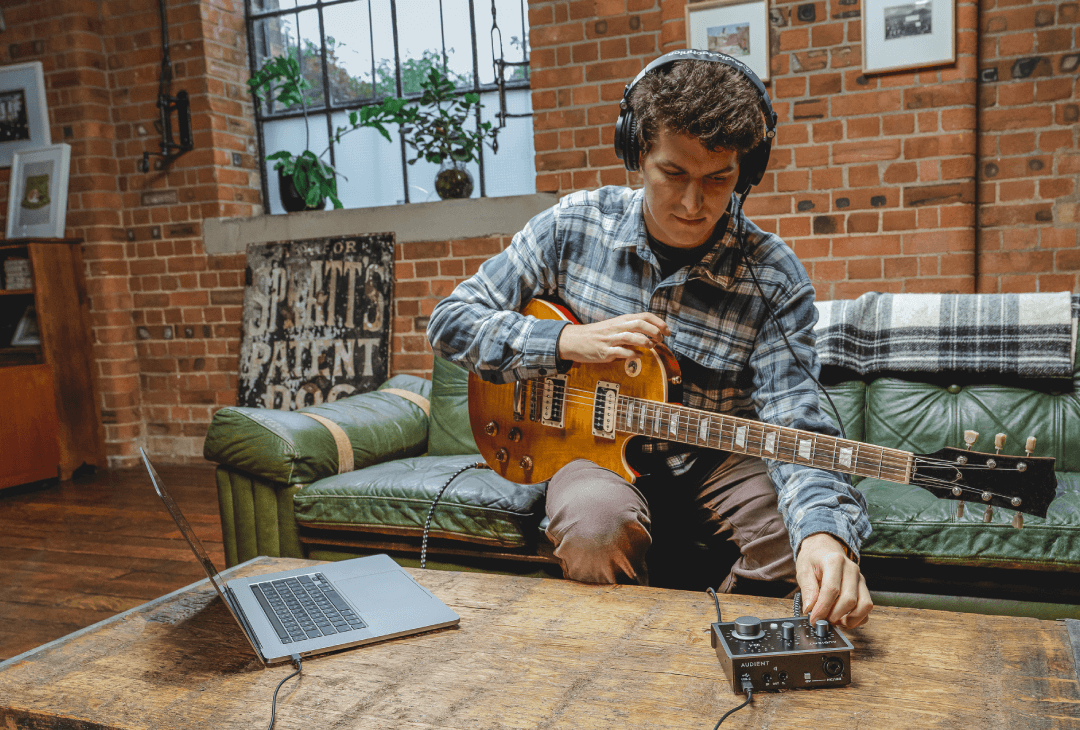
Before you even start to think about amplification, tone shaping, microphones and all that good stuff, you need to ensure that your guitar is 100% ready to perform with and record. First of all, give the strings a good clean or, if they’ve seen better days, change them for new ones and get them broken in. Make sure there are no buzzes or other unwanted noises coming from the instrument, and that all cables being used to hook everything up are as high-quality as possible. It goes without saying, too, that you or your guitarist should be fully up to speed with the part you/they’re playing before you hit the record button. The comping features in your DAW will make combining multiple takes into one easy, but the idea, really, is to nail it in as few passes as possible before enthusiasm starts to wane.
2. Get the tone and room sound right
There’s literally no end to the diversity of ways in which you can manipulate and process guitar sounds in your DAW, but despite that, it’s still better to get them right at source, so take as much time as required wrangling your amp’s EQ controls and dialling in distortion/overdrive to get the perfect tone for the track. Don’t overlook the sound of the room, either: move the amp around to find the point at which it sounds best to your ear.
When it comes to effects, you can record through ‘non-spatial’ processors such as chorus, phasing, flanging, compression and the like, as long as you’re absolutely sure they’ll work in the mix. If in any doubt at all, though, leave them off and use plugins instead, post recording. And it’s almost always best to avoid printing delay and/or reverb into your guitar tracks, as these extend the sound beyond its actuality and can cause all sorts of issues at the mixing stage. Again, plugins…
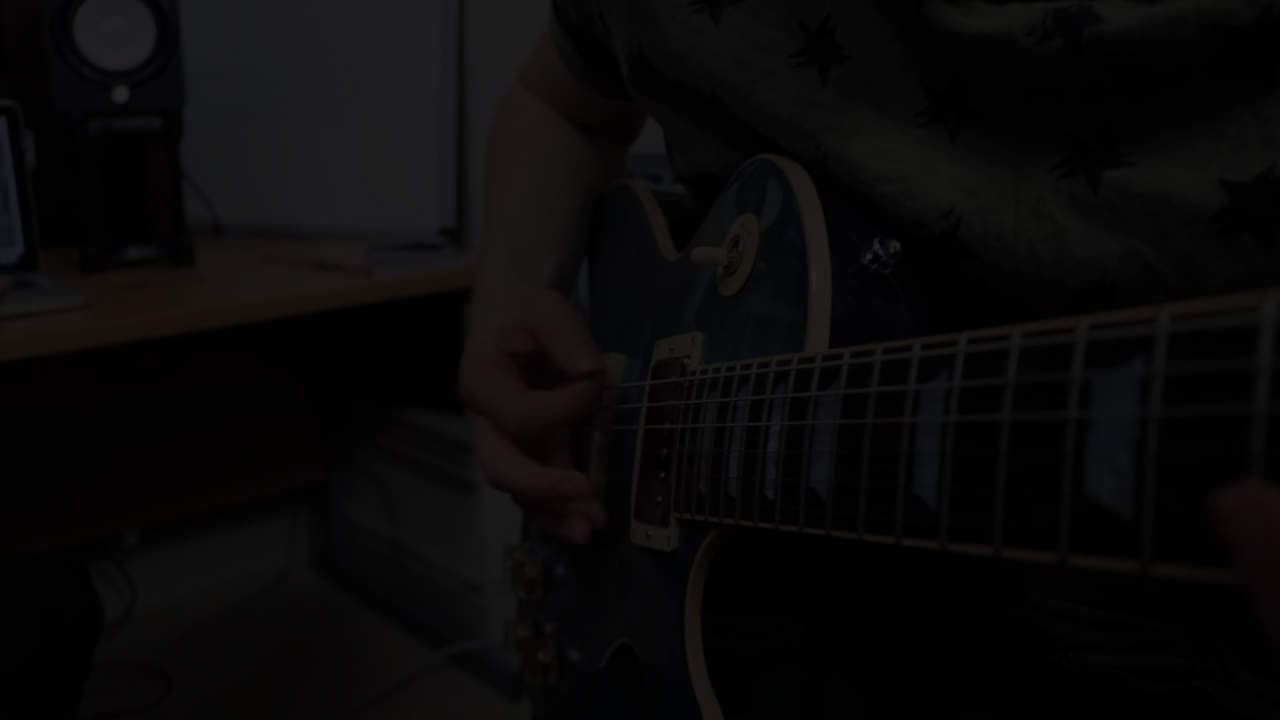
3. Microphone choice and positioning
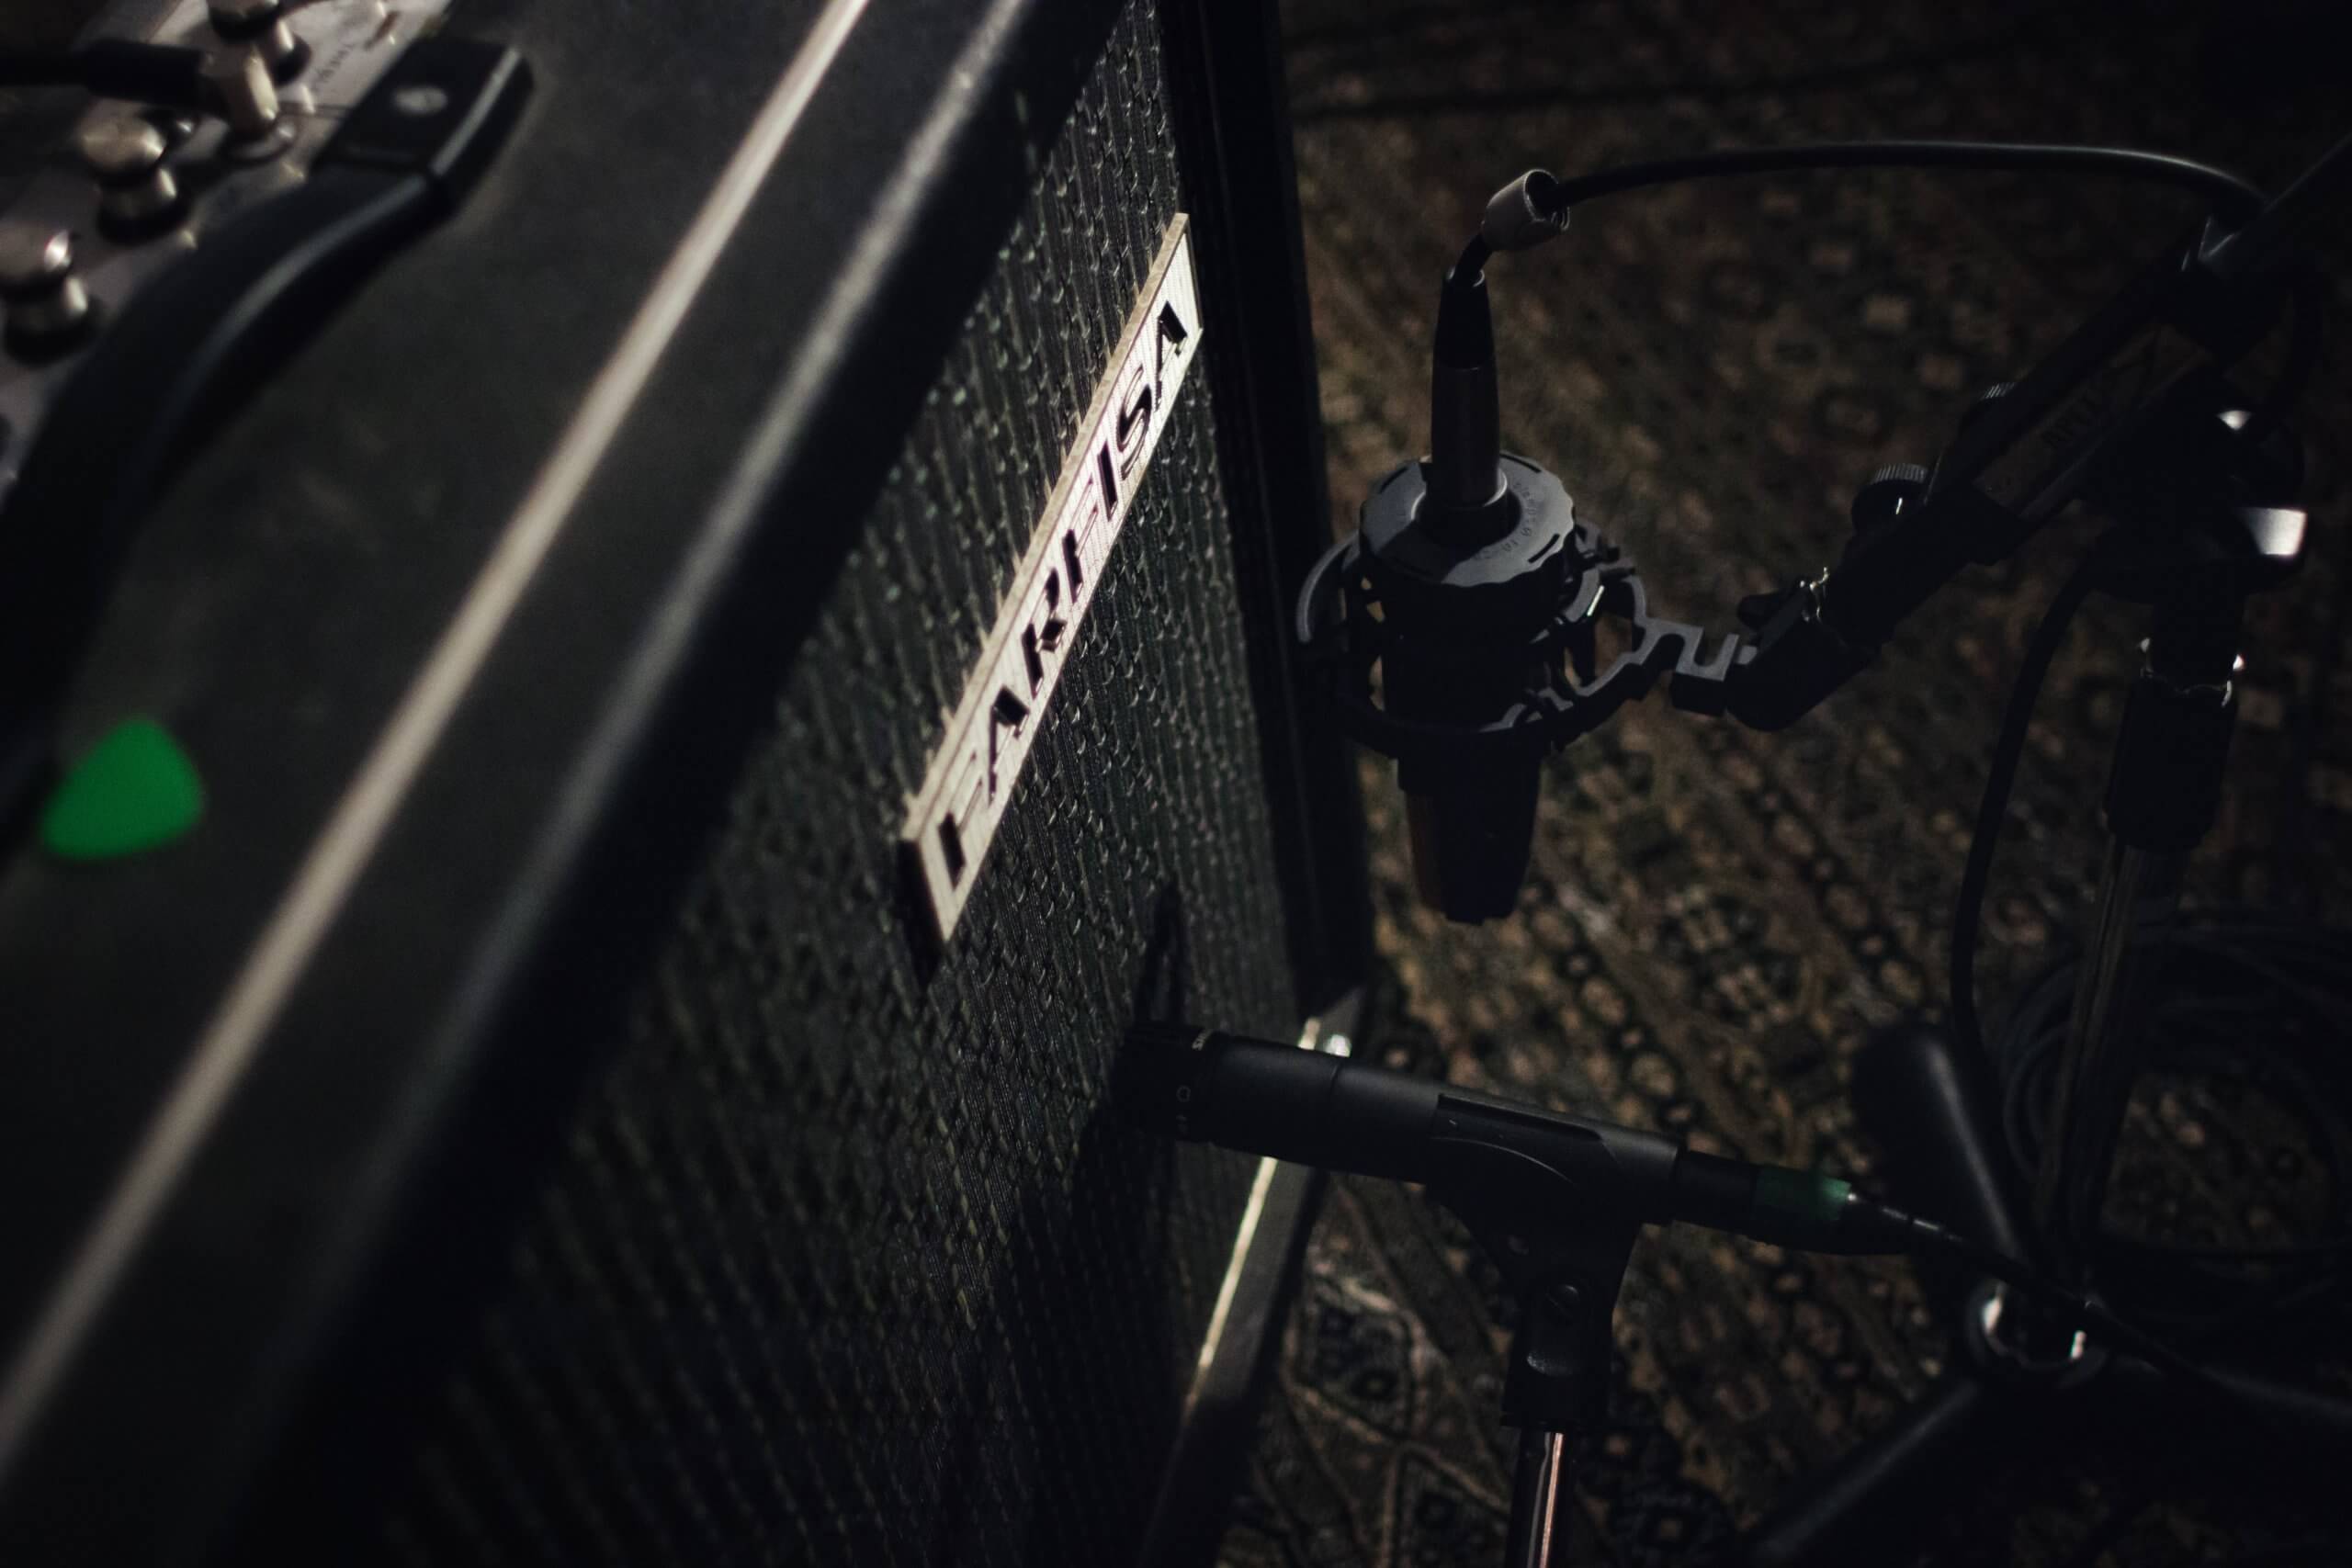
Any microphone can potentially be pressed into service for recording a guitar amp, but dynamic is generally the preferred type, and within that category, the most popular choice by far is the Shure SM57. The frequency response of this studio (and live) stalwart is particularly well suited to guitar cabs, and its pricetag, versatility and reliability make it something of a production essential.
The placement of the mic in relation to the cabinet will have a profound effect on the recorded sound, so spend some time auditioning and experimenting with different spots and angles. The closer the mic is to the speaker cone, the more lower frequencies will be emphasised as the proximity effect comes into play; while the position between the centre and edge of the cone will alter mid-range presence, and angling the mic off axis (ie, not perpendicular to the speaker) will gently roll-off the higher frequencies.
If you’ve got a second microphone to hand, expand your mixing options by recording two different sounds onto separate tracks – set one mic up off axis and just off-centre, say, and the other on axis and out towards the edge. Alternatively (or simultaneously if you have enough mics and inputs), capture the ambient room sound by sticking your second (or third) mic up as far away from the cab as possible and, again, playing around with placement. This can be mixed with the main signal(s) later on to add a bit of natural space.
4. In-the-box recording
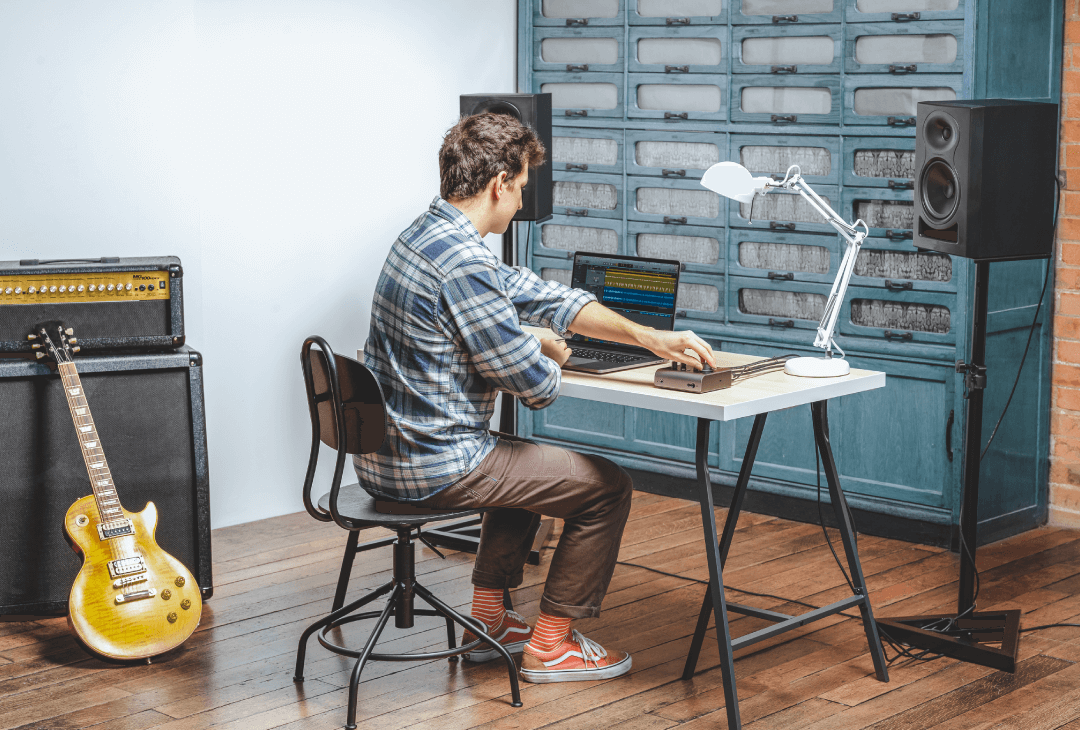
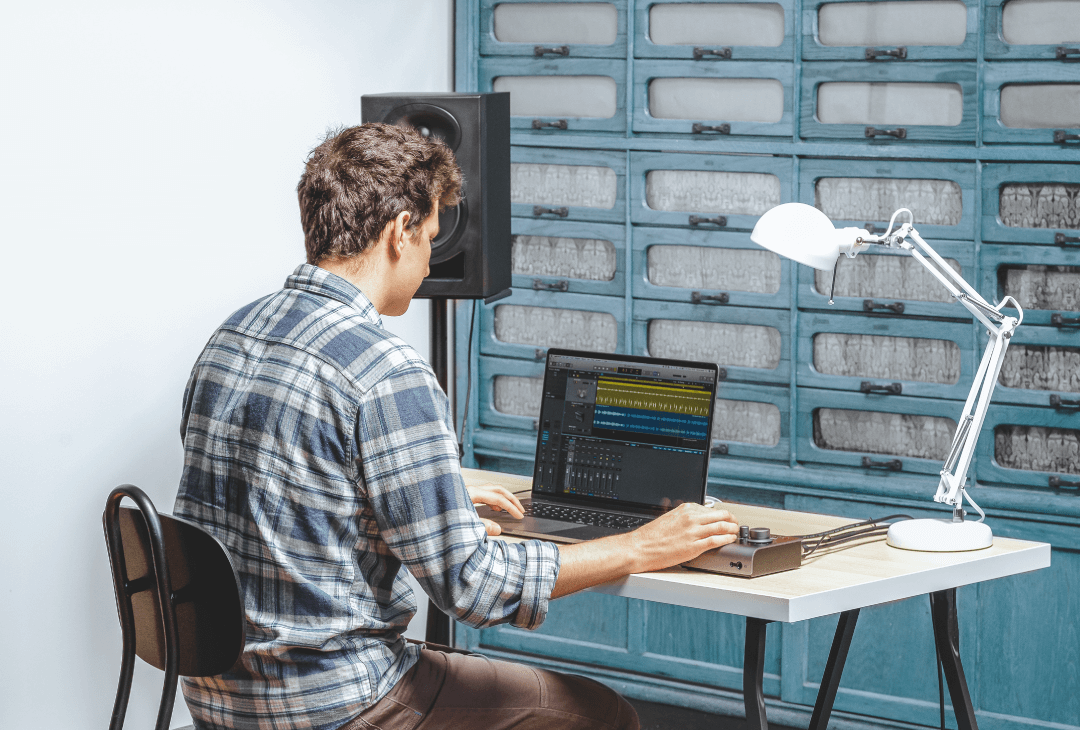
It is, of course, entirely possible to record your guitar directly through your audio interface’s instrument input, with no amplification, mics or other hardware involved, thereby capturing a totally clean guitar sound that you can then non-destructively shape and process using the amazing real-time amp simulation and effects plugins available in your DAW. However, this brings with it the issue of latency – that is, the inevitable delay between input and output introduced by the processing that goes on in your DAW. Audient interfaces let you set small enough sample buffers to minimise this lag, but nonetheless, even a tiny amount may hinder your performance.
Thankfully, your audio interface will offer a solution to this in the form of its direct monitoring circuit, which passes the input straight to the output, bypassing the DAW entirely for monitoring purposes but still sending the signal there for recording. On your Audient interface, direct monitoring is enabled by the Monitor Mix knob: turn it clockwise to mix the live, latency-free input signal in with the output of your DAW to whatever level you like. You’ll need to disable software monitoring in the DAW (it’ll be somewhere in the preferences), otherwise you’ll hear both the direct and (delayed) DAW-monitored signals; and the downside is that you’ll be listening to your performance without any effects. When you need to hear exactly what you’re playing exactly when you play it, though, direct monitoring is a godsend.
5. The best of both worlds: amped and DI
For maximum mixing flexibility, why not record both the amplified tone and clean signal simultaneously onto their own tracks? Simply take the pre-EQ DI feed from your amp or use a DI box to route the clean guitar sound into the instrument input on your interface, in parallel with the amped tone coming in via the mic input. If your amped recording turns out to be on the money (which it should if you’ve followed our earlier advice!), you’ve lost nothing in the process; but if it ends up missing the mark come mixdown, or you just want to keep your options open, the DI gives you the performance in its raw form for tailoring with virtual amp sims and other plugin effects, then blending with the amped signal or using on its own.

Our Products
-

2in | 2out Audio Interface
-

10in | 6out Audio Interface
-

10in | 14out Audio Interface
-

20in | 24out Audio Interface
-

24in | 32out Audio Interface
-

2in | 2out Audio Interface
-

4in | 4out Audio Interface
-

24in | 24out Audio Interface
-

Everything you need to start recording
-

8 Channel Smart Preamp with AD/DA
-

8 Channel Mic Pre & ADC
-

8 Channel Mic Pre + Tone Control
-

Modular Analogue Recording Console
-

Small Format Analogue Recording Console
-
Small Format Analogue Recording Console
-

Immersive Audio Interface and Monitor Controller
-

Desktop Monitor Controller