Clocking together digital devices is often seen as a bit of a mysterious dark art, especially when the setups start getting more and more complex.
The Basics
Simply put, in the world of A to D and D to A conversion, the digital signal needs to be clocked accurately to prevent nasty sounding distortion. To take analog audio and make it digital, we simply take periodic samples of the audio signals amplitude and then send on as a series of ones and zeros which a computer or other digital device can use.
Samples are taken many times a second, 44,100 times a second in the case of a CD (often referred to as 44.1kHz). These samples need to be taken at specific steady intervals so that when the data is converted back into analog data, we can be sure that the conve. Having a steady clock signal controlling your convertors is therefore crucial to ensure perfect capture of the audio and then nice clean playback afterwards.
The accuracy of the clock is known as its ‘Jitter’ and is measured in nanoseconds or less. The smaller the jitter amount, the more accurately the capture and playback will be and the nicer the audio will sound (well in theory… but that’s a whole different argument). If the clock slowly changes over time then this is known as drift and just like Jitter, can cause your audio to not be captured or played back accurately and cause distortion.
On Audient products we use high quality crystals and circuits called a Phase Locked Loop to make sure that we keep our Jitter and Drift is kept as low as possible and your audio is kept super clean!
Single and Multiple Devices
When you are only looking to use one unit, such as an audio interface, you don’t really have to worry too much about clocking, most interfaces and operating systems will work all this out for you. However, when you start to add multiple units it becomes a little more complex.
Multiple devices need to be synced so all your devices are reading and playing back audio at the same rate. This is known as ‘Clocking’ two devices.
A simple analogy explaining the need for syncing two devices with a clock signal is by imagining two spinning cogs. They have to be spinning at the same rate for the cogs to mesh together. If one is spinning faster than the other, the teeth will not interlock and things will go haywire; just like your audio will if your equipment isn’t clocked together correctly.
When you start to add even more devices to the chain, all these devices need to be working on the same clock signal, just like a long chain of cogs in a row all spinning at the same speed.
To provide this clock signal there needs to be just one unit that is designated to send the clock to the rest of the units. Just like a designated driver on a night out, this unit keeps the whole crew under control. We call this the ‘Master Clock’.
Choosing a Master Device
Choosing the master device is usually very flexible. Quite often the best device to set as the master is the one that is connected to the computer (where possible) such as a ProTools Rig or an audio interface. This way, when you open a project in a DAW, the audio interface should change to match the project sample rate, and therefore change the sample rate of all the slave devices. However this depends on the devices being used.
One option which is especially useful with bigger setups is the use of a dedicated master clock unit which then will send the clock signal all devices in the chain.
Sending the Clock Signal
The clock signal can be sent in two distinct ways, either via a dedicated clock line such as a BNC cable, or embedded into a digital audio signal being sent via ADAT, S/PDIF, or AES/EBU. In all of these cases, the clock signal will only travel in one direction, flowing from the output of one device to the input of another.
A dedicated clock line is simply connected up to the master clock and then connected to the other devices. BNC T-spliters can be used to split the clock line and ‘Daisychain’ all your units together.
Sending the clock embedded in the audio signal can be a much simpler solution if you only have the one external device connecting to your interface. It’s one less cable to worry about at the very least. However, as multiple devices start getting involved, it can get a little messy as there’s no way to ‘Daisychain’ multiple devices together like with a BNC word clock line.
Our Products
-

Interface audio 2 entrées - 2 sorties
-

Interface audio 10 entrées - 6 sorties
-

10in | 14out Audio Interface
-

Interface audio 20 entrées - 24 sorties
-

24in | 32out Audio Interface
-
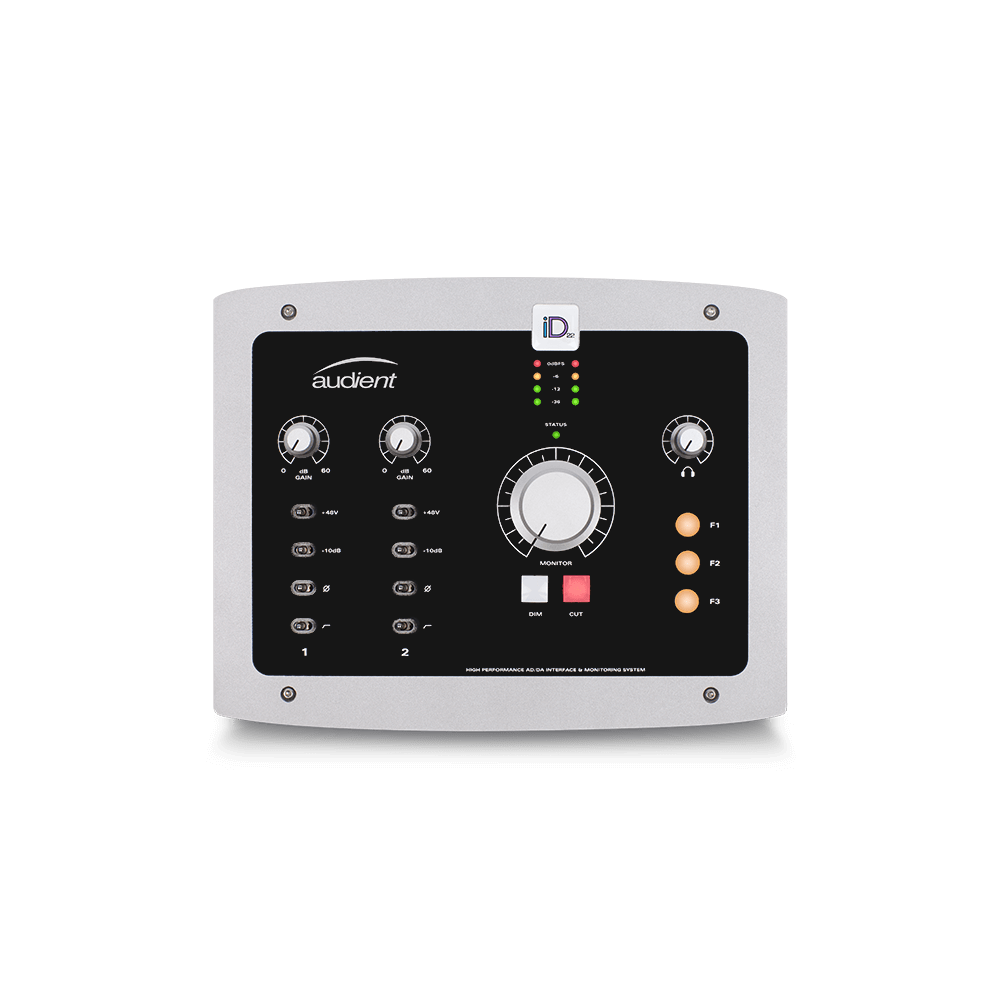
Interface audio 10 entrées - 14 sorties
-
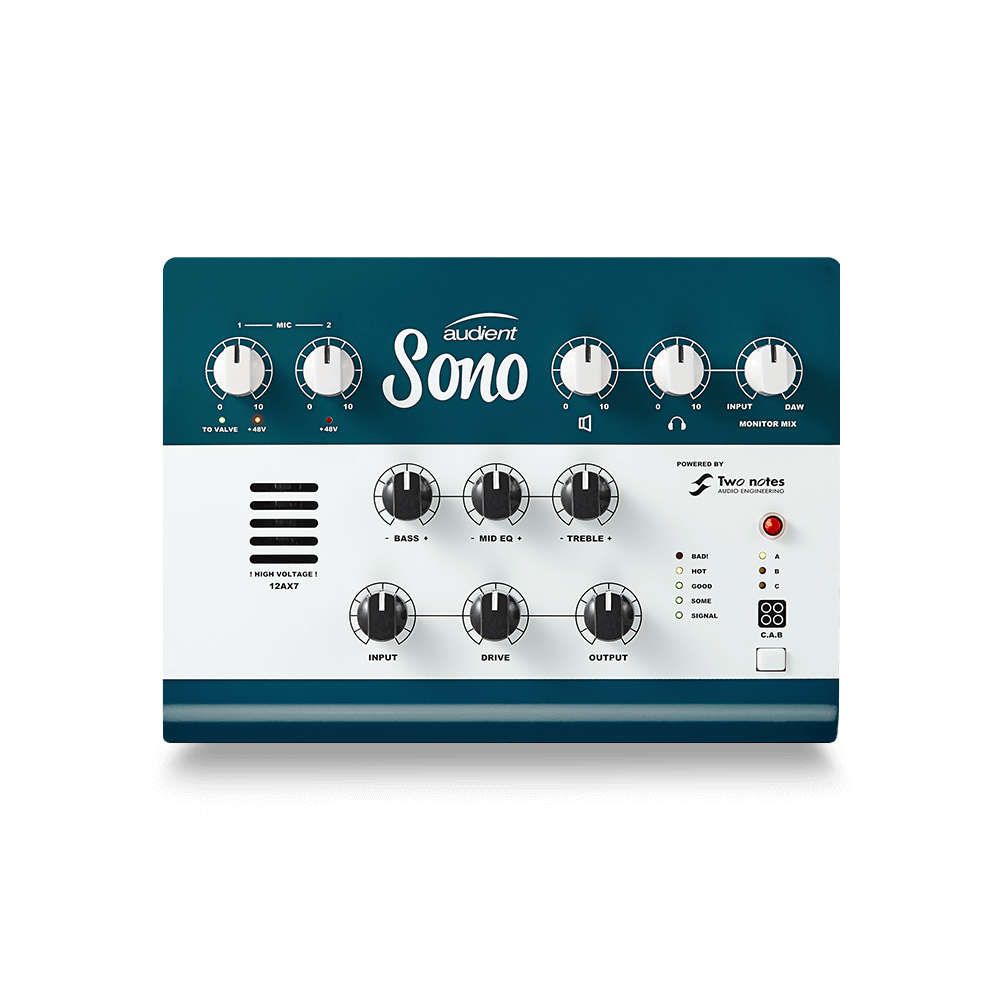
Interface audio 10 entrées - 4 sorties
-

Interface audio 2 entrées - 2 sorties
-

Interface audio 4 entrées - 4 sorties
-

24in | 24out Audio Interface
-

Tout ce dont vous avez besoin pour débuter l'enregistrement
-

8 Channel Smart Preamp with AD/DA
-

Préampli micro 8 canaux avec CA/N
-

Préampli micro 8 canaux + Tone Control
-

Console d'enregistrement analogique modulaire
-

Small Format Analogue Recording Console
-
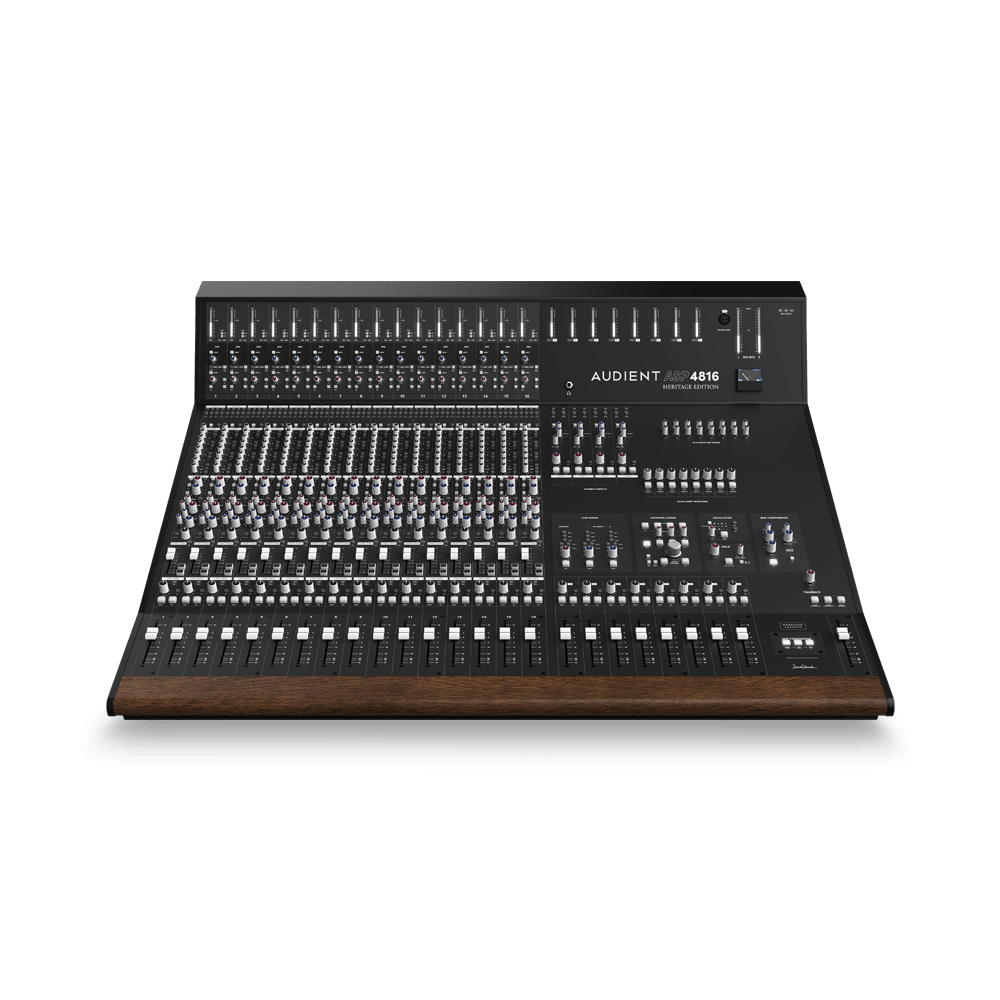
Small Format Analogue Recording Console
-

Immersive Audio Interface and Monitor Controller
-

Contrôleur de monitoring de bureau
-
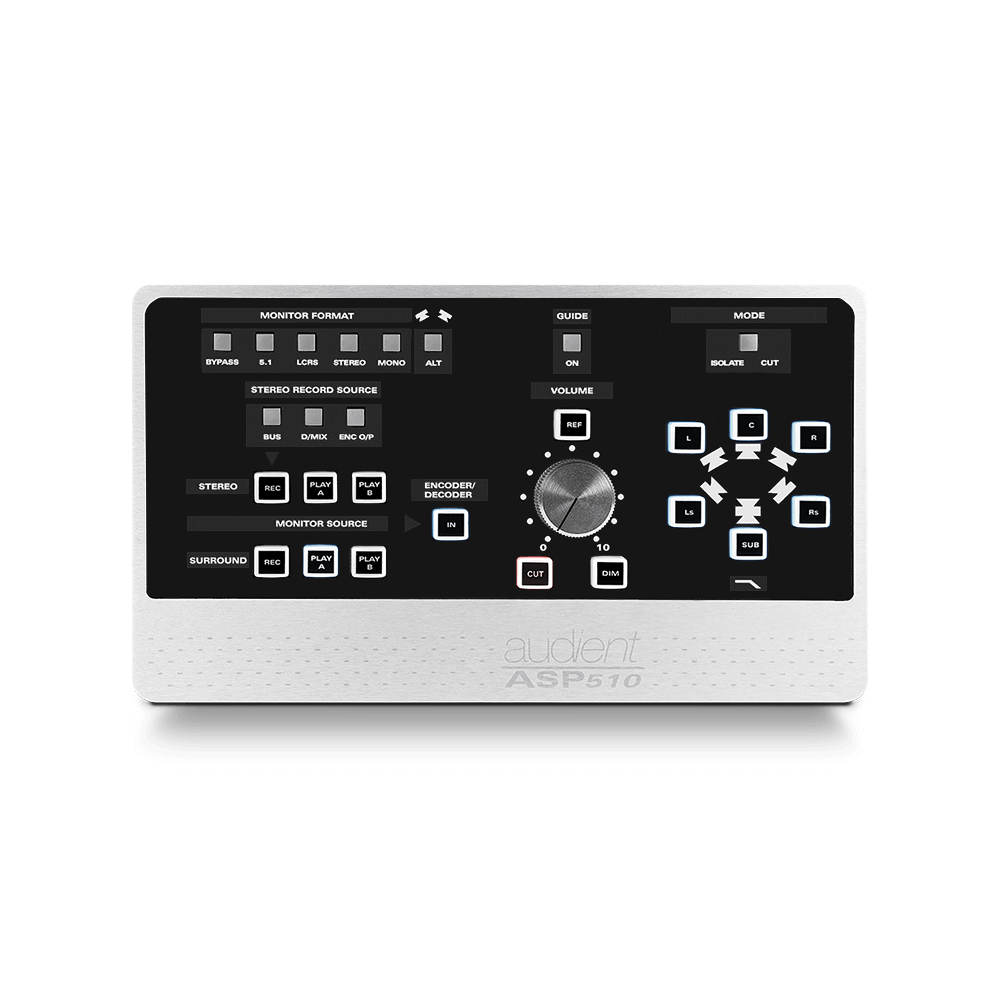
Contrôleur de monitoring multicanal
