


1. Seeing Is Believing
1. Seeing Is Believing
First things first. If the mix is for video, get a copy of it, whether the finished edit or a rough cut. By mixing to picture you are visually getting a sense of the space, its ambience, and the dynamics coming from musicians.
So many times I’ve had to start a mix before receiving a mix picture and got it to where I thought it was almost finished, only to finally receive a mix picture and then need to change things.
Generally this tends to be the amount of ambience, whether from room mics or added reverb, but could also be level of lead vocal, or placement of an instrument in the stereo mix.
2. Bussing
2. Bussing
Everyone has their own method and so I won’t dwell on this, but I always mix into a master bus. Normally this is as follows:
Surgical EQ > Bus Compressor > Musical EQ > (Limiter, sometimes)
This is currently comprised of:
Bx_digital v3 > Vertigo VSC-2 > Maag EQ4 > (DMG Limitless)
I also bus elements of my mix, again this is my way of working but it often looks like this:
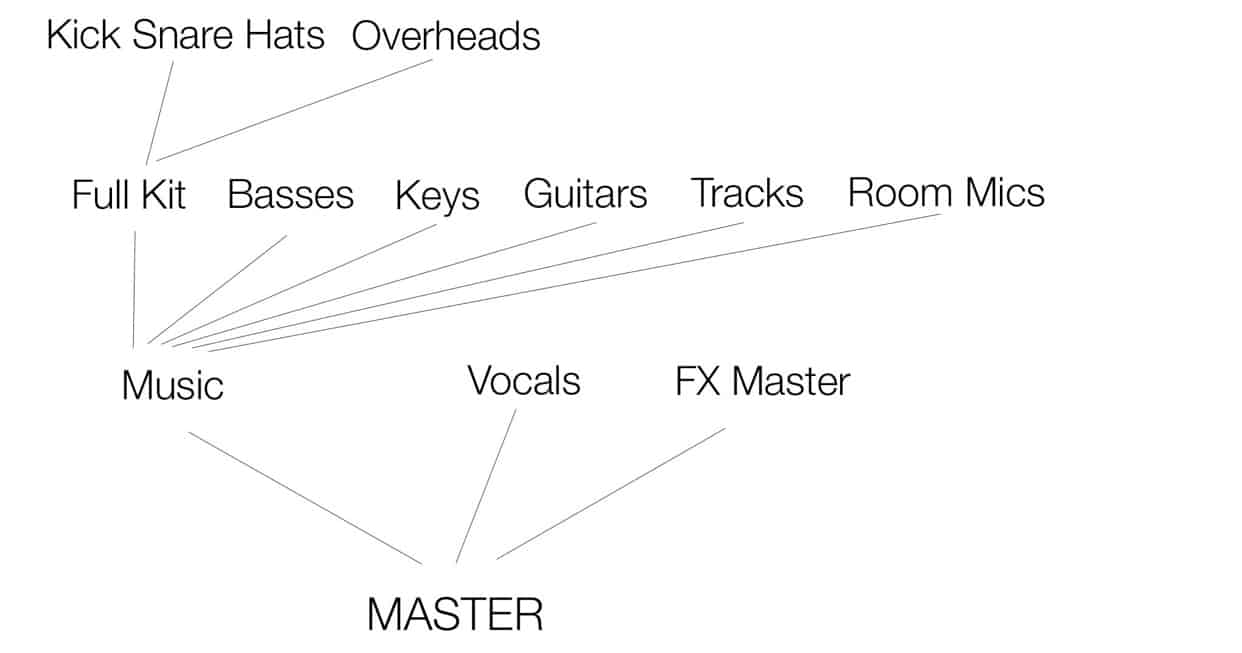
3. A Quick Word On Panning
3. A Quick Word On Panning
On my current gig, drums are Stage Left, but I don’t pan them all to the right. Treat panning like you would a normal mix. That being said, make sure your drum kit is audience perspective, and if you have a mono source played by the front-person, I’d be tempted to keep that right down the middle.
Here’s an example that allows you to see all the sources, and hear how they are panned:
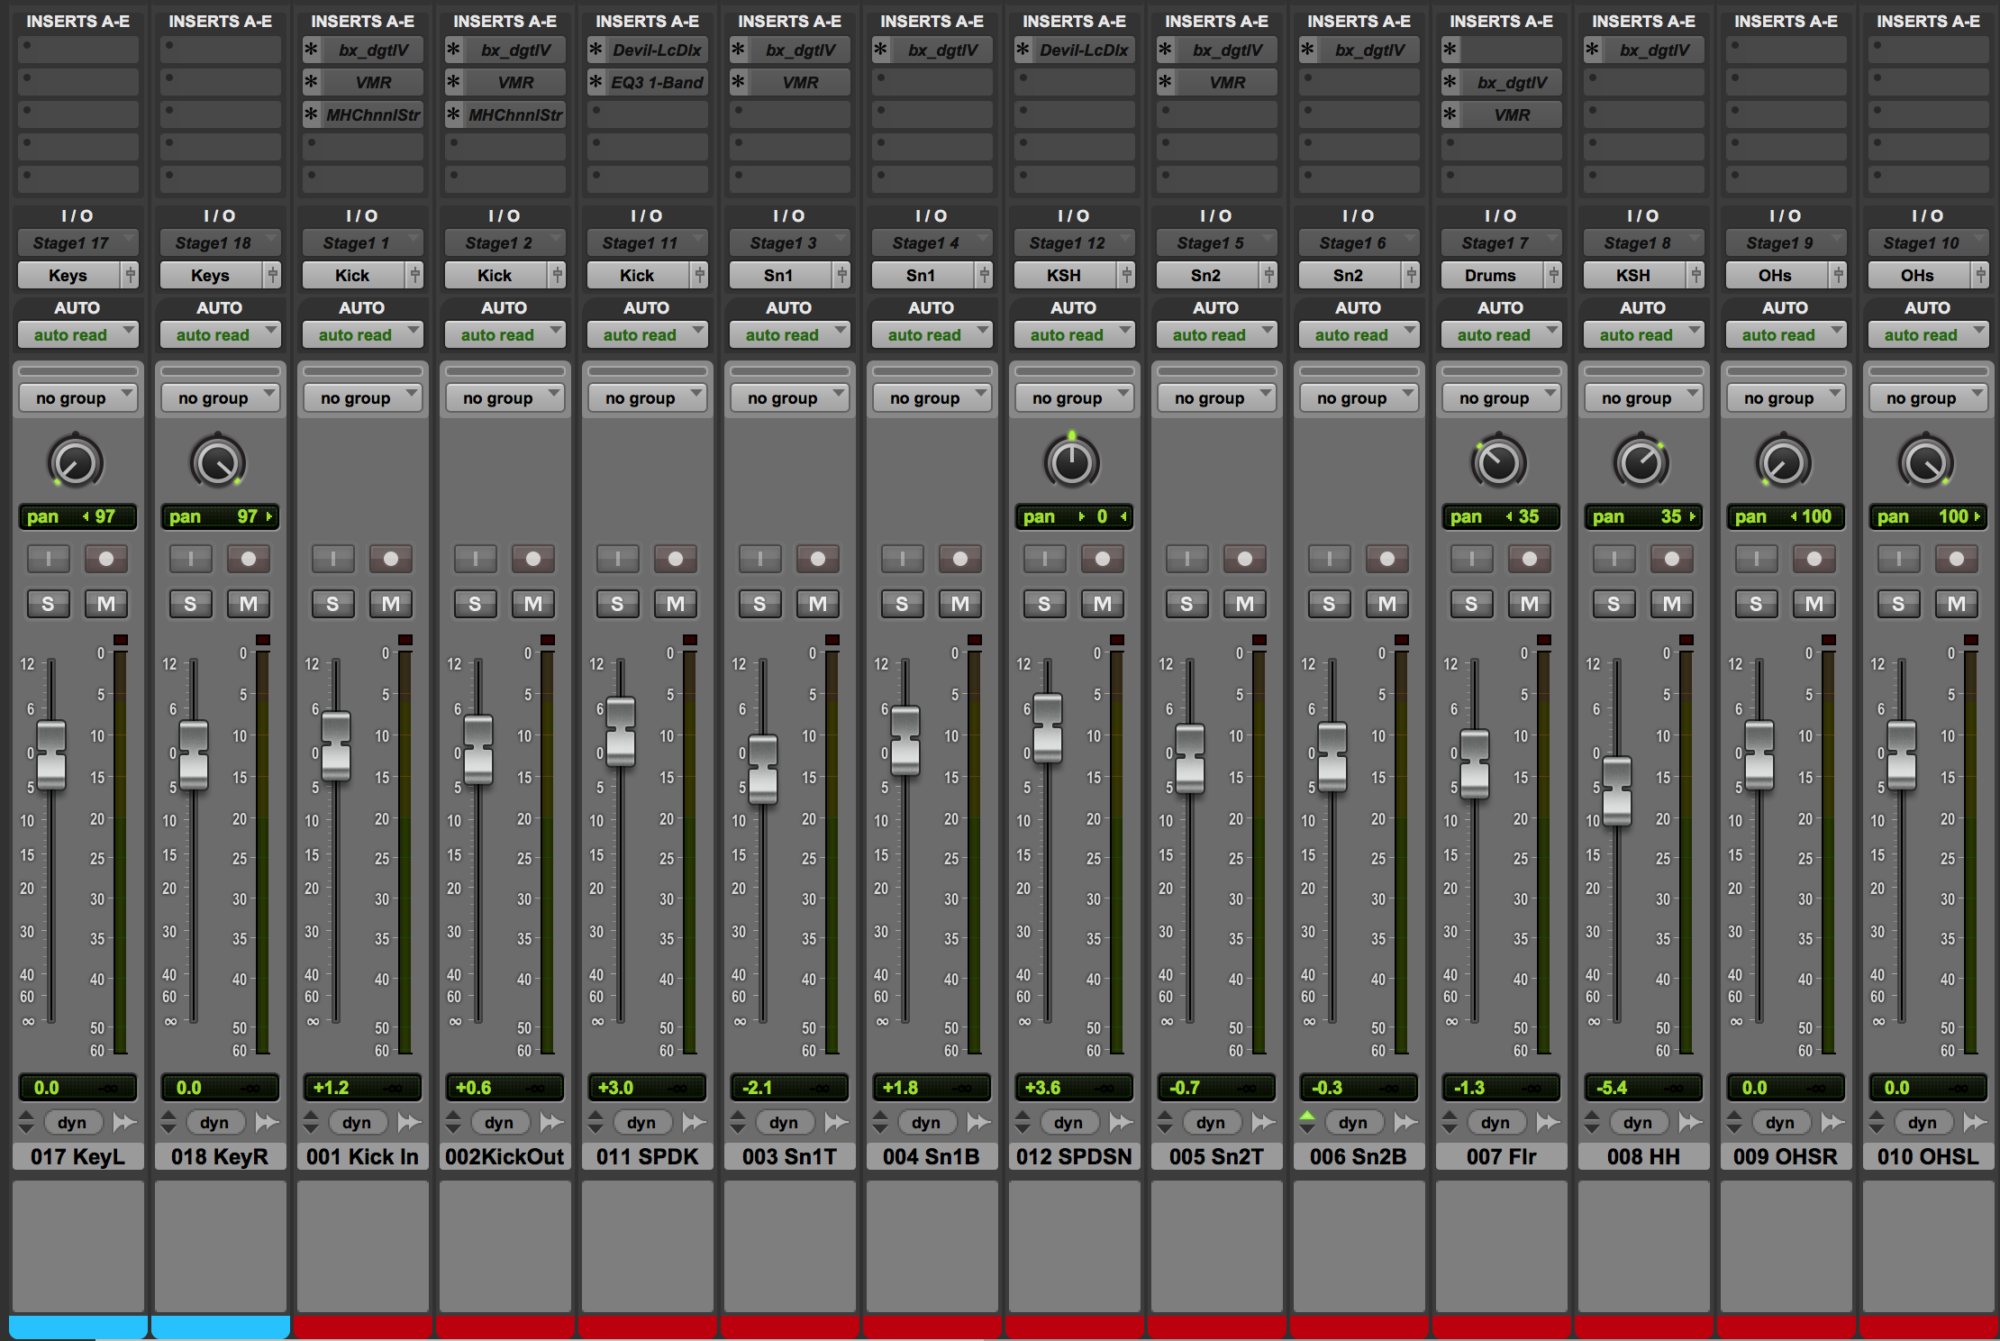
This shows panning of the kit and keys, as well as bussing of both and some plugins used
4. The Best Place To Start
4. The Best Place To Start
The best place to start, is the best place for you. I have a tendency to start with drums, it’s just how I learnt, both in the studio and live. I will then build up the rest of the instrumentation, followed by vocals and then start integrating effects.
Before I start looking at compression or gating, the first thing I always do is get rid of any unwanted frequencies that may come from the source or spill from other things around it. Take a look at my in-depth guide to this here.
To be honest, I then go ahead like I would with any other mix, but always take one main thing into consideration. This is live, and it is in a designated space. It’s super important to keep that in mind, especially if to picture, otherwise it will just look and sound out of place.
5. A Sense Of Space
5. A Sense Of Space
In the first instance I always suggest recording with audience/ambient mics. The more the better, allowing you to choose which sound the best and to fade in the best cheering and clapping between on songs. I’ve worked on productions that had up to 26 audience mics, for a 5.1 audience mix and as little as 2. I’ve even mixed live videos with only badly recorded handheld camera mics.
When that’s the case you need to rely on artificial reverb. I rely on an impulse response reverb, although I’m sure you could create similar results with an algorithmic reverb.
When choosing these, a key thing to remember is that very few music venues sound great acoustically (trust me I wish they did, life would be so much easier!). So don’t choose a “studio A” of a well known recording studio, or a grand treated concert hall.
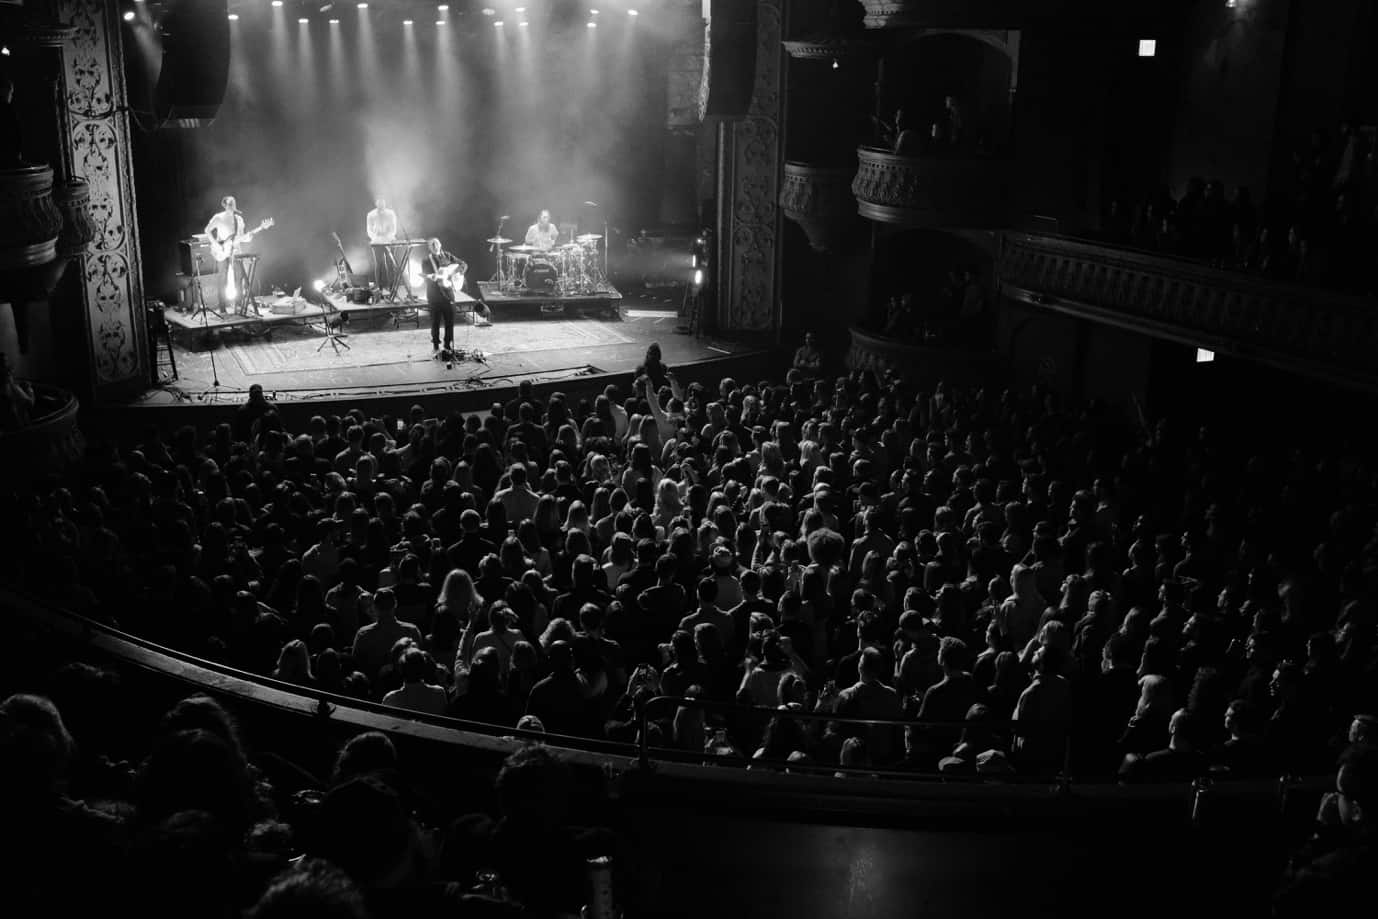
Thalia Hall, Chicago. Both a beautiful and good sounding room.
A beautiful old theatre may look great, but it may not sound amazing. In a live concert you have sounds coming off the stage, as well as everything coming through the PA. This then hits and reflects off all the different surfaces within the venue. Sometimes it can be wonderful, sometimes it can be a nightmare.
Recreating this can be hard. Personally I use a couple of impulses myself and few friends created in a real and not great sounding venue. It gives me options from different positions, and the added bonus that I know how the room sounds with people in it and empty.
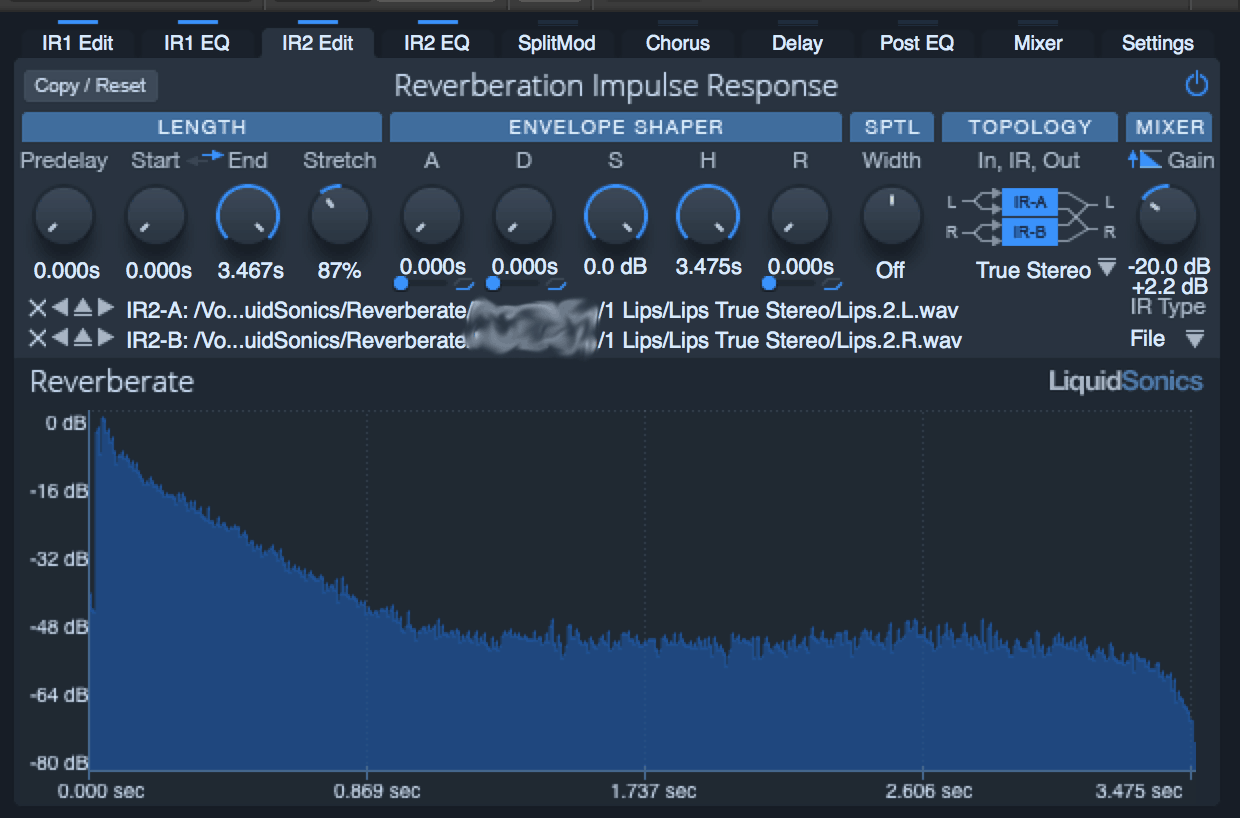
An example of my go-to ambience reverb.
It will probably require less additional reverb than you think, and you will undoubtedly need to edit it. Remember reverbs are based on empty rooms. When you add an audience they change the sound of the room A LOT.
Even when using ambient mics, I will often use artificial room verbs in conjunction, especially where the recorded ambience perhaps doesn’t sound that nice, or if the crowd is noisy. Use your ears to blend. In the video example earlier this was used in conjunction with two ambient mics on stage pointing towards the audience and two mics at front of house pointing towards stage.
With ambient mics, often they will pick up a lot of lower mid and bass frequencies that perhaps will make your mix muddy. Like with your sources, use subtractive EQ to get the best out of these.
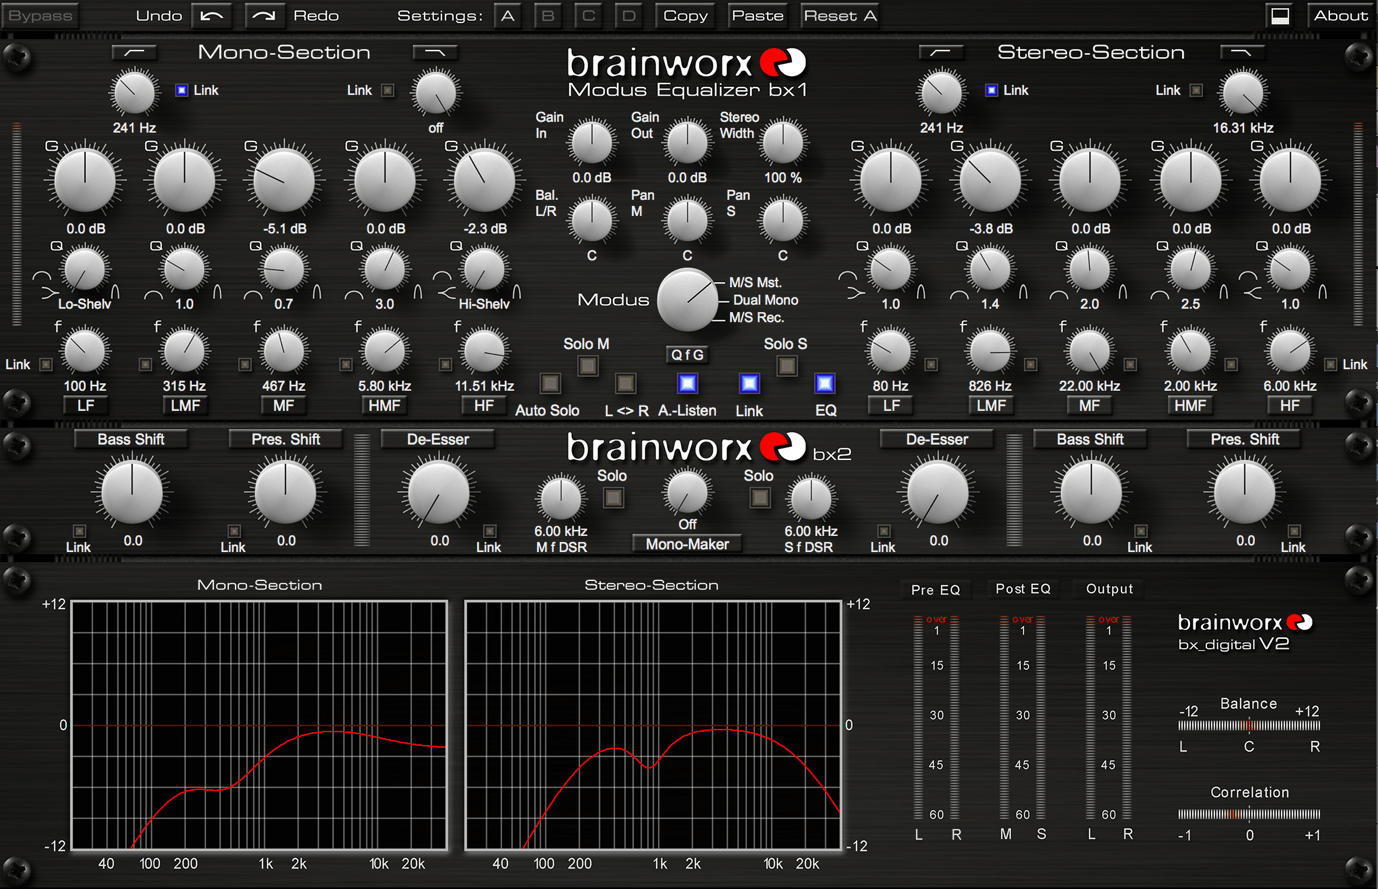
Ambient mic mid-side EQ
In Conclusion
In Conclusion
Keeping a sense of space really is the key to a live mix. Otherwise treat it like you would a normal mix, but realise there may be compromises, there will be spill, there will be things you can’t “fix”, the room may not sound great.
Make “space” for the individual elements to come through, but equally remember everything is being played in one space, their sounds all reflecting off the walls.

About the author
Will Donbavand is a London based sound engineer, primarily working as a touring Front of House engineer. He has spent most of the last couple of years working with artists such as Dermot Kennedy, DJ Shadow & Josef Salvat.
For more information on Will or to see what he’s up to, head to www.willd.co.uk
Photo credit: Lucy Foster http://lucyfoster.ie/

Our Products
-

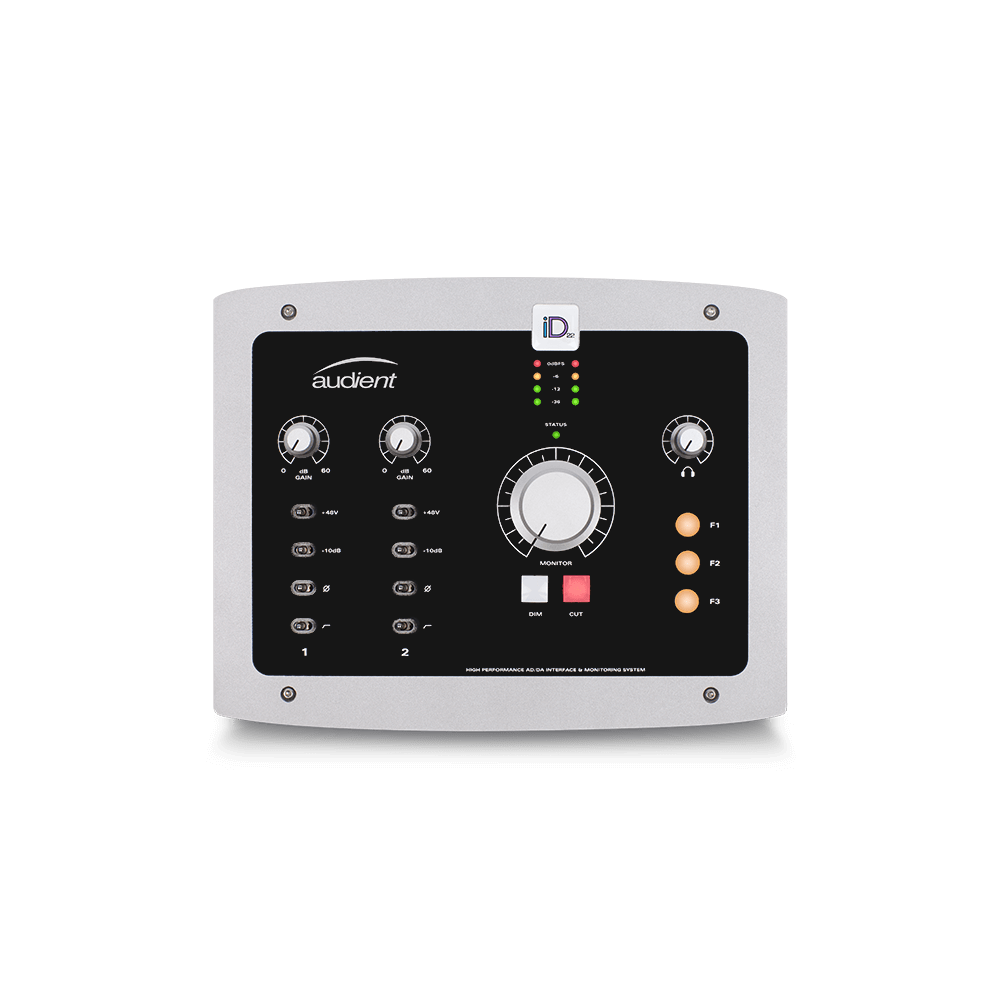
Interface audio 2 entrées - 2 sorties
-

Interface audio 10 entrées - 6 sorties
-

10in | 14out Audio Interface
-

Interface audio 20 entrées - 24 sorties
-

24in | 32out Audio Interface
-
Interface audio 10 entrées - 14 sorties
-
Interface audio 10 entrées - 4 sorties
-

Interface audio 2 entrées - 2 sorties
-

Interface audio 4 entrées - 4 sorties
-

24in | 24out Audio Interface
-

Tout ce dont vous avez besoin pour débuter l'enregistrement
-

8 Channel Smart Preamp with AD/DA
-

Préampli micro 8 canaux avec CA/N
-

Préampli micro 8 canaux + Tone Control
-

Console d'enregistrement analogique modulaire
-

Small Format Analogue Recording Console
-
Small Format Analogue Recording Console
-

Immersive Audio Interface and Monitor Controller
-

Contrôleur de monitoring de bureau
-
Contrôleur de monitoring multicanal