


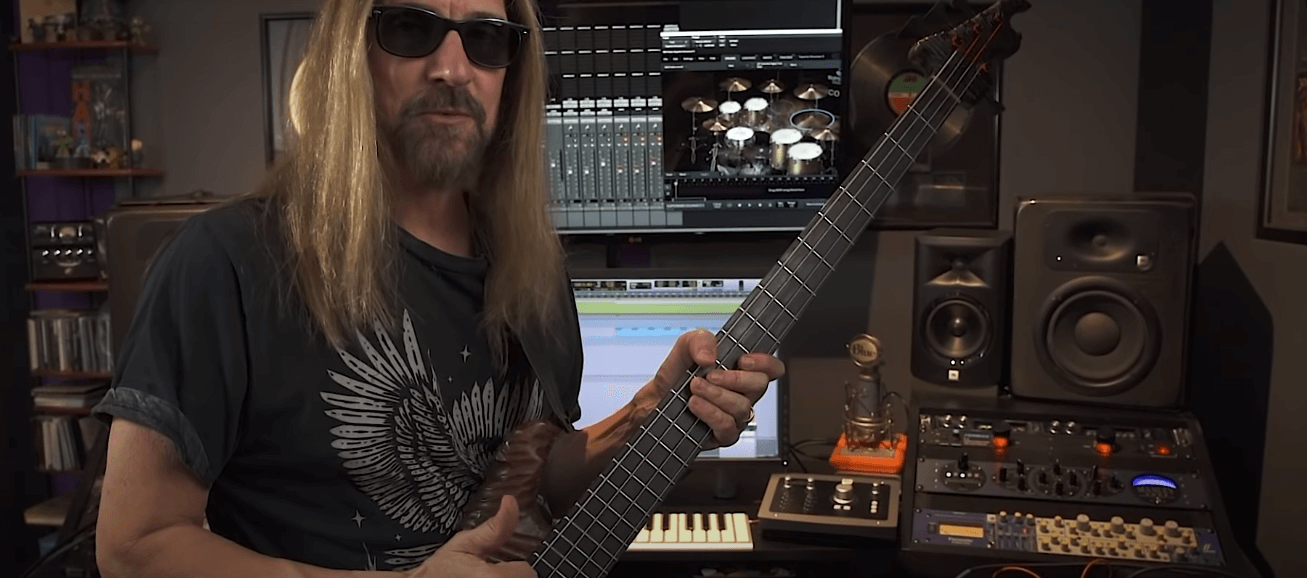
Is your home studio more ‘home’ than ‘studio’? Do you find yourself hindered in your music making workflow by logistical stumbling blocks within the creative space? Read on to discover five of the most effective things you can do to fundamentally improve your production environment and the sounds that come out of it.
Tidy up!
If you hope to be at your creative best in the studio, you just can’t let it get messy, as clutter and detritus can be disproportionately distracting. So, make a point of tidying up at the end of every session – removing the cups, plates and food containers that inevitably make their way onto the studio desk, keeping the floor clear of anything that doesn’t qualify as furniture or make an aesthetic contribution to the room, and ensuring that all your cables, mics and other gear are stowed away but easy to get to. And give the whole place a good dusting regularly, not only in the interest of cleanliness, but to prevent potential issues with crud working its way into mixer fader channels and pots, and jack sockets.

As well as your physical space, you should strive to maintain the hygiene of your virtual studio, too. Aim to keep your plugins folder free of abandoned instruments and effects that you know you’re never going to use, organise your sample library into a meaningful structure, and get your project folders clearly named and organised so that you can easily locate current works in progress as well as older ones that you might need to refer to at any point.
Sort out your acoustics
The acoustic properties of your home studio can’t help but have a profound impact on the quality of your mixes, as room reflections and resonances pollute the sound coming from your monitors to potentially ruinous effect. Happily, though, even the most acoustically wayward of spaces can be improved in this regard with the investment of a bit of time, money and effort. And we’re not talking vast sums of cash here: a few well placed foam absorption panels on the walls (the thicker the better, and ideally frame mounted a few centimetres into the room) and bass traps in the corners are all it takes to soak up most of those dodgy waves. There are loads of manufacturers in this space, so get online and see where your budget takes you.
Oh, and your desk and monitor speakers need to be correctly placed in the room, too, so as to minimise the effect of standing waves – that is, soundwaves colliding as they bounce between parallel walls, causing all sorts of spectral mayhem. If you want to get properly scientific about this, Google the ’38% rule’; but in the likely event that your room doesn’t allow such positional freedom, just make sure your monitors aren’t equidistant from the wall behind them and the walls on either side. And as for the monitors themselves, they should form an equilateral triangle with your head as the third apex, and the tweeters at ear level.
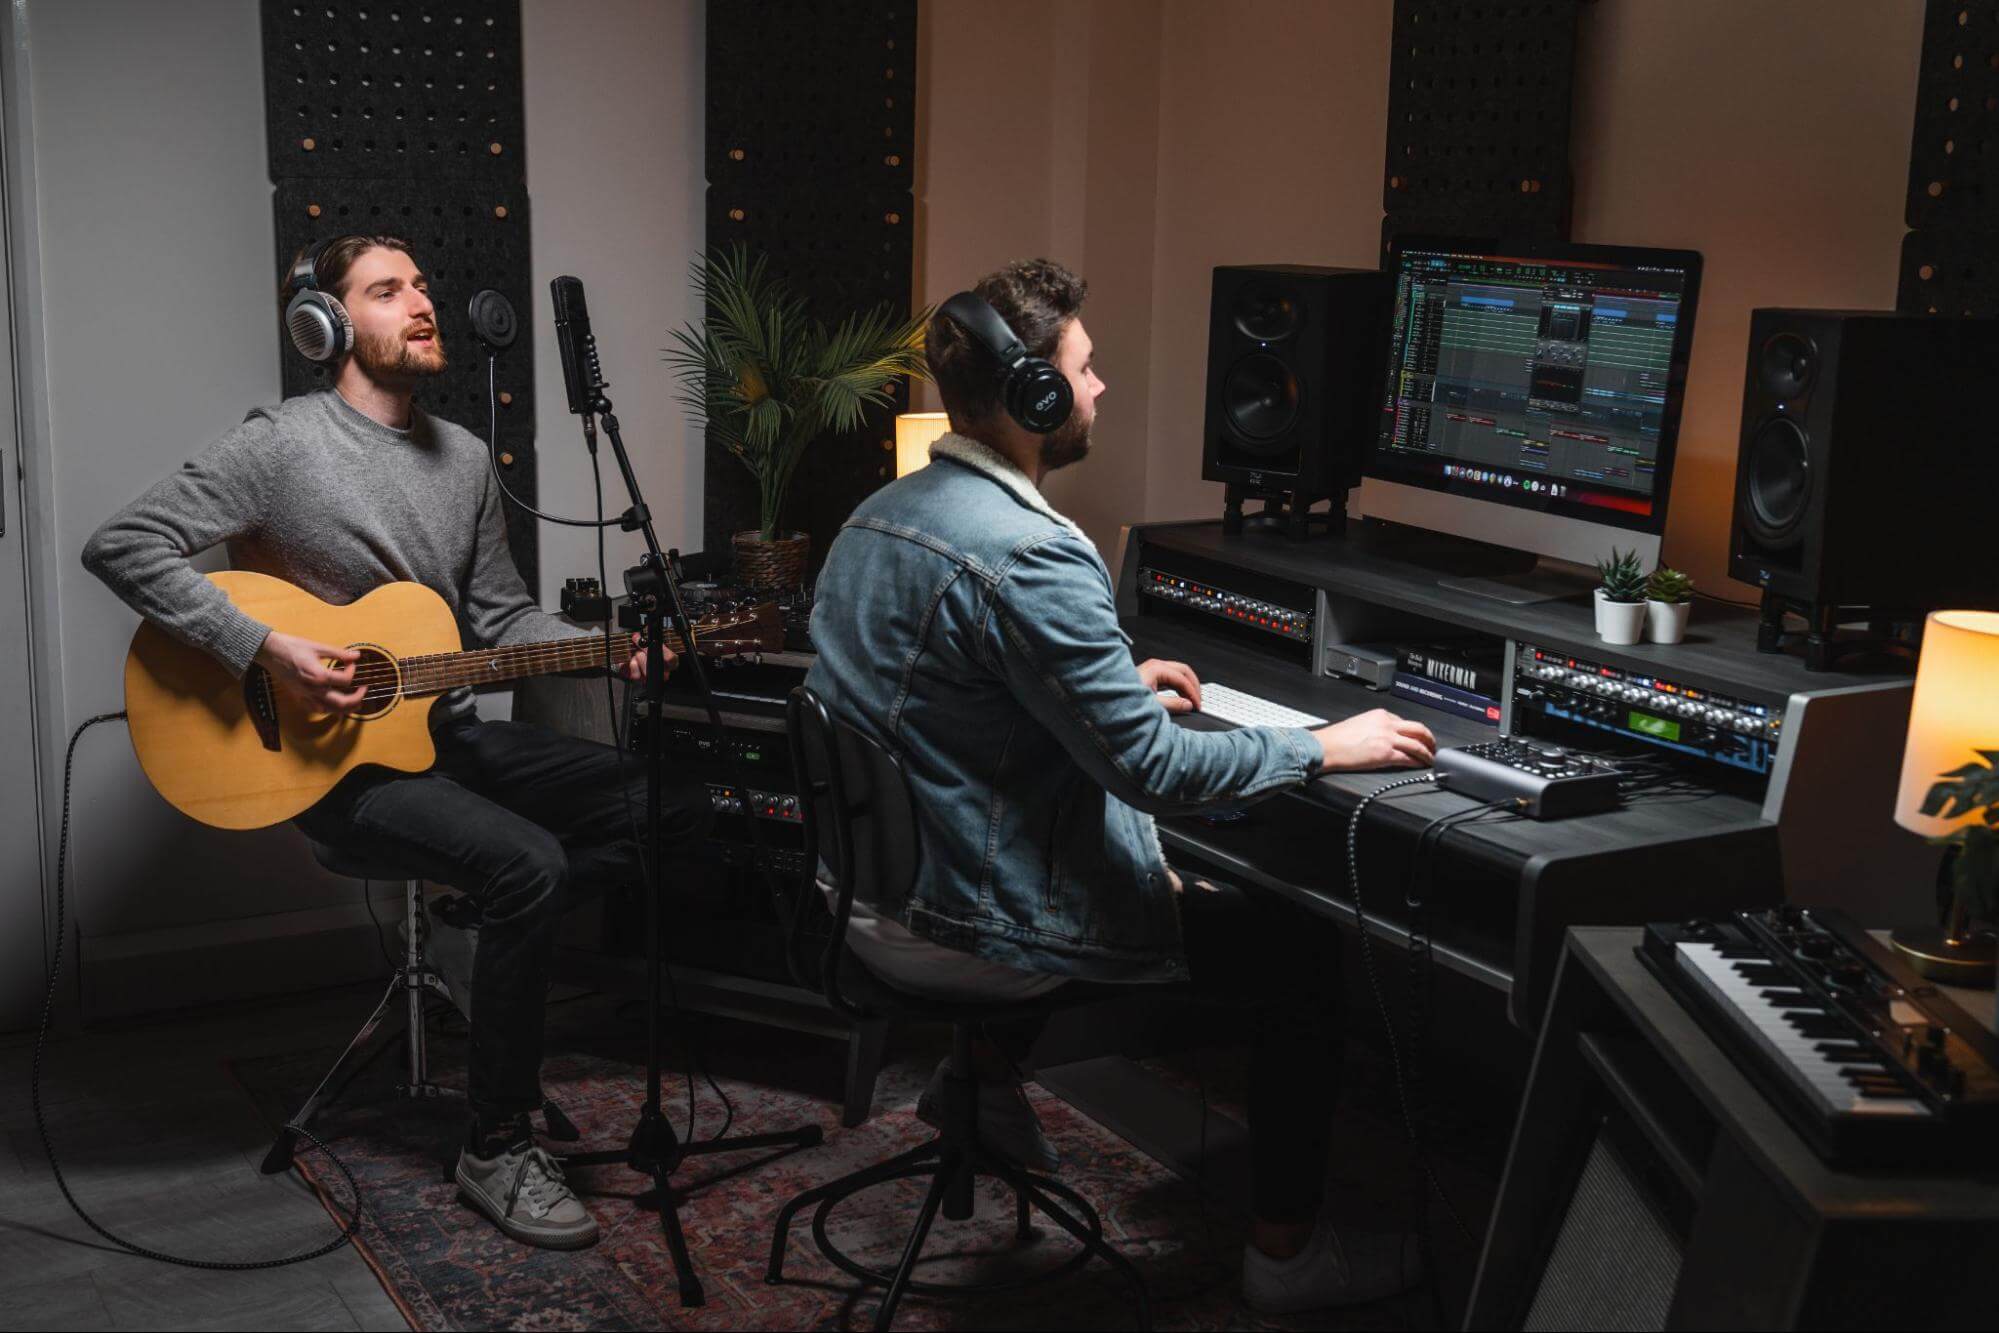
Upgrade your monitoring
Still on the subject of monitors, along with the audio interface, the speakers are unarguably the most important element of any studio setup, as they literally define the quality, accuracy and ‘honesty’ of the sound you get to work with. These days, you can get really great monitors for just a few hundred quid, but the more you spend in this department, the better, so it’s worth saving up for a while if possible to buy the best option you can ultimately afford, rather than compromising through impatience.
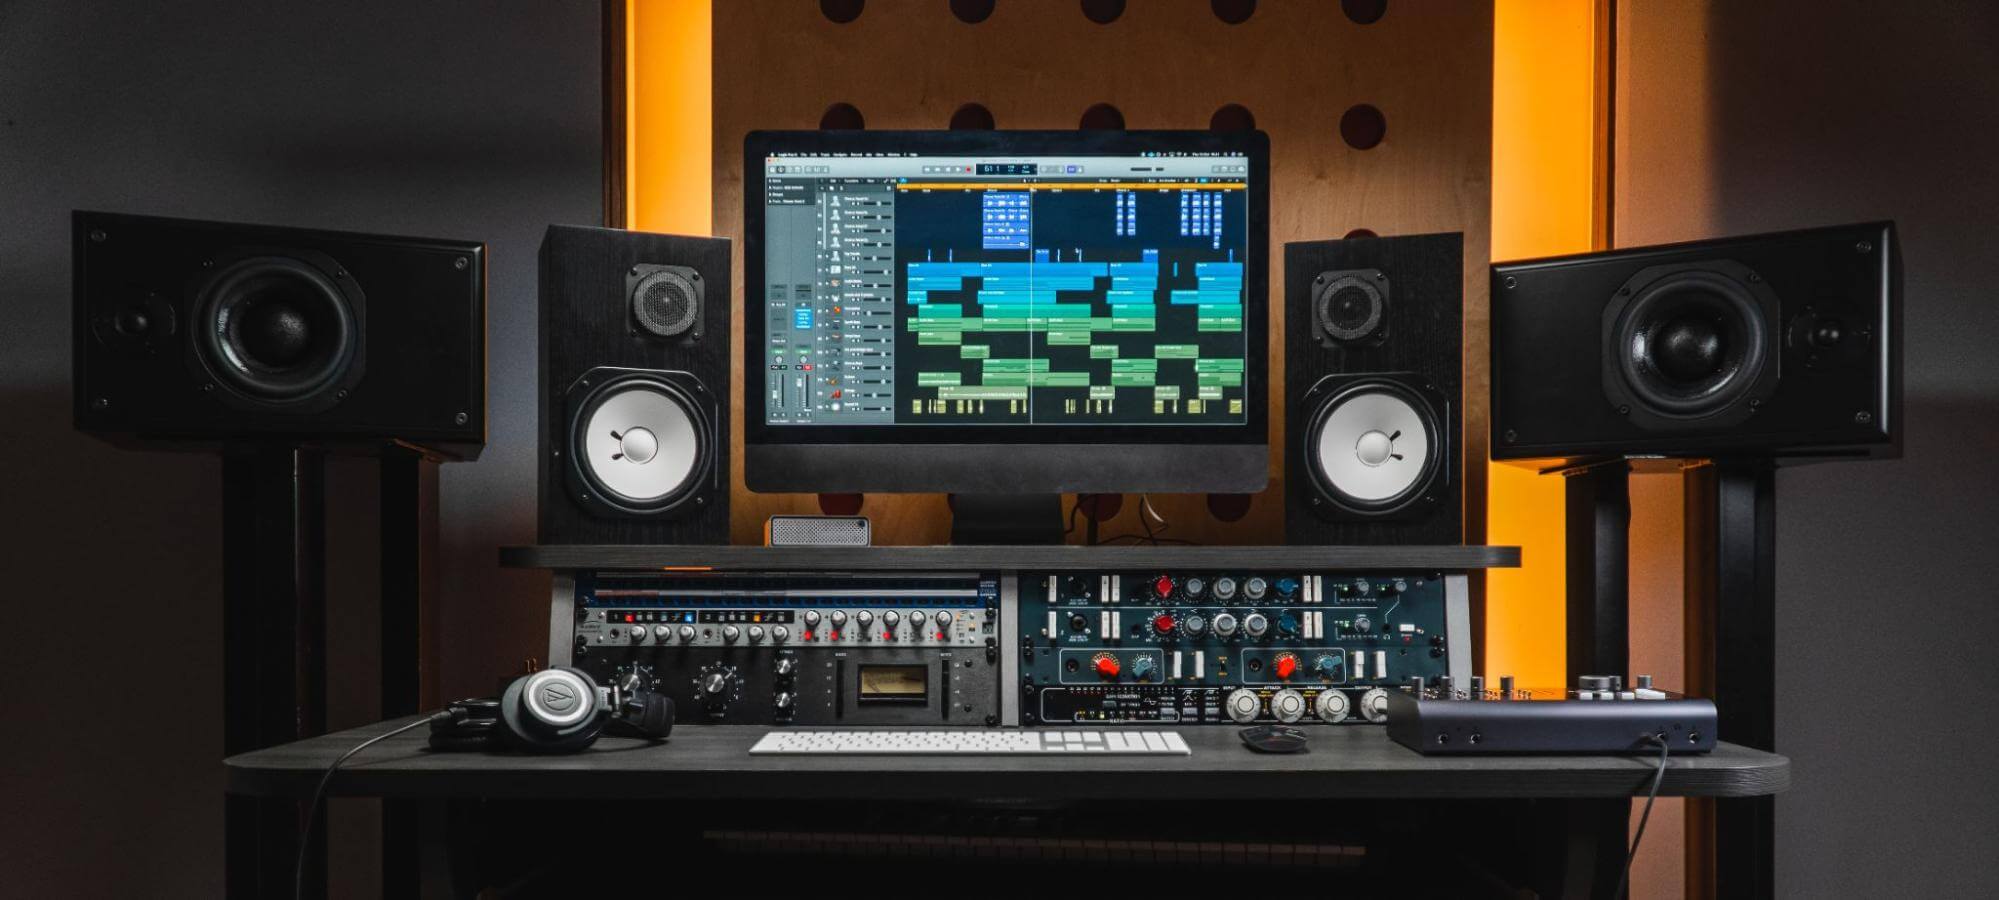
Be careful not to mismatch the speaker type with your room: if the space is small, a whopping great pair of midfields and a huge subwoofer won’t be able to perform as intended, so you’ll want to look at a decent set of nearfields instead. Something else worth thinking about here is room correction. An increasing number of monitors feature onboard DSP for automatically tweaking their frequency response to match the room they’re in (sourced via a measurement microphone), and there are standalone correction systems available from IK Multimedia, SonarWorks and others. These can be very effective for improving the quality of your monitoring, but shouldn’t be used as an excuse for not acoustically treating the room as well.
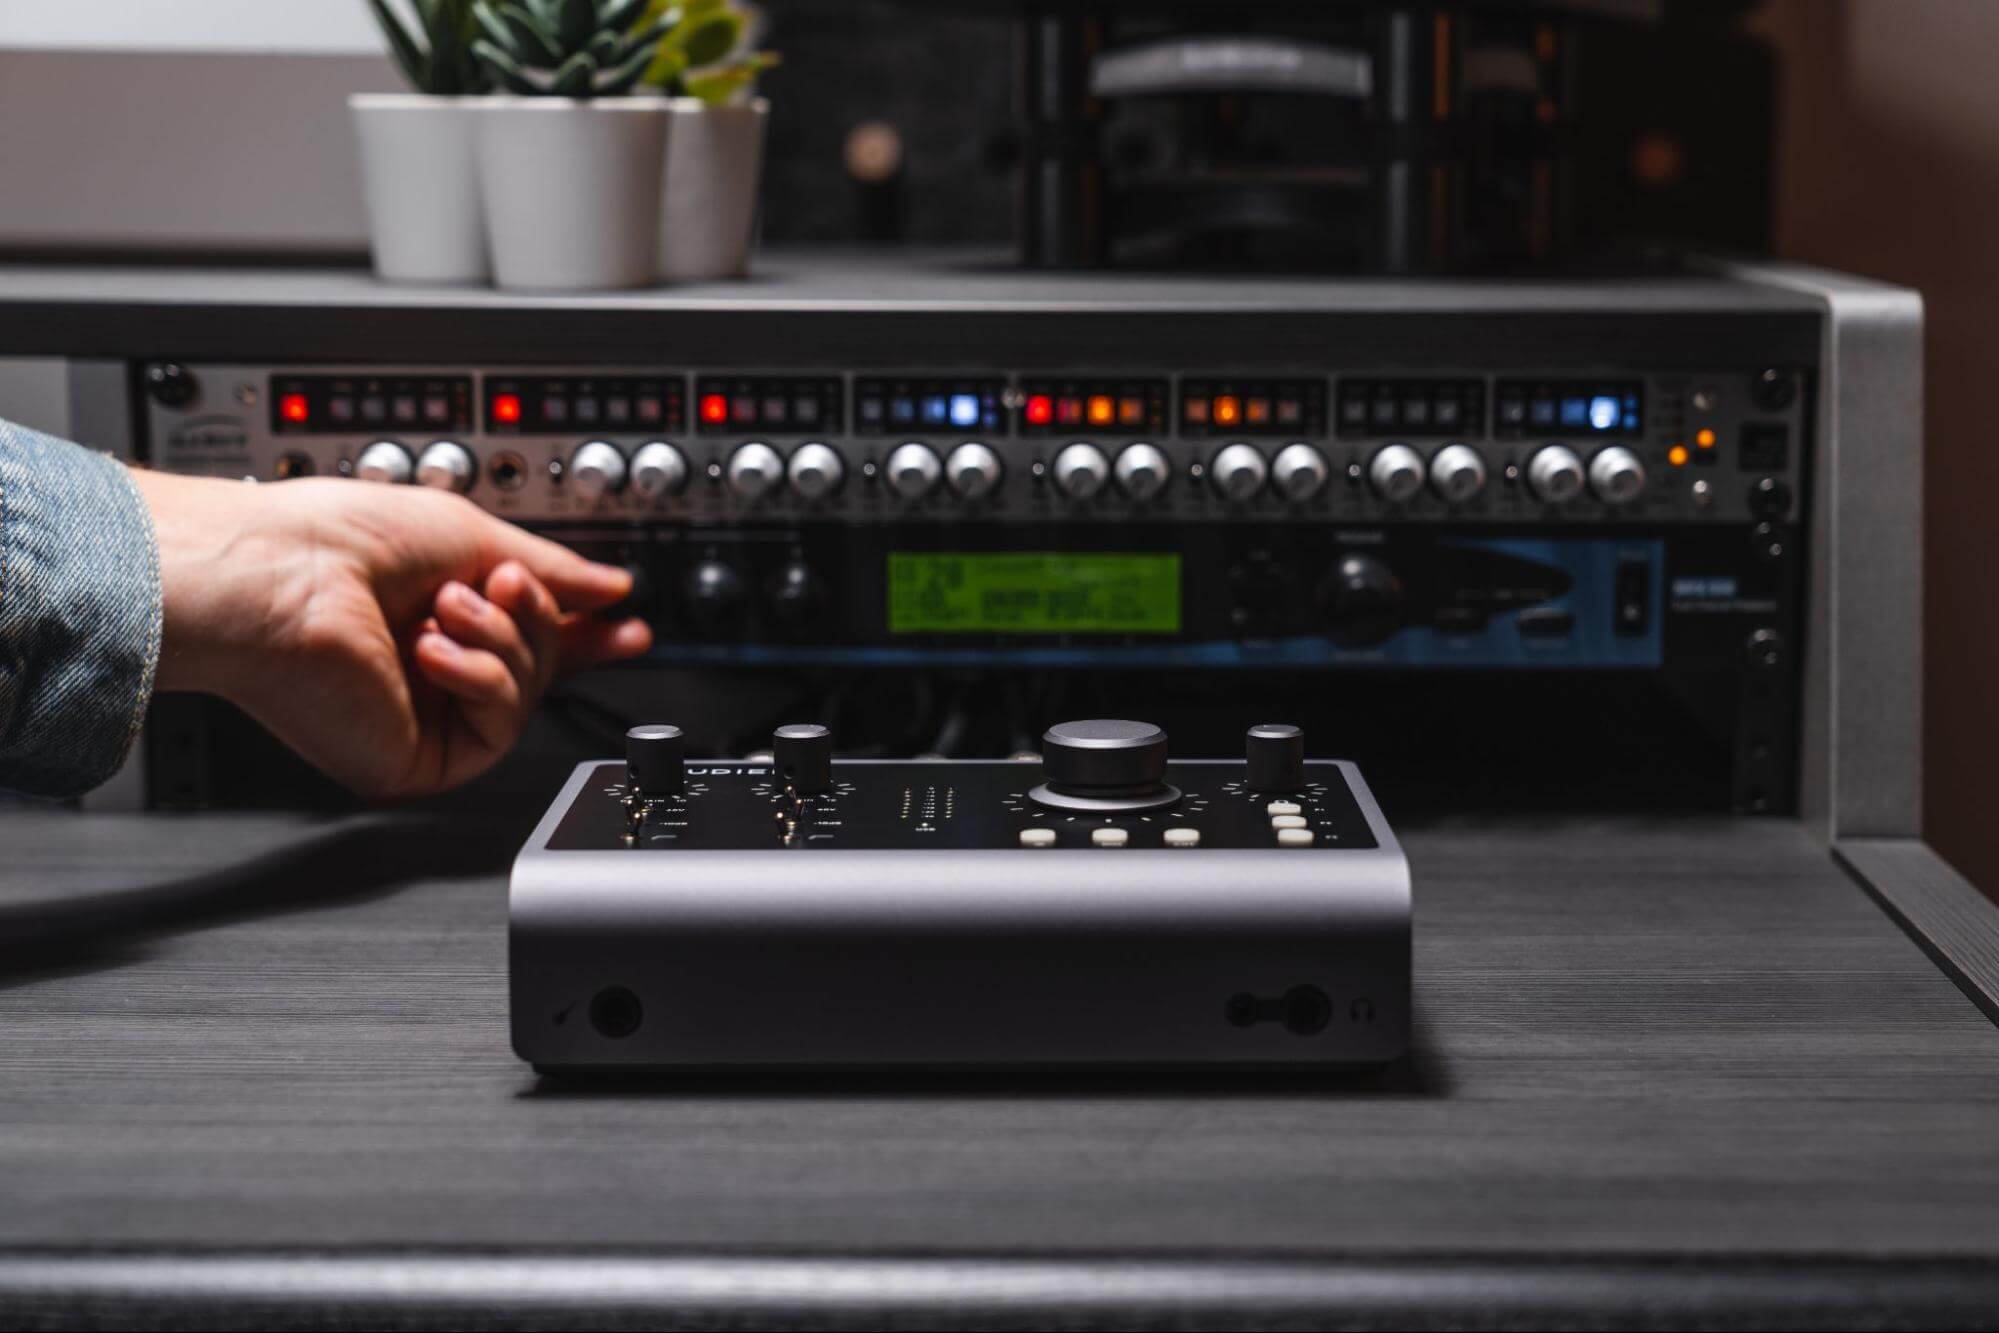
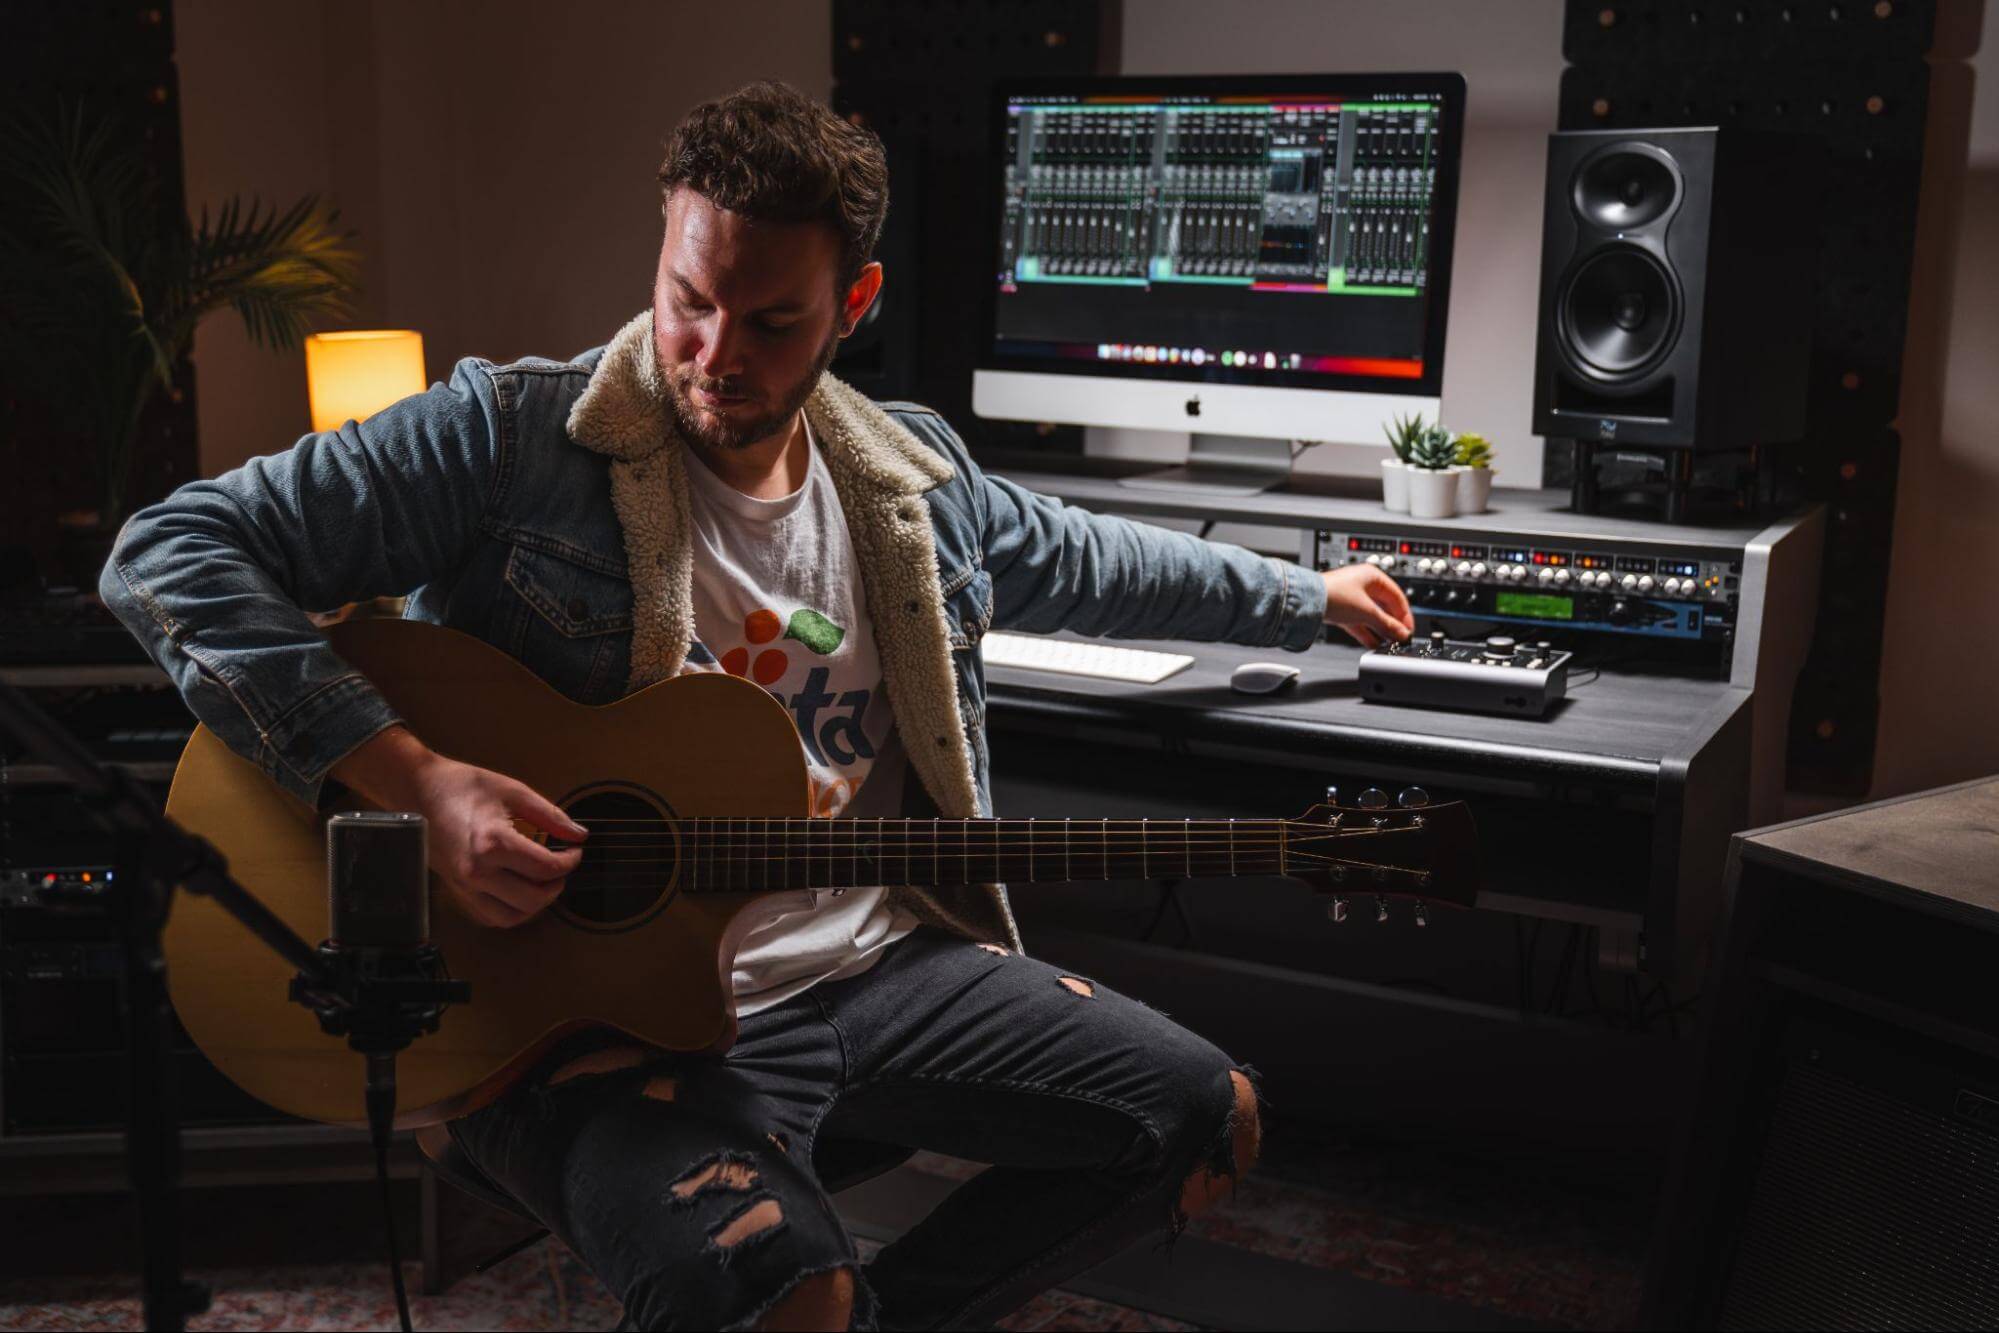
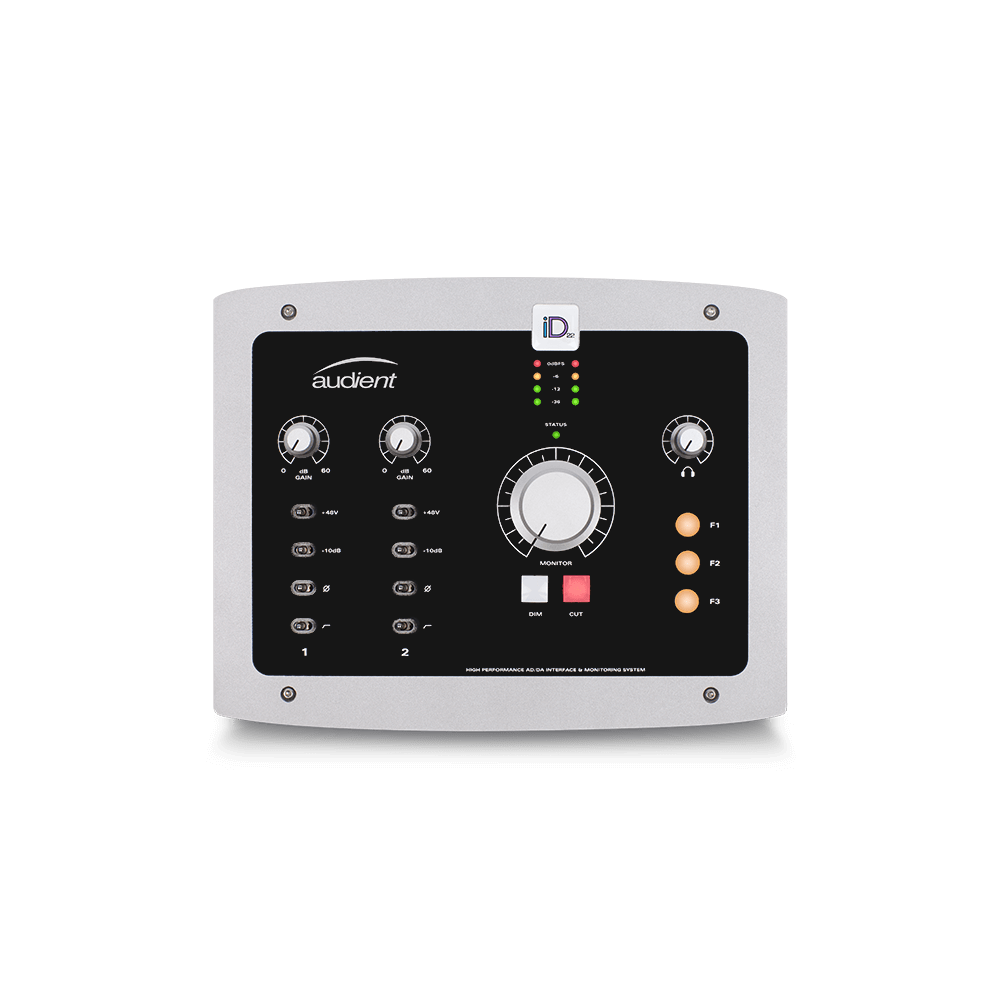
As for the aforementioned audio interface, well, as an EVO owner, you’ve already nailed that part of the equation. Nice work!
Don’t let noise spoil your recordings
Noise can intrude into recordings in various ways, from iffy cabling and environmental sounds in and around your house, to cheap microphones, and low quality preamps and AD converters. Again, the ultra quiet preamps and converters in your EVO audio interface solve the last of those issues at a stroke; and sorting out faulty cables is a simple matter of tracking down the offending items and removing them. The sounds of domestic appliances and other people in and outside the house, however, are rather less predictable and easy to eliminate, so a bit of forethought might be required. If you can wait til the house is empty before starting on a session, obviously it makes sense to do so, but if you can’t, ask your cohabitants to keep it down for as long as required, and make sure no one’s planning to put a wash on or kick off a HIT session in the room above. If traffic or other outside noise is audible in your recording space, put up the thickest curtains you can find, or build an impromptu vocal booth.
Computer fans can also be problematic, so if yours is anything more than whisper quiet, you might need to figure out a way to put it or the microphone in another room.
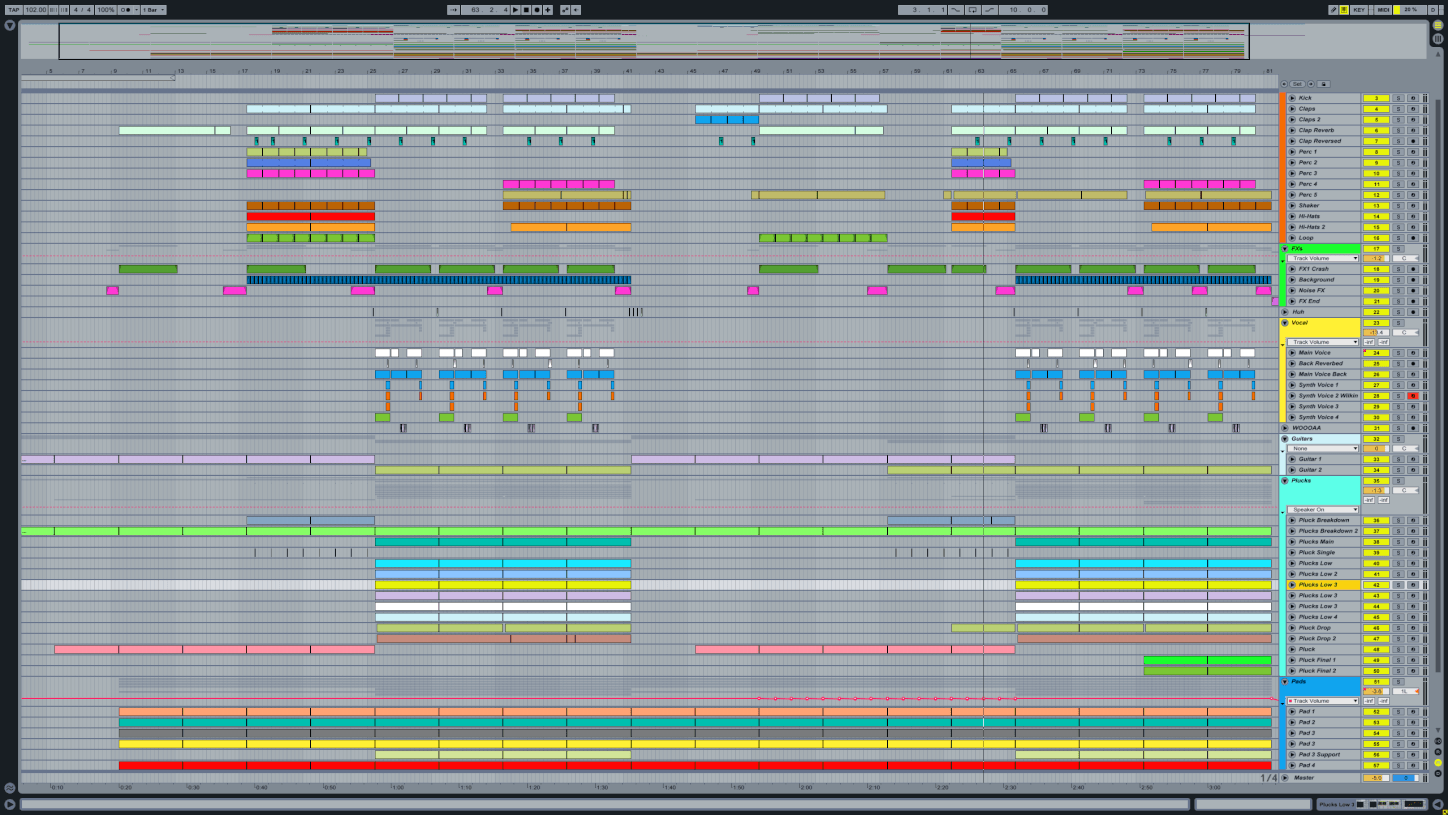
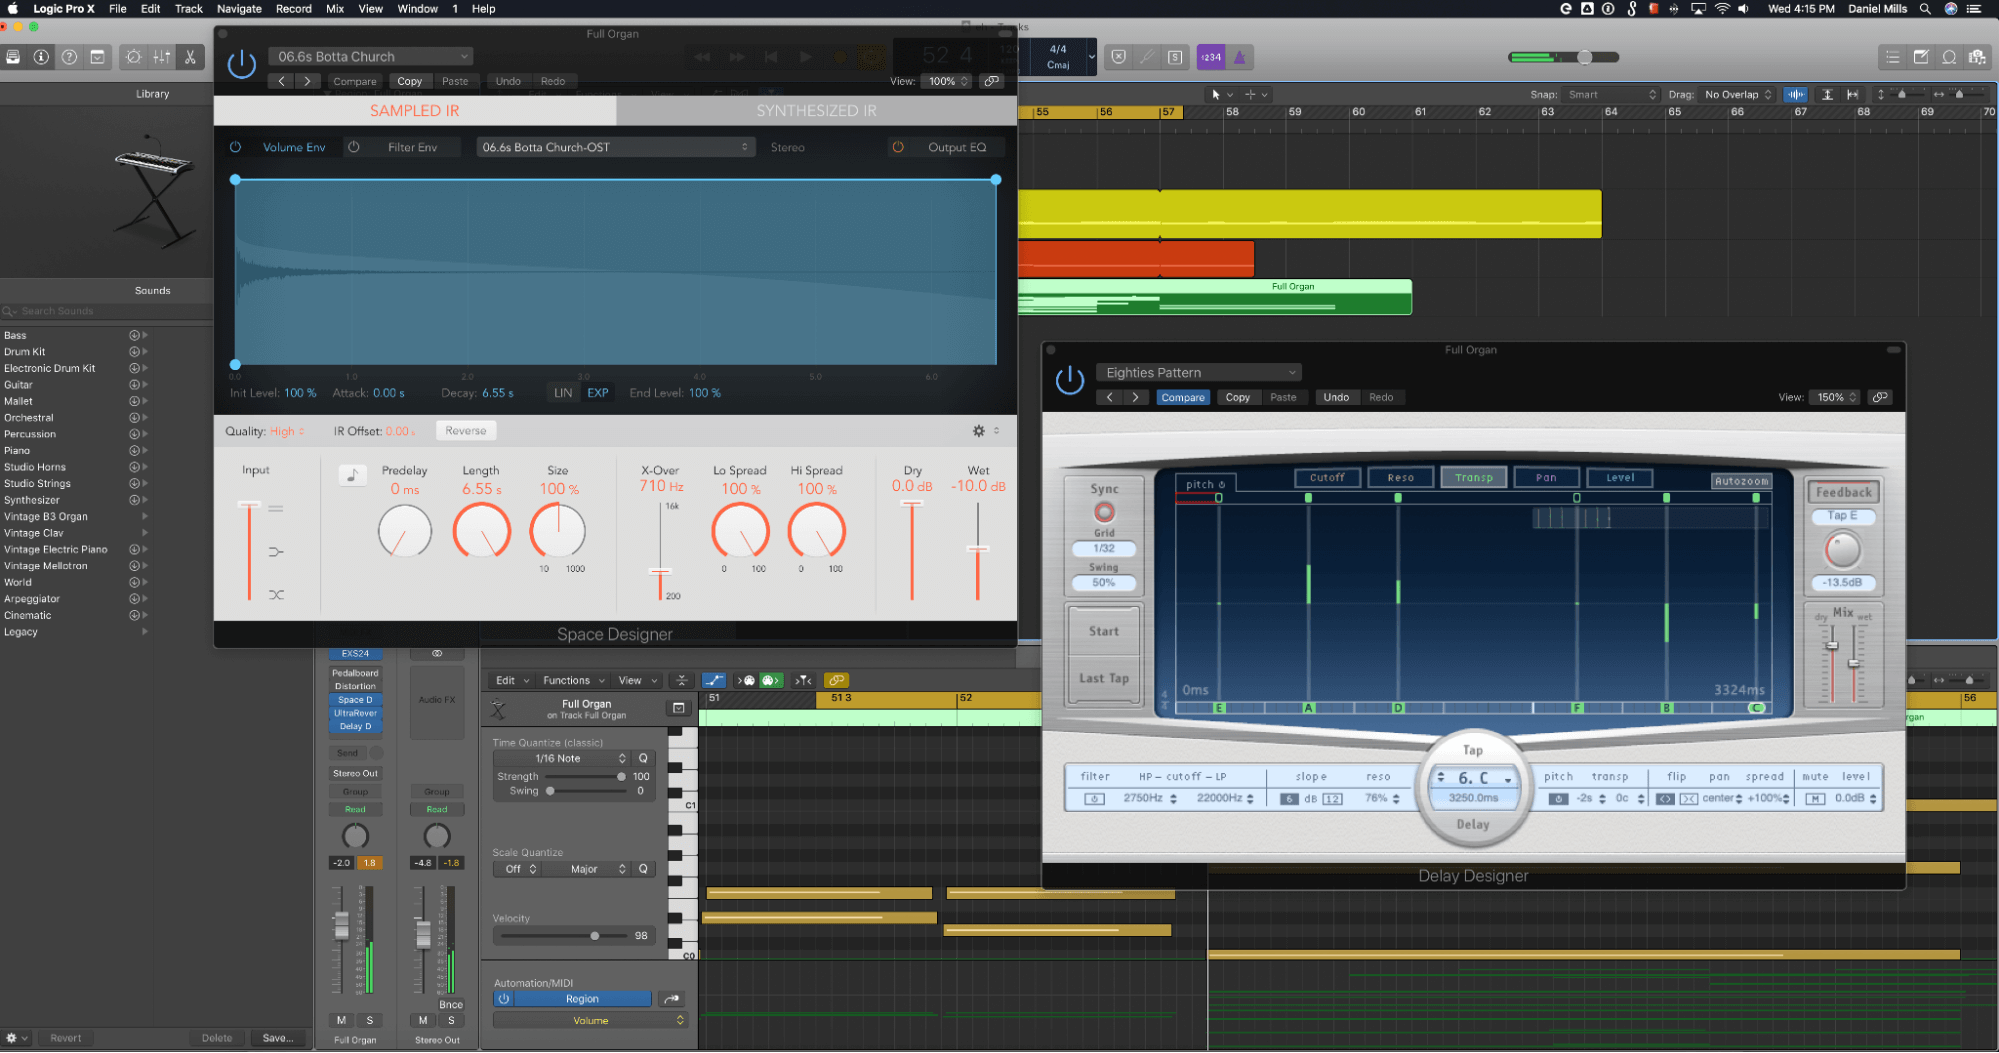
Prepare a set of template DAW projects
Whenever musical inspiration strikes, your studio should be ready to power up and immediately put everything you need to get started recording/producing in front of you. A blank DAW project doesn’t fall within that remit, so spend some time building template projects for all the sorts of tracks you’re likely to make: one for recording yourself or your band with all required inputs assigned; another for electronic production containing your go-to synths, samplers and drum machines; another for songwriting with virtual bass, drums and pianos in place, and so on. Most DAWs come with plenty of templates included, so if you’re not sure where to start constructing your own, load some of those up and use them as starting points – or even just deploy them as they are, if they suit your specific needs!
Our Products
-

Interface audio 2 entrées - 2 sorties
-

Interface audio 10 entrées - 6 sorties
-

10in | 14out Audio Interface
-

Interface audio 20 entrées - 24 sorties
-

24in | 32out Audio Interface
-
Interface audio 10 entrées - 14 sorties
-
Interface audio 10 entrées - 4 sorties
-

Interface audio 2 entrées - 2 sorties
-

Interface audio 4 entrées - 4 sorties
-

24in | 24out Audio Interface
-

Tout ce dont vous avez besoin pour débuter l'enregistrement
-

8 Channel Smart Preamp with AD/DA
-

Préampli micro 8 canaux avec CA/N
-

Préampli micro 8 canaux + Tone Control
-

Console d'enregistrement analogique modulaire
-

Small Format Analogue Recording Console
-

Small Format Analogue Recording Console
-

Immersive Audio Interface and Monitor Controller
-

Contrôleur de monitoring de bureau
-
Contrôleur de monitoring multicanal