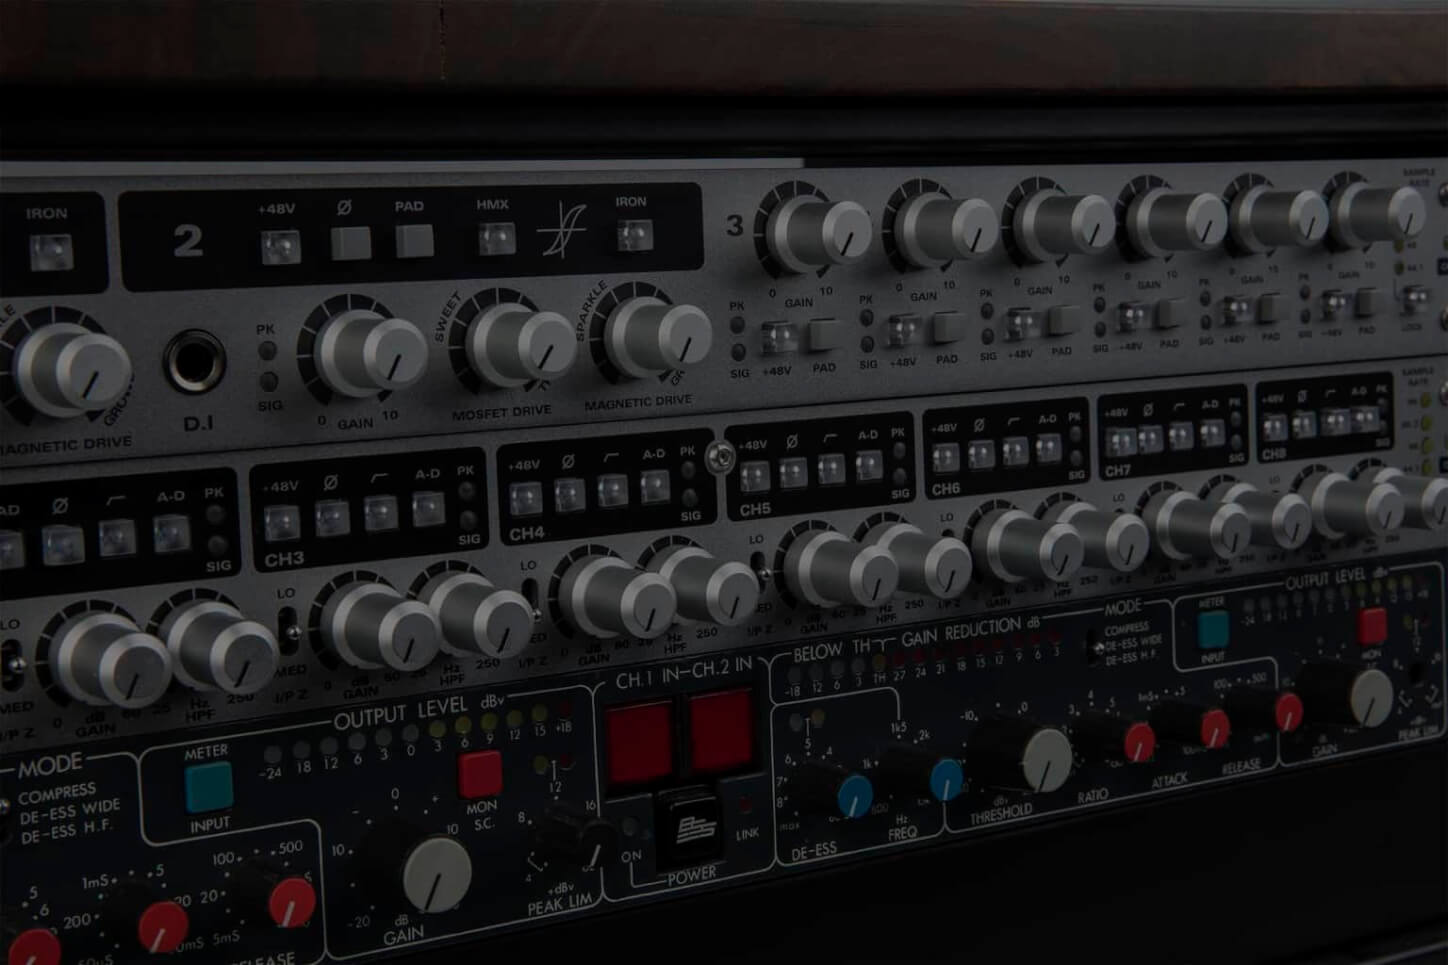
An essential audio engineering concept that every producer needs to understand, appreciate and stay on top of in every project, headroom in a digital audio system is simply the difference between the highest peak in an audio signal (be that a single track within a mix, the whole mix or the final master) and the absolute amplitude level of 0dBFS, as indicated on any peak level meter. The reason it’s so important, though, is that while you generally want to have your masters peaking as high as possible to maximise their objective loudness, exceeding 0dBFS is a very strict no-no in digital audio processing (outside extreme creative treatments), as it results in digital clipping, which manifests sonically as loud clicks and noisy artefacts.
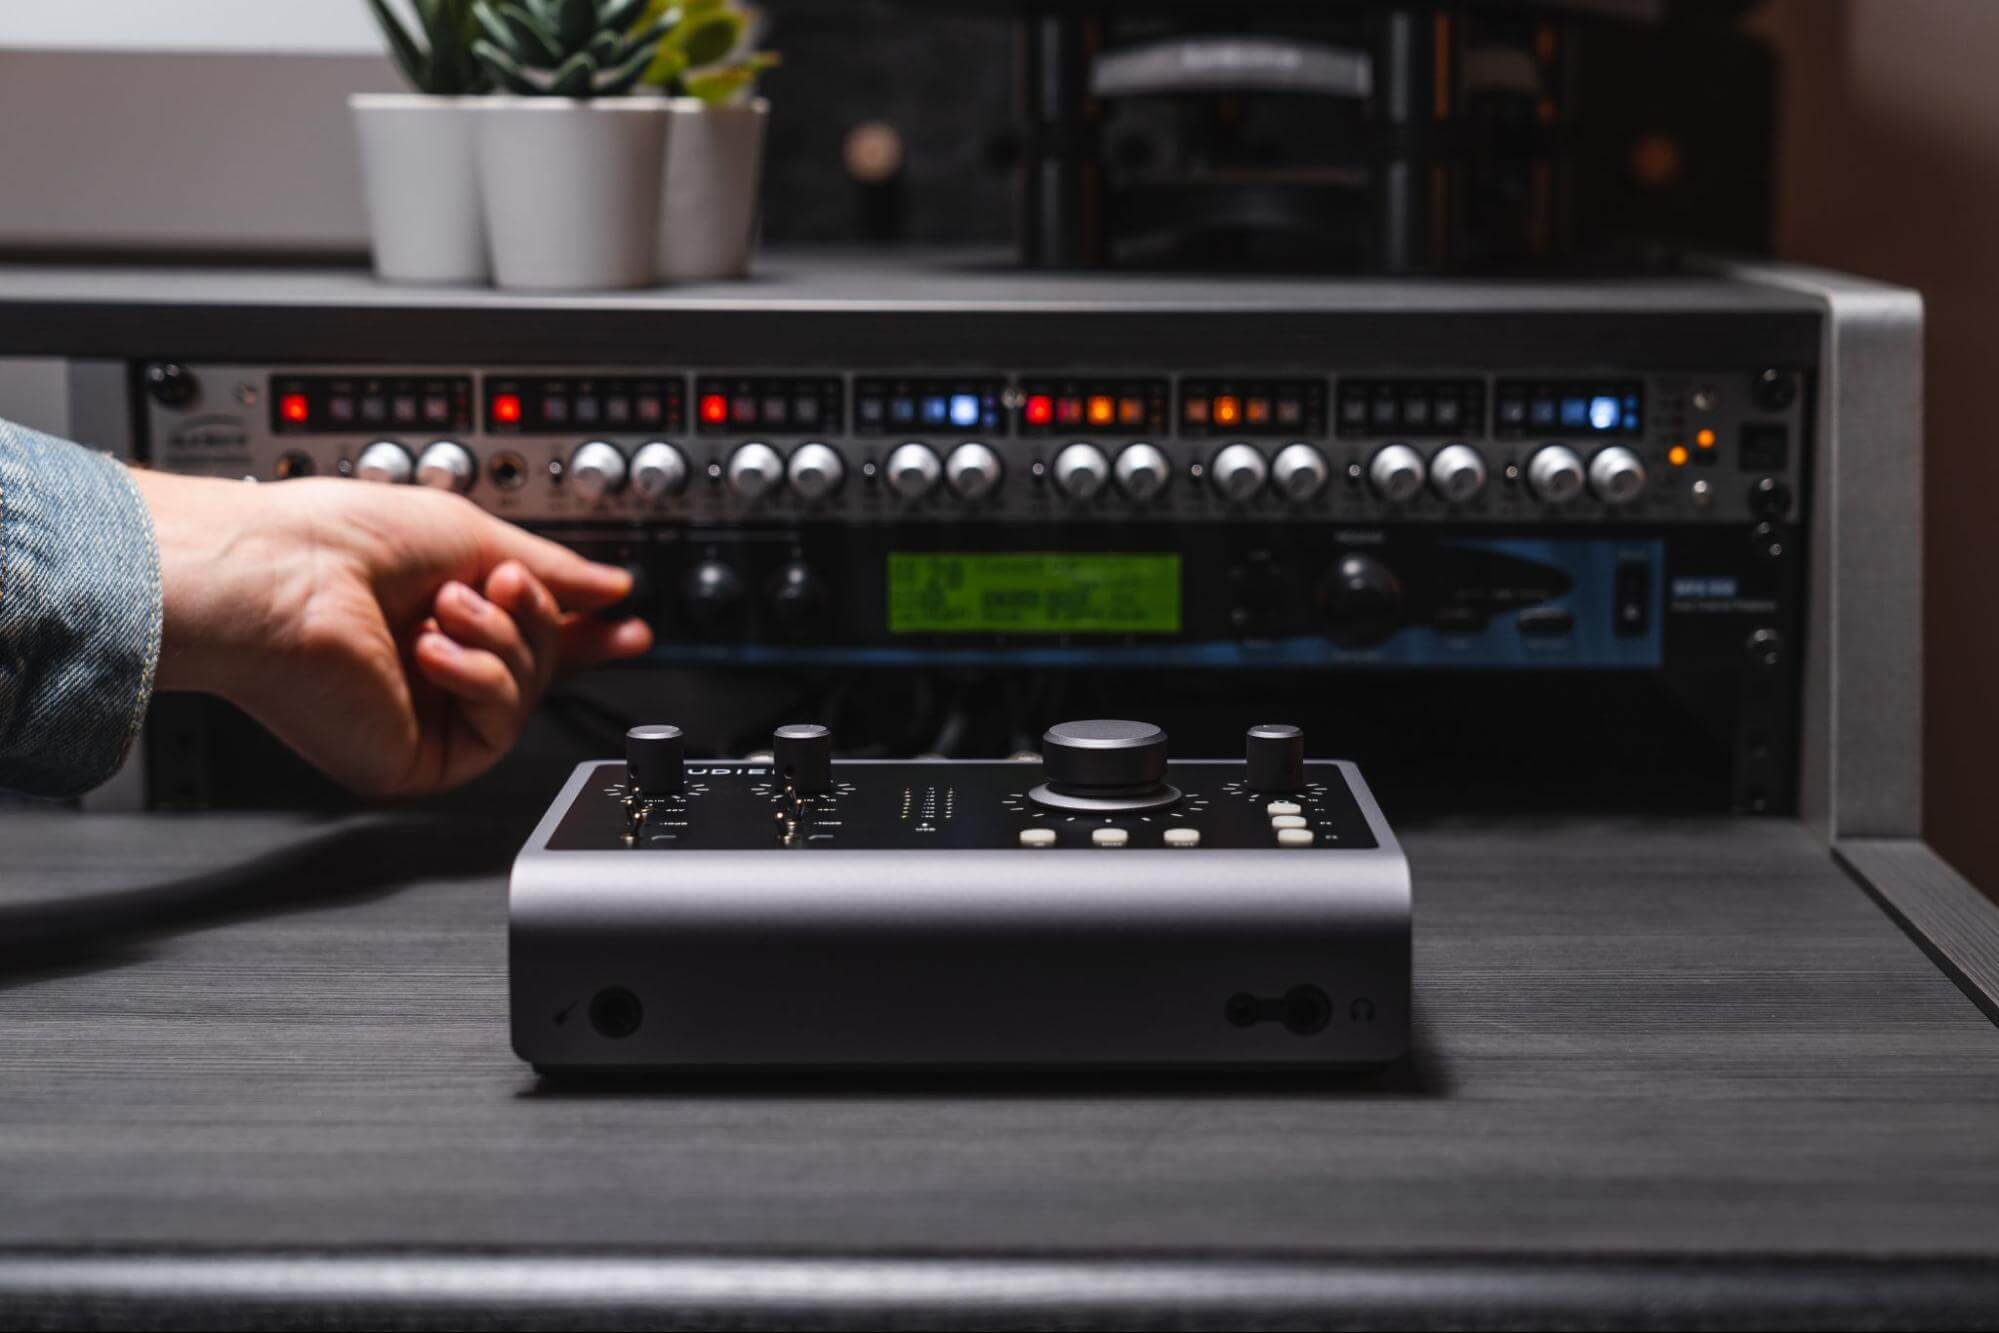
In practical music production terms, then, the idea is to minimise headroom without going over 0dBFS, and there are several things to consider in achieving that goal. To be clear, we’re only talking here about headroom as it applies within digital systems: the notions of headroom and clipping are relevant to analogue gear as well, but somewhat fuzzier in their technicalities there, and not as immediately or profoundly problematic.
How much headroom should I aim for?
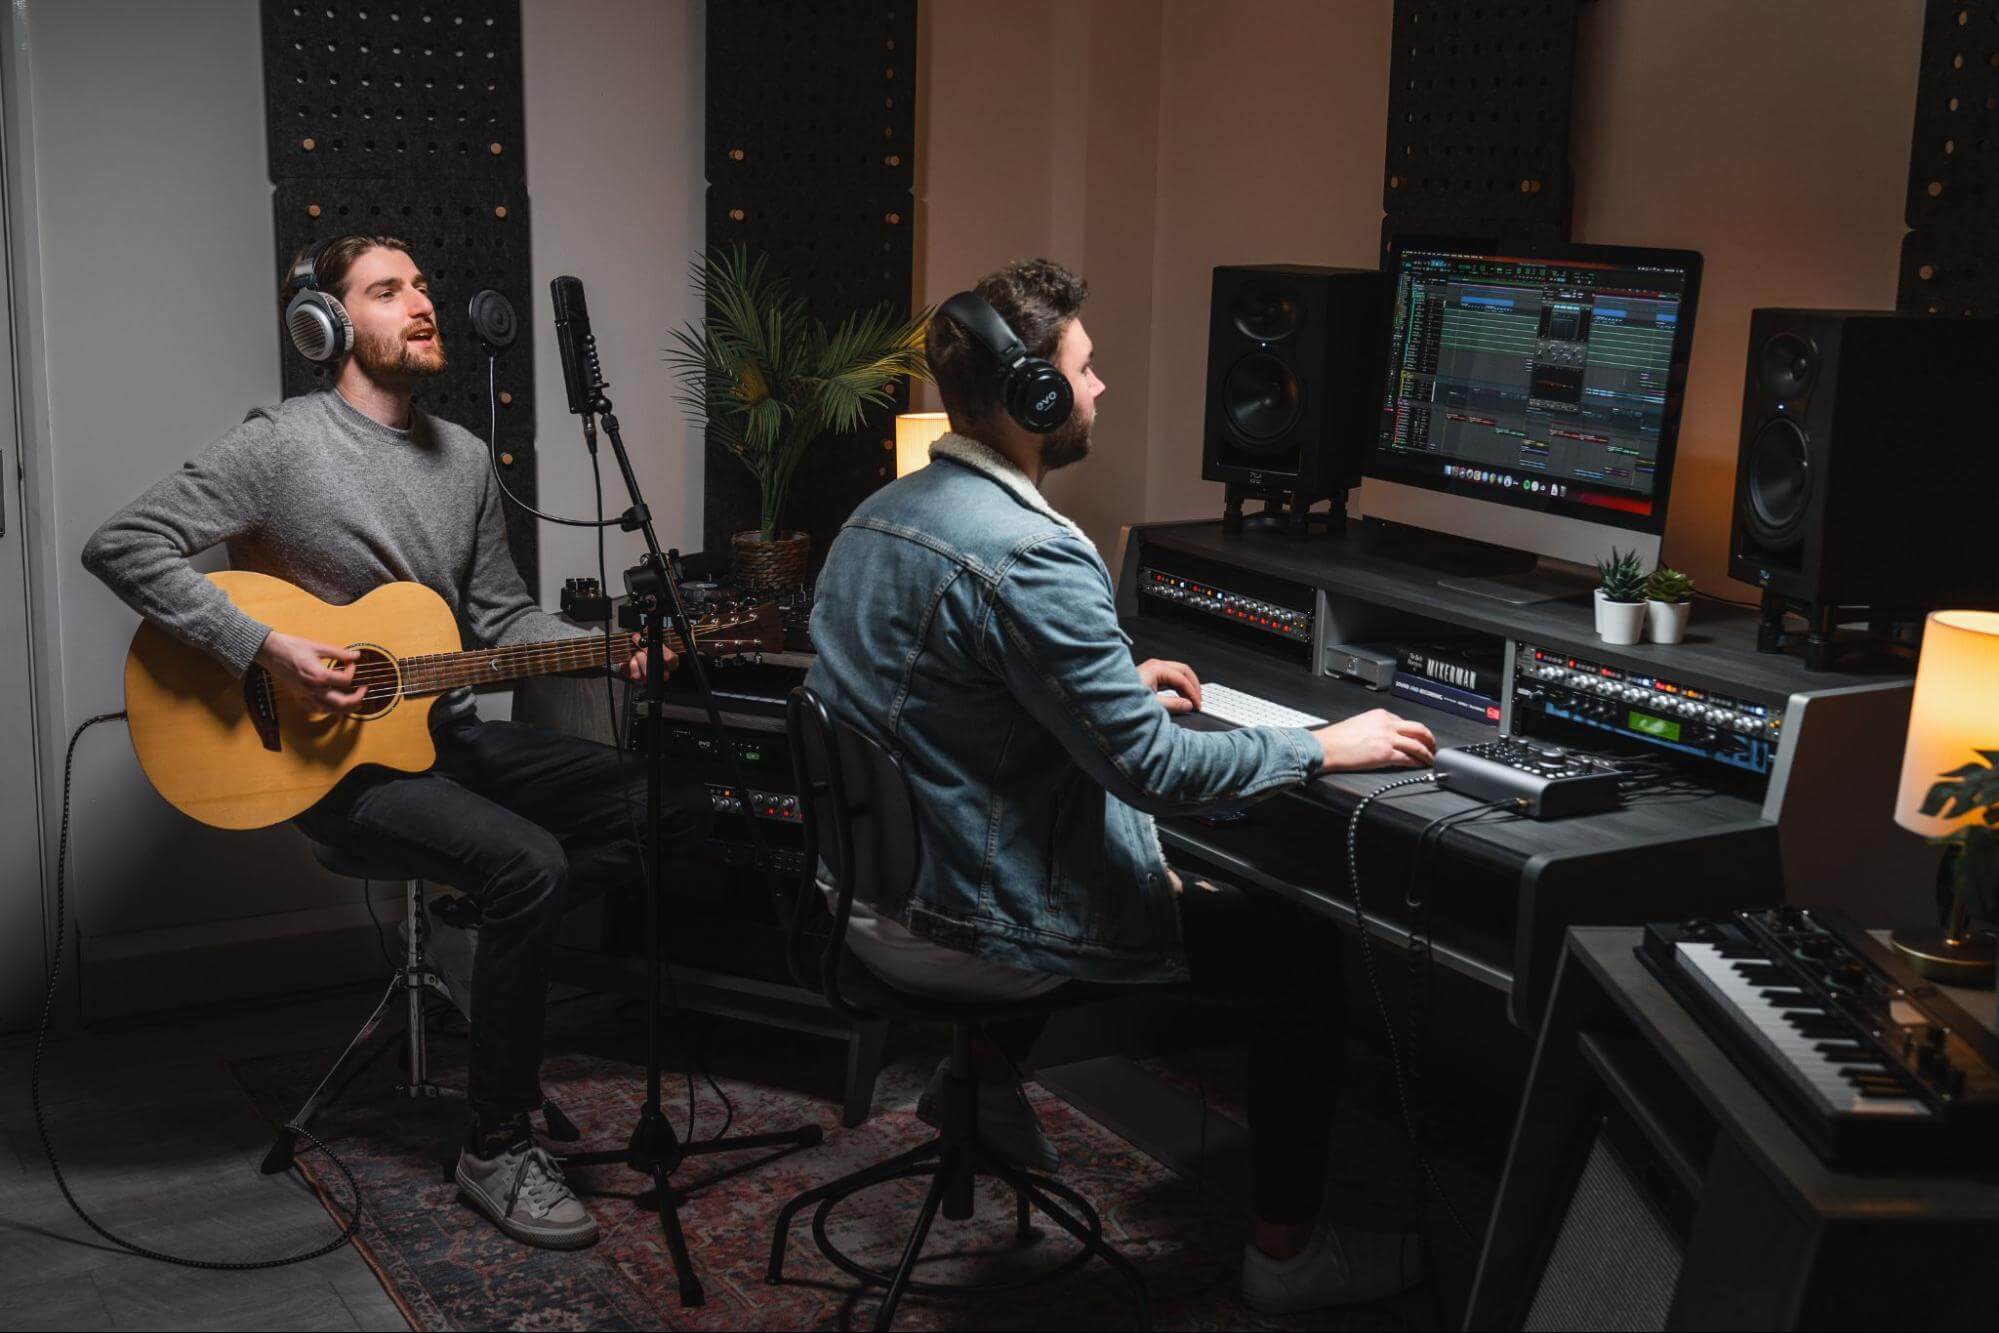
At the recording stage, a healthy target peak level for any individual track is somewhere around -18dBFS to -12dBFS, as this provides plenty of space for enthusiastic performers to wig out should they wish, and ensures that you can keep the master fader at 0dB when it comes to mixing, rather than having to pull it down to counter the aggregate level-boosting effect of multiple tracks recorded too hot. The endlessly helpful Smartgain function built into every EVO audio interface automatically sets input gain levels for you across multiple channels at the touch of a button, so that they peak at the recording sweet spot of -12dBFS – a serious time-saver!
At the mixing stage, you need to leave enough headroom in your rendered mix for the subsequent application of mastering EQ and dynamics processing. While the mastering engineer (whether that’s you or someone else) might aim to squeeze the headroom of the final master down as far as 0.1dB, since there’s no further processing to allow for, the mix engineer should always aim to leave between 3 and 6dB of headroom – ie, have the loudest point in the track pegging the peak level meter on your DAW’s master output at anywhere between -6 and -3dBFS.
What is gain staging and how does it relate to headroom?
Gain staging is the optimisation of input and output levels throughout a recording chain or signal path in order to minimise the noise introduced by any analogue devices therein, and prevent overloading of any analogue and digital inputs involved, including – importantly – those of plugin effects, particularly those that emulate analogue hardware. Good gain staging is one of the keys to successful headroom management, as boosting the level of any recorded signal also raises the noise floor (inherent hiss and/or hum) below it, so it’s important to minimise that noise at source by providing a healthy input level into each device, as described above. Every analogue audio device – amplifiers, microphones, mixers, effects pedals, converters, etc – brings the noise to some extent, but you can rest assured that the preamps and converters in your EVO audio interface are as quiet as they get, enabling you to capture pristine 24-bit recordings.
It’s also worth mentioning that headroom isn’t something you need to worry about within your DAW’s mixer itself (ie, with plugins taken out of the equation), as the floating point processing of its audio engine provides near-infinite headroom and thus ensures that clipping isn’t possible. It’s only at the inputs and master output, where the signal is presented in or converted back to integer format for recording, monitoring and export, that it becomes relevant.
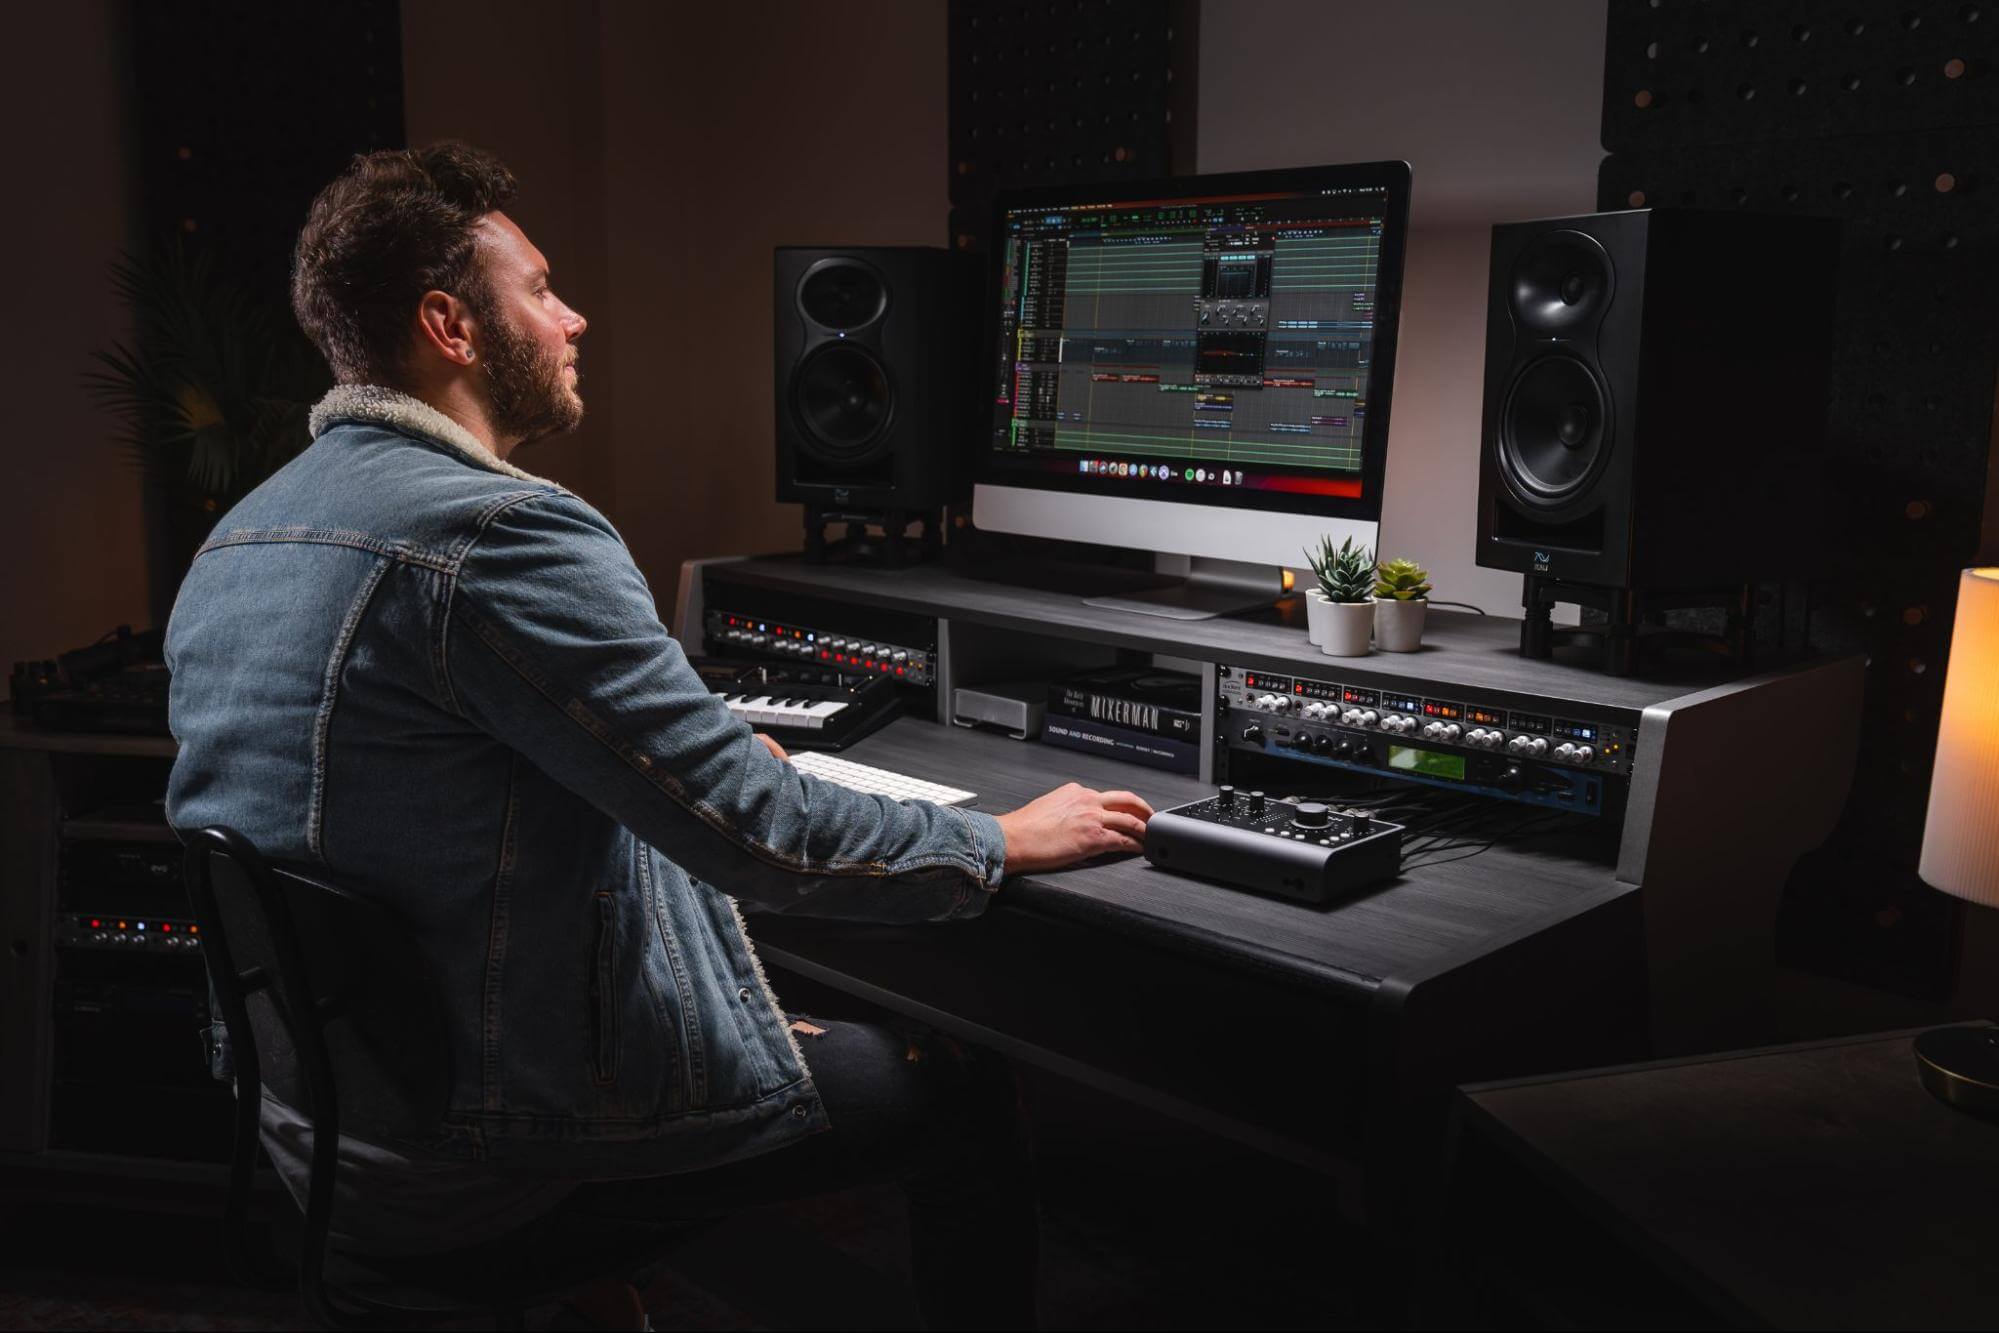
How do I manage headroom in the mix?
With your available headroom defined by the loudest peak in the track, it’s clearly important that that peak is actually representative of the mix as a whole and not a single or occasional confounding outlier. If the highest peak in your mix is, say, 6dB higher than the second highest peak, any assessment of headroom based on that first peak will be misleading, resulting in the mix being too quiet. This is where the manipulation of dynamic range – ie, the difference in volume between the loudest and quietest parts of a signal – by compressors comes into play. While you don’t want to crush the life out of the mix with too much compression, you do need to get the dynamic range under sufficient control to prevent occasional wild transients or other jumps in volume from eating into your headroom unnecessarily, leaving the rest of the mix lower in level than it should be. If you’re new to all this, our Beginner’s Guide to Compression is well worth a look.
Finally, EQ is another powerful tool for optimising headroom. Very low-frequency signals (below 60Hz or so) can easily devour headroom without actually being audible in the mix, and you’ll be amazed at how much you can drop the level at the master output by rolling off the sub-bass on a kick drum or bassline.
In summary, keeping your recordings, mixes and masters free of digital clipping is a production imperative that you can’t afford to disregard. Fortunately, by taking the necessary steps to optimise your headroom, it needn’t get in the way of your workflow or slow you down, and your EVO interface is well equipped to help you do just that.
Our Products
-
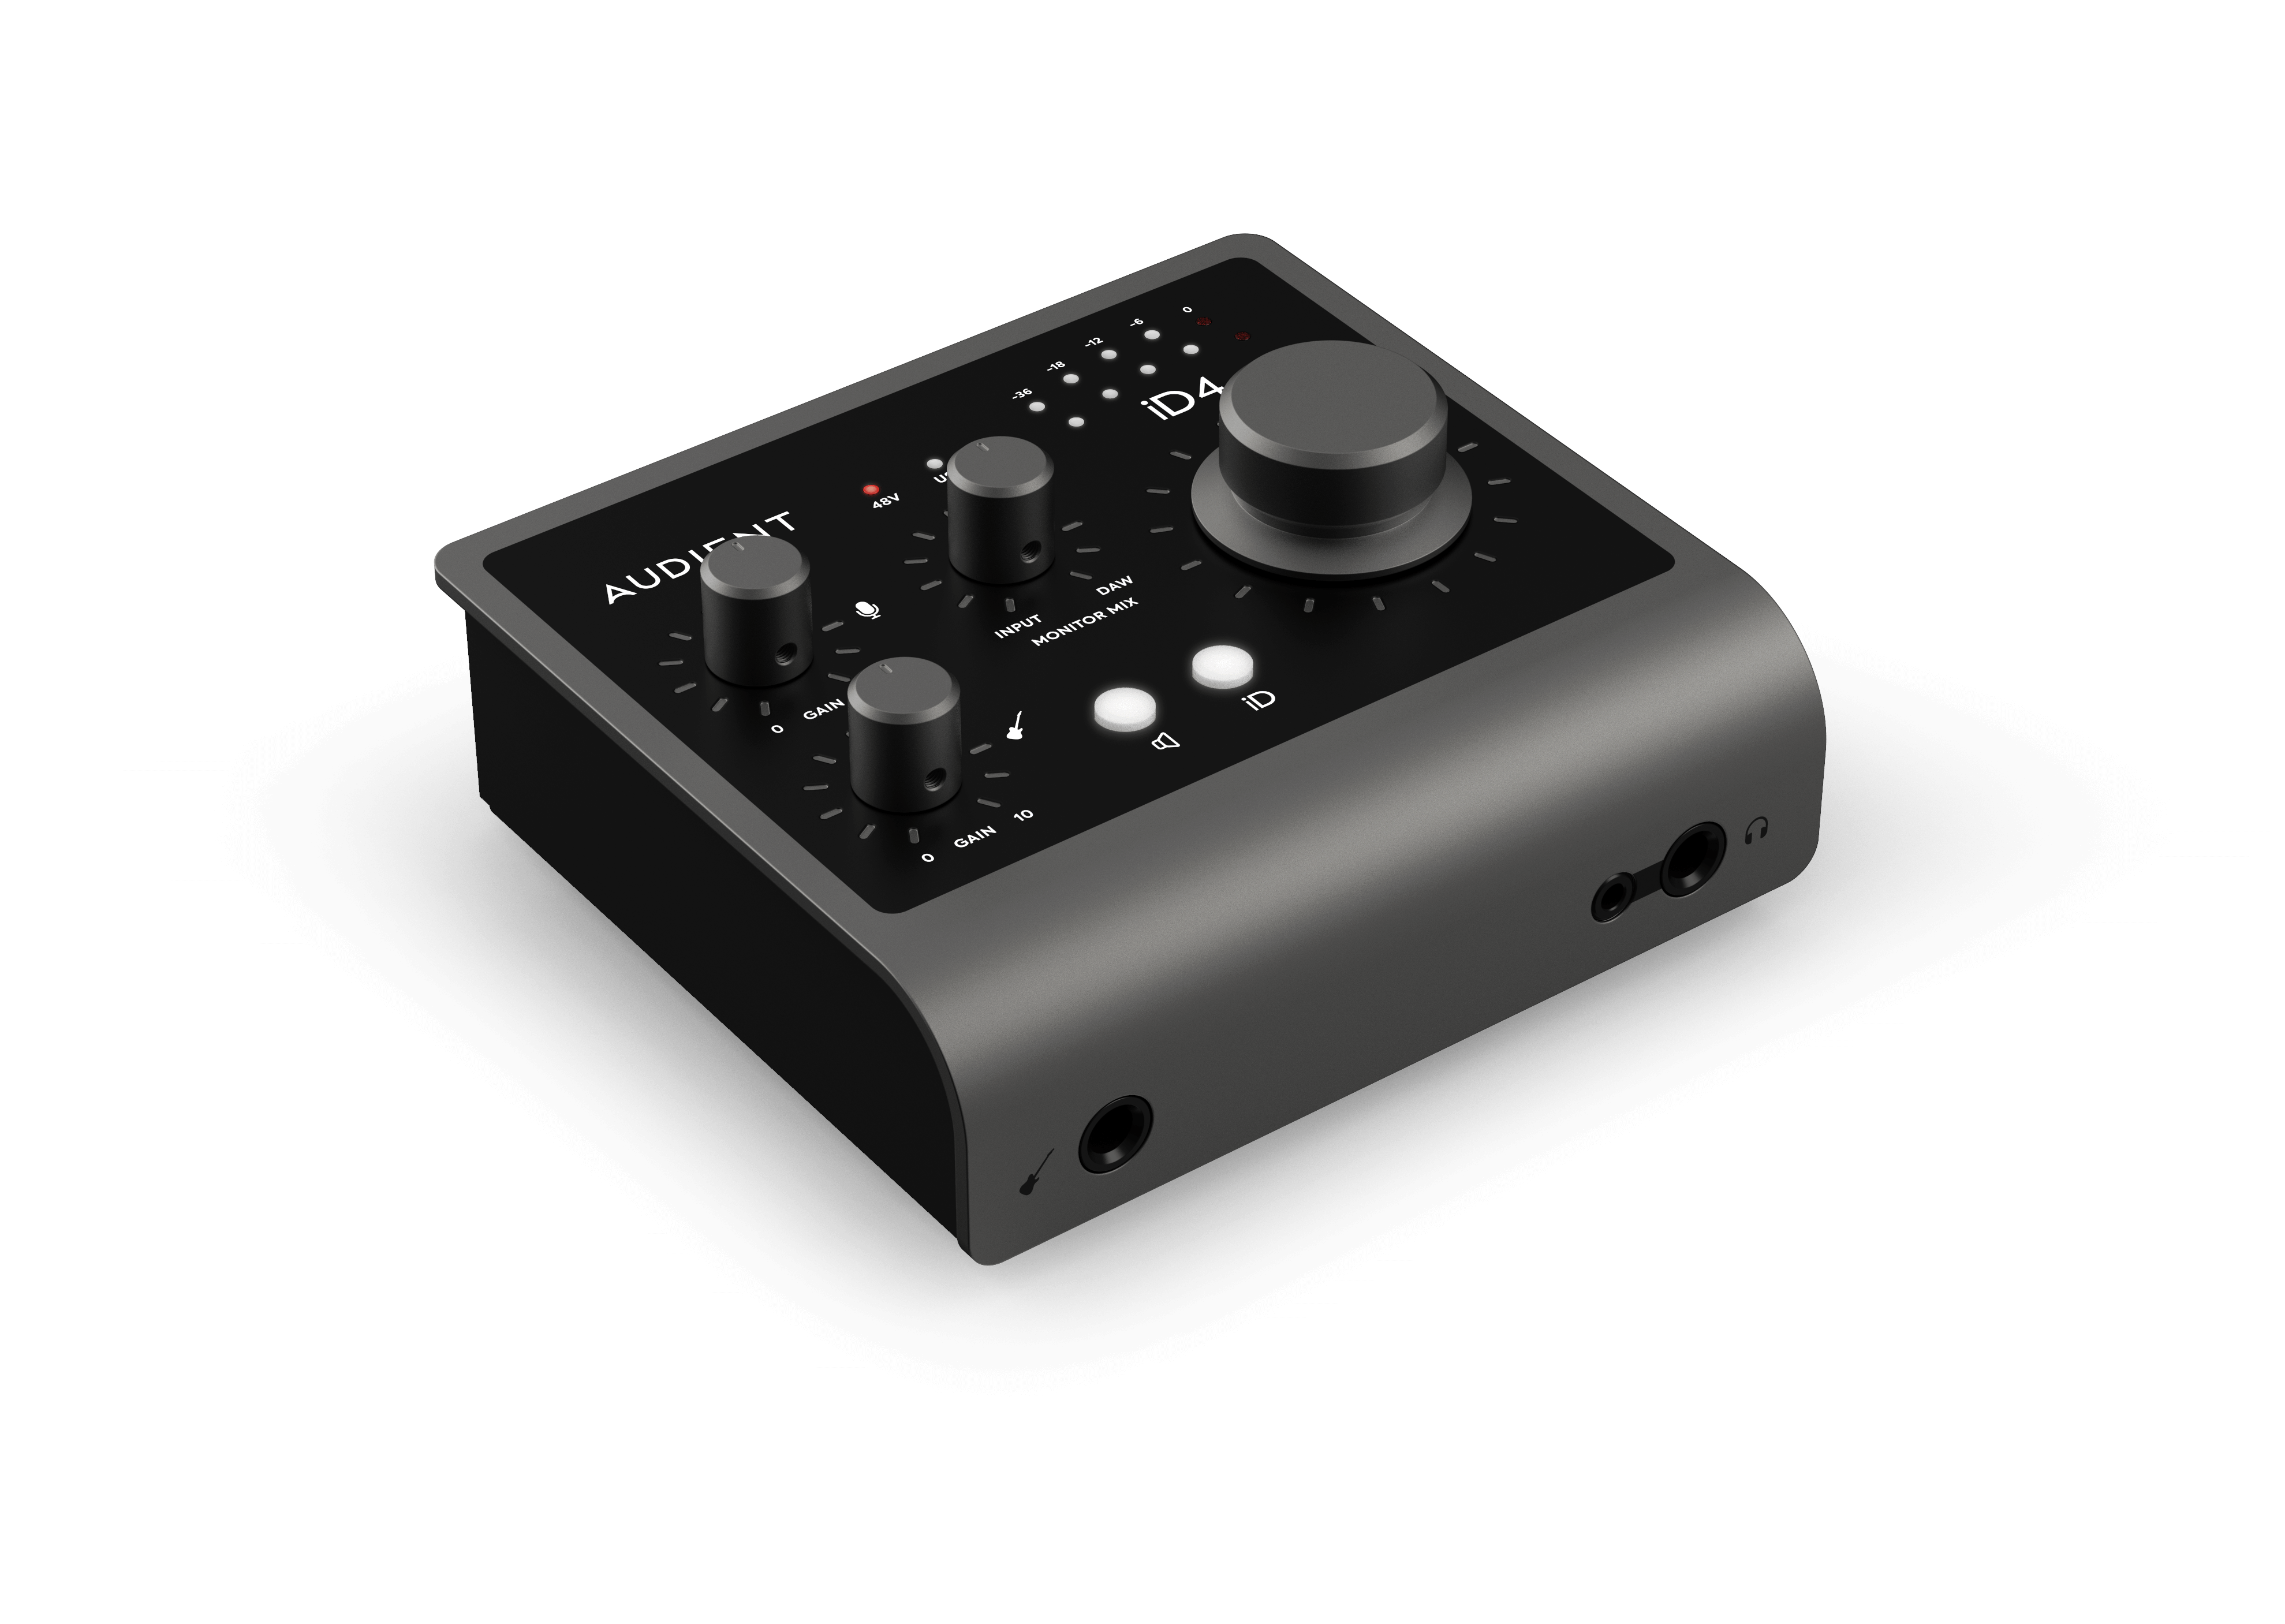
2输入 | 2输出 音频接口
-
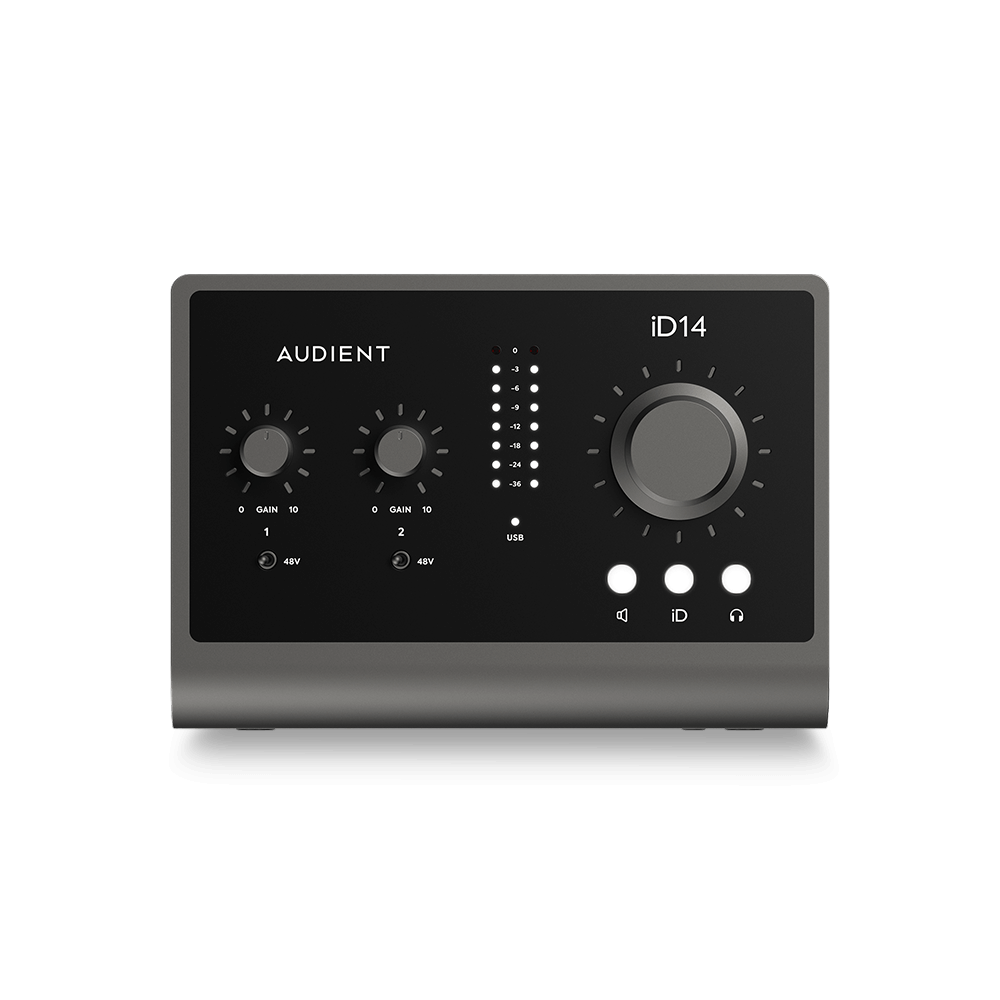
10输入 | 6输出 音频接口
-
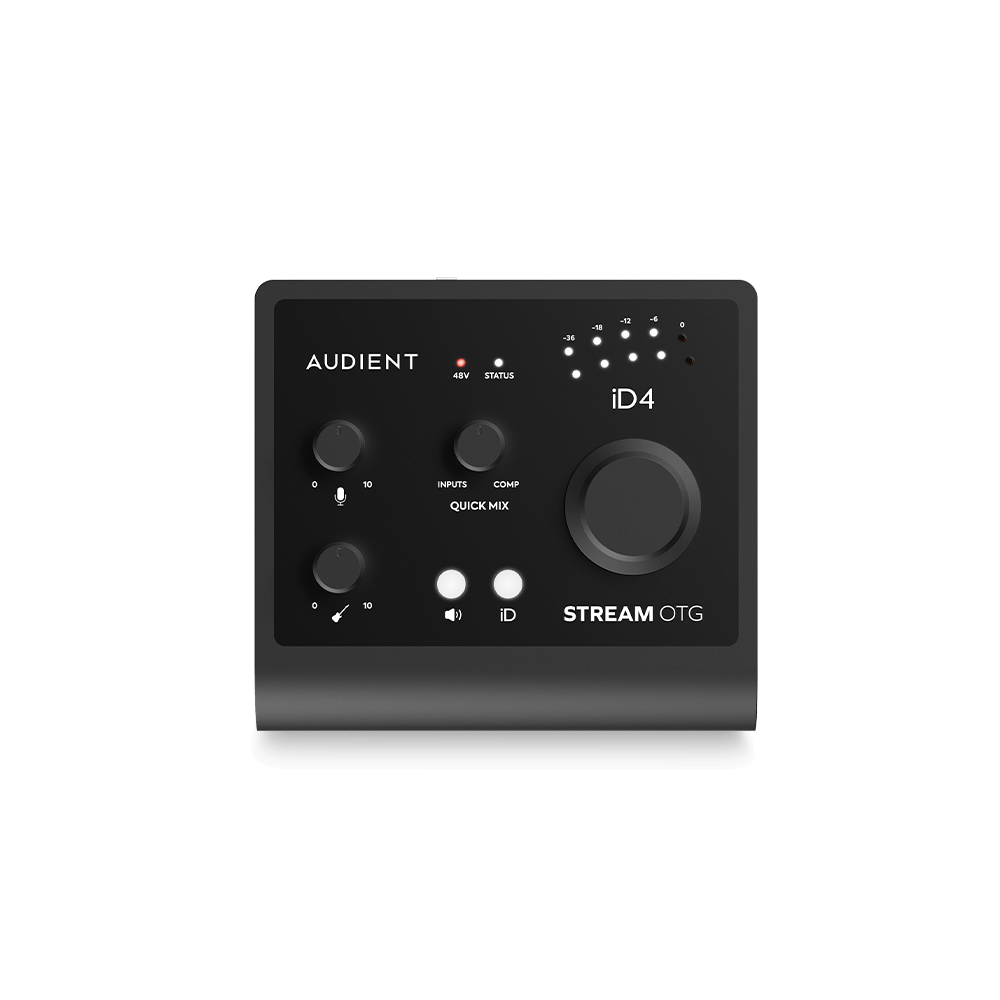
6输入 | 4输出 音频接口
-
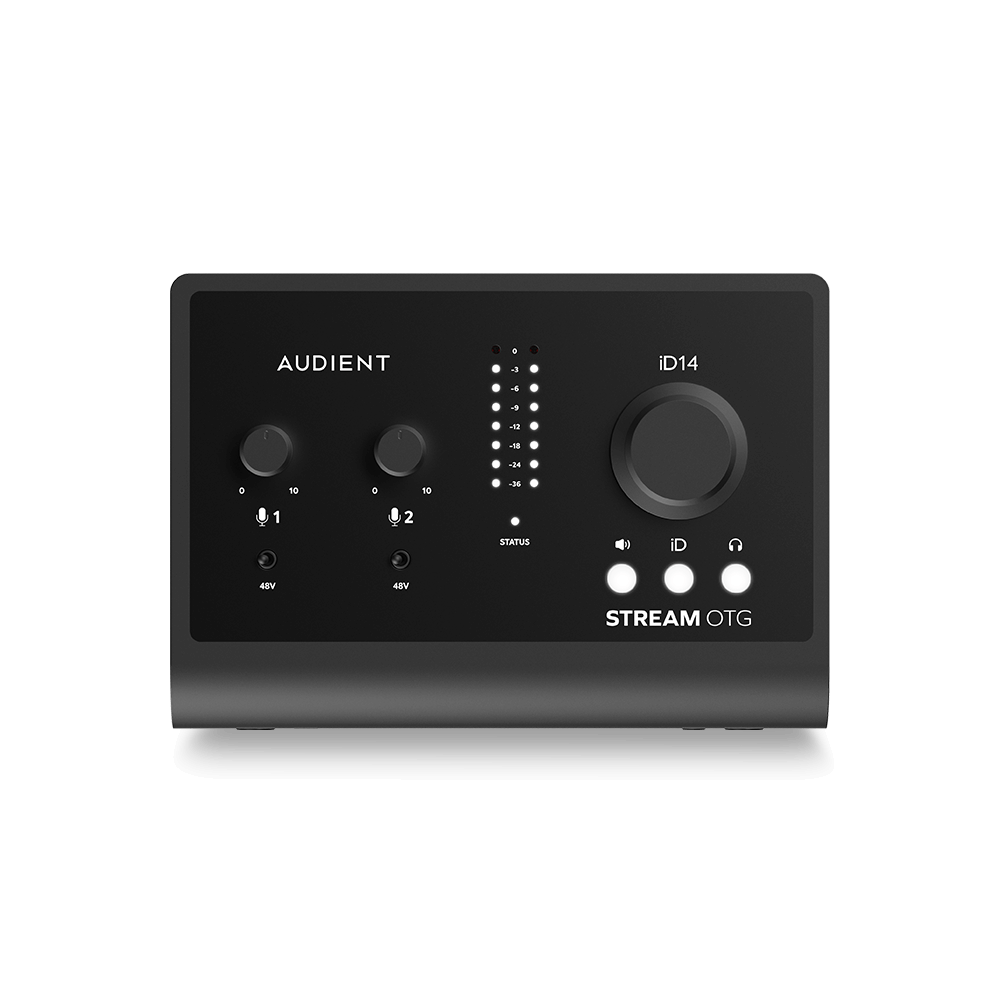
14输入 | 8输出 音频接口
-
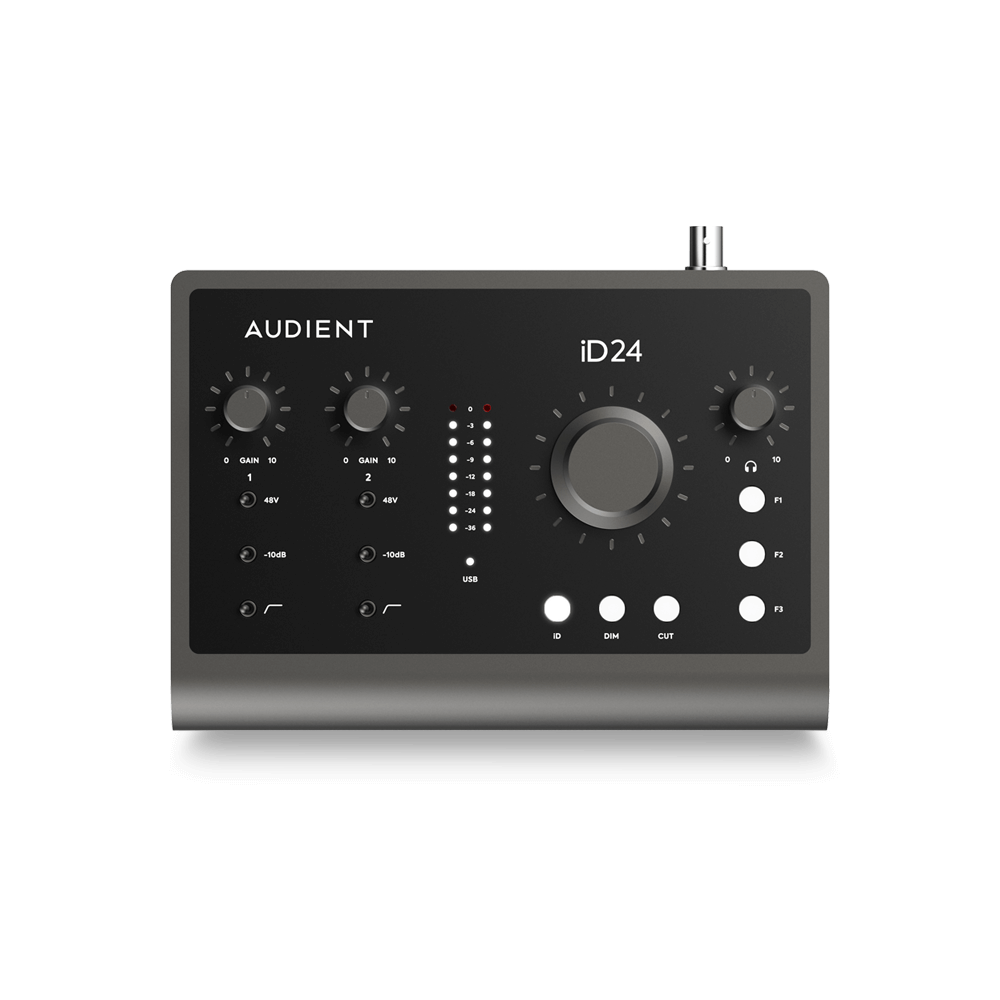
10输入 | 14输出 音频接口
-
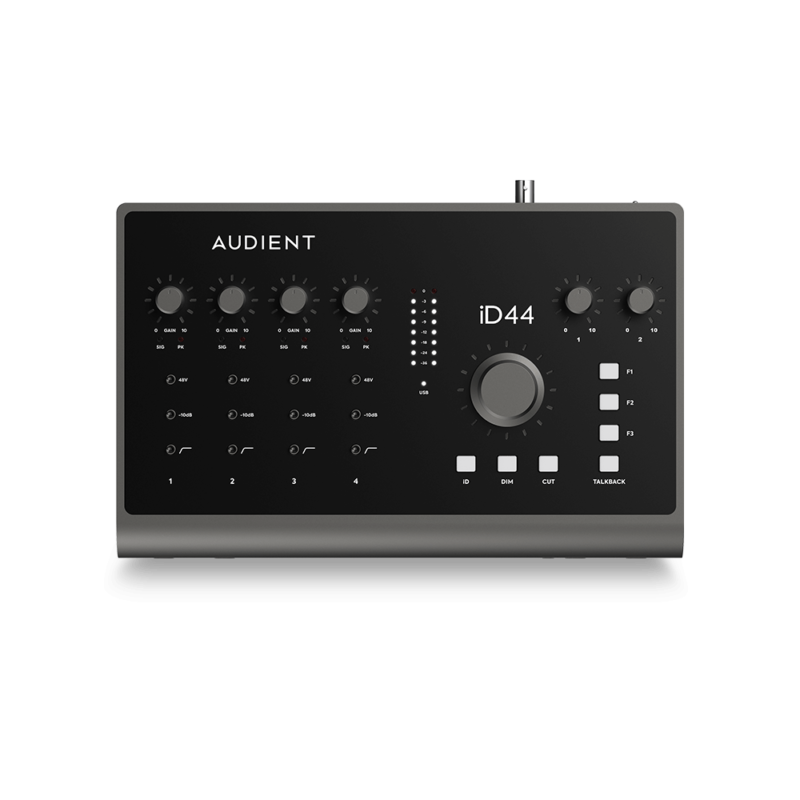
20输入 | 24输出 音频接口
-
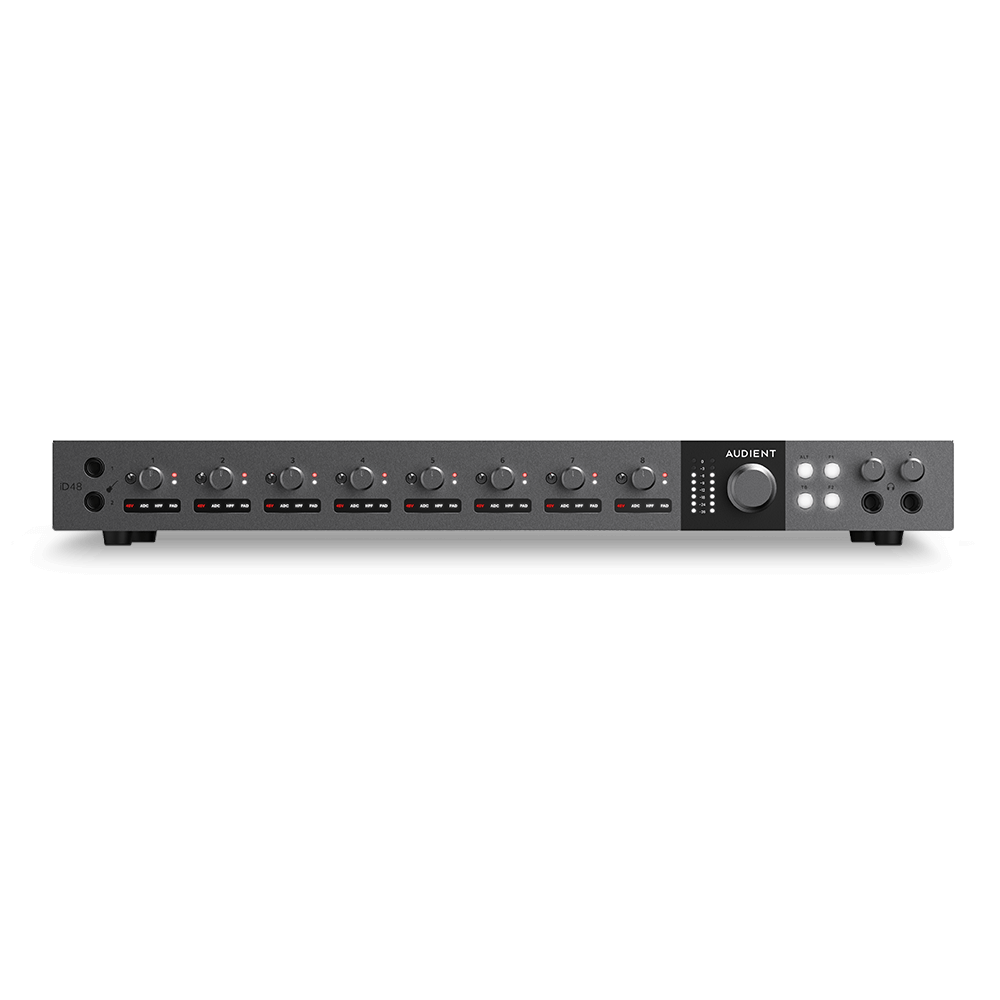
24输入 | 32输出 音频接口
-
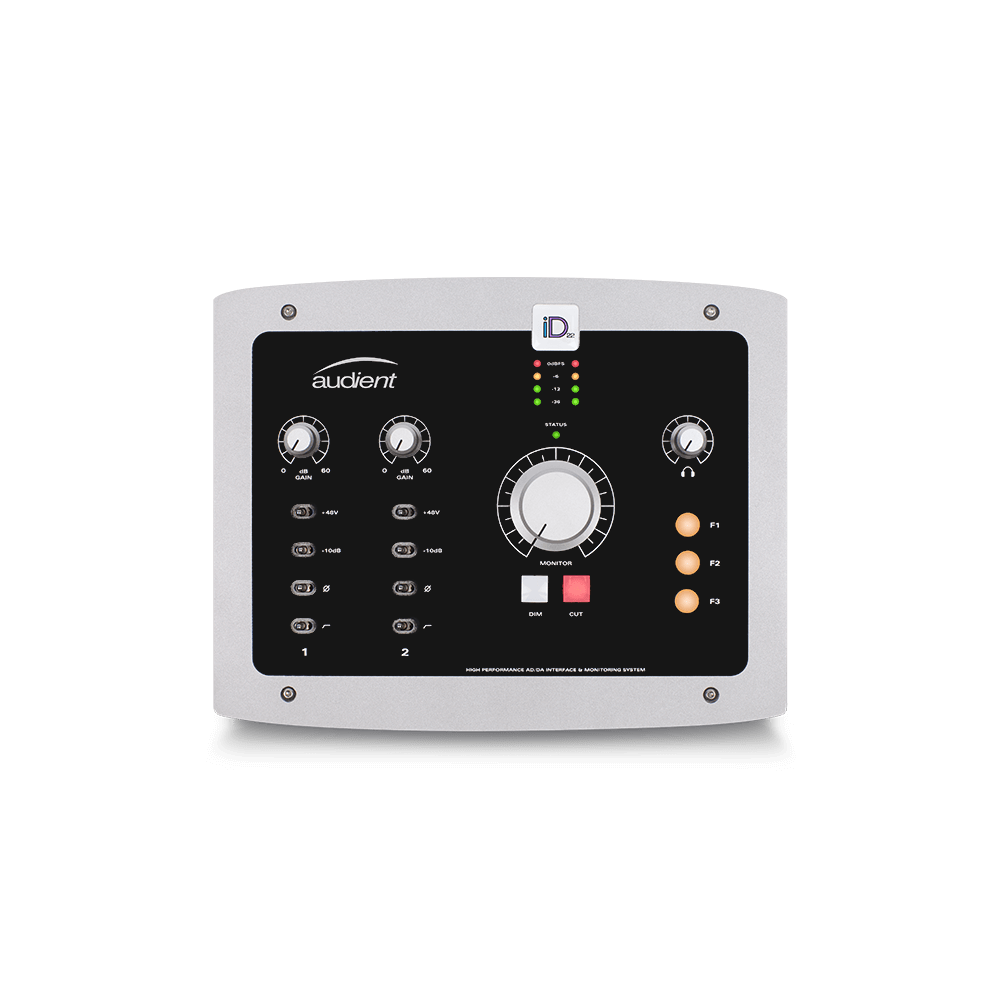
10输入 | 14输出 音频接口
-
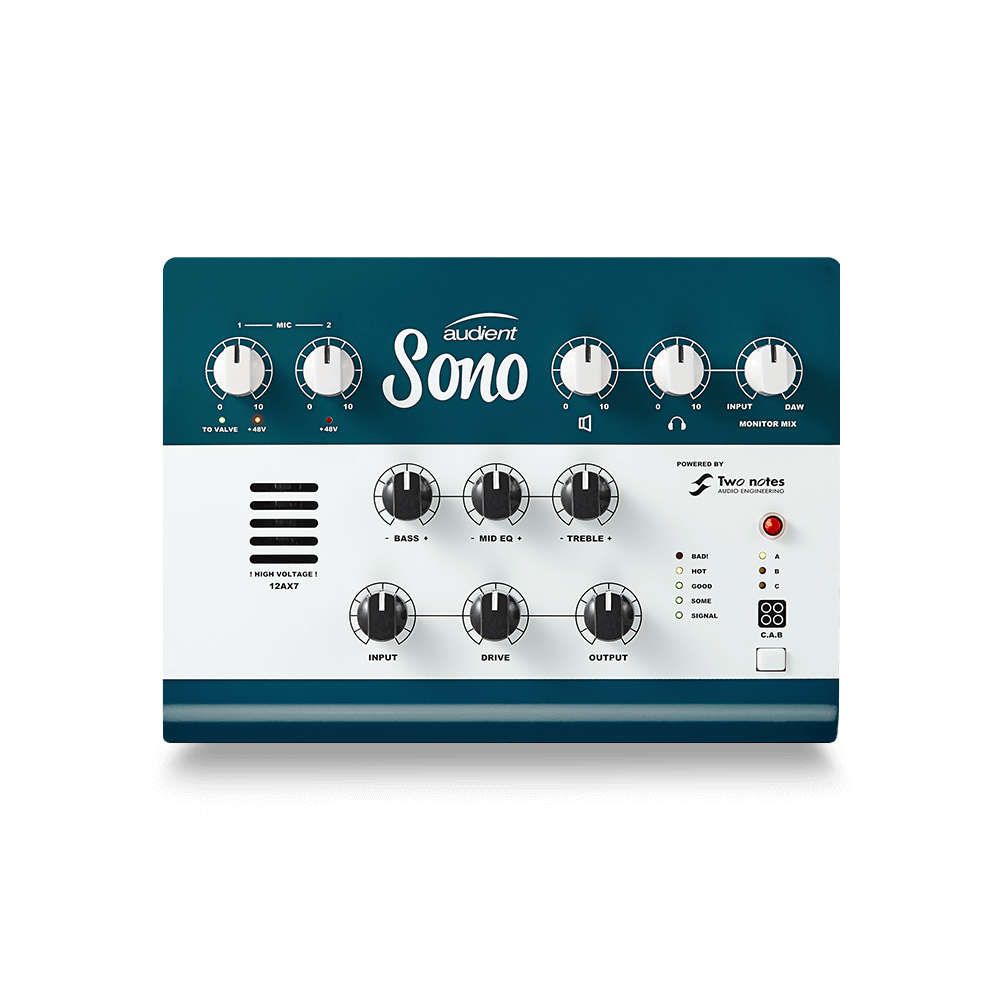
10输入 | 4输出 音频接口
-
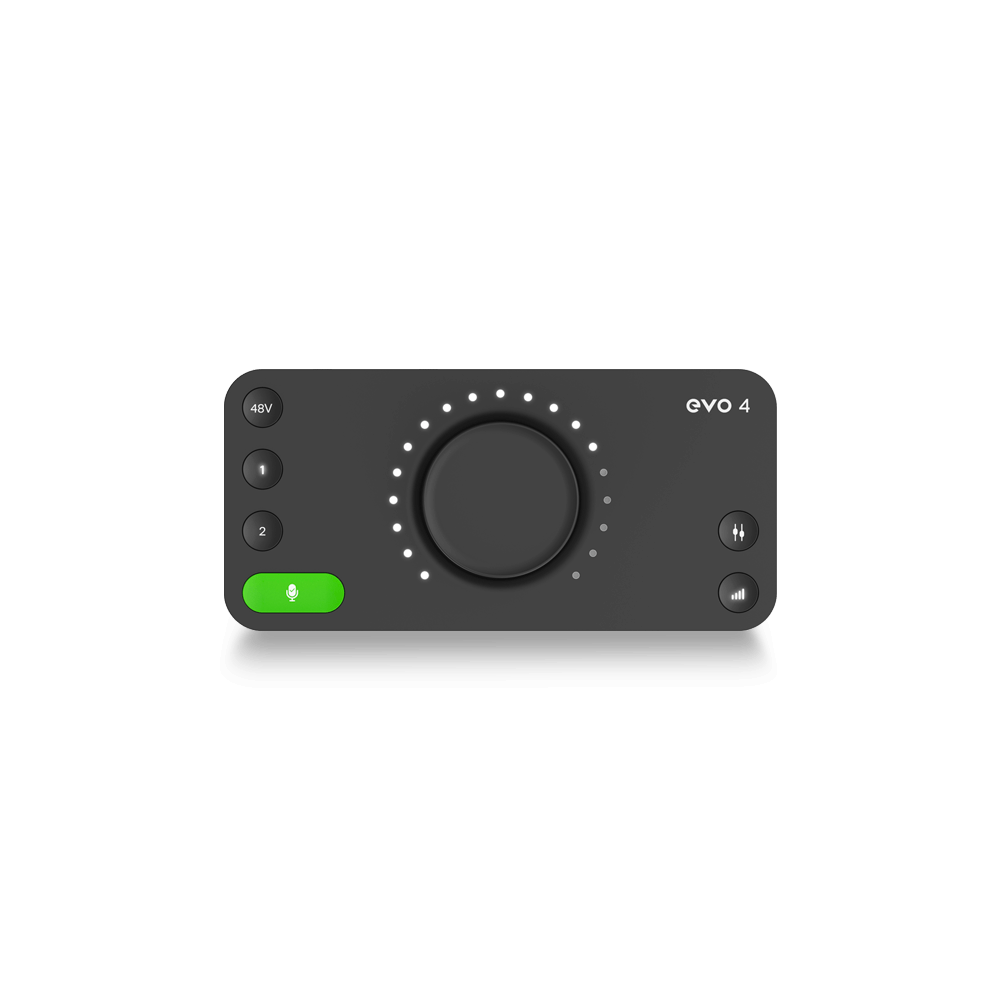
2输入 | 2输出 音频接口
-
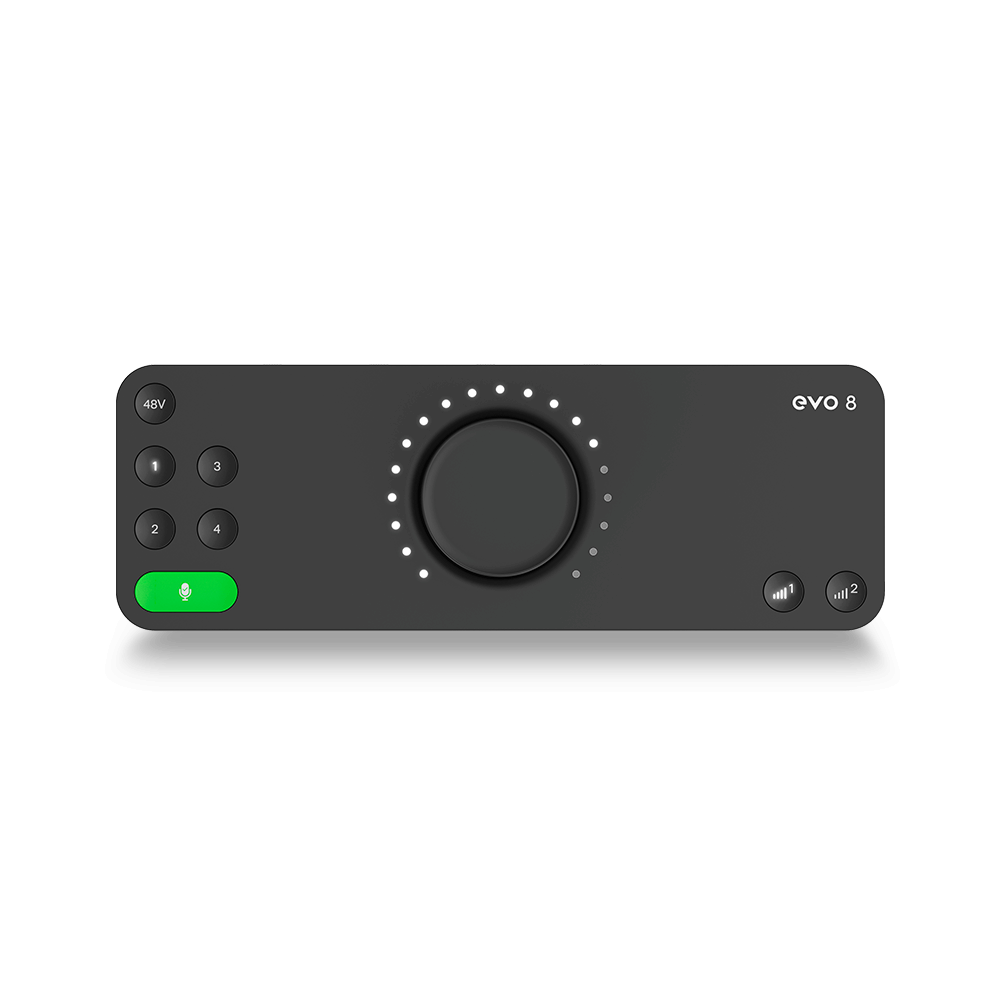
4输入 | 4输出 音频接口
-

24输入 | 24输出 音频接口
-
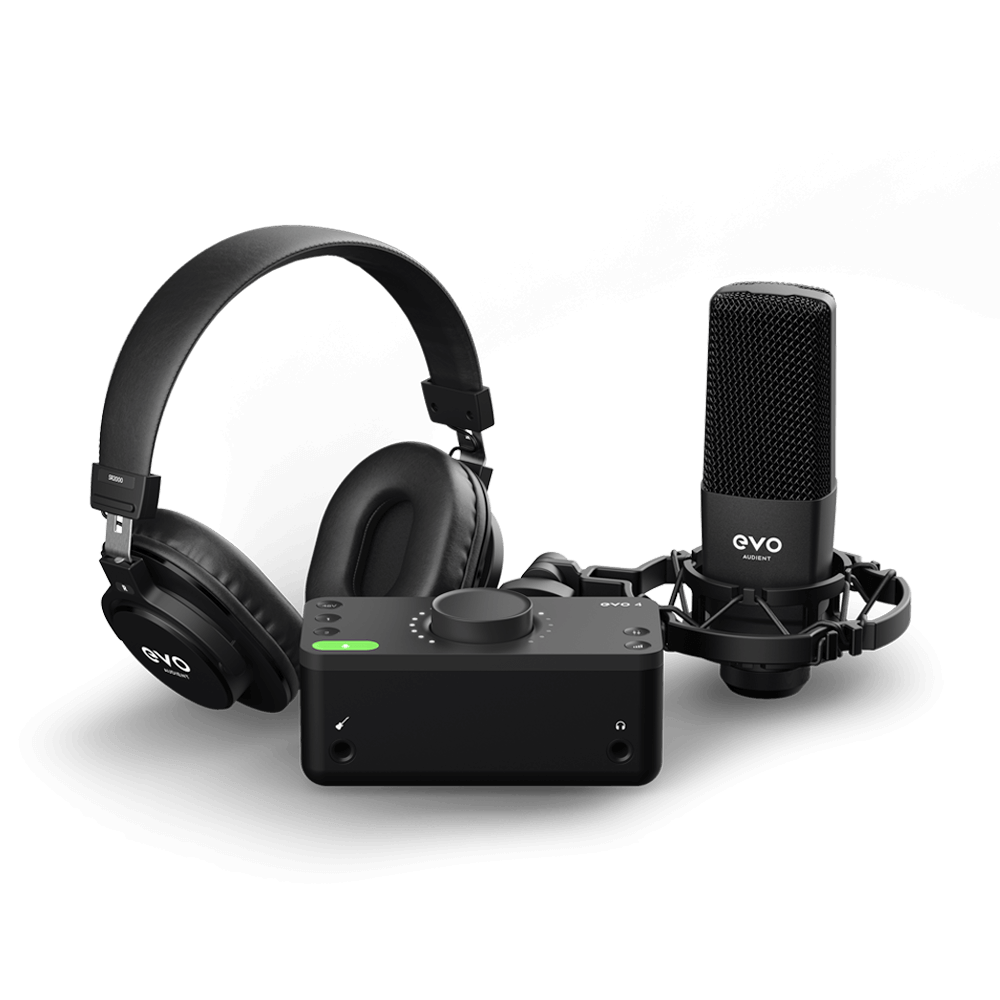
开始录音所需的一切
-
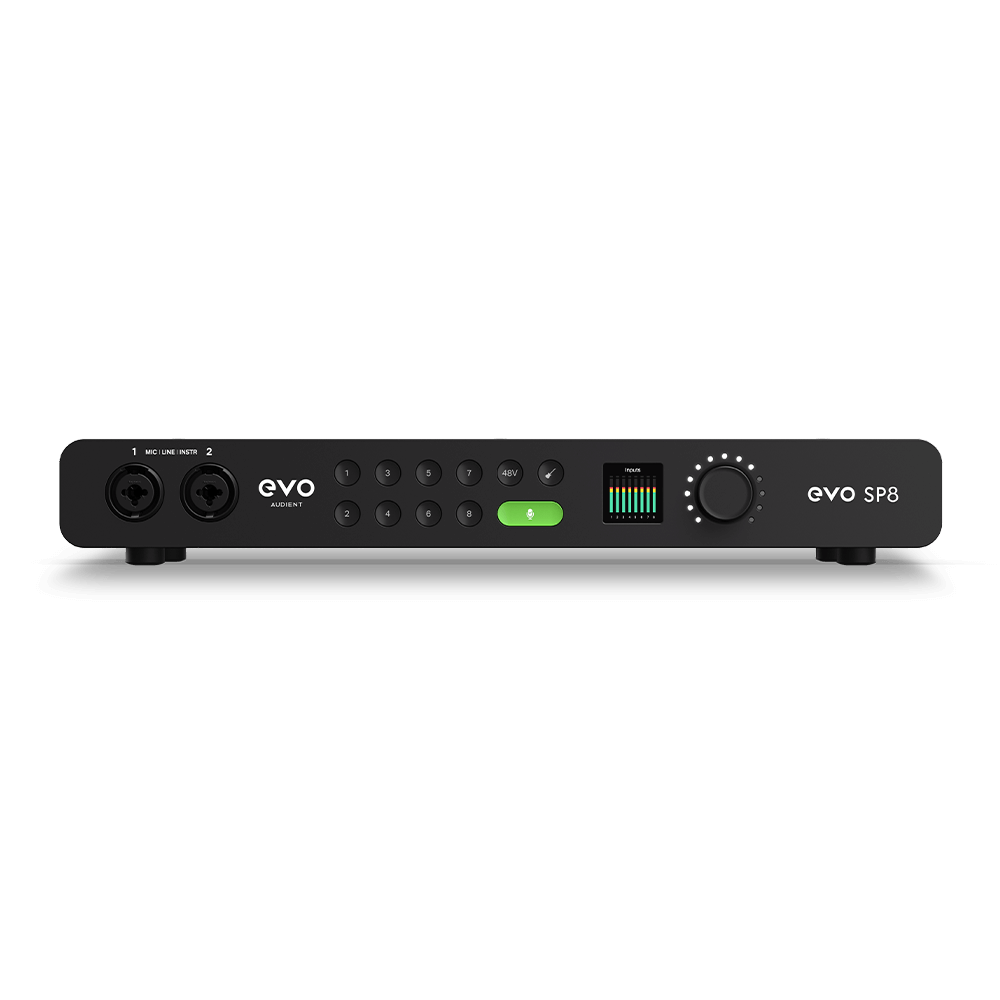
8 通道智能前置放大器带 AD/DA
-
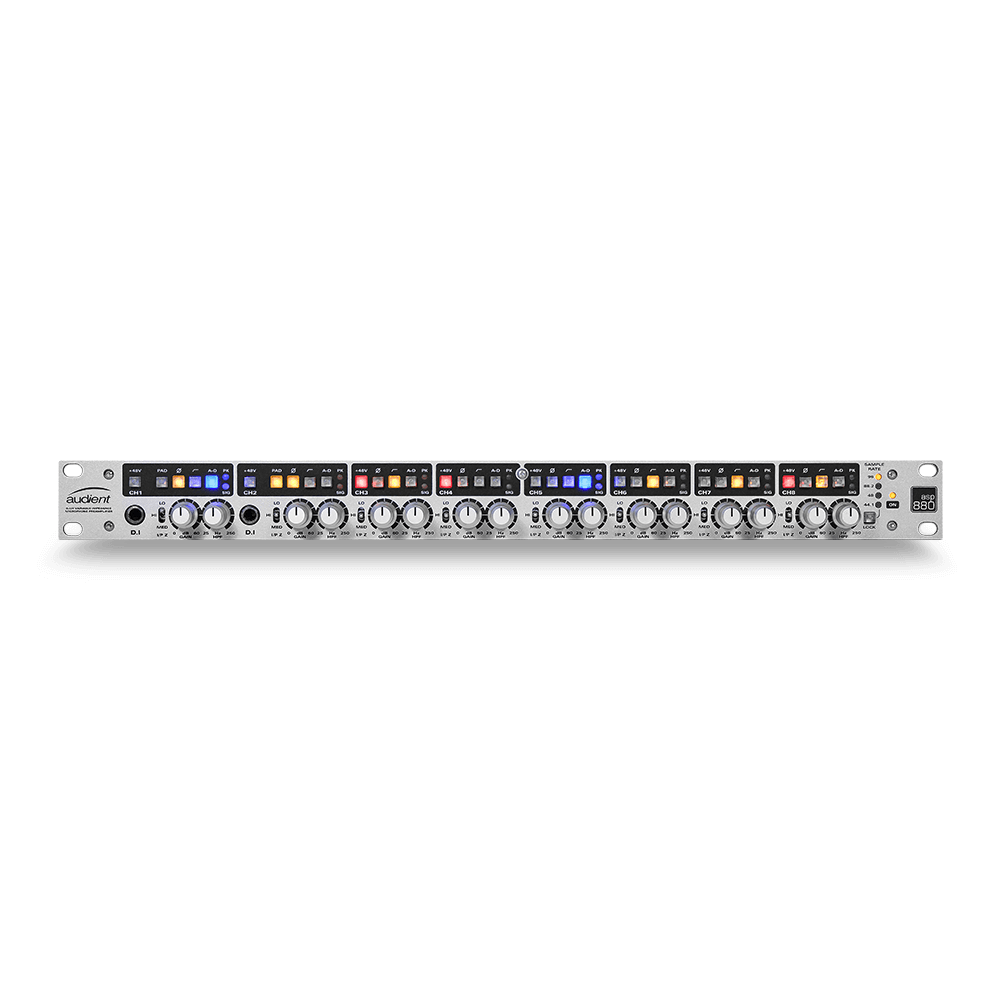
具有ADC的8通道麦克风前置放大器
-
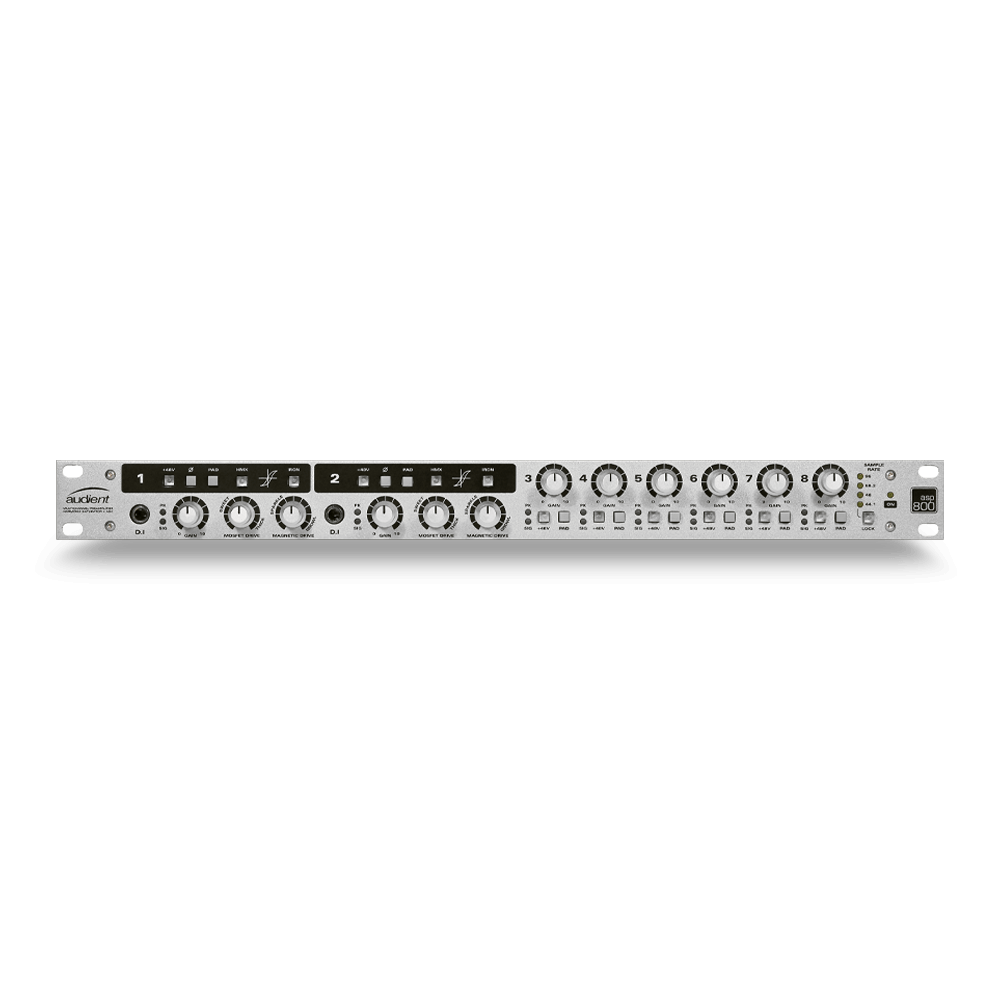
具有 HMX 和 IRON 的 8 通道麦克风前置放大器
-
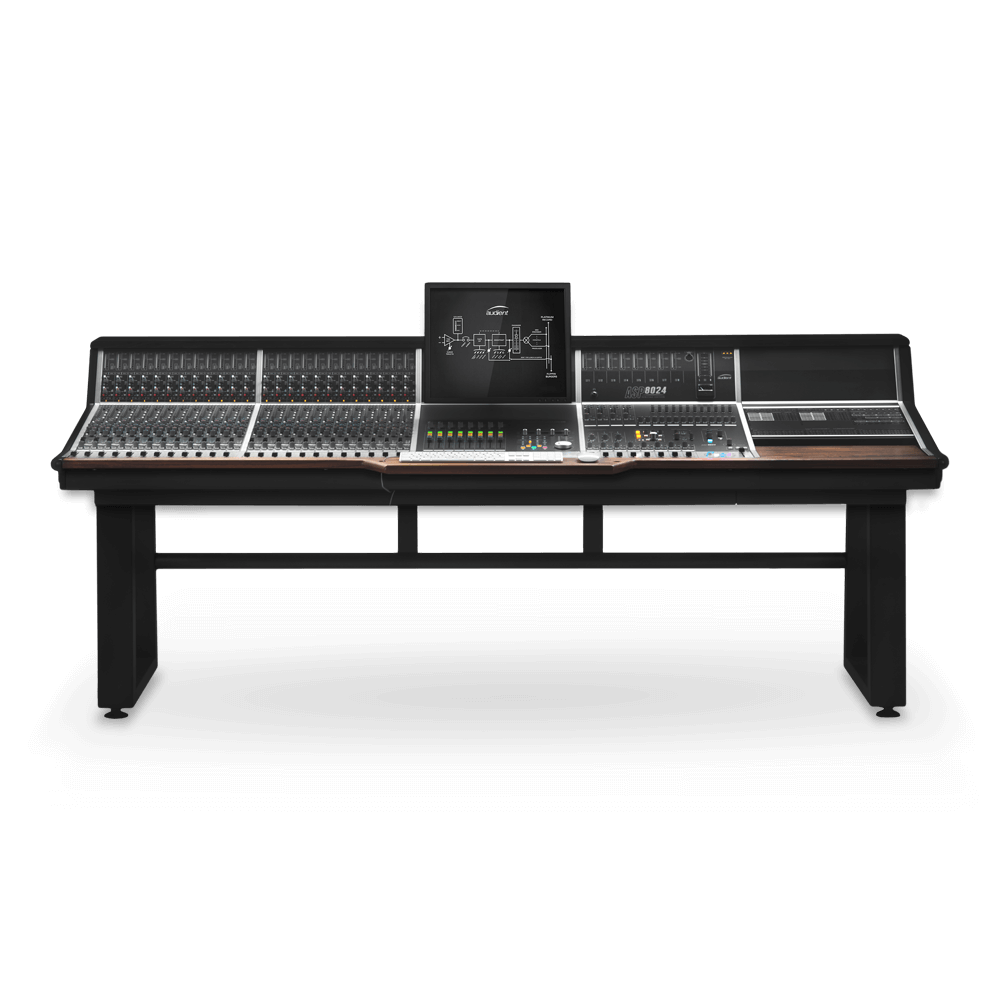
大型录音控制台
-
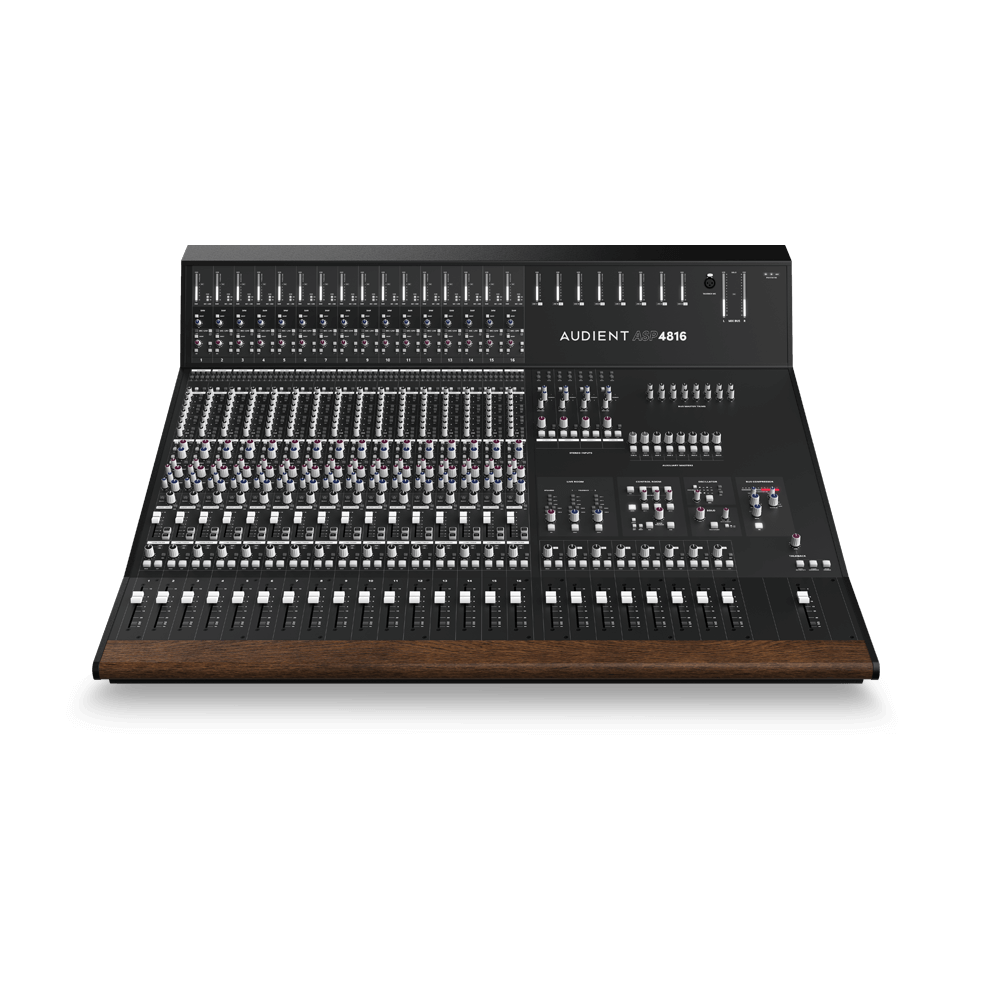
小型模拟录音控制台
-
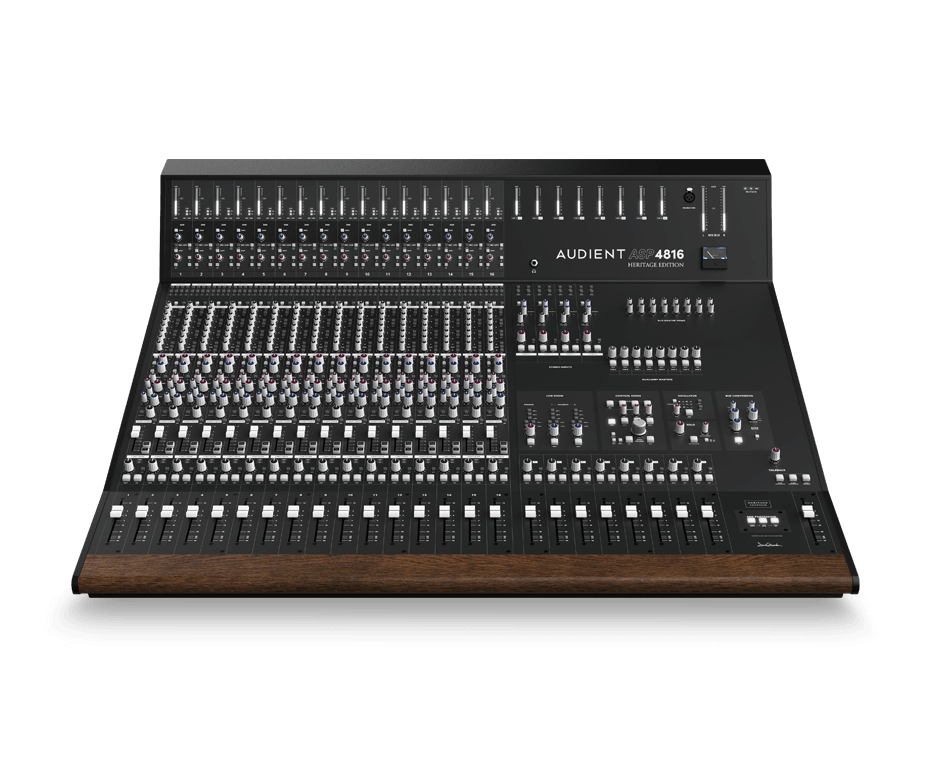
小型模拟录音控制台
-
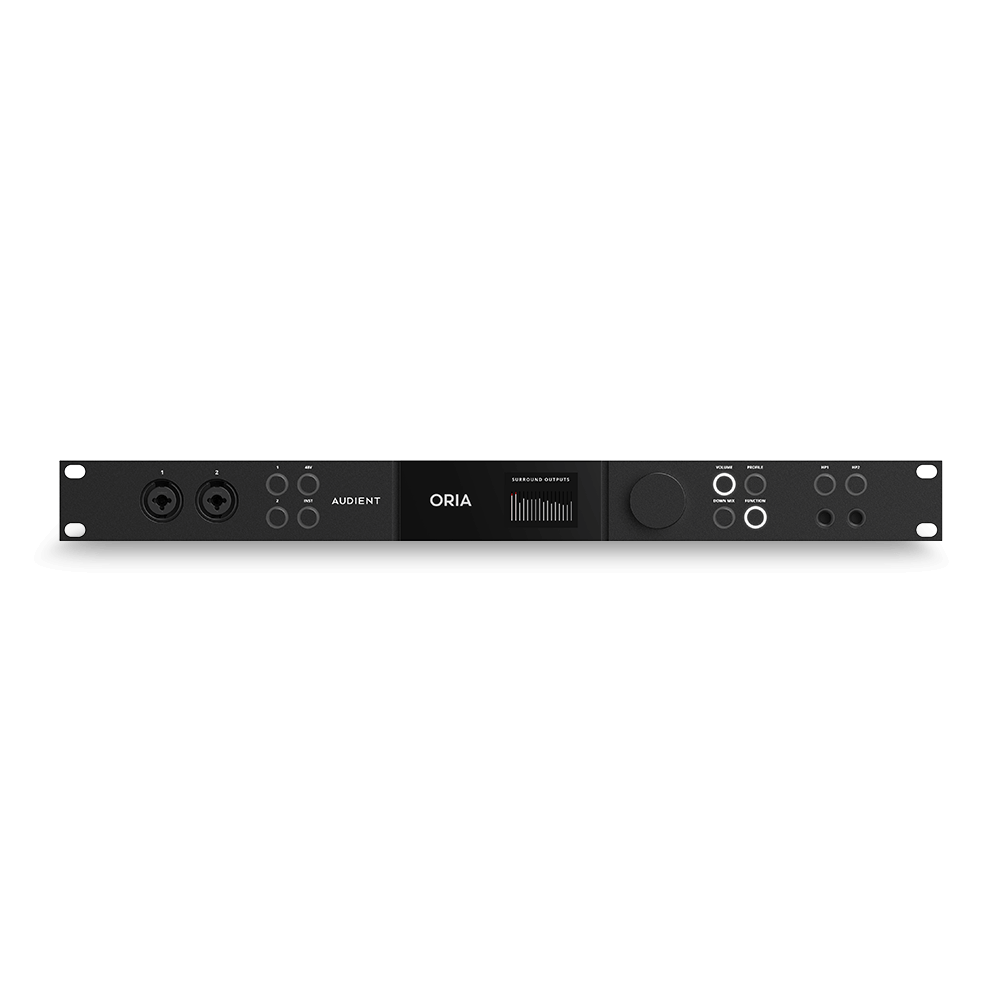
沉浸式音频接口与监听控制器
-
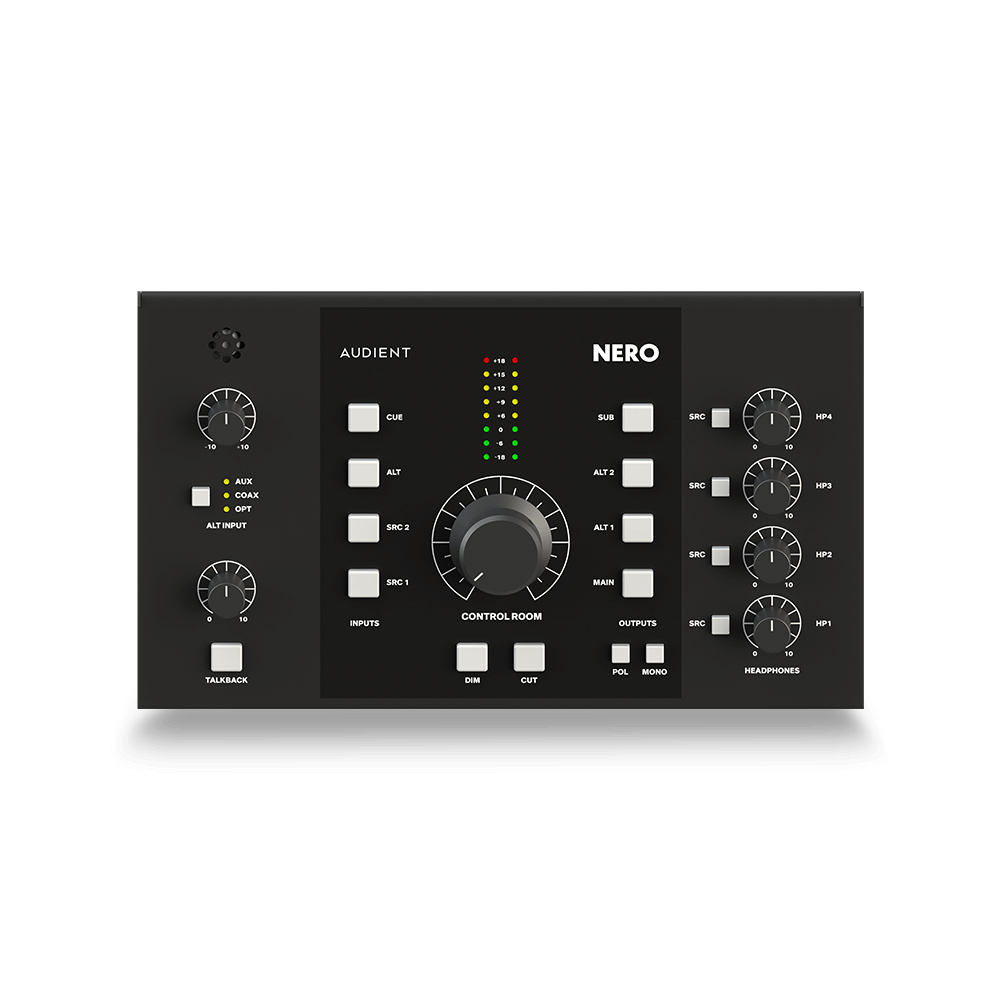
桌面监听控制器
-
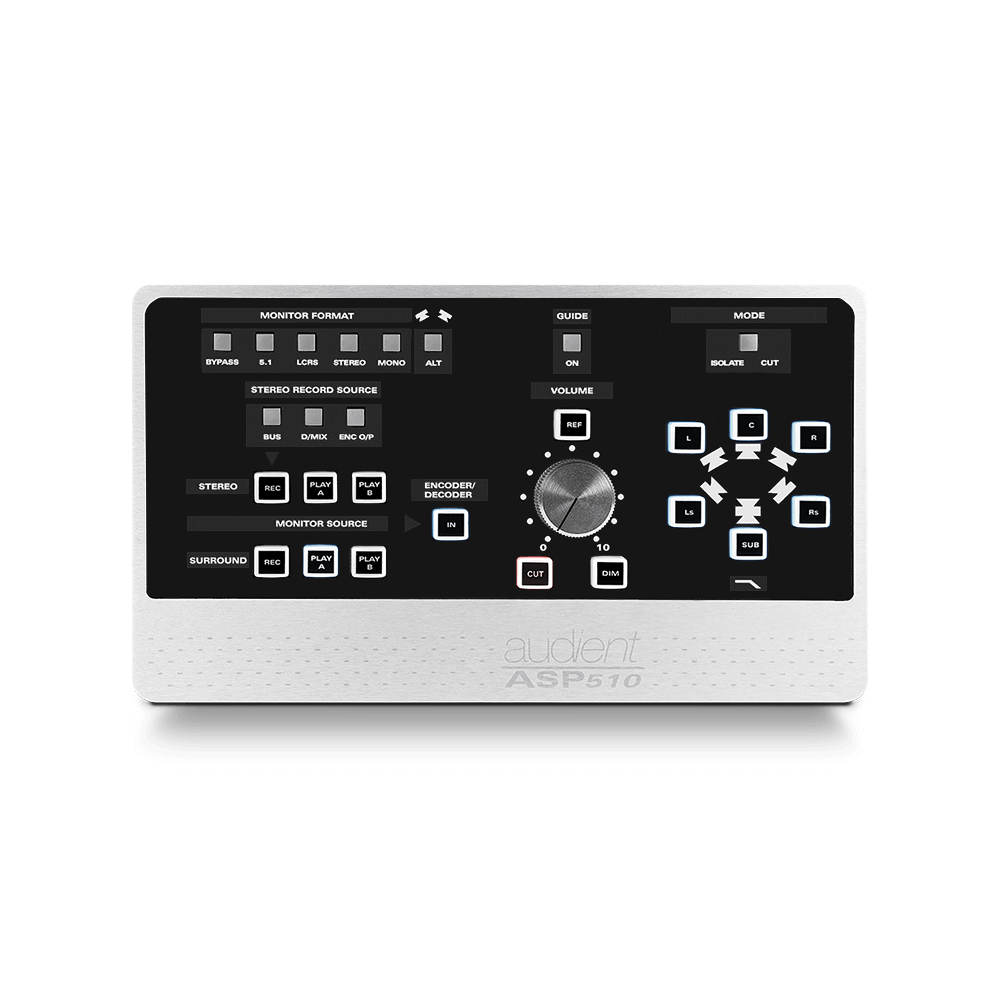
环绕声控制器

