1. Audio Interface
When I started out searching on this topic, I found there was a wealth of information available online, and I was a little overwhelmed. The goal of this guide is to give you the information you need to get all the gear you need to get started.
HERE ARE THE MUST HAVES OF A DRUM RECORDING SETUP.
1. AUDIO INTERFACE
2. COMPUTER AND SOFTWARE
3. MONITORS (SPEAKERS) AND HEADPHONES
4. MICROPHONES AND CABLES
5. ACOUSTIC TREATMENT
1. Audio Interface
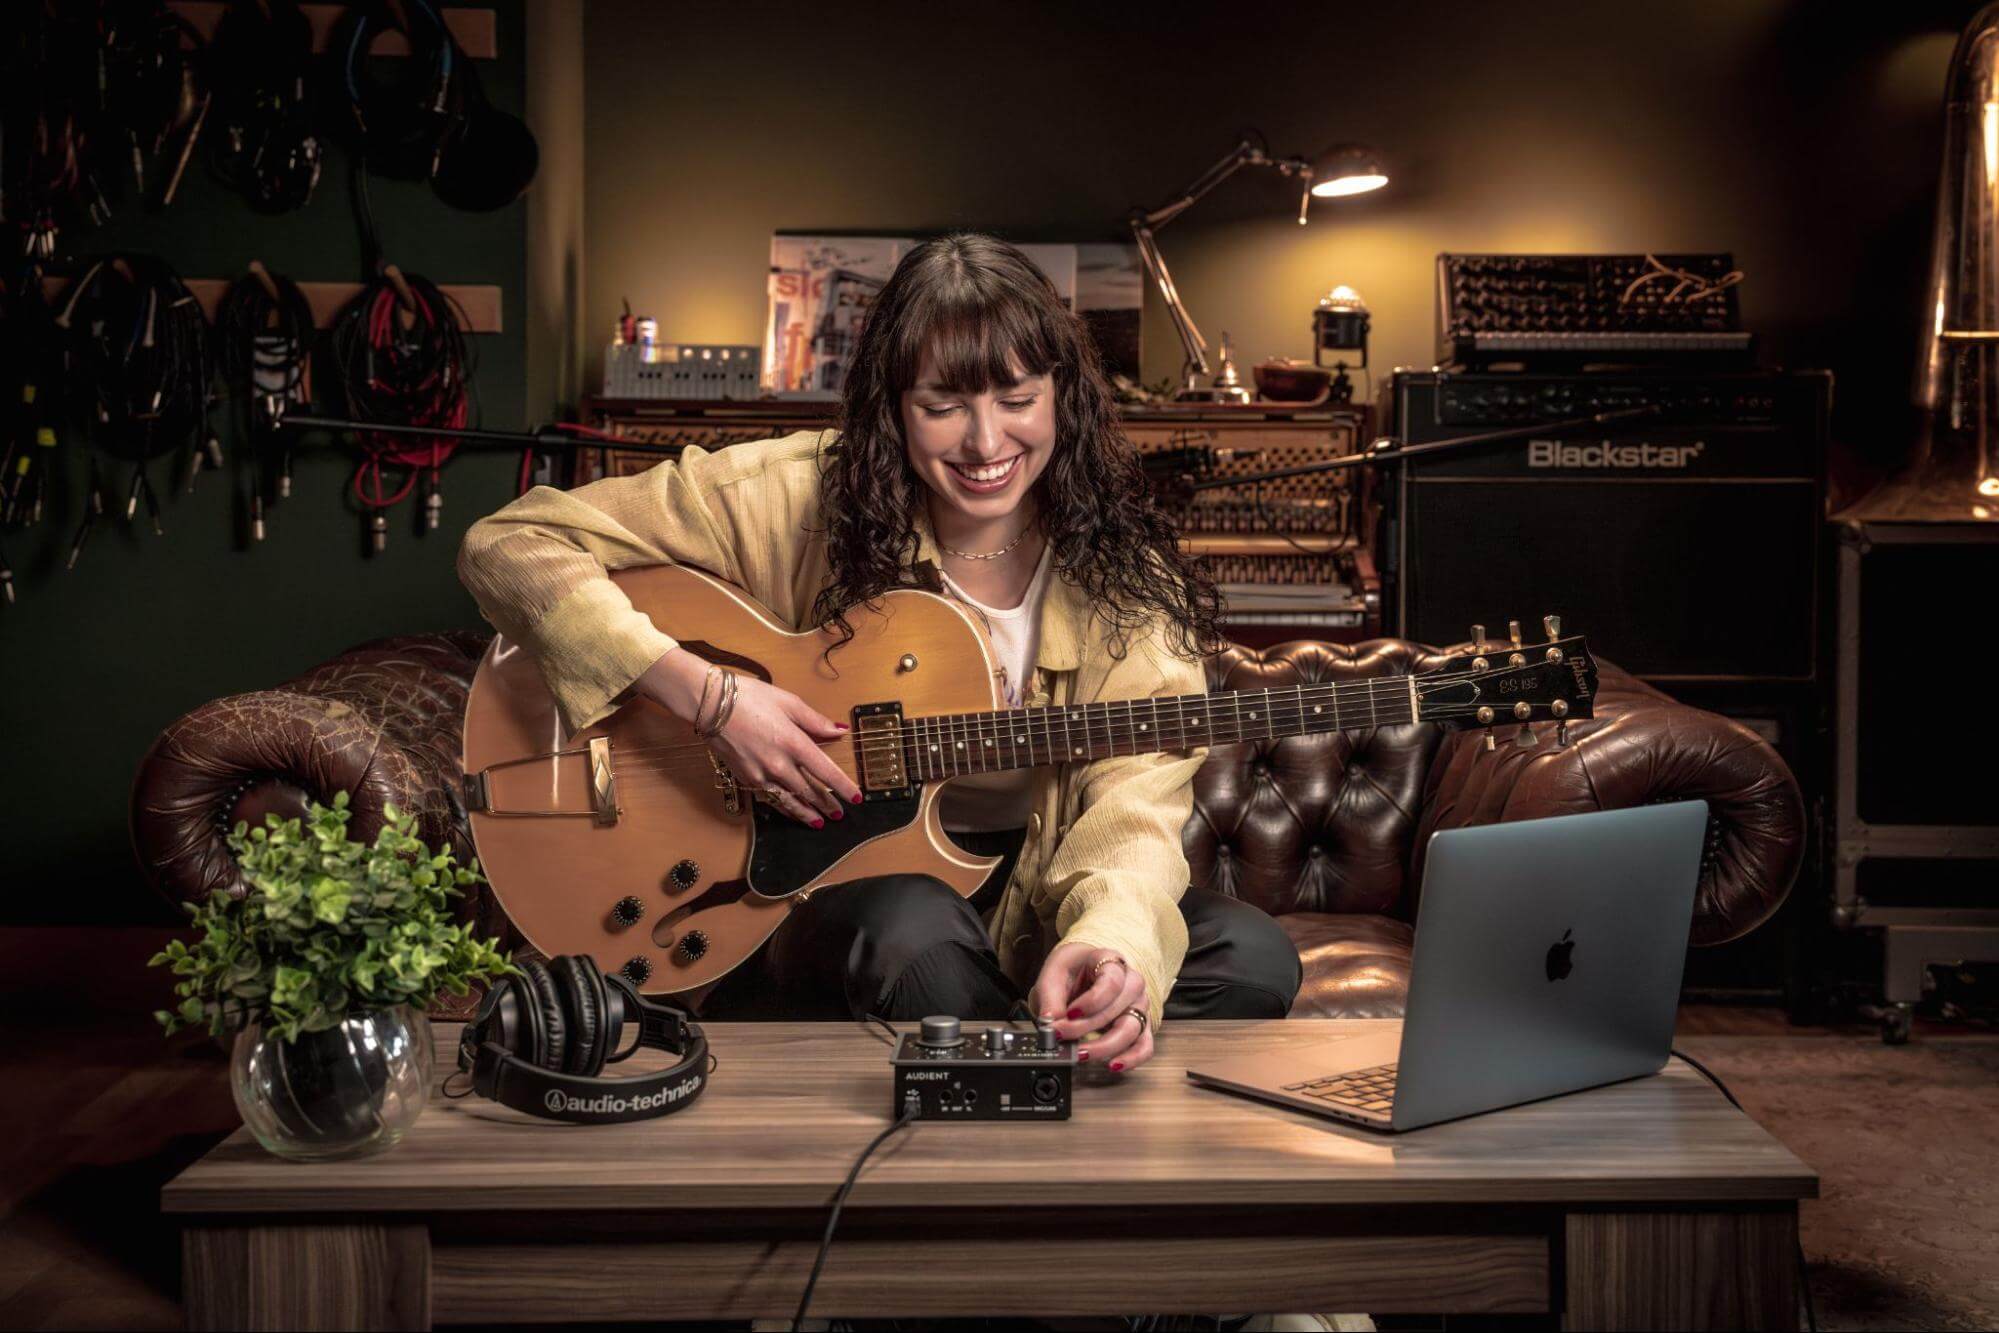
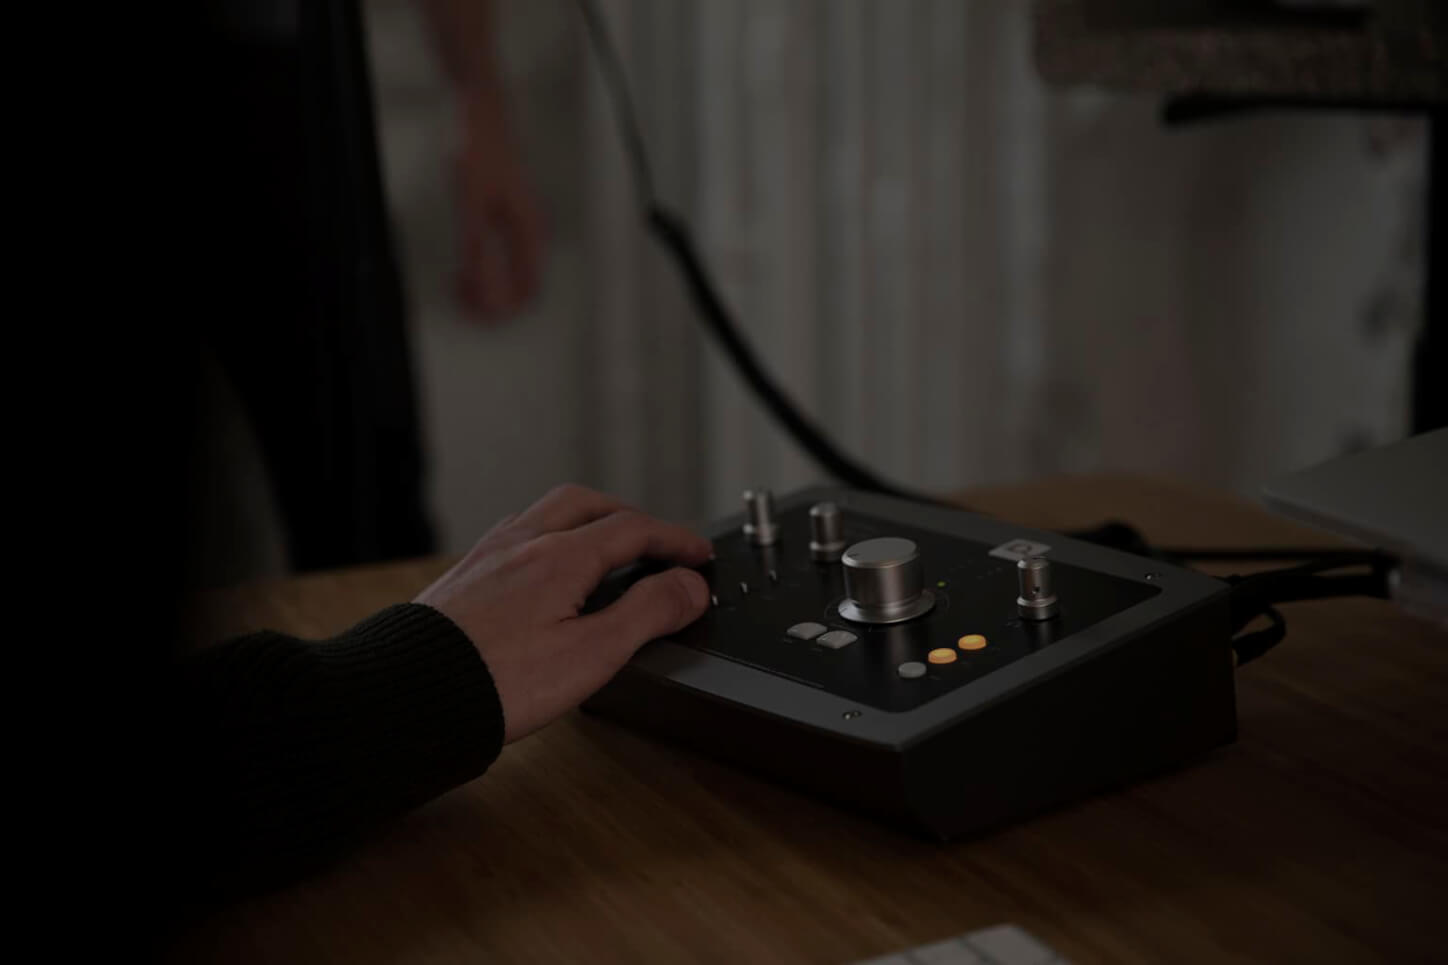
The audio interface is perhaps one of, if not the most important piece in a home studio. Ensuring every audio source is captured in excellent quality is the number one priority, and a good interface is crucial to this.
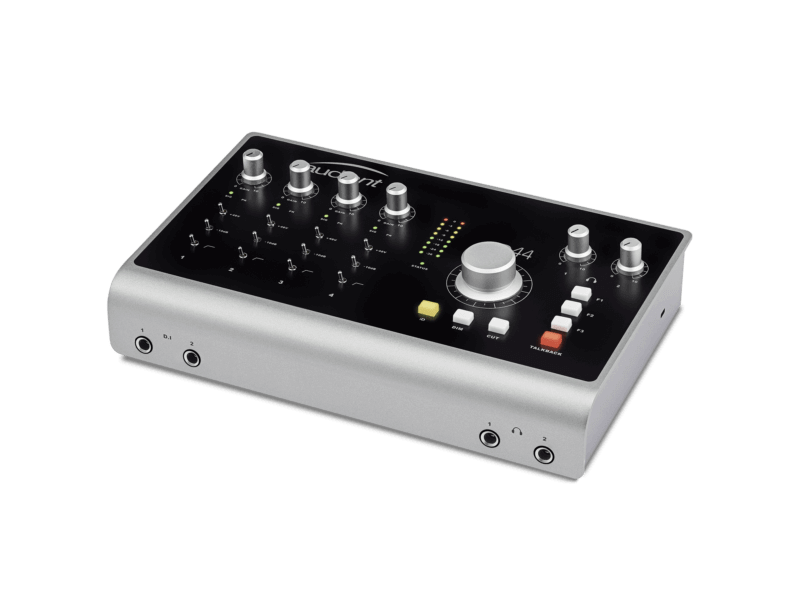
Choosing an audio interface can be overwhelming, whether you’re a newbie (the large amount of options, confusing jargon, etc), or a more experienced engineer (looking for specificity). Luckily, Audient has an excellent Interface Finder tool on their website which is specifically designed to find the best interface for you by asking you some very simple questions. I highly recommend it – I used it myself to find the interface and mic pre I’m using.
I highly recommend the iD44 and ASP880 combination, as together they give you ultimate control over the sound of your recordings. Audient’s product design is extremely intuitive and between these two products, every possible drum recording requirement is covered – inputs, audio quality and monitoring options.
As your knowledge of production grows, your requirements tend to grow with it – requiring an upgrade. This combination of products allows you to bypass this step, and it sounds incredible. Just plug everything in, install the iD software and setup in your DAW, dial the knobs, and boom, everything sounds great.
AUDIO INTERFACE JARGON BUSTER
Latency – The delay between when audio enters the interface and when it emerges.
HPF/LPF – High Pass Filter/Low Pass Filter
ADC – Analog to Digital Converter
Sample Rate – The number of samples of audio carried per second (higher number = higher audio quality)
2. Computer + Software
2. Computer + Software
Nowadays, everything revolves around the computer you have, from emails from your band/ clients to the recording software you use. The brand, operating system and software are down to personal preference – whatever inspires your creativity is key.
There are, however, some non-negotiables. You need to ensure that your computer runs fast enough and has enough storage space for recording purposes. There’s nothing worse than an out of date, slow computer ruining your creativity!
Minimum recommended computer specifications:
CPU – 2.2Ghz i7 Quad Core Processor
RAM – 16GB
Storage – 500GB (Preferably SSD for faster speeds)
Operating System – 64-bit
Bear in mind, these are my minimum recommendations. The better you spec up your system now, the longer it’ll run. I’m running a well specced system with a powerful CPU, plenty of RAM and storage – it’s a solid setup that copes well with any workload I pile on it!


With your Operating System and software, there’s a huge amount of selection available nowadays. My personal recommendations would be:
DAWs (Digital Audio Workstations)
Pro Tools (Best for recording and editing – also has an affordable monthly payment plan)
Logic Pro X (Best for Mac users)
Cubase (Good all rounder)
Plugins
Slate Everything Bundle (Best value)
Fab Filter Mastering Bundle (Pro grade essentials)
Trigger 2 (Best drum sample software)
And finally, the golden rule to anything on your computer – BACK UP YOUR FILES REGULARLY!
3. Monitors and Headphones
3. Monitors and Headphones
Obviously, you’re going to need to hear your music. And you want to be hearing it in the best quality you can. When recording drums, you’re going to need to have an interface that allows you to switch between your main monitoring setup and your headphones. The iD44 is ideal for this.
When selecting monitors, ensure you choose a balanced pair to eliminate any unwanted noise. The ideal monitors ensure you’re hearing an accurate representation of your recordings, rather than sounding ‘good’ (e.g bass boosted, etc). My recommendation would be the ADAM A7Xs. Whichever monitor choice you go with, make sure you place them correctly. The image below is a good starting point.

When tracking drums, I like to use a comfortable pair of over ear headphones that eliminate bleed. The industry standard is the Beyerdynamic DT-770 headphones – you can’t go wrong. However, when recording both audio and video together, I prefer to use a pair of IEMs (over ear headphones can be unsightly), and I use the Shure SE215s, an inexpensive solution that works well for me.
4. Microphones and Cables
4. Microphones and Cables
There are a huge number of possibilities and choices you can explore here, and the information online can be overwhelming, and at times, confusing. My recommendation is a drum microphone kit. They are made with drums in mind, and are often labelled for their specific drum use, which makes recording easy (and they usually even come with a convenient storage case!)
Drum microphone kit recommendations:
Samson DK707 Drum Mic Set
Sennheiser e600 Drum Kit Microphone Set
Audix DP7 Drum Microphone Set
Also, there are a couple of industry standard microphones you can’t go wrong with, such as the Shure SM57, Shure Beta 52a and Sennheiser 421 microphones.

As for cables, a batch of balanced XLR cables will suit just fine. Ensure you get a branded cable as unbranded cables can be of lesser quality.
5. Acoustic Treatment
5. Acoustic Treatment
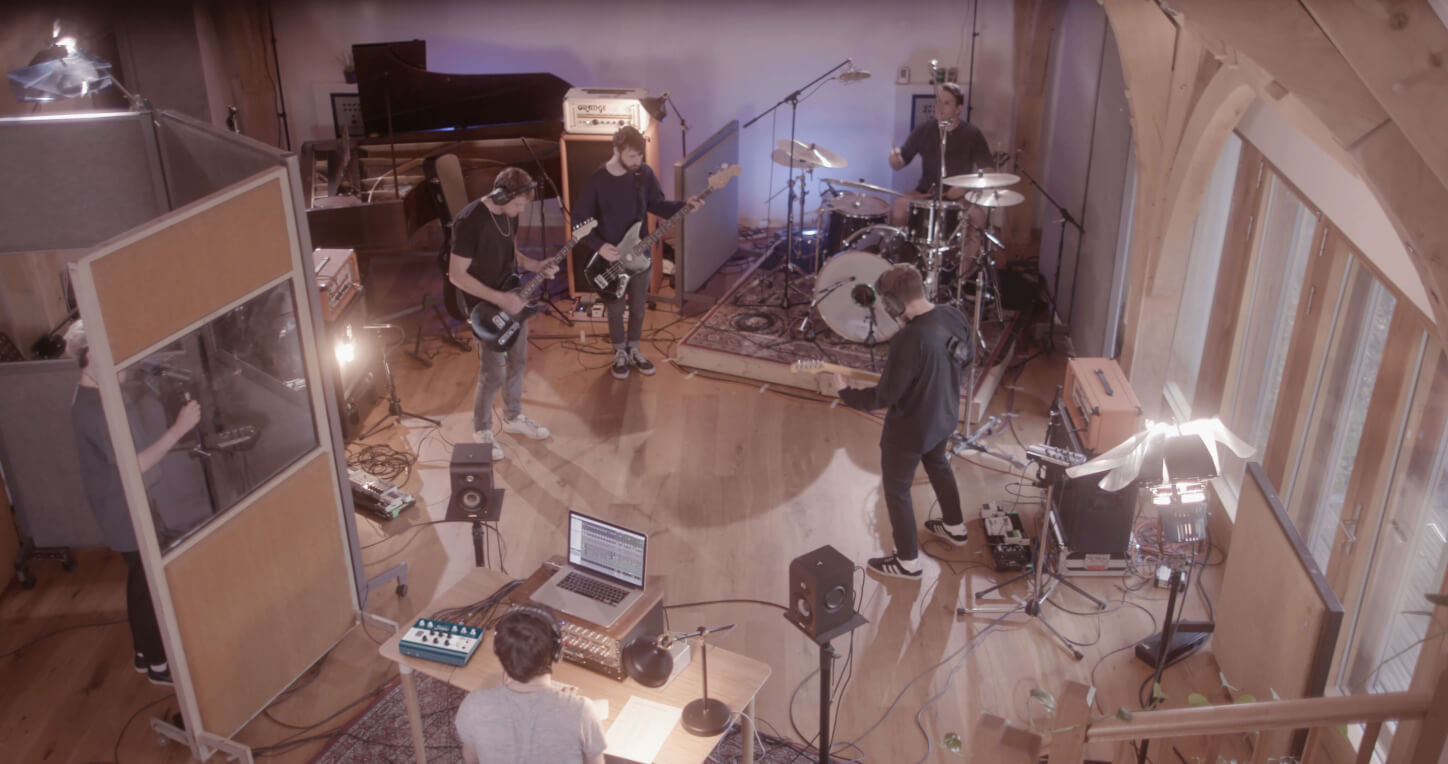
When recording at home, it can get difficult trying to get your room to sound just right. This, in my opinion, is the biggest drawback of recording at home – usually, you don’t have the resource of purpose built drum rooms like you do in studios.
However, where there’s a will, there’s a way. Ensuring your drum room is free from frequency build up areas and annoying reflections will allow you to get a clean sound. I personally prefer a ‘dead’ sounding room as opposed to a ‘live’/‘roomy’ sounding room. This is because it’s far easier to add room sound/reverb in in the mixing phase than to remove unwanted room sound/reverb.
Start with bass traps in the corners of your room. This will stop bass frequency buildups.

Then, evaluate your flooring situation. The materials used can make a huge difference. A wood floor can be highly reflective, and a few heavy rugs usually does the trick.
A few absorption panels on the walls and ceiling can make a huge difference to your room sound. I recommend buying a box or two of high quality panels and playing with the number of required. panels for your specific room.

Final
Finally…
Ultimately, the tools you use are only part of the equation in your studio. Creating great music is the end goal. I believe that creating music needs to come from a place of inspiration.
Inspiration means something different to everyone, and that’s what makes it cool! Decorating your studio to create a vibe is a definite recommendation from me. For some, it may mean covering the studio in lights, for others it may mean putting up cool memorabilia. There’s candles, incense, decorative rugs, prints, snacks, a bar area, the list goes on and on. I’ve tricked mine out with some LED lights and Hokusai artwork. The more inspired you are, the more creative you’ll be. Experiment, and have fun!
Inspiration means something different to everyone, and that’s what makes it cool! Decorating your studio to create a vibe is a definite recommendation from me. For some, it may mean covering the studio in lights, for others it may mean putting up cool memorabilia. There’s candles, incense, decorative rugs, prints, snacks, a bar area, the list goes on and on. I’ve tricked mine out with some LED lights and Hokusai artwork. The more inspired you are, the more creative you’ll be. Experiment, and have fun!
Check out this awesome cover of ‘Stockholm Syndrome’ by blink-182 from Tobines below!
![]()
About the author
Tobines is an English drummer and producer from Manchester, UK. His lifetime passion of drumming brought him to sharing unique and intense drum videos on Youtube, where he hopes to share inspire creativity and energy. You can find them at www.youtube.com/tobines You can also follow Tobines on Instagram to keep updated with news, videos and more!
Our Products
-

Interfaz de audio 2 entradas | 2 salidas
-

Interfaz de audio 10 entradas | 6 salidas
-

10in | 14out Audio Interface
-

Interfaz de audio 20 entradas | 24 salidas
-

24in | 32out Audio Interface
-
Interfaz de audio 10 entradas | 14 salidas
-
Interfaz de audio 10 entradas | 4 salidas
-

Interfaz de audio 2 entradas | 2 salidas
-

Interfaz de audio 4 entradas | 4 salidas
-
24in | 24out Audio Interface
-

Todo lo que necesitas para empezar a grabar
-

8 Channel Smart Preamp with AD/DA
-

Previo de micro y ADC de 8 canales
-

Previo de micro y control de tono de 8 canales
-

Consola de grabación analógica modular
-

Small Format Analogue Recording Console
-
Small Format Analogue Recording Console
-

Immersive Audio Interface and Monitor Controller
-

Controlador de sobremesa para monitores
-
Controlador de monitores de sonido surround
