Intro
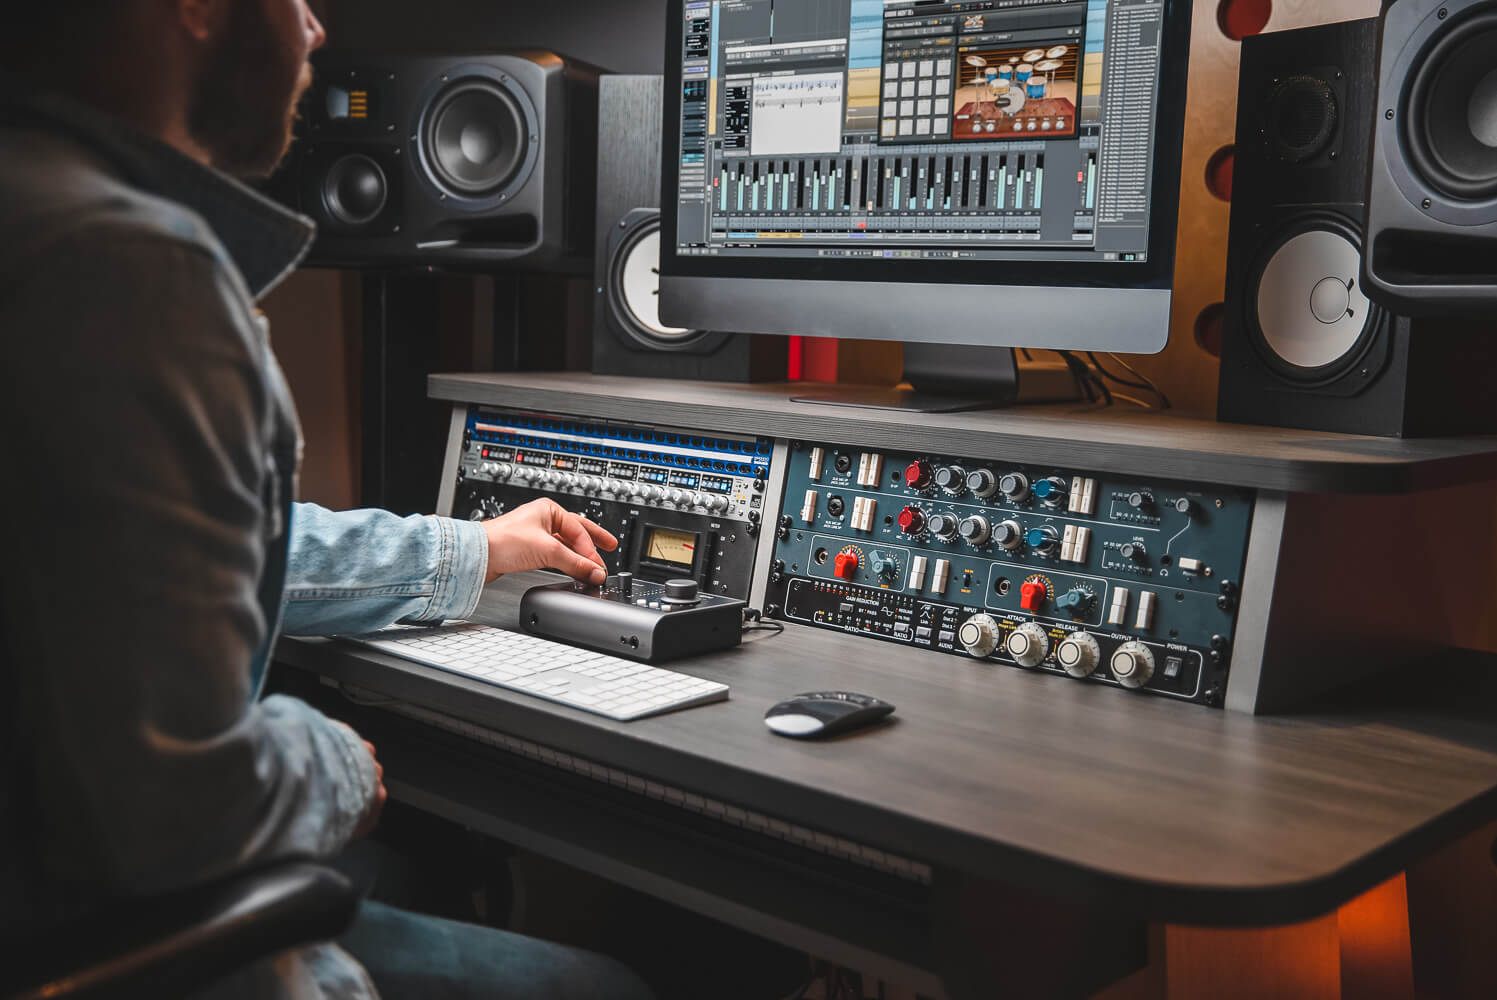
So you’ve found your recording space, be that a hall or a studio or even your living room, plugged in your gear and you’re ready to go. Now what? Find out what the next step is in the article below…
The first most important thing to think about is; are the band going to be playing live or are they going to be multitracking it? In this article we’ll be discussing the basics of recording a band live in the studio.
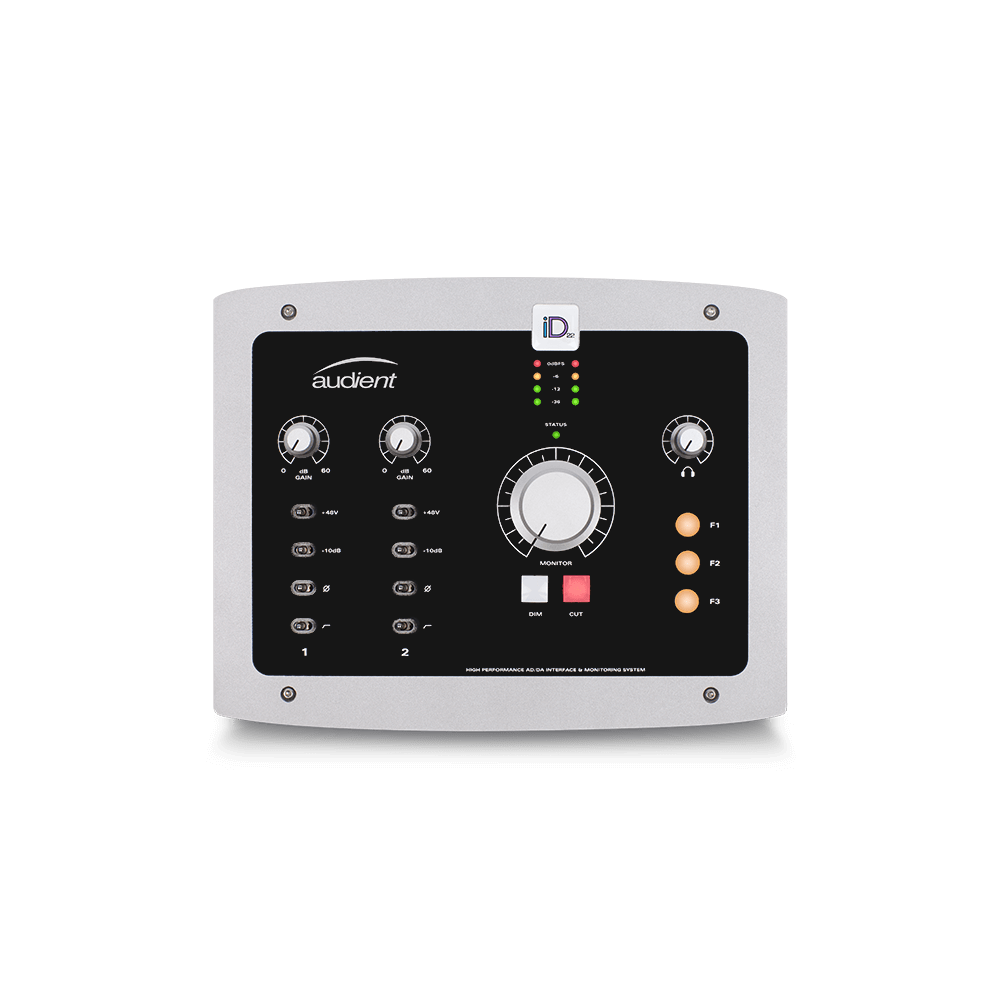
As the musicians are going to be playing at the same time you’re going to need a recording interface with a lot of mic pres/expandability to capture the performance. Something like the iD44 with 2 ASP800/880s would give you 20 channels, which will be more than enough.
Once everyone’s tuned up, drums skins replaced and guitars restringed, you’re going to want to think about positioning the band to get the most separation whilst still maintaining the live feel of the band.
Recording The Session
So now everyone’s setup up, they’re all looking at you to start arranging microphones. If you’re a complete novice, we suggest looking up some basic microphone techniques to get you started. Here are a few things to consider when placing musicians and setting up your side of the kit:
- Record the band live or overdub the vocals after? – Often a good vocal performance transforms a good song into a great one. If the band want to record the vocals live then invest in a great hypercardioid microphone (Shure Beta 57/58 for example) and point the null at the drummer.
- If available, Use isolation panels with windows to separate loud & quiet elements of the band and to ensure the musicians can see each other and get the best performance. If possible place drums/guitar cabs in isolated room.
- More mics, more problems? When using more than one mic you’re going to start running into phase issues. The easiest way to avoid this is to minimize unnecessary mics. Introducing more mics than you need can create comb filtering issues when it comes to mixing, something that’s hard to fix in the mix.
- Time alignment plugins – The use of time alignment plugins can really be a life saver especially if using a lot of mics. As best as you can, make sure there’s no phase cancellation when recording but if you have to you can usually fix small time alignment errors in the mix.
The 20 inputs iD44 provides will be more than enough to record the more demanding of sessions. But by all means throw up as many mics as possible and experiment and find out what works for you.
Mixing & Mastering A Live Session
Mixing a live session can be very different to mixing a studio recording. Here are some tips to help you on your way:
Embrace the spill
There will be spill and that’s okay! – Sometimes you’ve got to embrace it to get the best recording and mix possible. As mentioned before, the best way to get a great sounding mix is to make sure you get a great sounding recording in the first place. As they say, you can’t polish a turd, but you can roll it in glitter (as a last resort!).
Recording a live session? Make it sound live…
How often have you seen a ‘live session’ video only to think “Hold on a second, this definitely wasn’t recorded in that room!” or “She’s standing 10ft away from the mic, how does the vocal sound so close?!” Now as audio engineers, this is probably the most off putting thing but it can also put off the everyday viewer. So, following on from the previous point, if you’re recording a live session, make it sound live – the reason why they’re watching/listening in the first place is for all the nuances that happen in a live performance, if they want a studio performance then they can just listen to the album version!
Mixing Vocals To Sit In The Mix
Now this is a bit of a mixing and recording tip. If you’re recording the whole band live, including the vocals, then you should be matching your mix to the level of the vocals. In most songs, this is the most important element so matching the rest of the track to them means they’re not going to get buried.
Mixing For Video
Live sessions are a great way to get your music out there, so naturally there’s a lot of them about. Here are a few tips we’ve put together for mixing a track for a live session video:
Get a rough cut of the video before you start mixing:
This way you’re able to see where the main camera is going to be. This will hugely affect how you’re panning in the mix. Lead Guitarist on the left of the room – Pan his guitar to the left etc.
Drum Panning:
Now there’s always the massive debate about Drummers Perspective (the right way 😉) vs Audience Perspective. There isn’t a case for this when you’re mixing for video because it all depends where the cameras are set up! Nine times out of ten, you’re going to be using Audience Perspective.
After writing this we thought it was time to put our money where are mouths are and put the above tips to use. We recorded upcoming UK rock band Hombound’s track ‘Headspace’ live at Rimshot Studios with iD44, ASP800 & ASP880. Hear how it sounds below:
Homebound Video
Homebound Video
Side note:
We’ve compliled a list of Live Session Youtube channels which are leading the way in audio and video quality. Have a watch through a few of these videos for some inspiration:
Our Products
-

Interfaz de audio 2 entradas | 2 salidas
-

Interfaz de audio 10 entradas | 6 salidas
-

10in | 14out Audio Interface
-

Interfaz de audio 20 entradas | 24 salidas
-

24in | 32out Audio Interface
-
Interfaz de audio 10 entradas | 14 salidas
-
Interfaz de audio 10 entradas | 4 salidas
-

Interfaz de audio 2 entradas | 2 salidas
-

Interfaz de audio 4 entradas | 4 salidas
-
24in | 24out Audio Interface
-

Todo lo que necesitas para empezar a grabar
-

8 Channel Smart Preamp with AD/DA
-

Previo de micro y ADC de 8 canales
-

Previo de micro y control de tono de 8 canales
-

Consola de grabación analógica modular
-

Small Format Analogue Recording Console
-
Small Format Analogue Recording Console
-

Immersive Audio Interface and Monitor Controller
-

Controlador de sobremesa para monitores
-
Controlador de monitores de sonido surround
