Prevent kick and bass masking with EQ
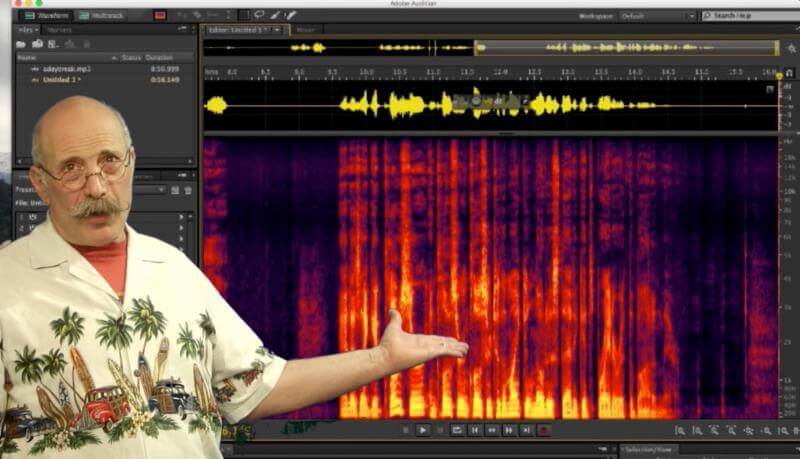
While the various components of the rhythm section are all ultimately meant to lock together tightly as a cohesive musical entity, without doubt the most fundamental and potentially troublesome partnership within that broader group is the kick drum and bass (guitar or synth). The reason for this is that both occupy the bottom of the frequency range, where they can easily ‘mask’ or obscure each other, resulting in an unfocused, muddy sound, lacking in punch and weight. Equalisation is the weapon of choice here, used to carve out space in either part (usually the bass) to allow the other to shine through; and while any surgical EQ should be up to the task, ‘intelligent’ EQ plugins such as Sonible smart:EQ 4, oeksound Soothe 2 and iZotope Neutron 4’s brilliant Unmask module can be especially effective.
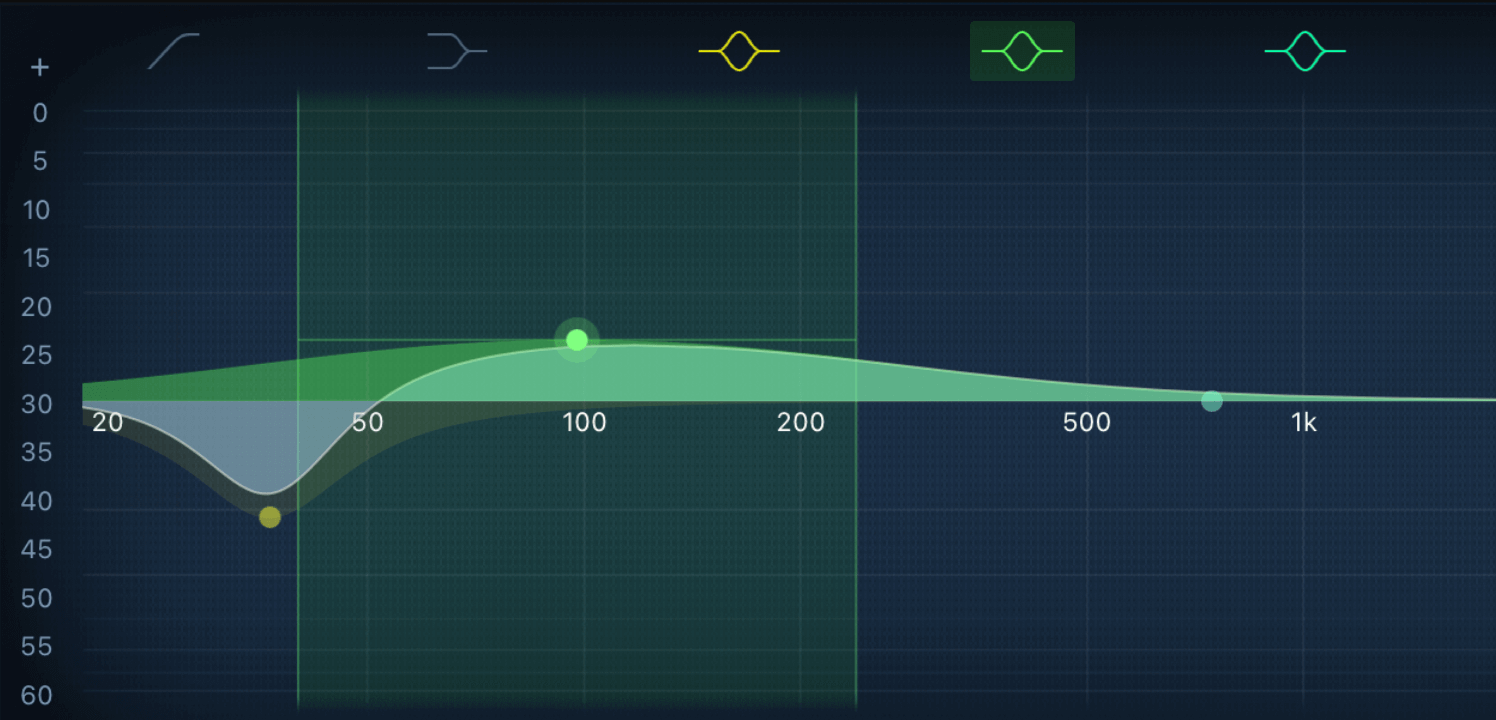
Cutting frequencies in the over-dominant part to pull the less dominant one forward in the mix is largely recommended, rather than boosting the latter; and often all that’s required might be a high-pass filter on the bass to do away with excess sub-bass frequencies.
Sidechain the bassline to the kick
If no amount of EQ is getting your kick drum and bass working well together, or if you just want to get the kick as upfront as possible, sidechain compression is the way to go. Also known as ‘ducking’ compression, this is the process of triggering a compressor on the bass channel with the kick drum, rather than the bass itself, so that every kick hit drops the volume of the bass momentarily, enabling it to really punch through. Setup involves routing the kick into the sidechain input of your compressor, and setting the amount of volume reduction applied to the bass using the compressor’s threshold and ratio controls. The idea is for the drop in level to go essentially unnoticed by the listener (unless you’re aiming for the overt pumping of EDM or similar), so some tweaking of the envelope controls on the compressor may be necessary. And for the ultimate in sidechaining precision, you’ll want to check out Cableguys Kickstart 2 and VolumeShaper 7 plugins, which let you design your own ducking curves in exquisite detail.
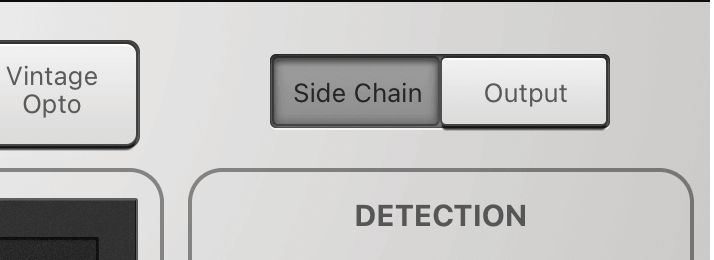
Another powerful kick/bass fixing option, a dynamic EQ plugin combines ducking compression and equalisation, with, in this particular case, the kick drum triggering targeted EQ cuts in the bass, rather than initiating simple broadband volume reduction, for a more nuanced style of sidechaining. Take a gander at FabFilter Pro-Q 3 and Tokyo Dawn Records’ free TDR Nova for a couple of prime examples.
Think beyond drums and bass
Although the beat and bassline form the basis of any rhythm section, it’s the other elements added in around those central constituents that give it its flavour and vibe. Syncopated ancillary percussion – congas, tambourines, shakers, go-go bells, etc – can be placed amongst the kick, snare and hats to embellish the groove; while layering in rhythm guitar and/or keyboard lines connects the rhythm section to the harmonic structure of the track.
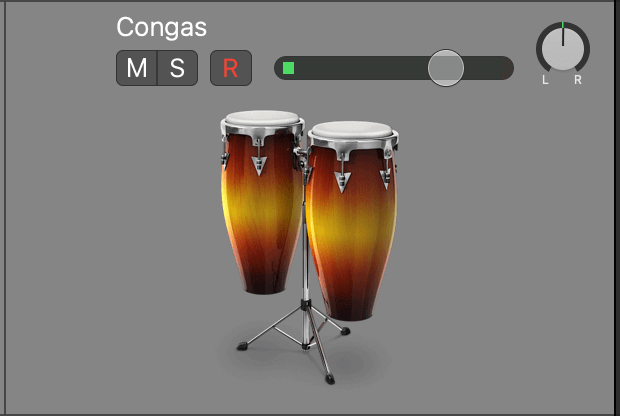
When mixing such parts, pay close attention to their density (ie, the amount and perceived length of the notes played – ‘few’ and ‘short’, ideally) and frequency content, and manipulate both as required to ensure that they don’t get in the way of the all-important drums and bass.
Keep the kick, snare and bass panned to the centre
It’s often said that there are no rules in music production, but there are in fact some technical directives that should generally be adhered to if you want your music to be immediately relatable to the average listener. Among them is the fact that the kick, snare and bass should all be placed at the dead centre of the stereo panorama in any mix that isn’t trying to be wilfully unusual or retro. Sure, reverb, delay, chorus and other effects can alter the stereo presentation of these three bedrock components, but their dry signals must always sit where our brain expects them to – smack bang in the middle.
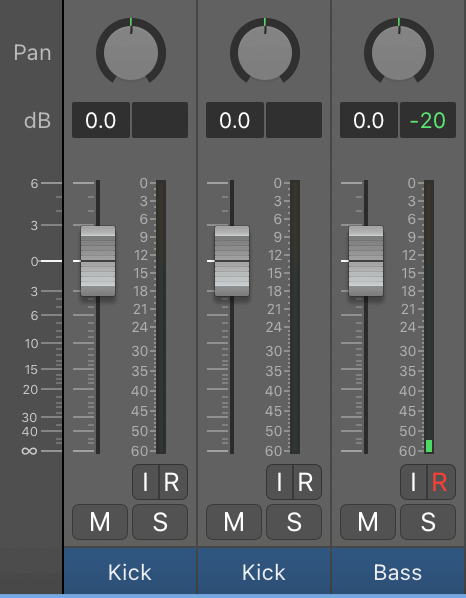
When it comes to hi-hats, toms, percussion, guitar and keyboards, however, the stereo field is yours to roam around in as you see fit. Shift the hats off to one side a touch, perhaps, spread your toms or congas out from left to right, pan the rhythm guitar and piano to either side… As long as the aforementioned triumvirate are nailed to the centre, everything else is fair game for sound-staging tomfoolery.
Use effects to shape the groove
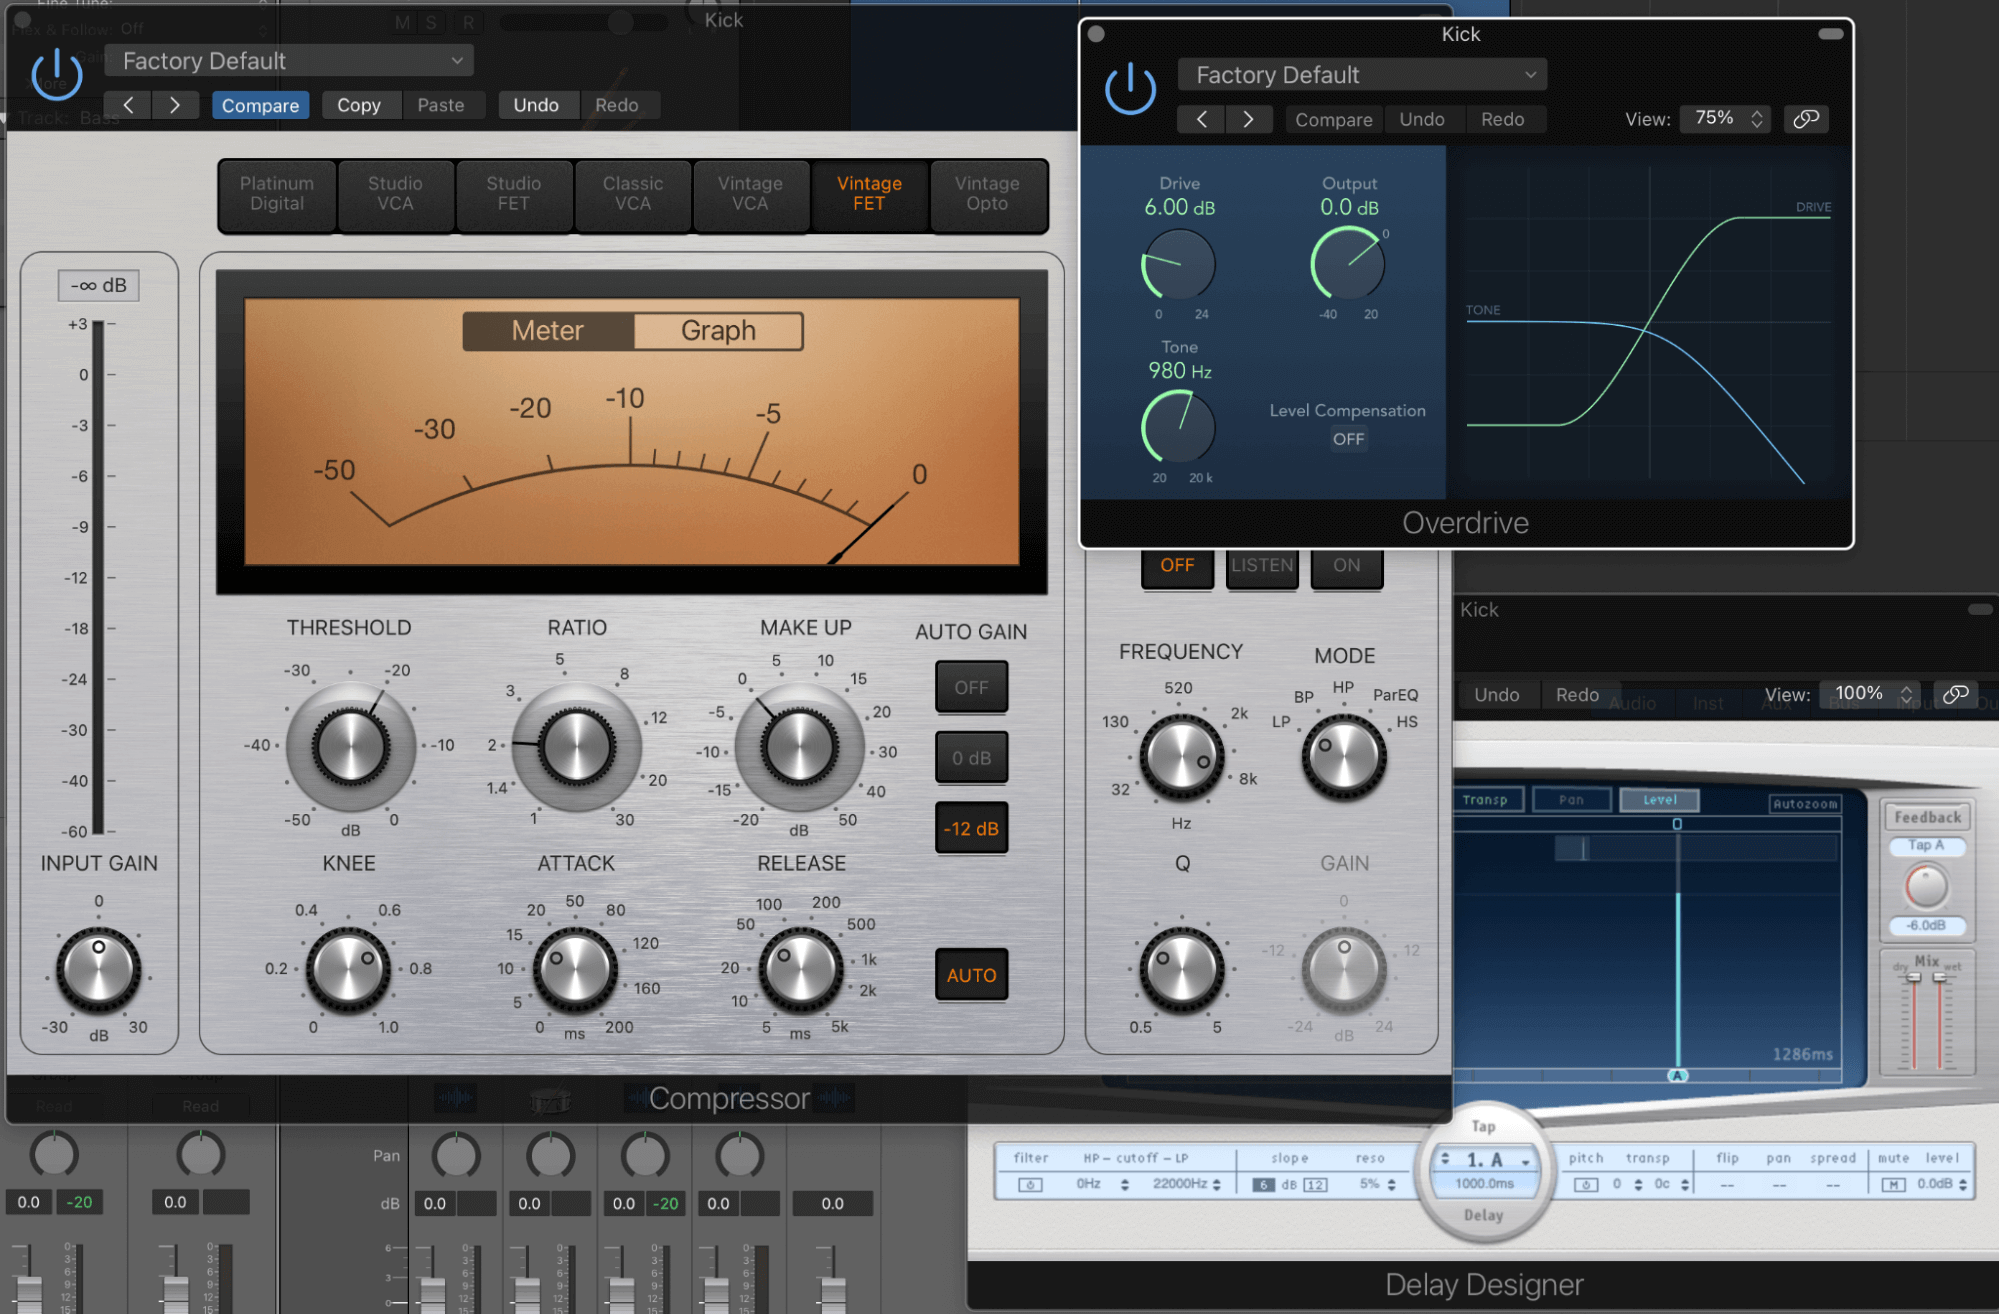
The sound and styling of your rhythm section will, obviously, depend on the specifics of the song in which it resides, and although instrument selection and performance are clearly primary defining factors here, there’s plenty you can do at the mixing stage to adapt those raw sonic materials to the direction and character of the track. Compression (applied to individual channels and the drums bus) is endlessly useful for dynamics shaping and rhythmic contouring, while a little distortion/saturation can add presence to kicks and basses; reverb and delay are ideal for introducing ambience and further rhythmic interest; and chorus is just the ticket for thickening up basslines. Don’t get carried away with these sorts of creative effects, though: by and large, less is more when it comes to mixing the rhythm section, and the space between the notes and hits is as important as the events themselves, so exercise judgement with reverb tails, delay levels, compression settings, etc.
Our Products
-
2输入 | 2输出 音频接口
-
10输入 | 6输出 音频接口
-
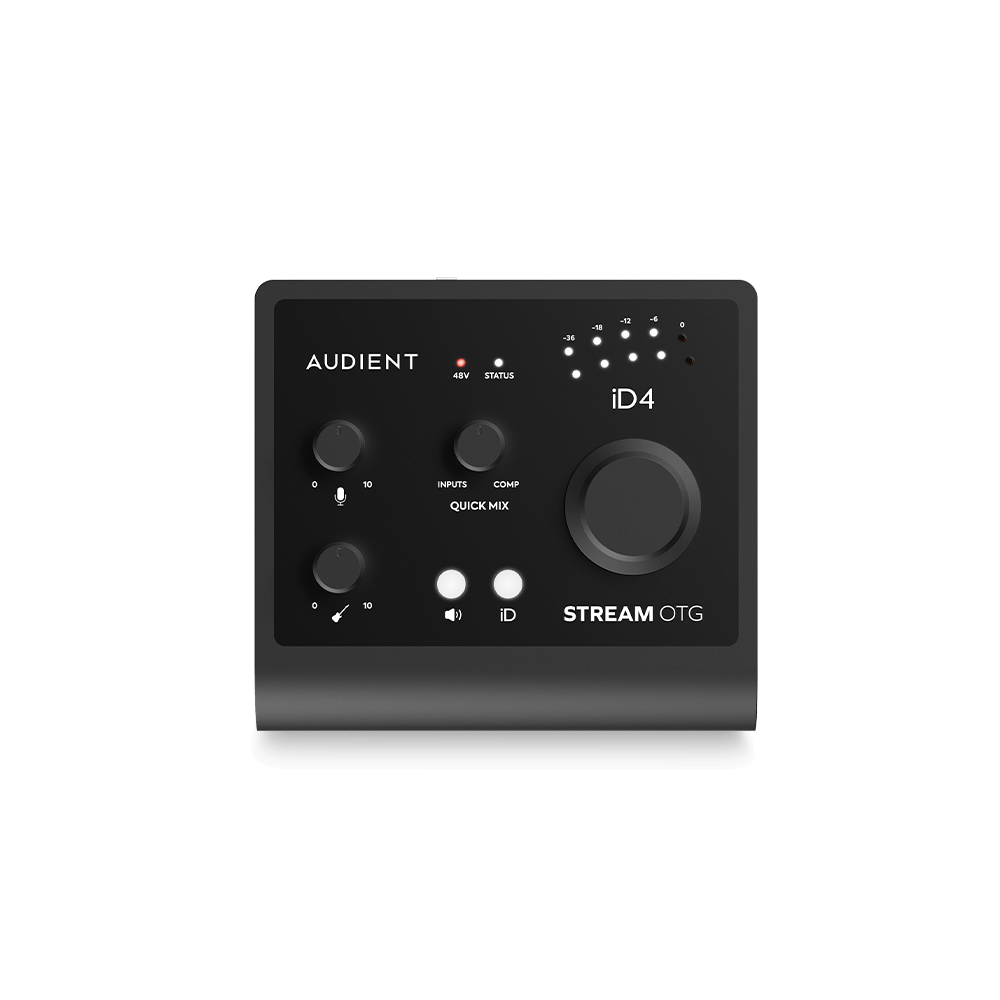
6输入 | 4输出 音频接口
-
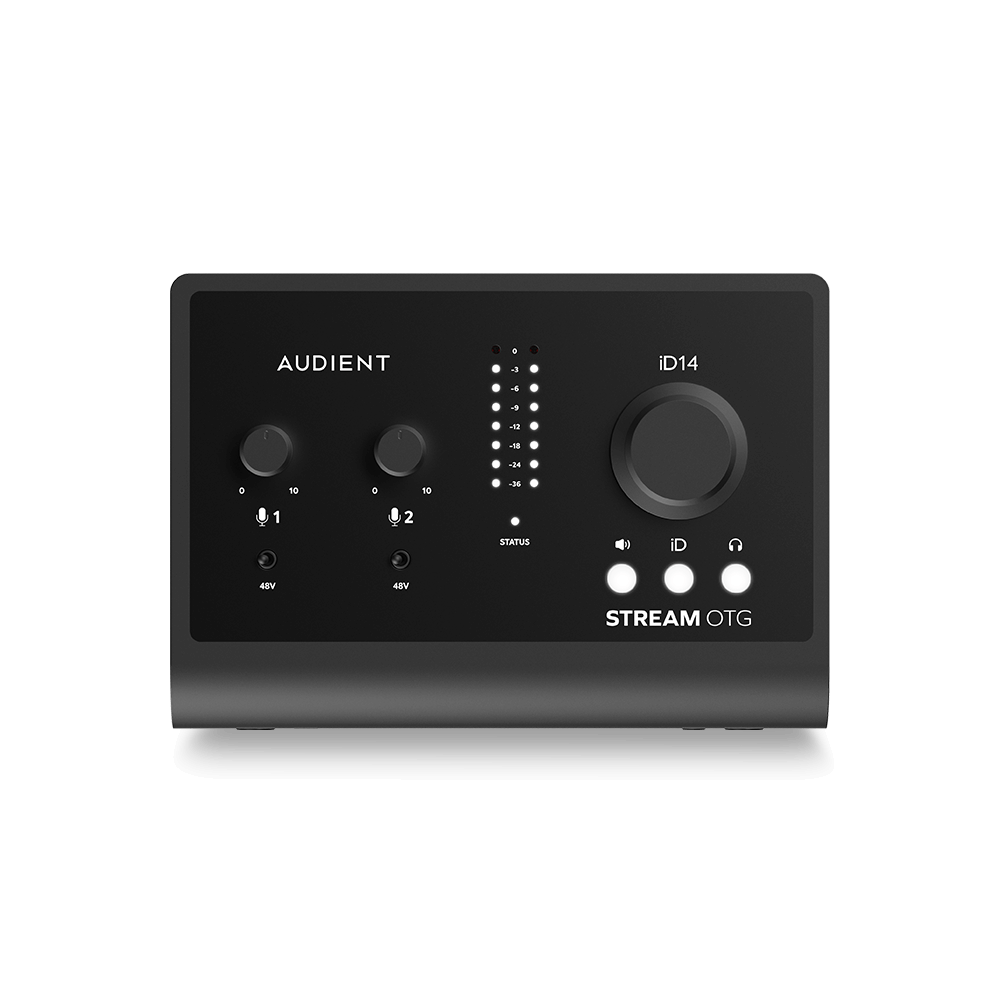
14输入 | 8输出 音频接口
-
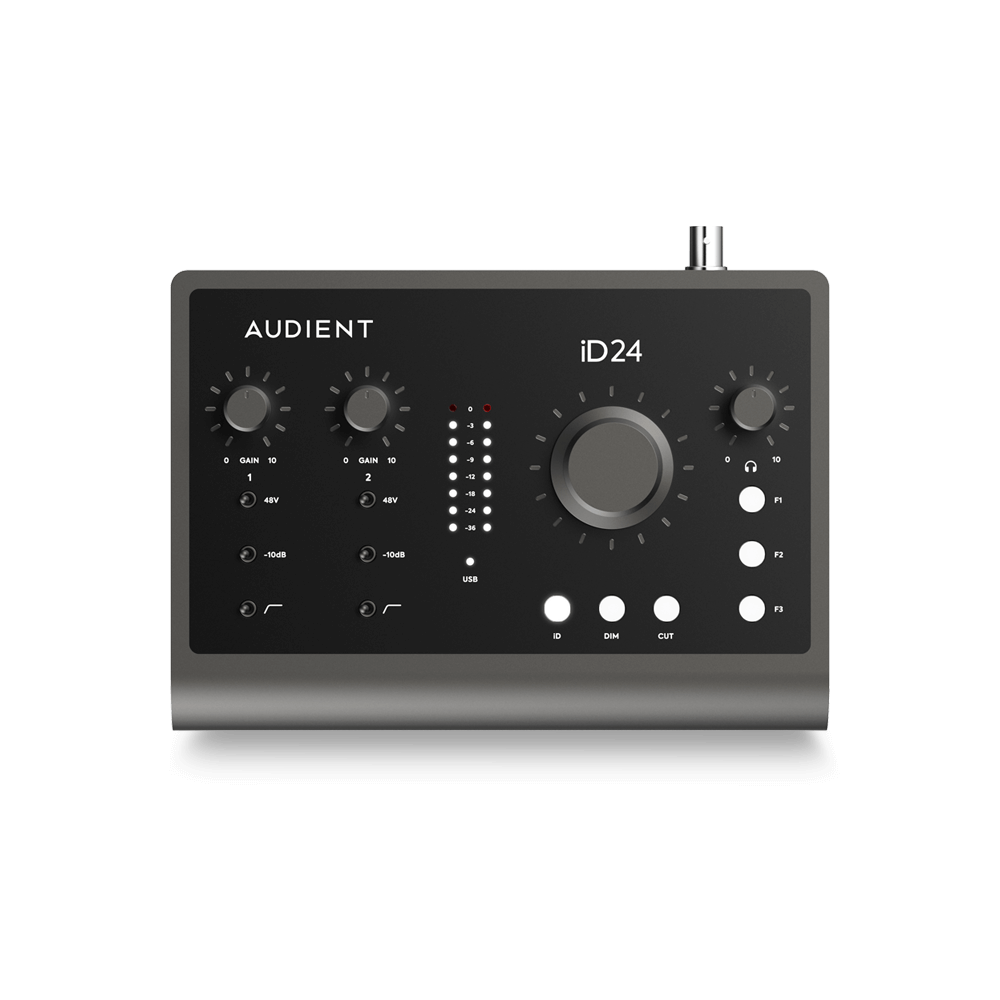
10输入 | 14输出 音频接口
-
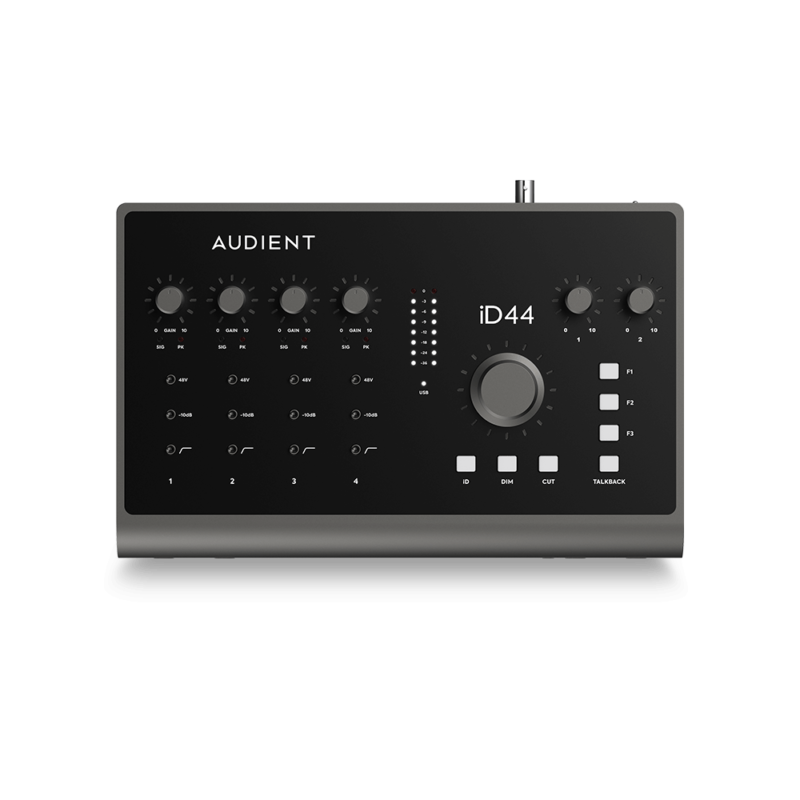
20输入 | 24输出 音频接口
-
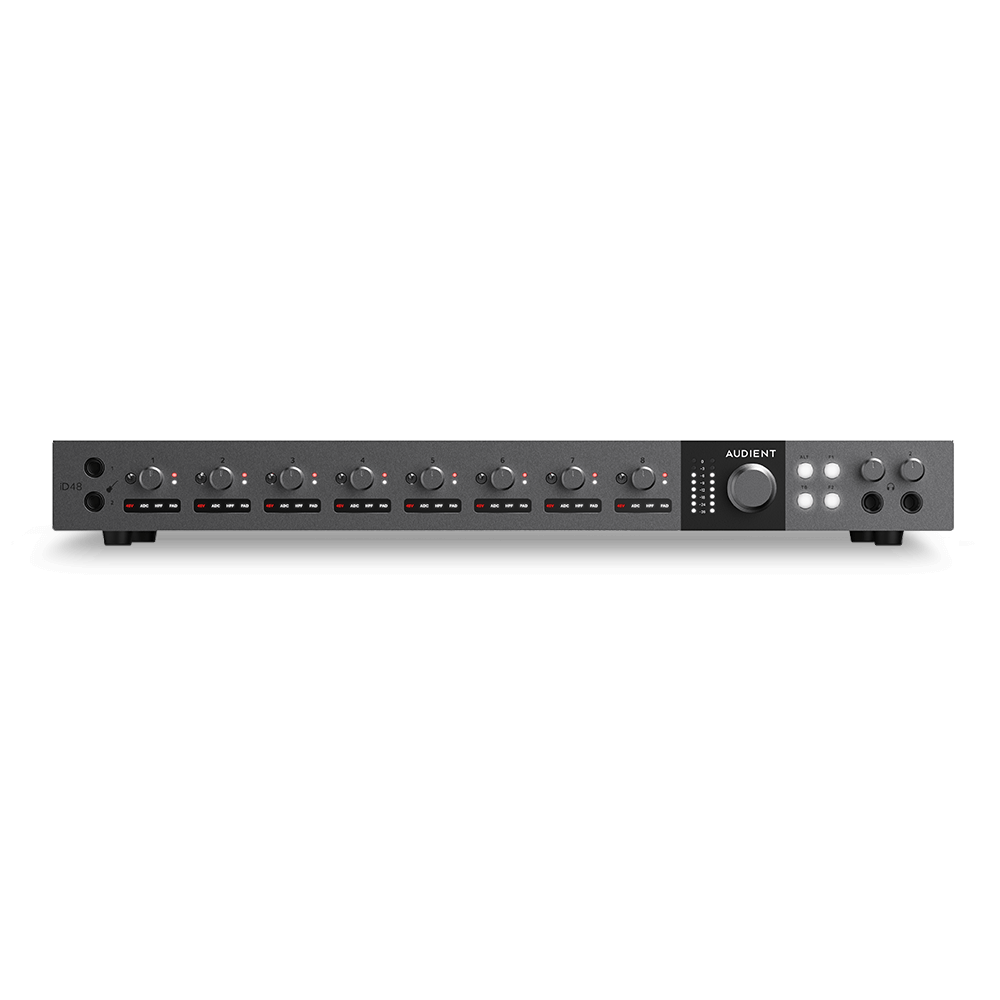
24输入 | 32输出 音频接口
-
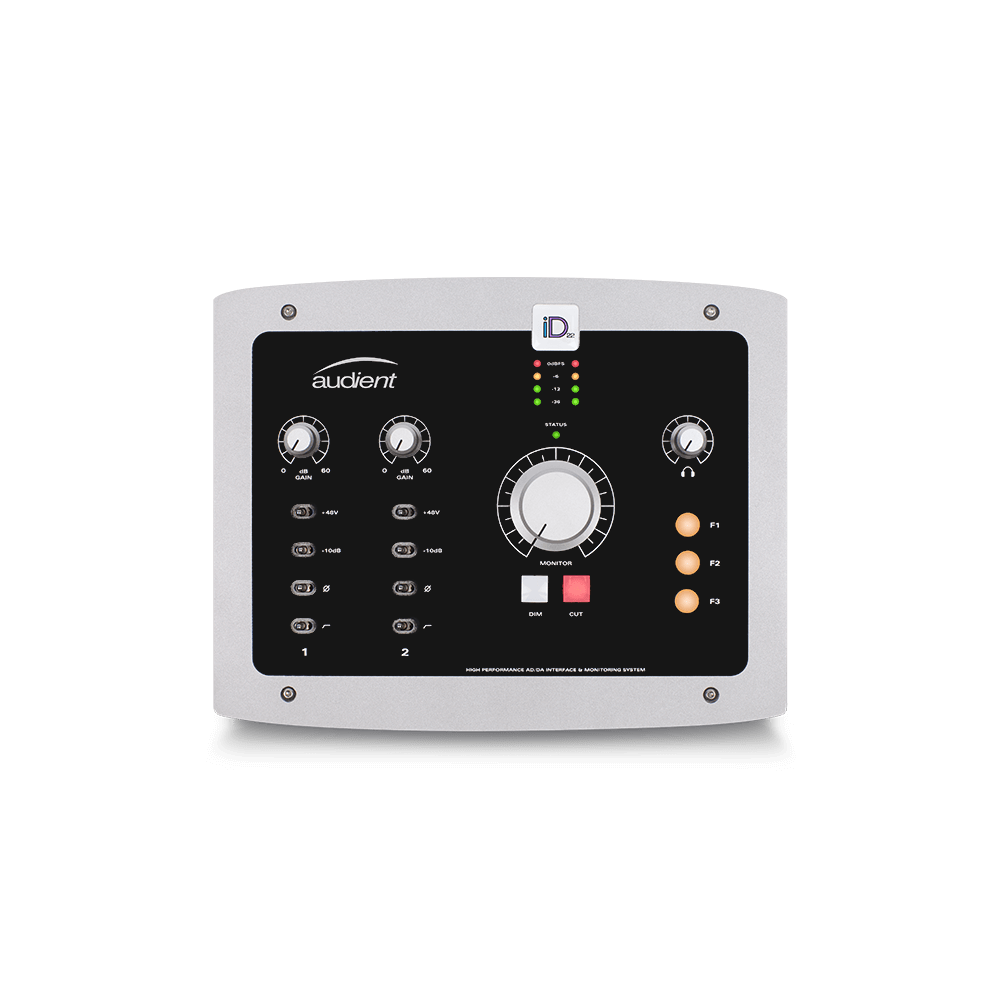
10输入 | 14输出 音频接口
-
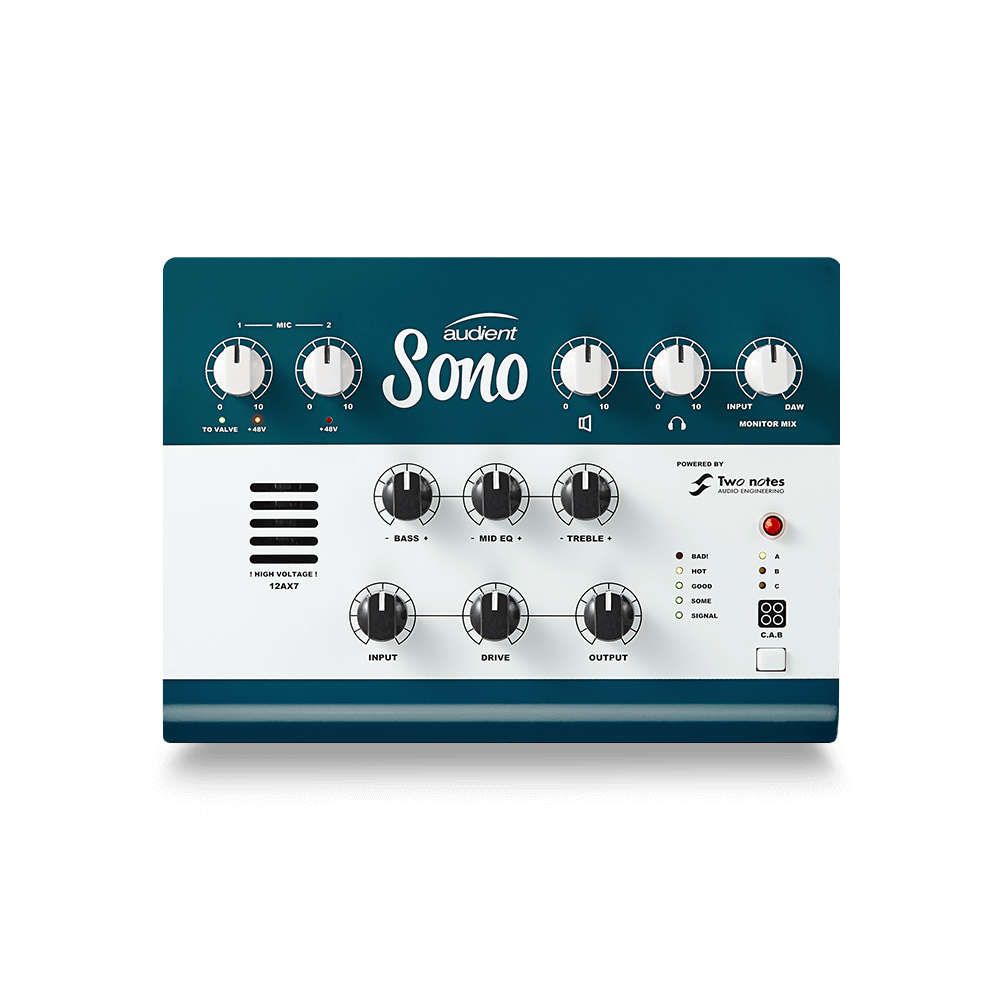
10输入 | 4输出 音频接口
-
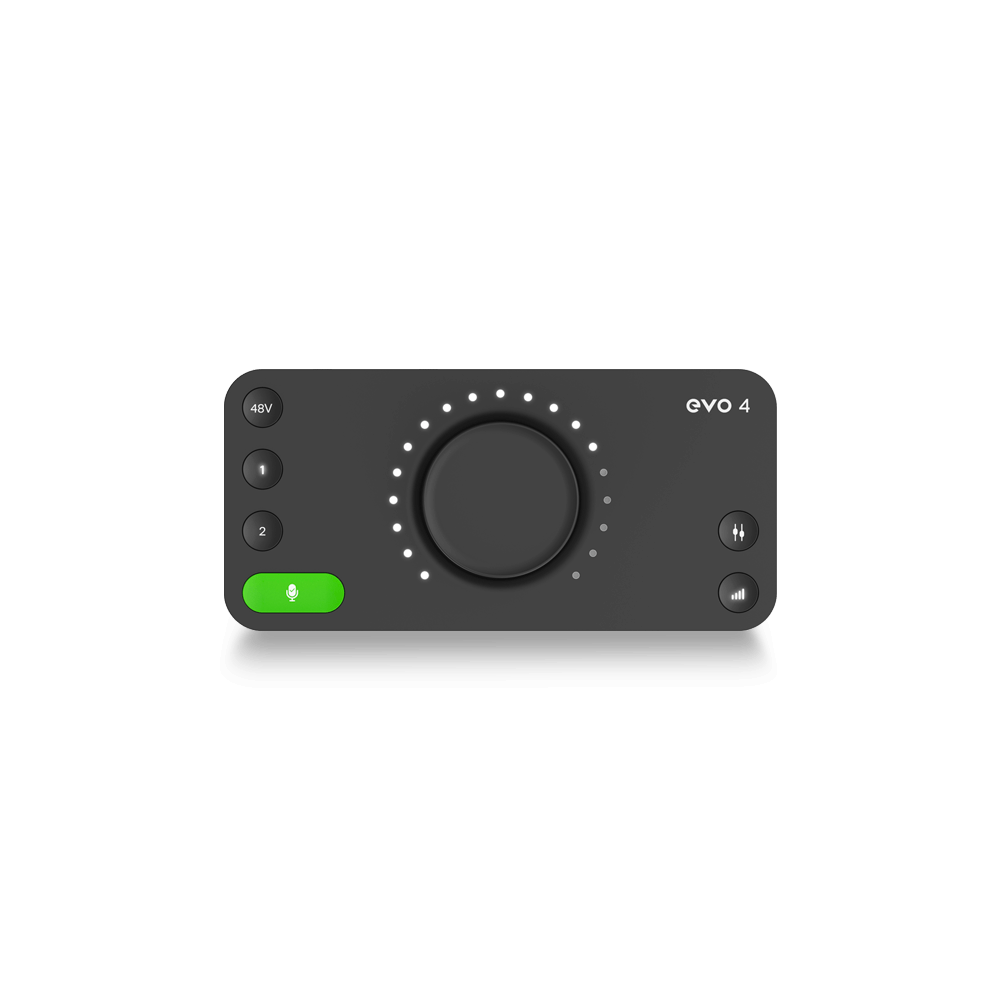
2输入 | 2输出 音频接口
-
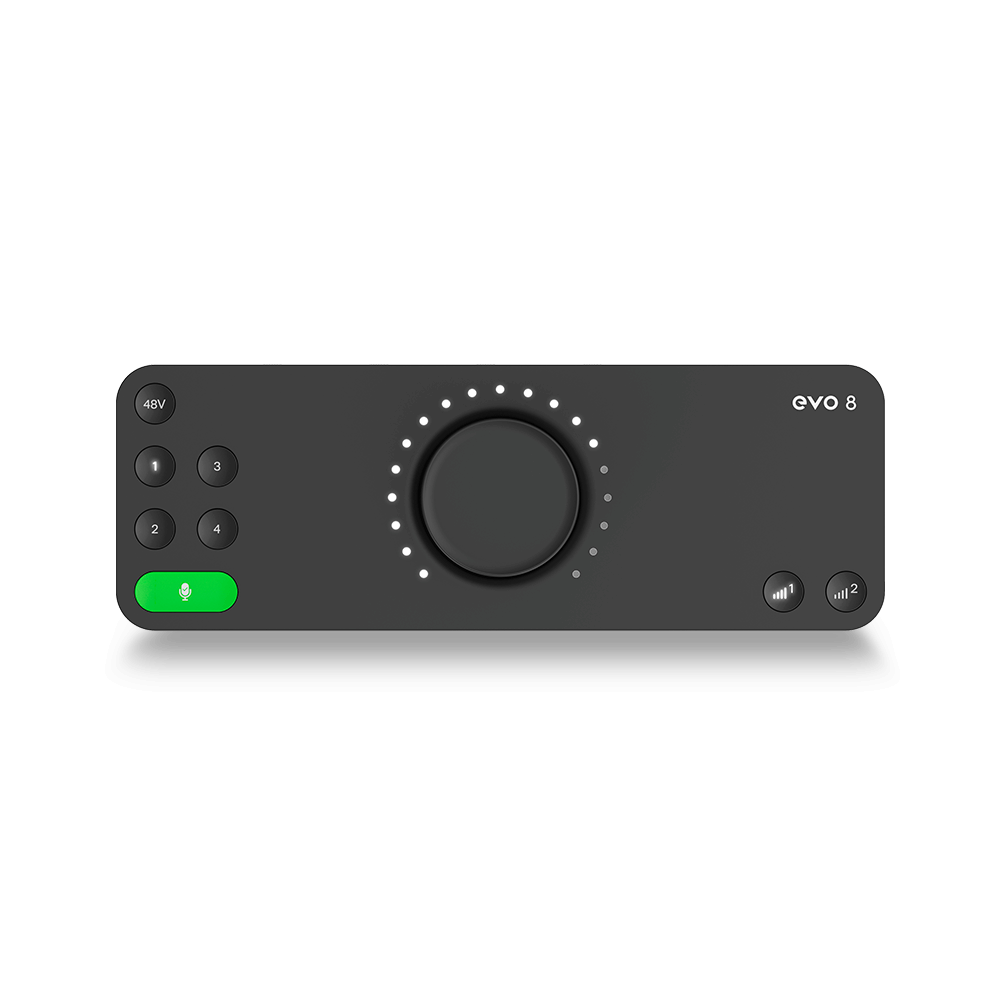
4输入 | 4输出 音频接口
-

24输入 | 24输出 音频接口
-
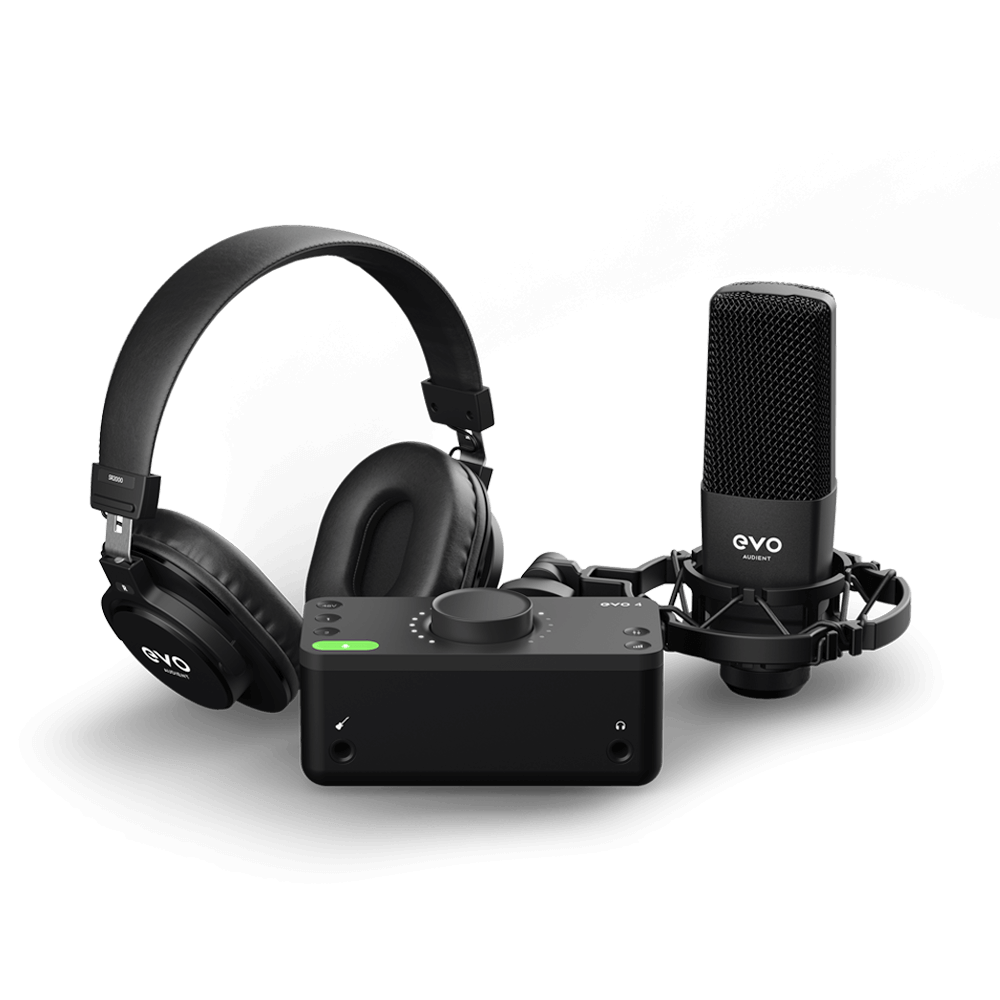
开始录音所需的一切
-
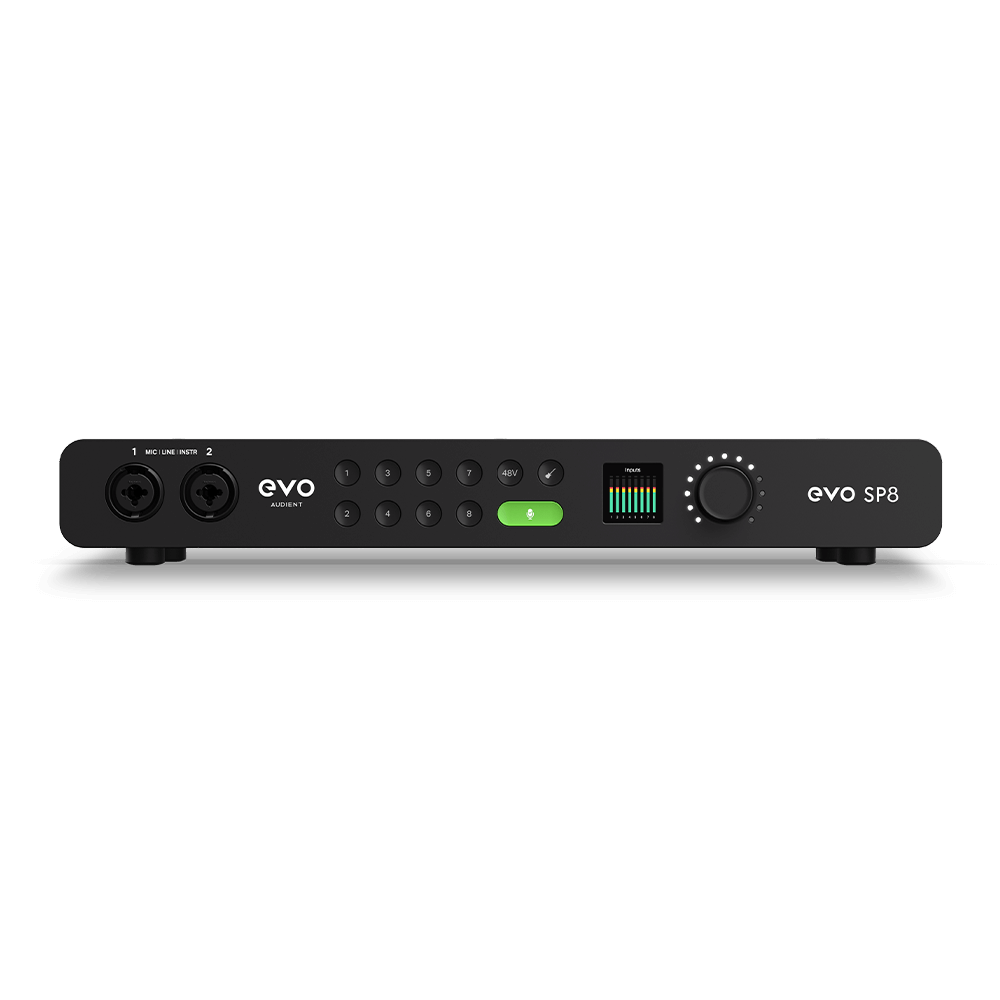
8 通道智能前置放大器带 AD/DA
-
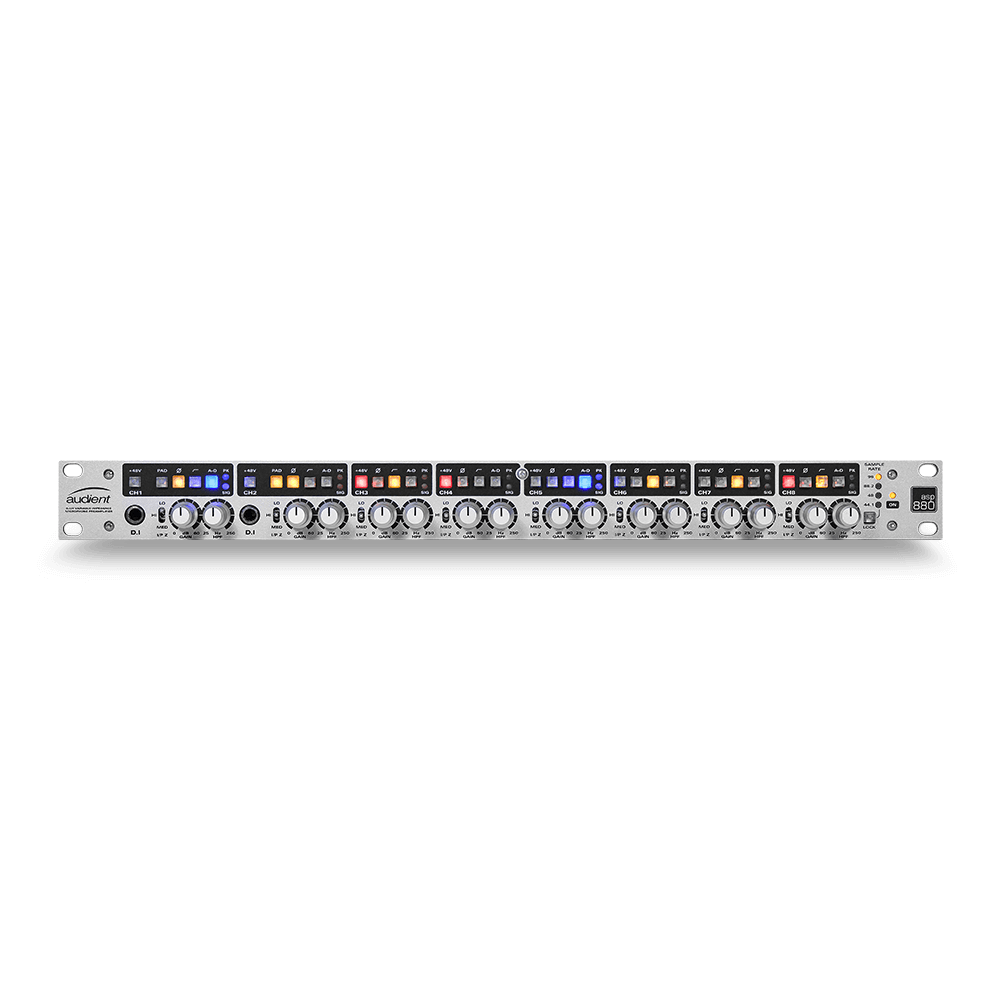
具有ADC的8通道麦克风前置放大器
-
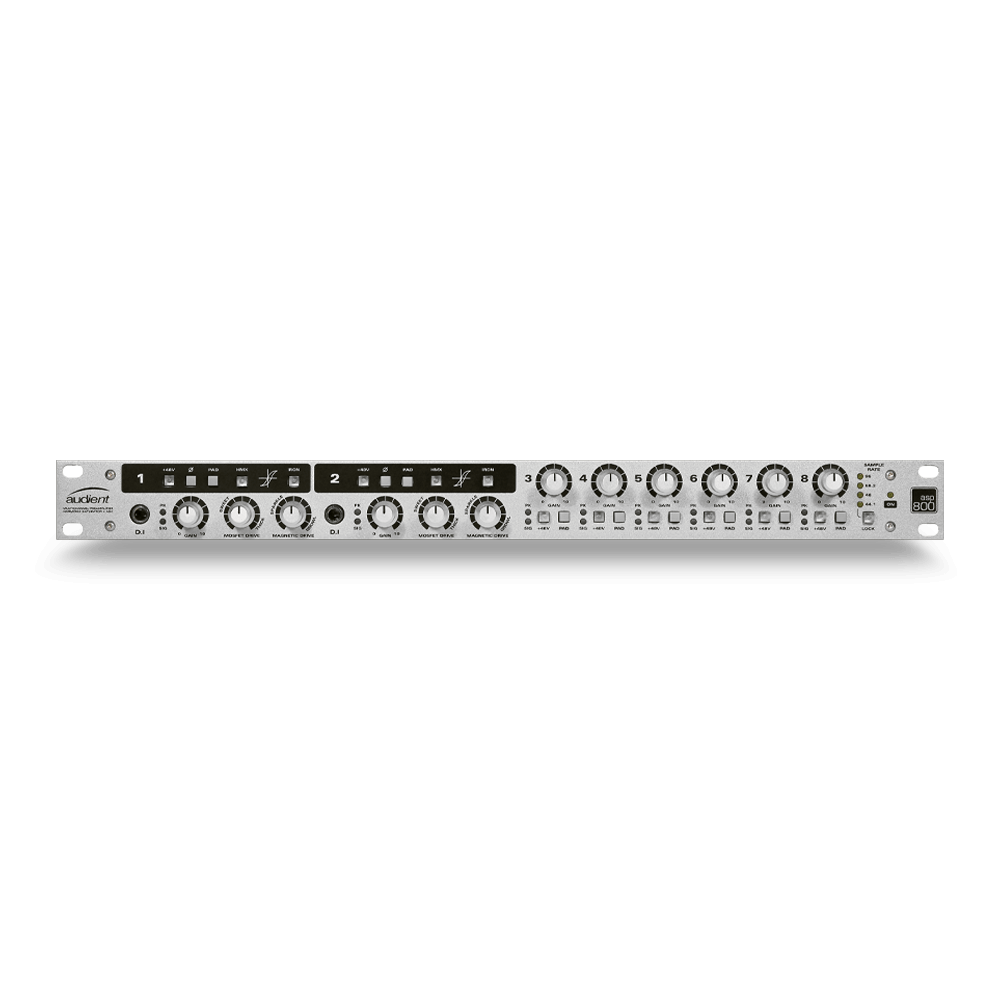
具有 HMX 和 IRON 的 8 通道麦克风前置放大器
-
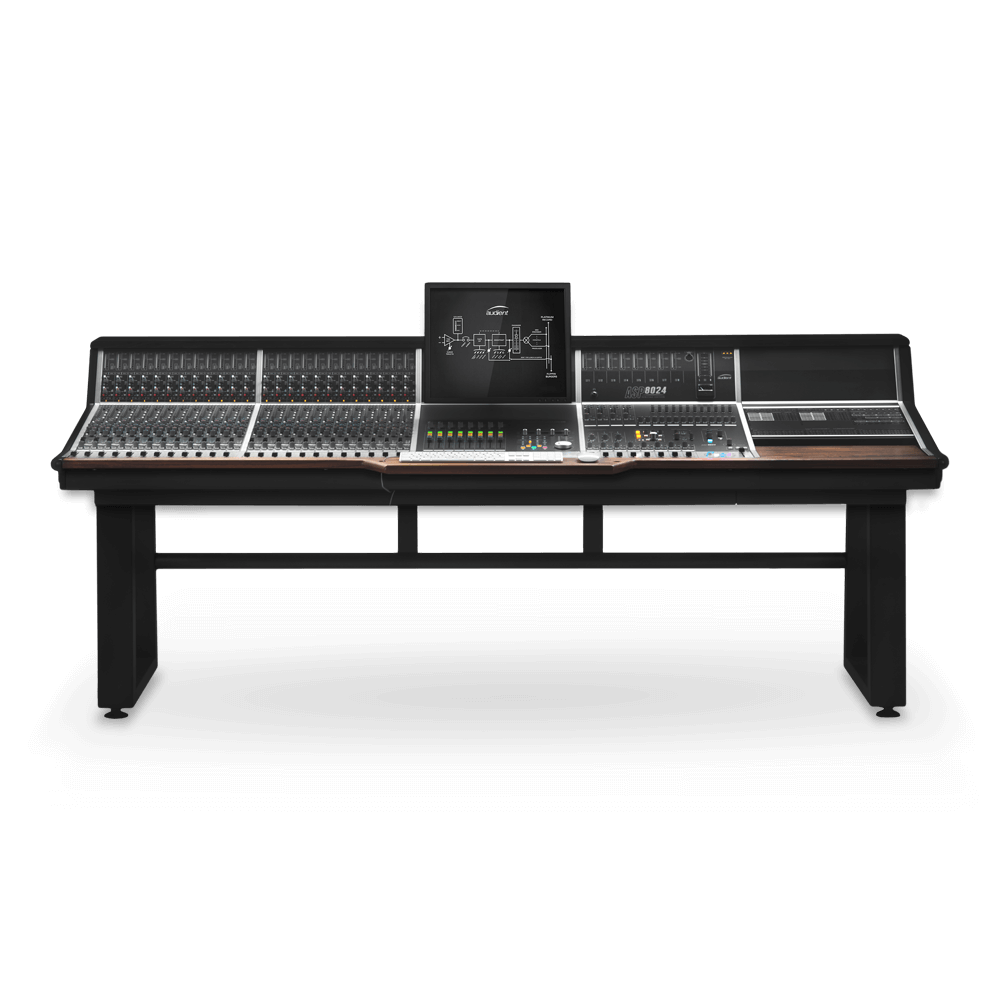
大型录音控制台
-
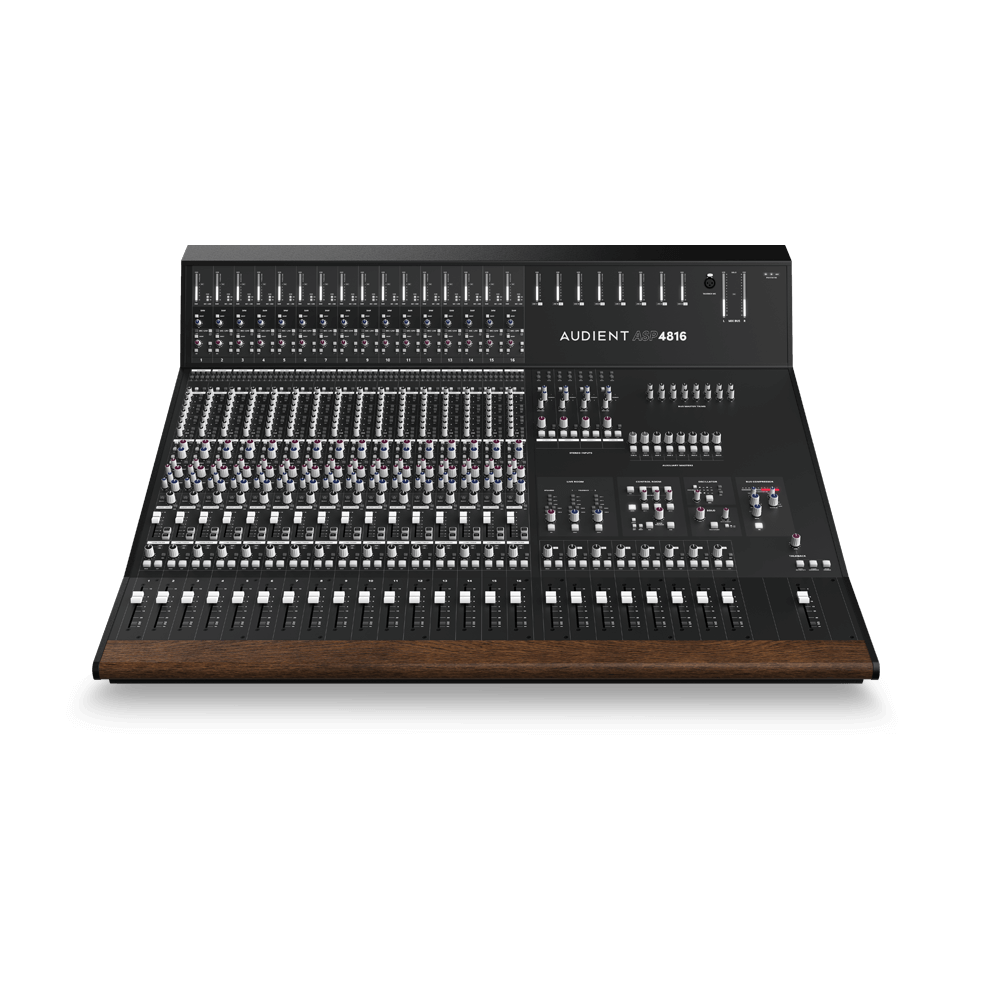
小型模拟录音控制台
-
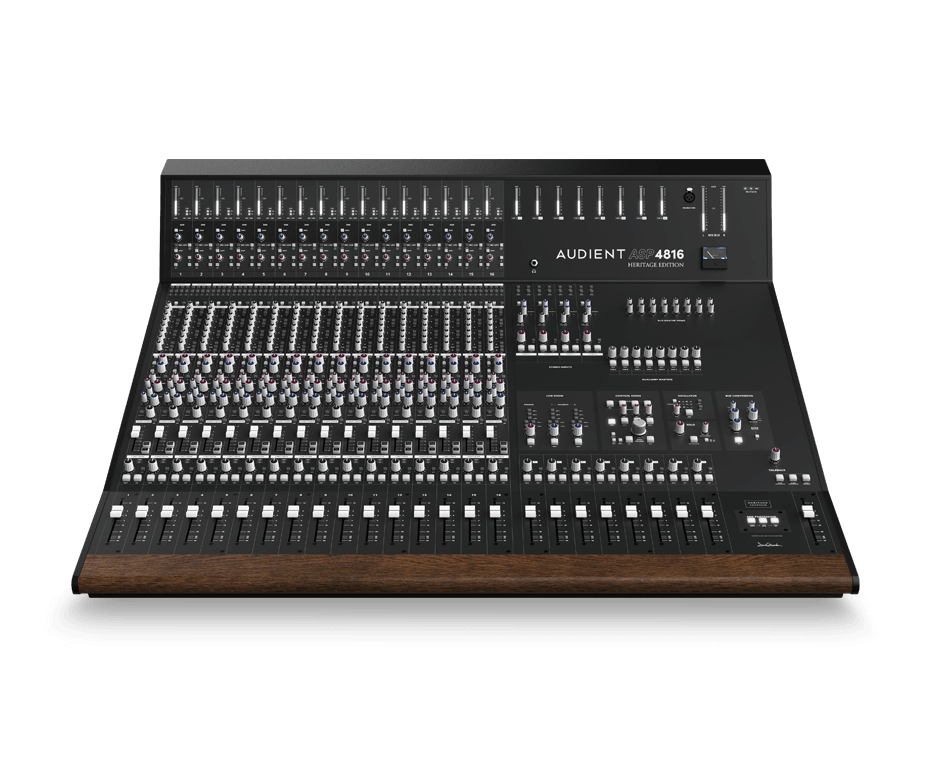
小型模拟录音控制台
-
沉浸式音频接口与监听控制器
-
桌面监听控制器
-
环绕声控制器
