Know your analogue distortion types
As with any complex signal processing type, in order to use distortion effectively, you need to be fully au fait with all the variants on it at your disposal, since each one has its own sonic flavour and nuances. If subtle enhancement of a vocal in the mix is your goal, for example, try a bit of tape or valve saturation; and if you’re looking to make a guitar or synth really scream, reach for an overdrive or fuzz effect. All of these and more are available in plugin form (and undoubtedly included in your DAW’s onboard effects library), but if you can get your hands on a real guitar pedal, tape deck or valve amplifier, the physicality such hardware brings to your workflow can be inspirational.

For the complete low-down on all the main distortion styles, see our Beginner’s Guide.
Don’t forget digital distortion
While the various analogue distortion types are the ones you’re likely to call on most often, their digital counterparts offer an even edgier character that’s particularly effective on drums, basses and synths. There are several kinds of incidental digital distortion that arise as a consequence of analogue-to-digital/digital-to-analogue conversion, but the two creative applications of the technology are bitcrushing and downsampling, both of which can, again, be found in your DAW’s stock plugins list. These reduce the bit depth and sample rate, respectively, of a digital audio stream (ie, a sample or recording in your DAW), and once these vital parameters fall below the ‘CD quality’ standard of 16-bit/44.1kHz, you’re heading into increasingly destructive territory, from crispy texturising, through retro games console emulation, all the way to ‘broken converter’ decimation.
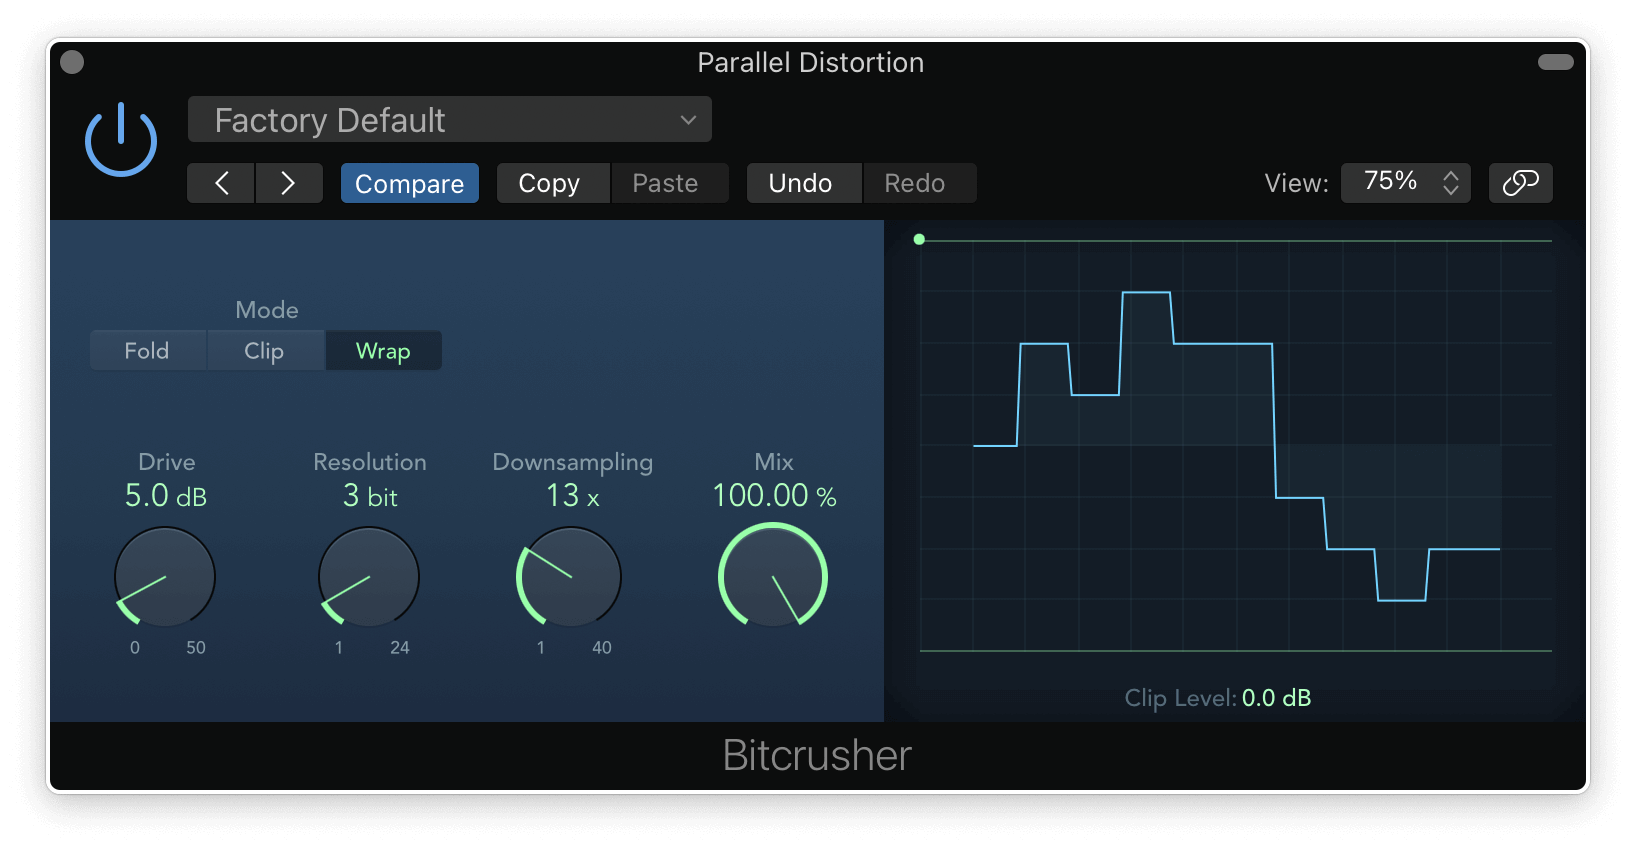
Handle with care, clearly, but don’t be shy with it when ear-catching distortion is the order of the day.
Don’t overdo it – or maybe do!
As well as understanding how each type of distortion works and sounds, it’s also essential to develop an appreciation of what constitutes ‘too much’ or ‘too little’ in any given mixing situation, so that you can confidently exercise taste and judgment in your deployment of this potentially havoc-wreaking effect.
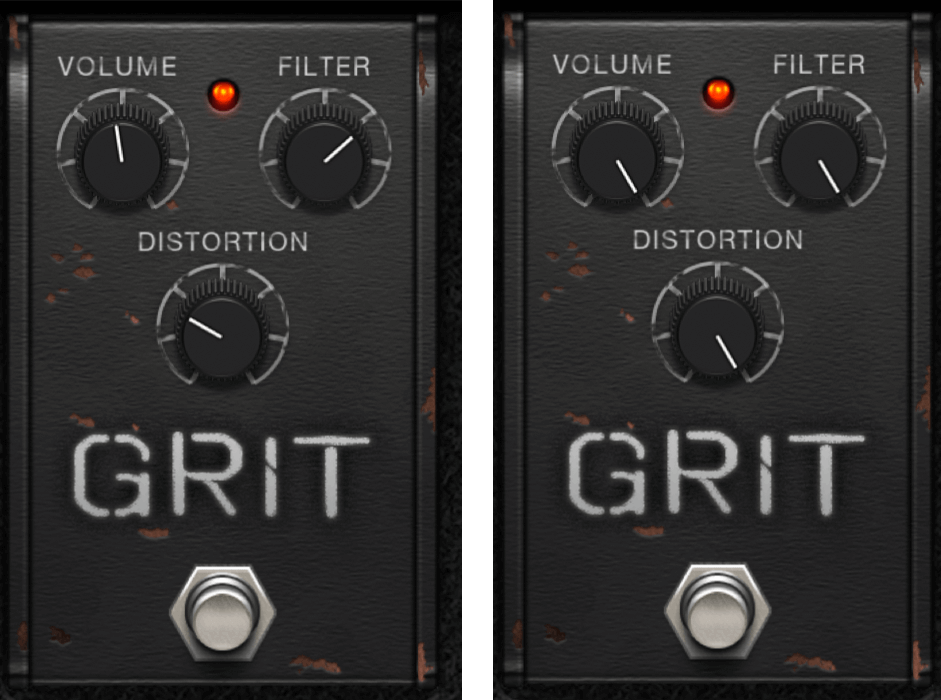
It’s all too easy to overcook distortion, which can actually reduce the impact of attack-heavy sounds (ie, drums and basses), or under-apply it for fear of damaging a musical part that could in fact benefit from a bit more saturation when heard in the mix. Finding those balances is something that comes largely with experience, but once you know how to ‘correctly’ toughen up a bassline or add presence to a vocal with just the right amount of frequency-targeted multiband saturation, say, your mixes will sound better than ever.
Find the sweet spot with parallel distortion
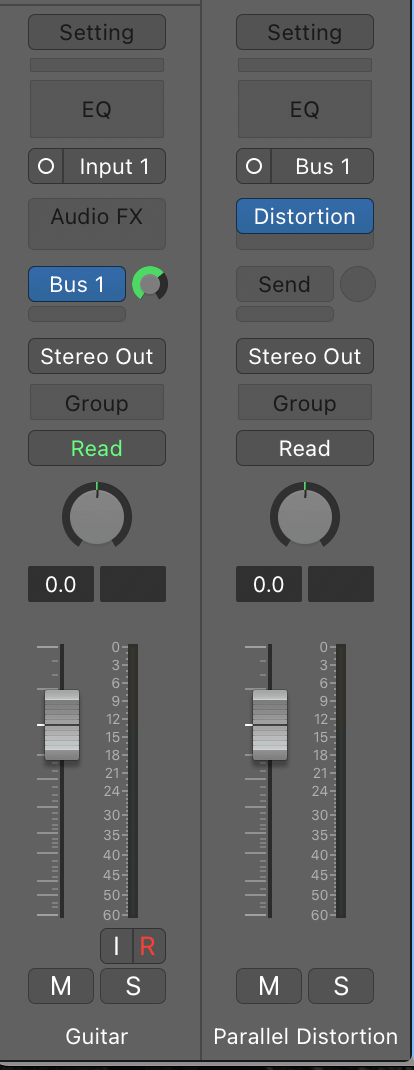
Parallel processing is commonly associated with compression, but it’s also a very powerful technique when it comes to distortion, where the ability to freely adjust the mix between dry input signal and distorted output greatly increases the amount of control you have over the end result. While the distortion ‘Amount’ control increasingly transforms the input signal as it’s raised, consequently altering its dynamics and frequency spectrum, tweaking the Dry/Wet Mix knob on your distortion effect, or – if your plugin doesn’t feature said control – running it on an auxiliary bus with the source signal routed to it via a send, blends the completely unprocessed input signal with the fully processed output, thereby distorting the sound while retaining the dynamics and frequencies of the original, to whatever extent you choose. This is very helpful when using distortion on vocals and other ‘sensitive’ sources.
Roughen up send effects with distortion
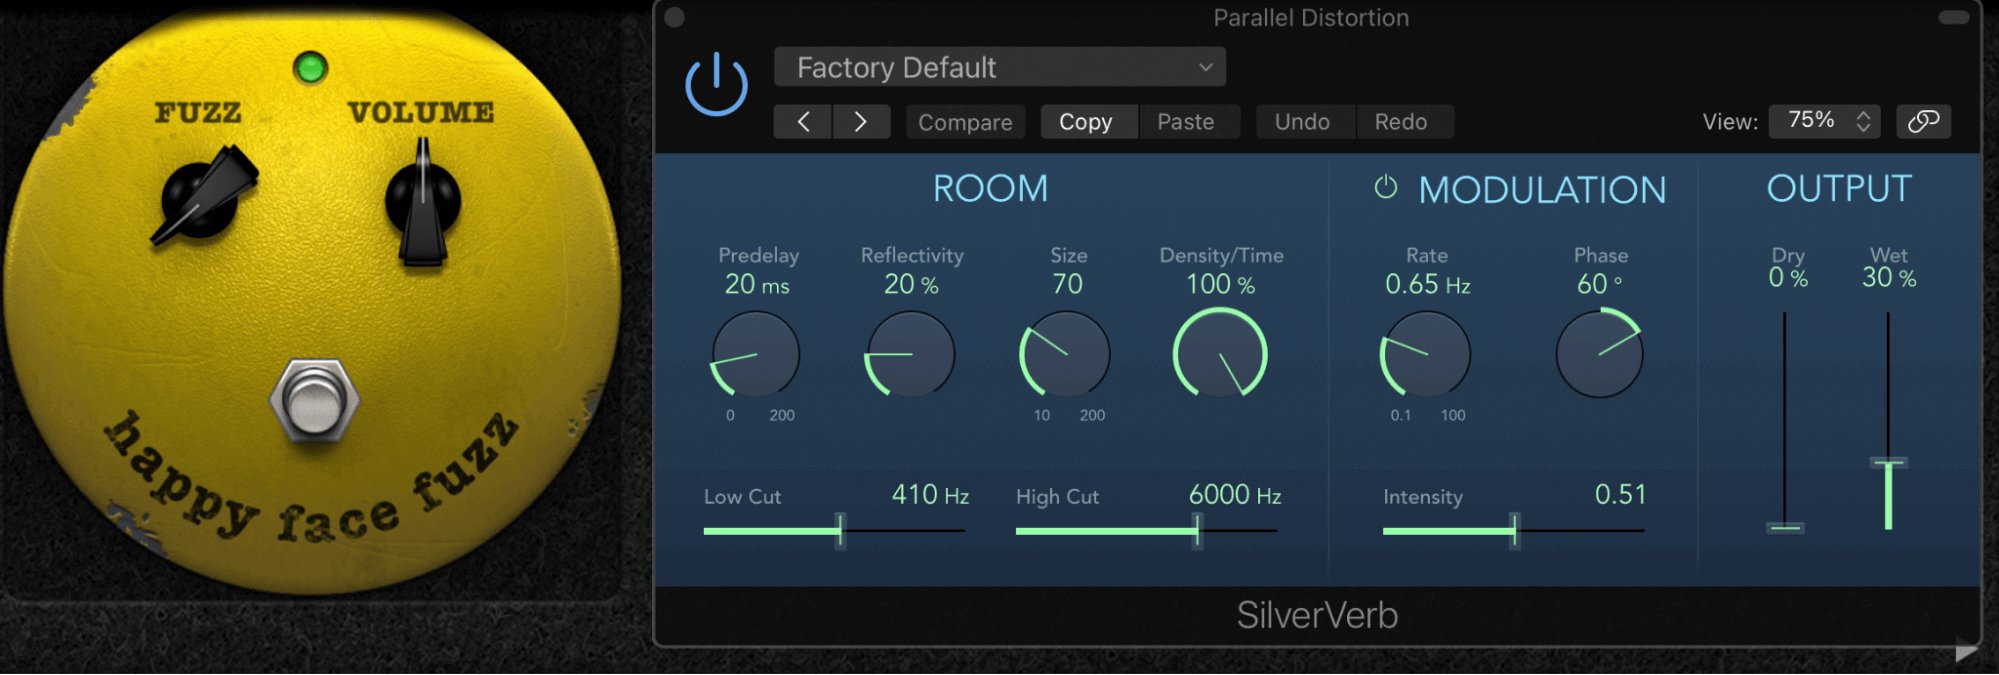
Once you start getting into the nitty – ahem – gritty of distortion, it soon becomes apparent that there are few signals that can’t be improved with at least a touch of saturation, and that absolutely includes the output of reverb, delay, chorus and other auxiliary send effects. Once again, we’re not suggesting that you should blunder in with the fruitiest waveshaper in your arsenal and smash your carefully dialled-in hall reverb to smithereens – although that’s always an option, of course, should the project at hand support that kind of behaviour – but rather that a little bit of analogue distortion on a reverb tail can brighten it up nicely, giving it more prominence in the mix without making it louder. Other examples might include gentle bitcrushing on a vocal delay return, lightly tape-saturating a chorus return on a bass guitar or synth, and overdriving a flanger or phaser return on a lead guitar.
Get your distortion moving
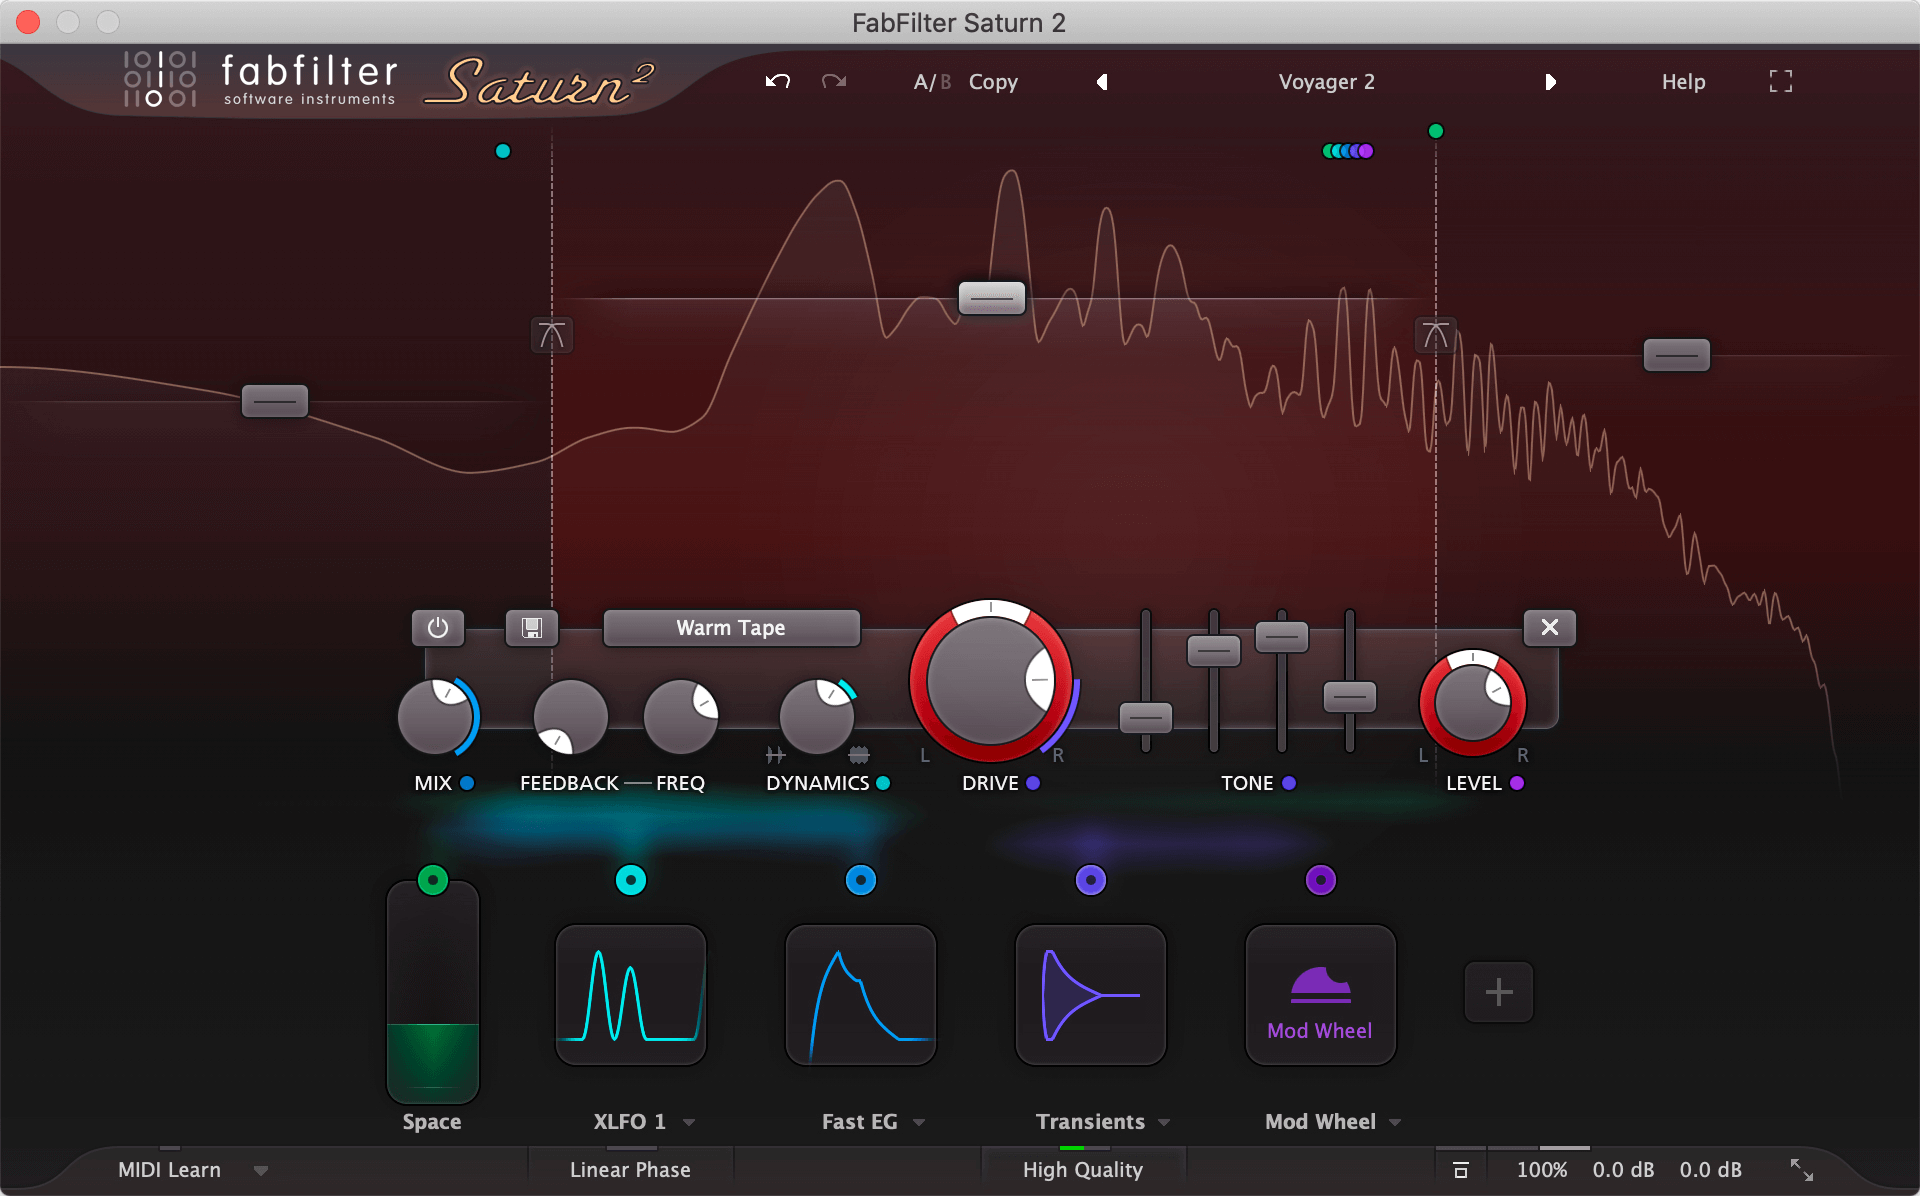
Distortion is a dynamically active effect, with the amount of it brought to bear dependent on the volume level of the input signal, and accordingly, many distortion plugins and pedals feature envelope controls for tweaking the temporal curvature of that response. However, things get really interesting when you make the distortion effect on one track respond to the dynamic profile of another, or even arbitrarily program the shape of the distortion amount over time to your own precise specification. The first can be done using any sidechain-equipped distortion plugin – simply route your track of choice into the sidechain input to have it modulate the distortion amount – while for totally user-defined rhythmic shaping, seek out a plugin with an extensive onboard modulation system, such as FabFilter Saturn, Cableguys ShaperBox or Output Thermal. These enable you to draw your own elaborate LFO waveforms in exquisite detail, and assign them to various parameters, including distortion amount, frequency band splits, bit depth and sample rate, filters and more – the ultimate in creative distortion design!
Our Products
-

2输入 | 2输出 音频接口
-

10输入 | 6输出 音频接口
-
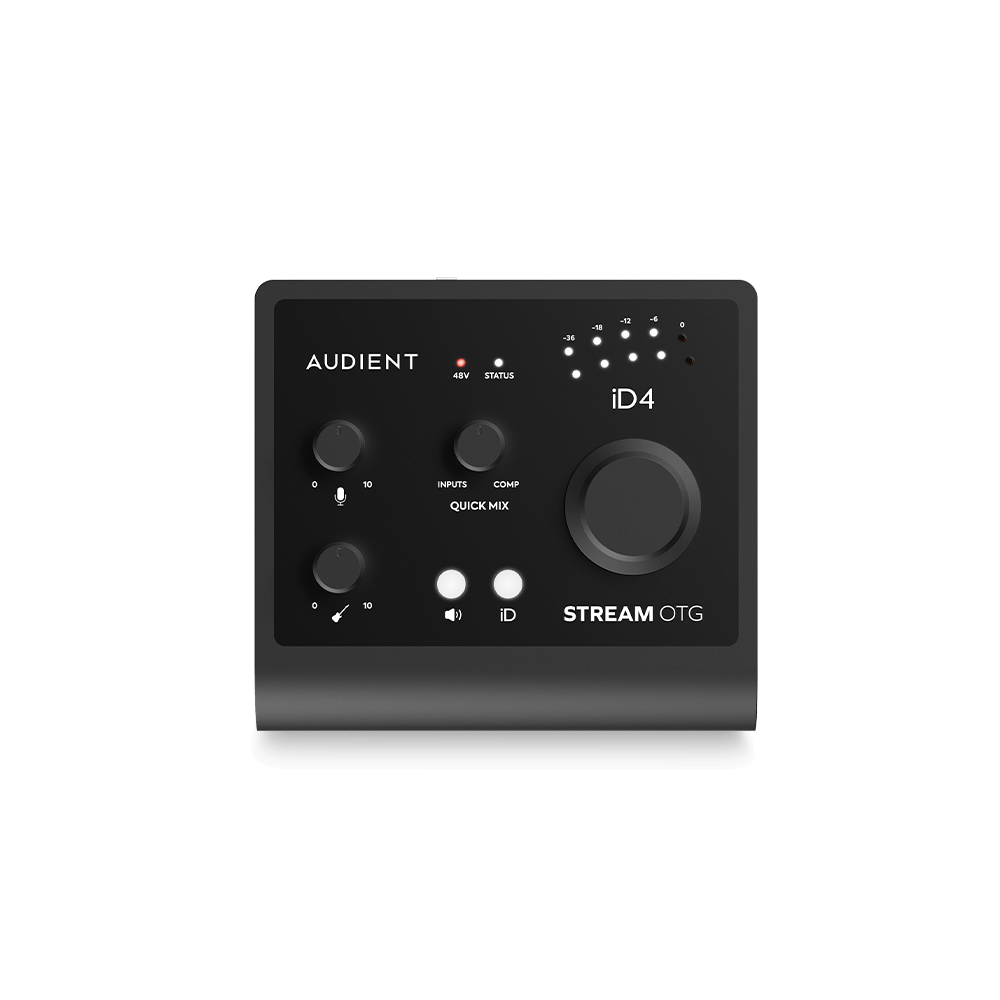
6输入 | 4输出 音频接口
-
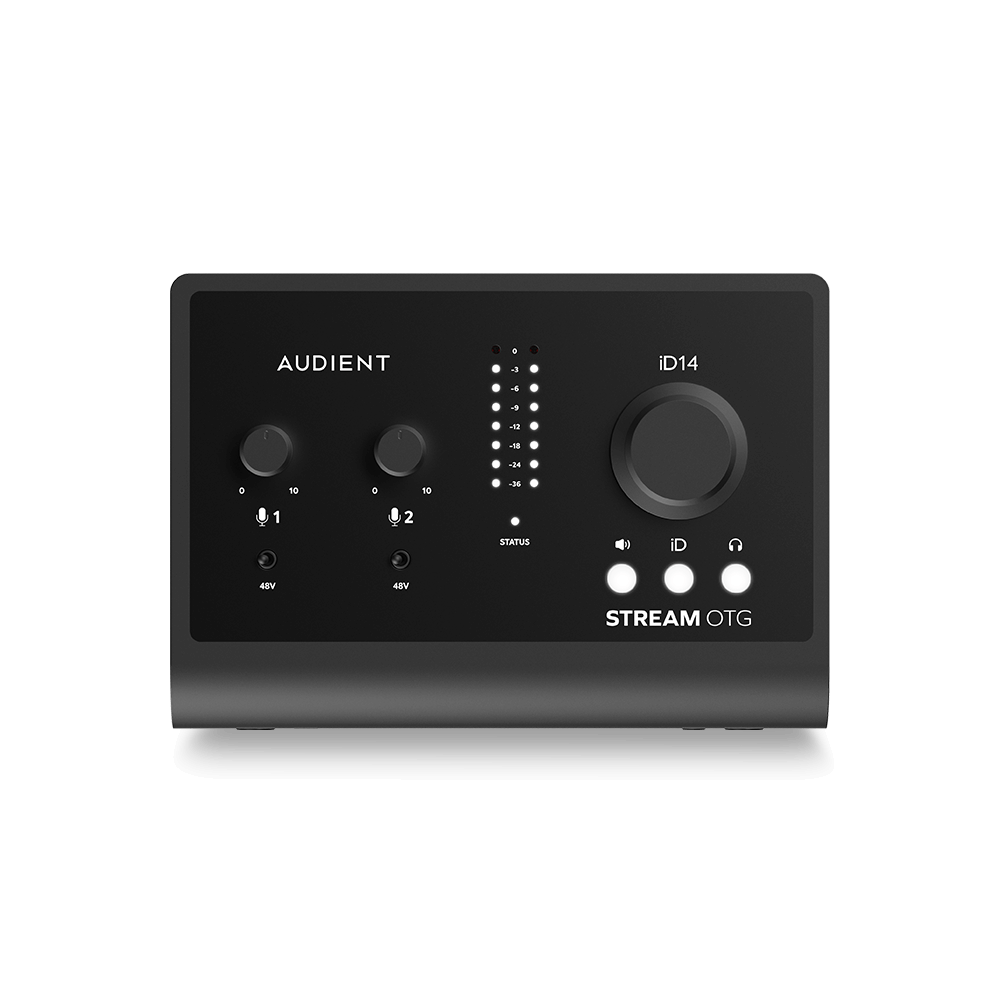
14输入 | 8输出 音频接口
-

10输入 | 14输出 音频接口
-

20输入 | 24输出 音频接口
-

24输入 | 32输出 音频接口
-
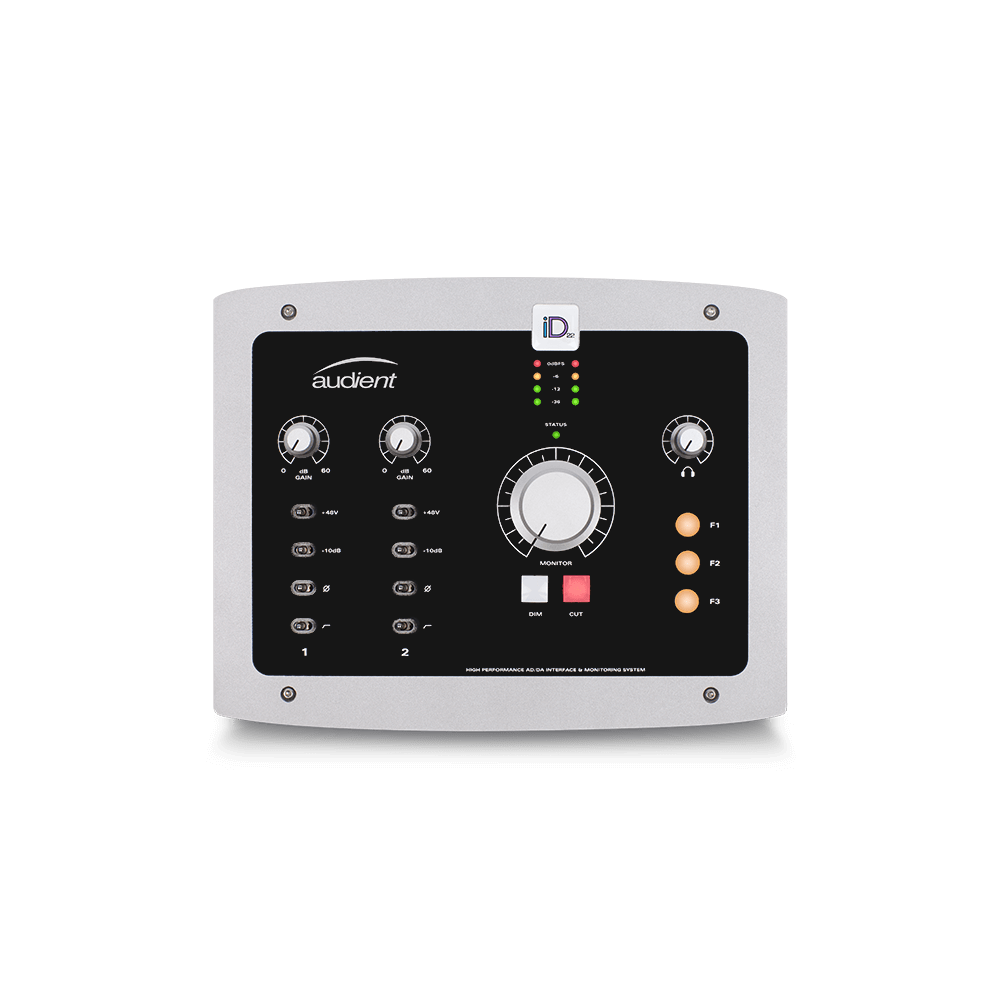
10输入 | 14输出 音频接口
-
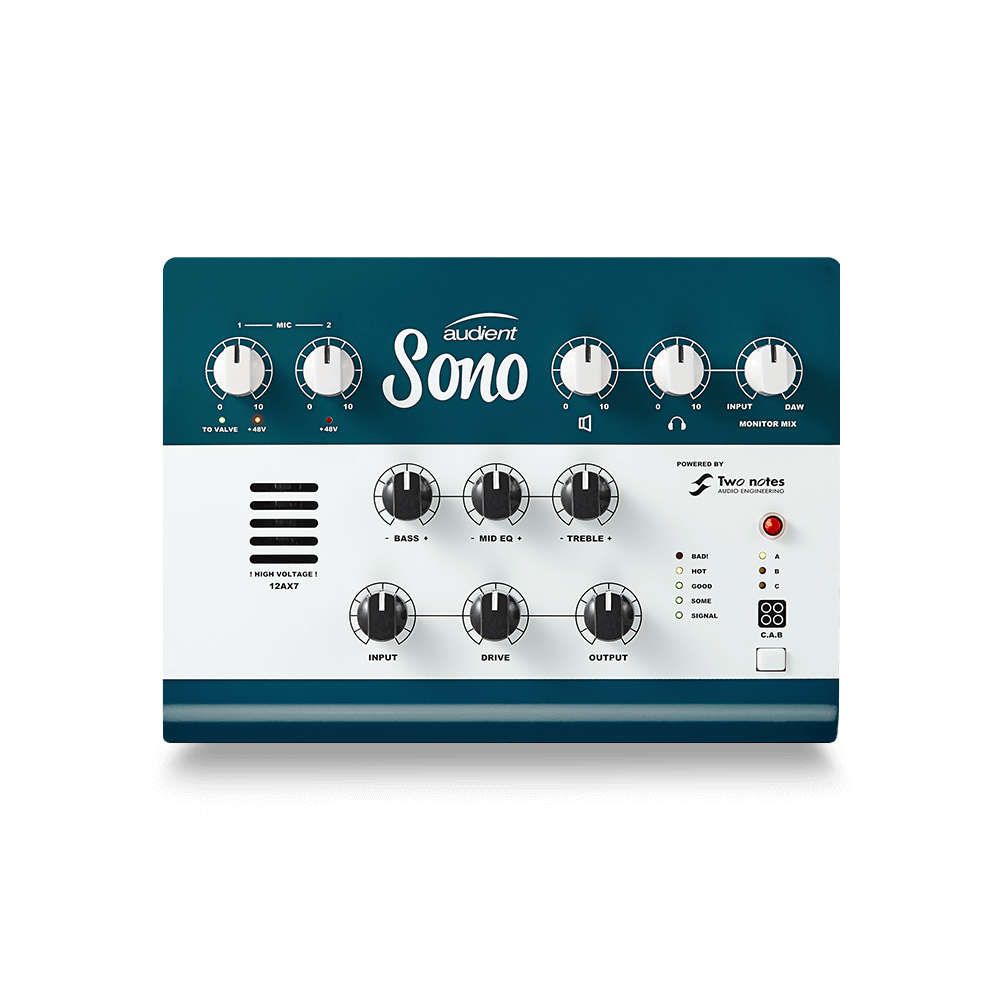
10输入 | 4输出 音频接口
-

2输入 | 2输出 音频接口
-

4输入 | 4输出 音频接口
-

24输入 | 24输出 音频接口
-

开始录音所需的一切
-

8 通道智能前置放大器带 AD/DA
-

具有ADC的8通道麦克风前置放大器
-

具有 HMX 和 IRON 的 8 通道麦克风前置放大器
-

大型录音控制台
-

小型模拟录音控制台
-
小型模拟录音控制台
-

沉浸式音频接口与监听控制器
-

桌面监听控制器
-
环绕声控制器
