1. Buy a good set – but make sure it’s the right set
Being so fundamental to the overall mixing process, your monitors are the one element of your setup that you really can’t afford to compromise on. Make no mistake about it, your ‘tuned-to-flatter’ hi-fi speakers simply aren’t going to cut it, so you do need to fork out a bit of money here; but happily, these days every major speaker manufacturer has at least one ‘budget’ range that will more than suffice for the average home studio. Spend some time investigating the likes of Adam, Genelec, HEDD, KRK, Yamaha, M-Audio and IK Multimedia, all of which have wallet-friendly speakers in their catalogues, offering extraordinary bang for your buck.
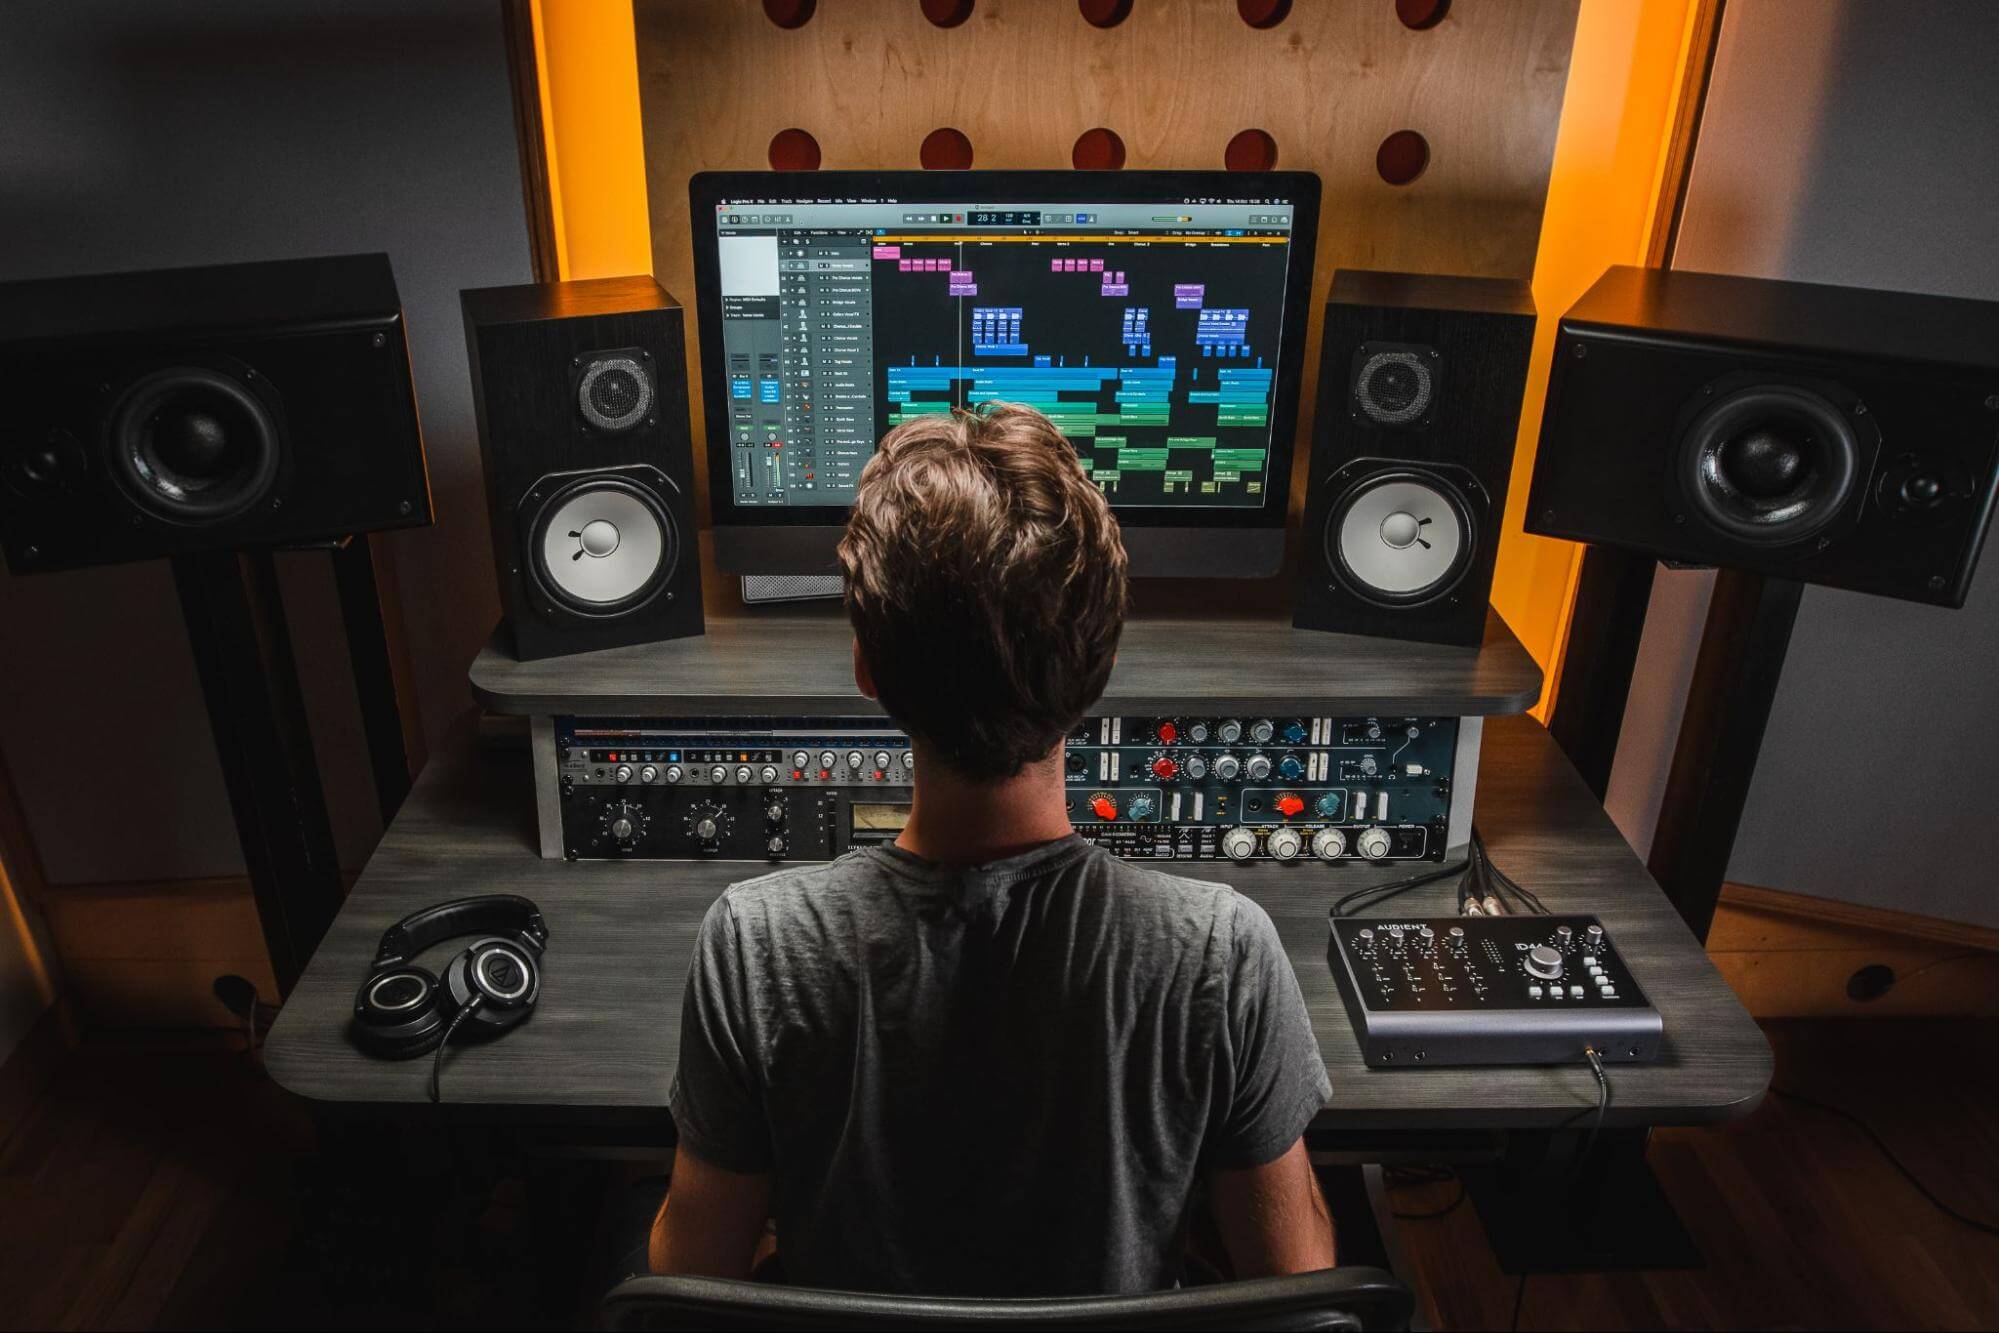
As well as their quality, the other consideration in choosing a set of monitors is their size, as you don’t want to waste money on a larger, pricier set that’s actually too big for your studio. For the average home studio, occupying a bedroom-sized space, nearfields are the way to go; while those lucky enough to be working in a bigger room, where they can maintain a distance of least four or five feet from the speakers, could step up to bigger midfields. Oh, and don’t forget to factor in the price of a good pair of cables, too, for connecting them to your audio interface, as well as stands with which to get them at the correct height – which brings us on to…
2. Position them correctly
Studio monitors are designed, by and large, to fully manifest their intended sound and frequency response only at a particular listening position ‘sweet spot’: one apex of an equilateral triangle, with the speakers at the other two. Your monitors should be orientated as suggested by the manufacturer (with nearfields, invariably upright, rather than on their sides) and the tweeters should be at ear level, so you’ll need to take this into account when looking into speaker stands.
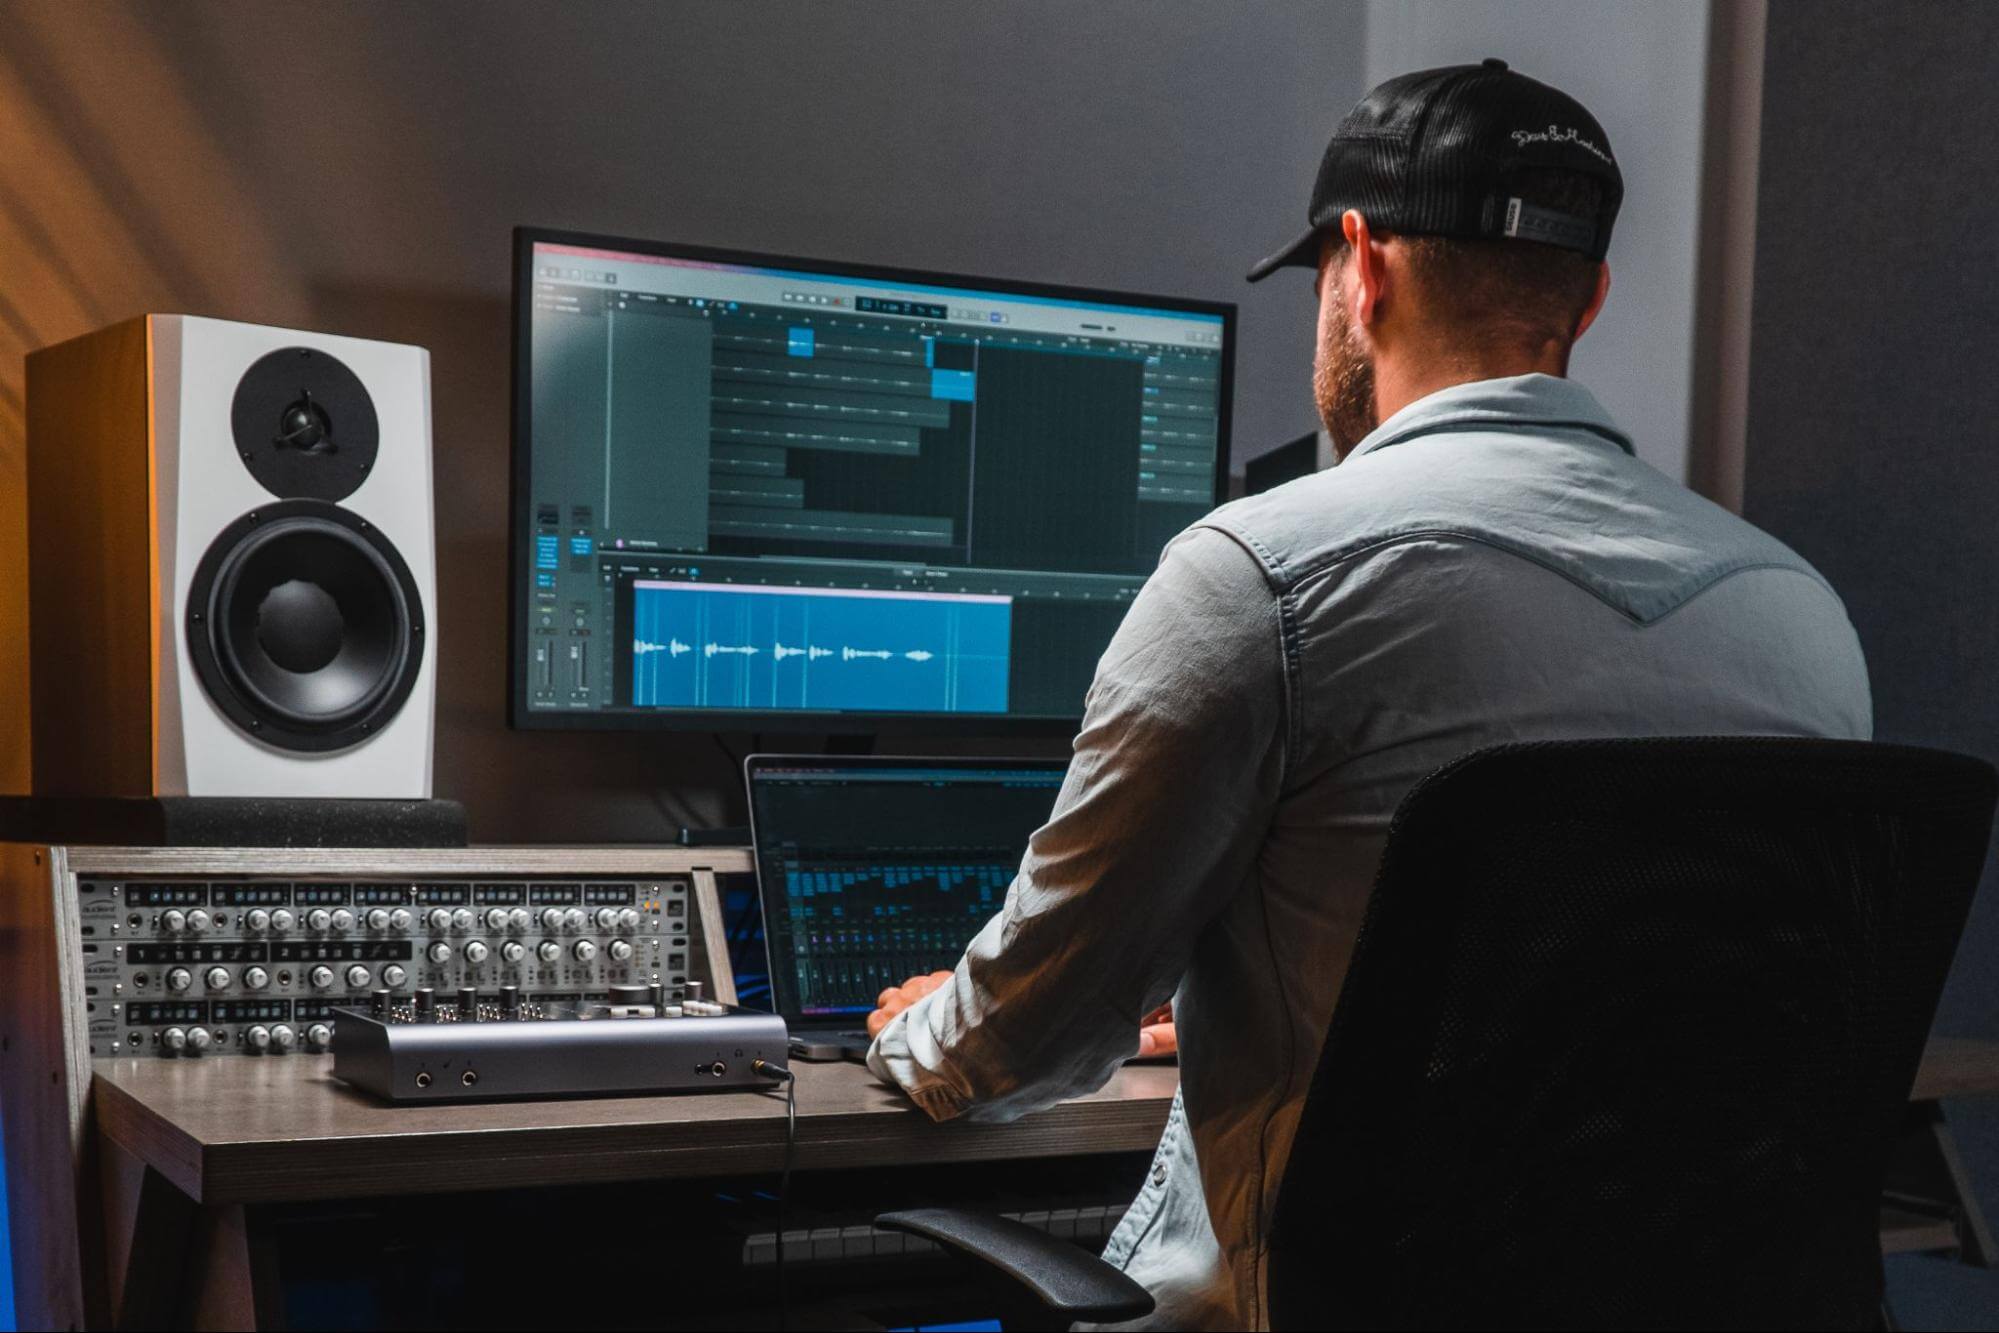
There are all manner of desktop (if your studio desk is wide enough to facilitate the dimensions of the aforementioned triangle) and floor stands (if it isn’t) on the market, and while most of them are much of a muchness, the main things to look out for are isolation mounting systems on desktop stands, and the ability to fill floor stands with sand, both of which reduce potential resonances and the transfer of vibrations into the desk or floor.
3. Optimise the room housing them
The performance of your monitors will be greatly affected by the physical properties of the space in which they’re installed, and while converting your spare room into an acoustically viable mixing environment can quickly get very expensive indeed if you want it to, there’s plenty you can do for little or no outlay to make the most of what you’ve got.
First, getting the speakers positioned correctly in the room is a must for reducing standing waves, which can wreak havoc with the perceived accuracy of any monitors. At the very least, make sure they’re 10-60cm away from the wall behind them; and if you want to really get into the subject of speaker placement, Google “the 38% rule”…
Beyond that, while a few well-placed foam acoustic panels and a bass trap or two can help to damp down reflections without breaking the bank, you can get equally good results by simply establishing as many soft and irregular surfaces around the walls and in the corners as possible. So, don your interior designer hat and see what you can do to deaden the room using sofas, heavy curtains, bookshelves, beanbags and other such domestic staples.
4. Calibrate them
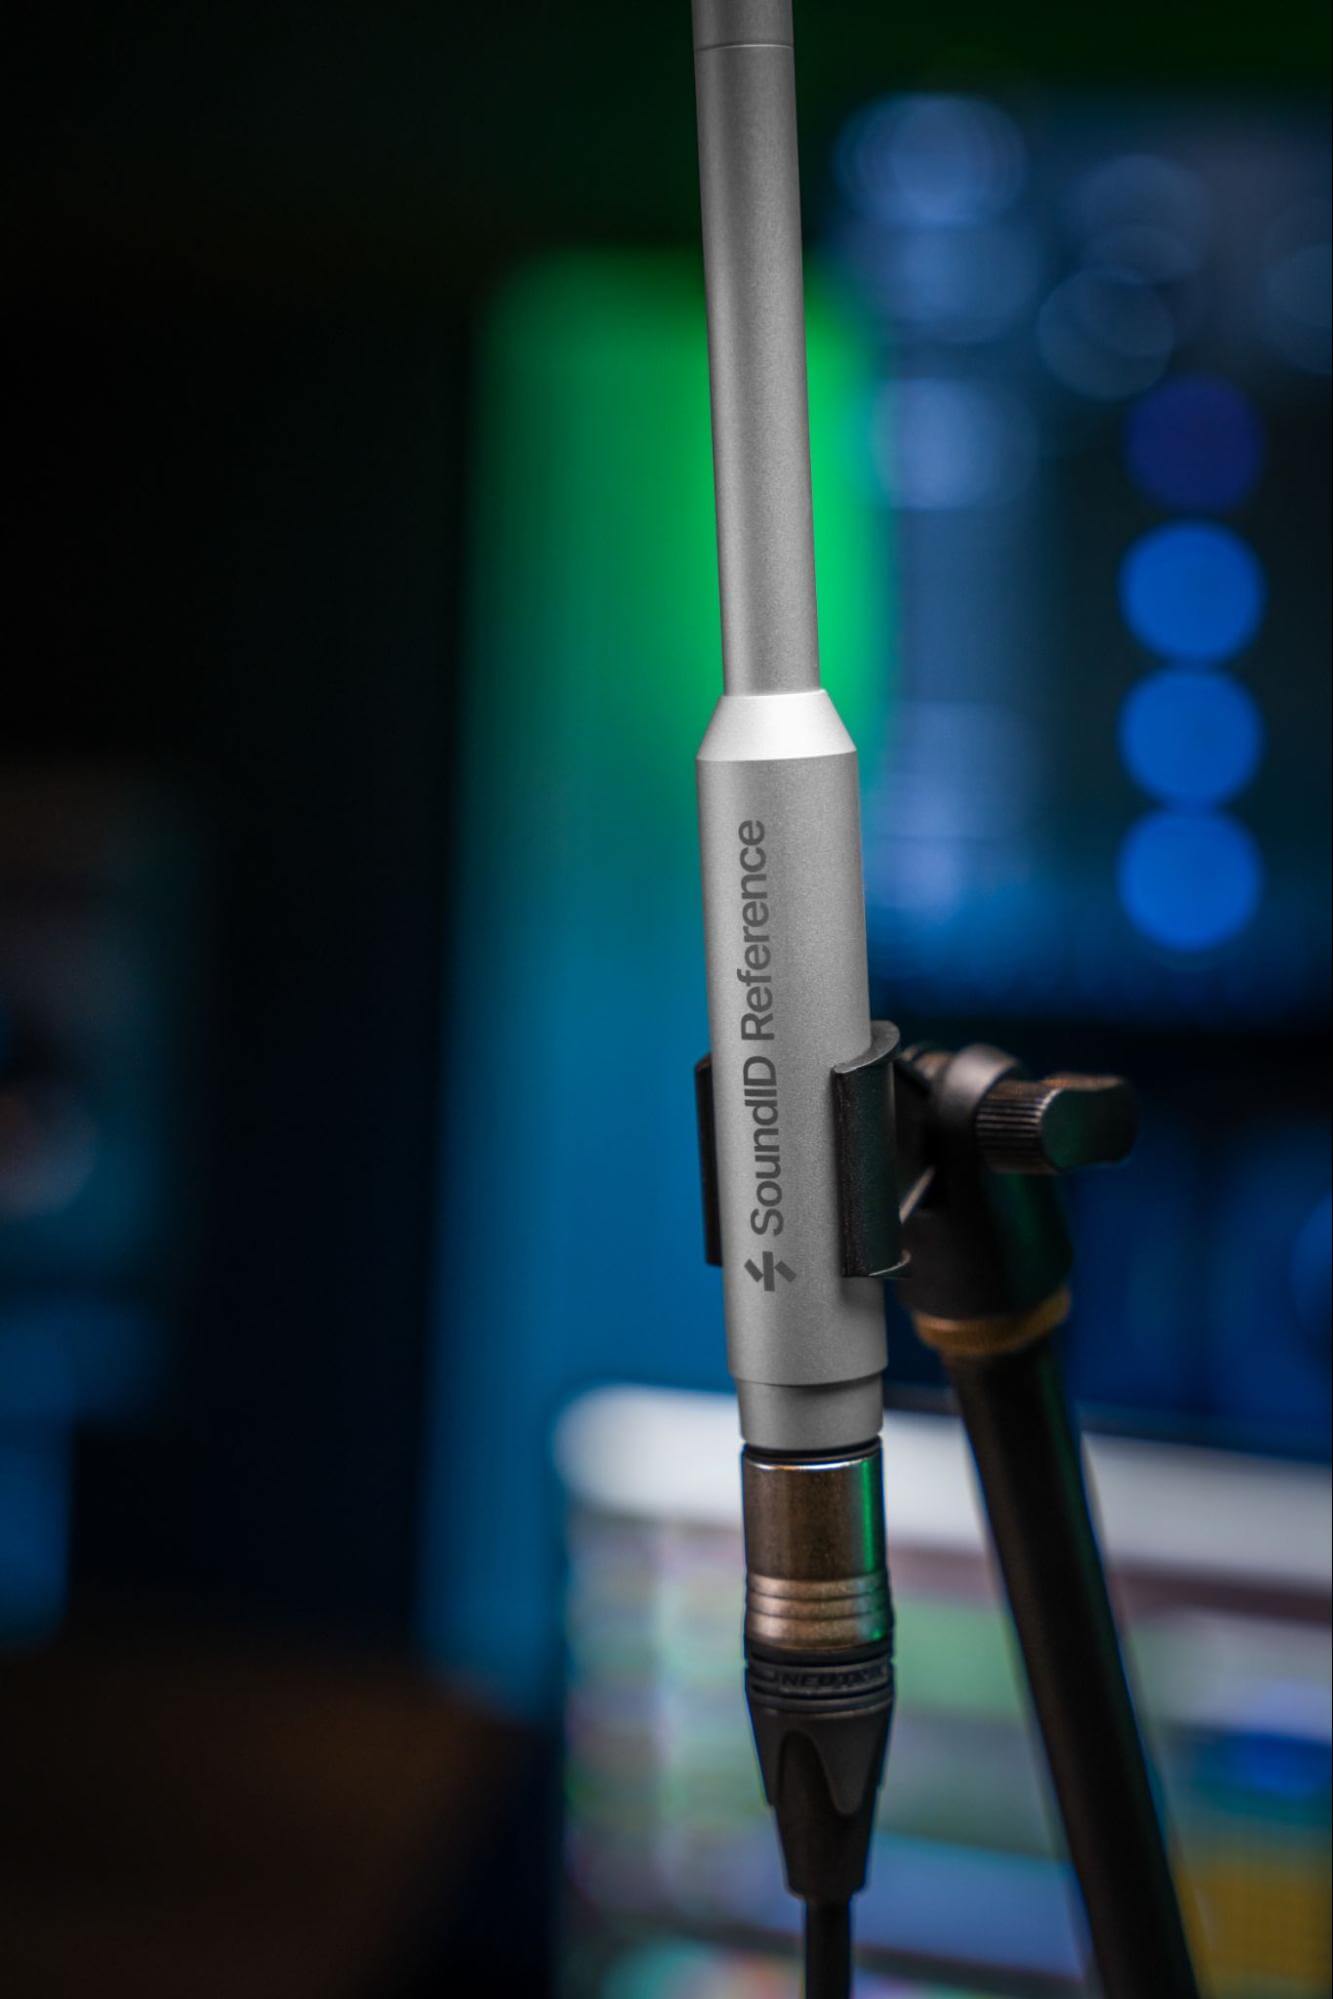
Having acoustically treated your studio space as well as circumstances allow, you can further improve the accuracy of your monitors by calibrating them to compensate for any anomalous frequency boosts or dips imposed by it. Calibration solutions such as Sonarworks SoundID Reference, miniDSP Dirac, and IK Multimedia ARC and ARC Studio capture the frequency response of the room via a measurement microphone, then generate a custom EQ curve to correct for it that’s applied using a plugin on the master output of your DAW, or a dedicated hardware module placed between your audio interface and speakers. And making the process even more convenient, an increasing number of monitors actually include onboard DSP for entirely self-contained calibration, including IK Multimedia’s iLoud MTM and Genelec’s Smart Active Monitors. If your home studio is less than ideal in its sonic presentation, monitor calibration really can make all the difference.
5. Add a subwoofer if you can
While installing a subwoofer is by no means essential for effective mixing, if you’re making dance music or any other sub-bass-heavy style, it should be seriously considered, as you’re just not going to hear or feel those critical super-low frequencies without one. Ideally, your sub will be of the same make as your main monitors, ensuring that they were designed to work together, but don’t worry about that too much; what’s more important is that it’s the right size for the room (12” for the average home studio), and that the onboard crossover (that’s the circuitry that sends everything above the set sub bass frequency to the main speakers) is of high quality, as you’ll be feeding your full monitoring path through it. So, as with your mains, be sure to do lots of research into any potential subwoofer purchase before putting any money down.
Our Products
-

2输入 | 2输出 音频接口
-

10输入 | 6输出 音频接口
-
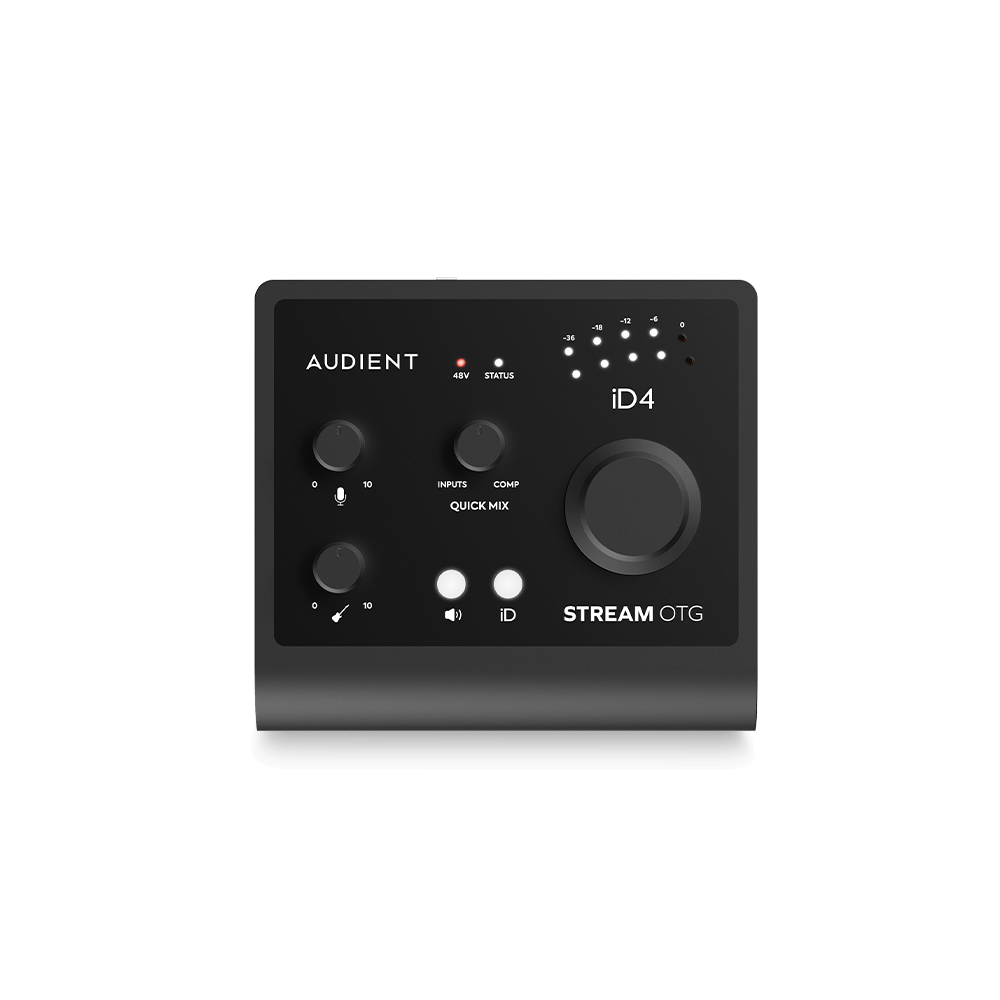
6输入 | 4输出 音频接口
-
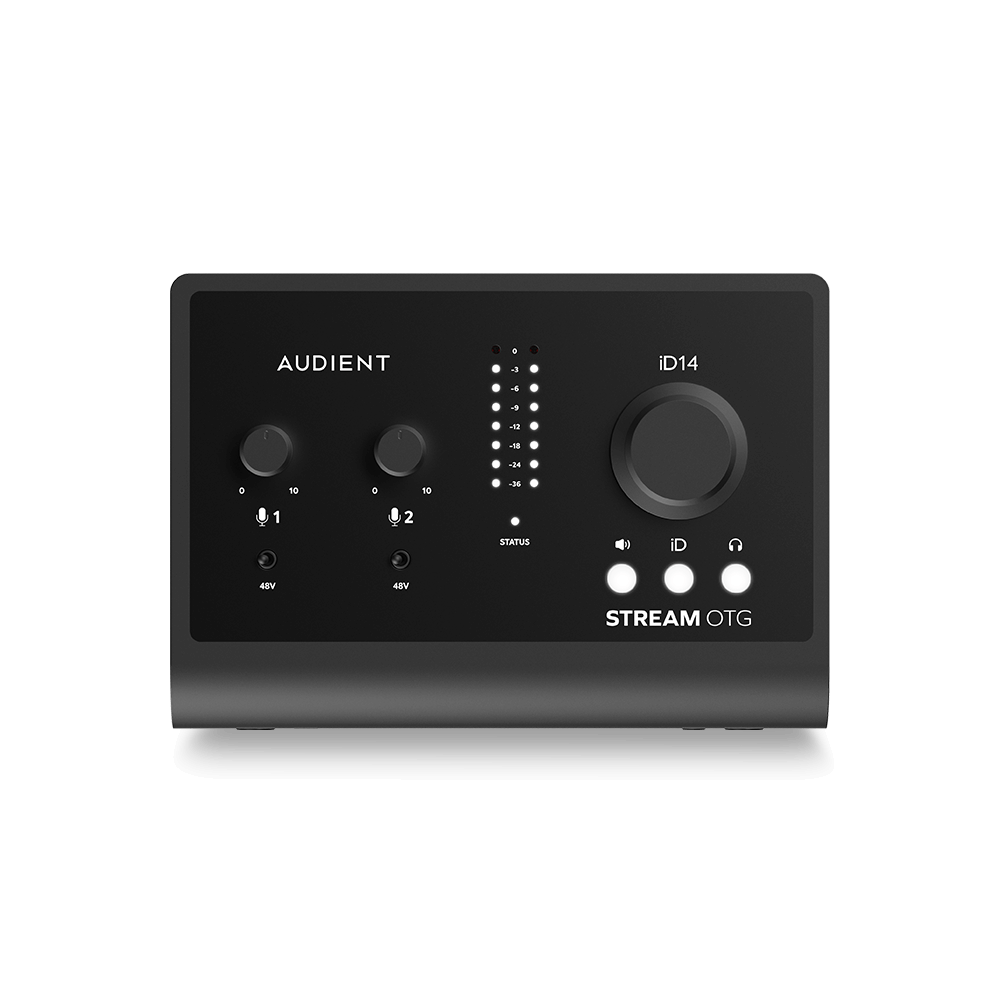
14输入 | 8输出 音频接口
-

10输入 | 14输出 音频接口
-

20输入 | 24输出 音频接口
-

24输入 | 32输出 音频接口
-
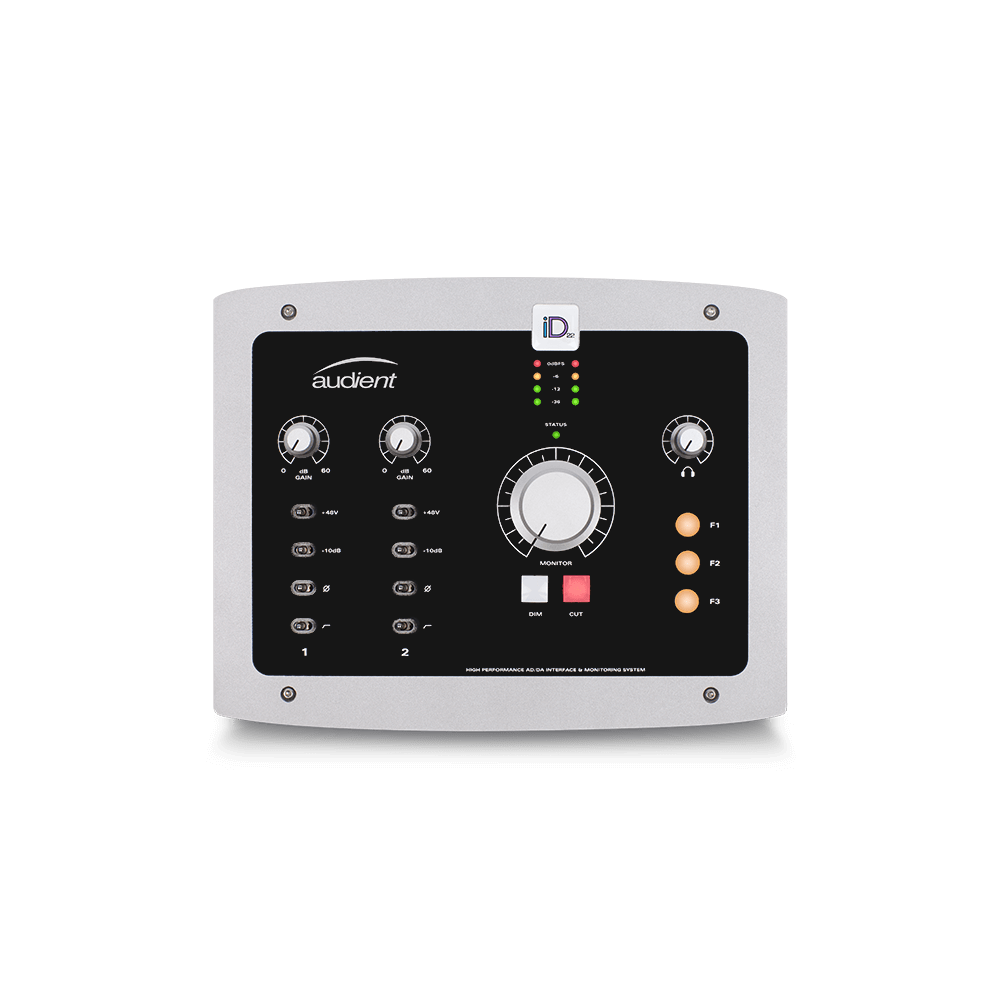
10输入 | 14输出 音频接口
-
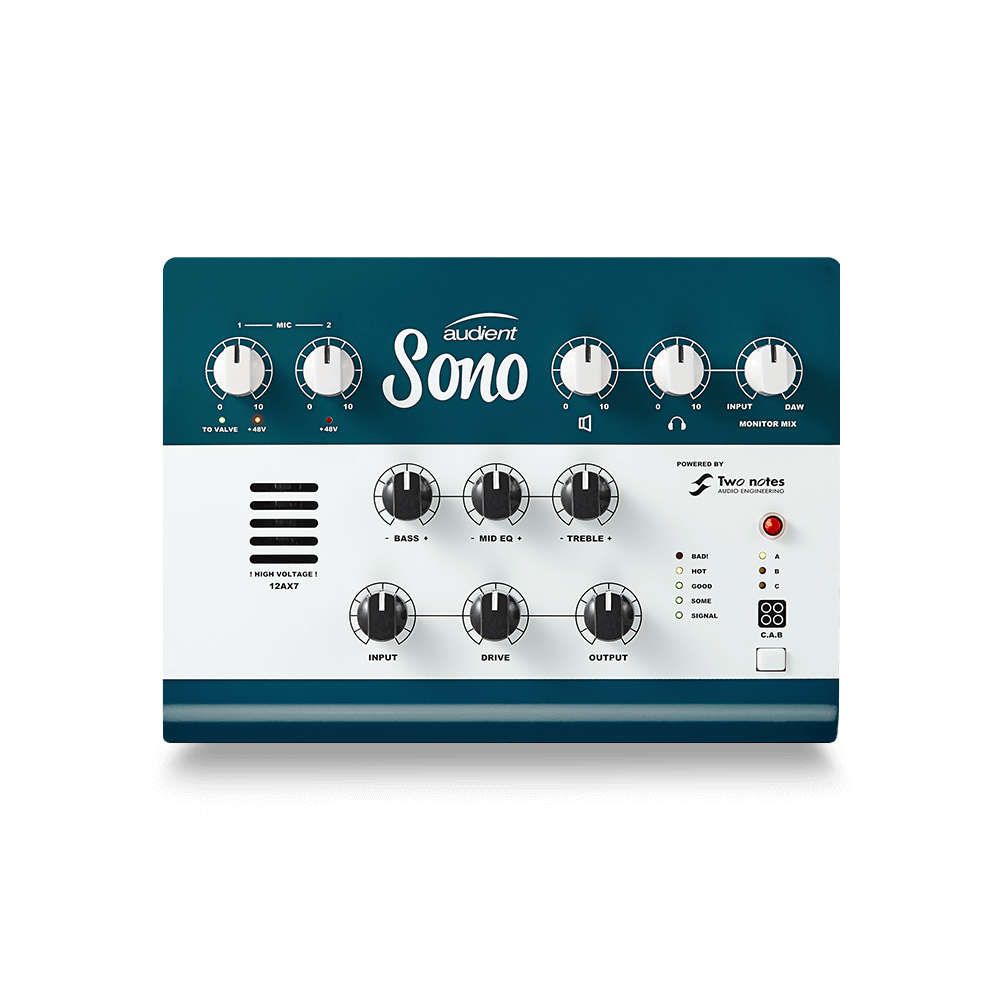
10输入 | 4输出 音频接口
-

2输入 | 2输出 音频接口
-

4输入 | 4输出 音频接口
-

24输入 | 24输出 音频接口
-

开始录音所需的一切
-

8 通道智能前置放大器带 AD/DA
-

具有ADC的8通道麦克风前置放大器
-

具有 HMX 和 IRON 的 8 通道麦克风前置放大器
-

大型录音控制台
-

小型模拟录音控制台
-
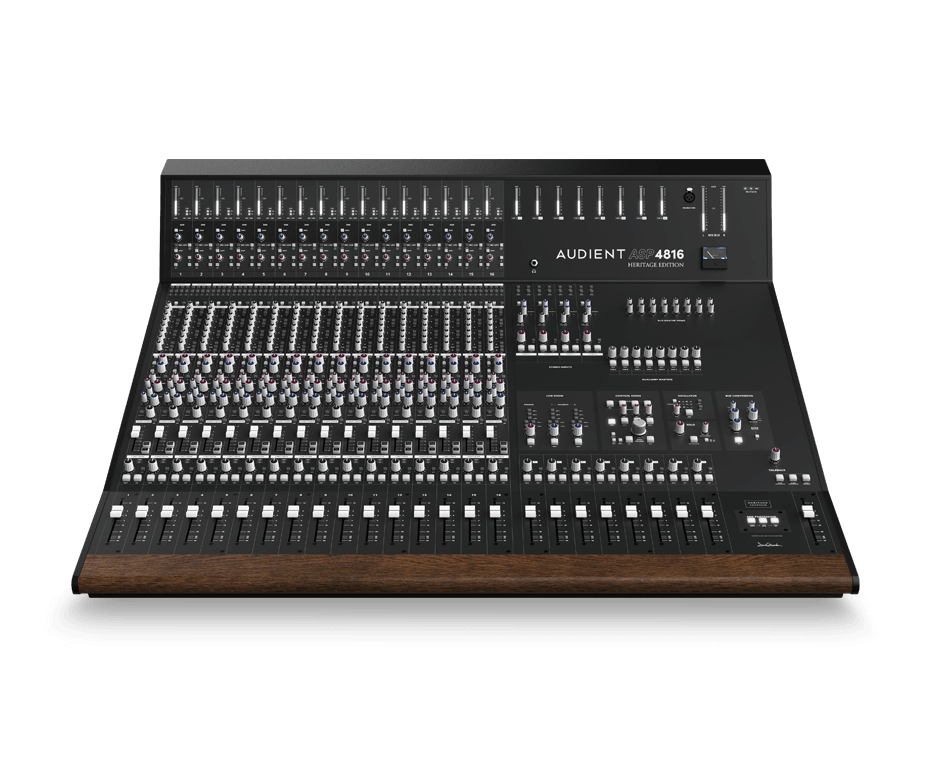
小型模拟录音控制台
-

沉浸式音频接口与监听控制器
-

桌面监听控制器
-
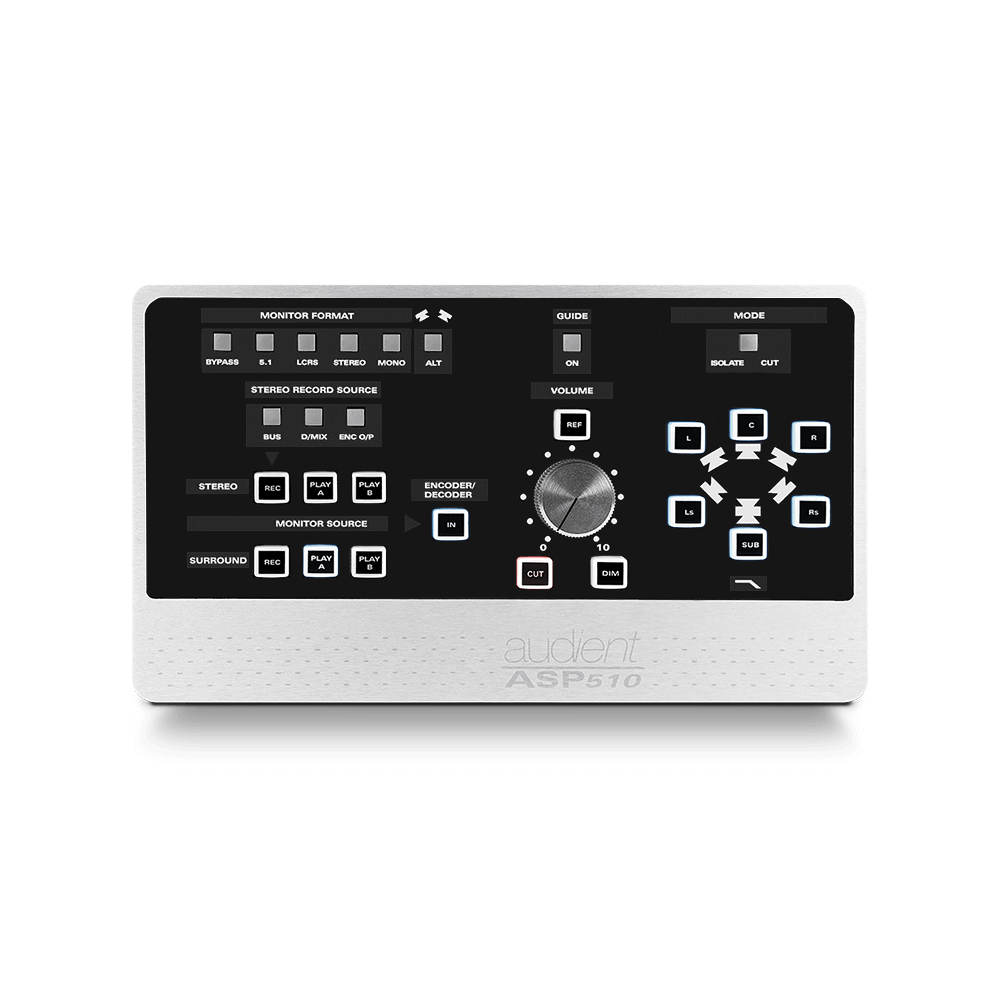
环绕声控制器

