First, top-notch sampled kits aren’t cheap, so it can be a good way to save money. Then there’s the straightforward possibility that you might just love the sound of your particular drums and want to render them as a playable instrument, uniquely yours, to be called on in your DAW whenever you need it. And finally, there’s the fun factor! Sampling a drum kit and turning it into a genuinely playable sampler patch is both technically satisfying and creatively rewarding. With all that in mind, then, here’s how it’s done…
(We’re assuming here, incidentally, that you’re a drummer yourself, or that you have one on hand for the entire session – ie, that somebody in the room knows how to tune and play drums!)
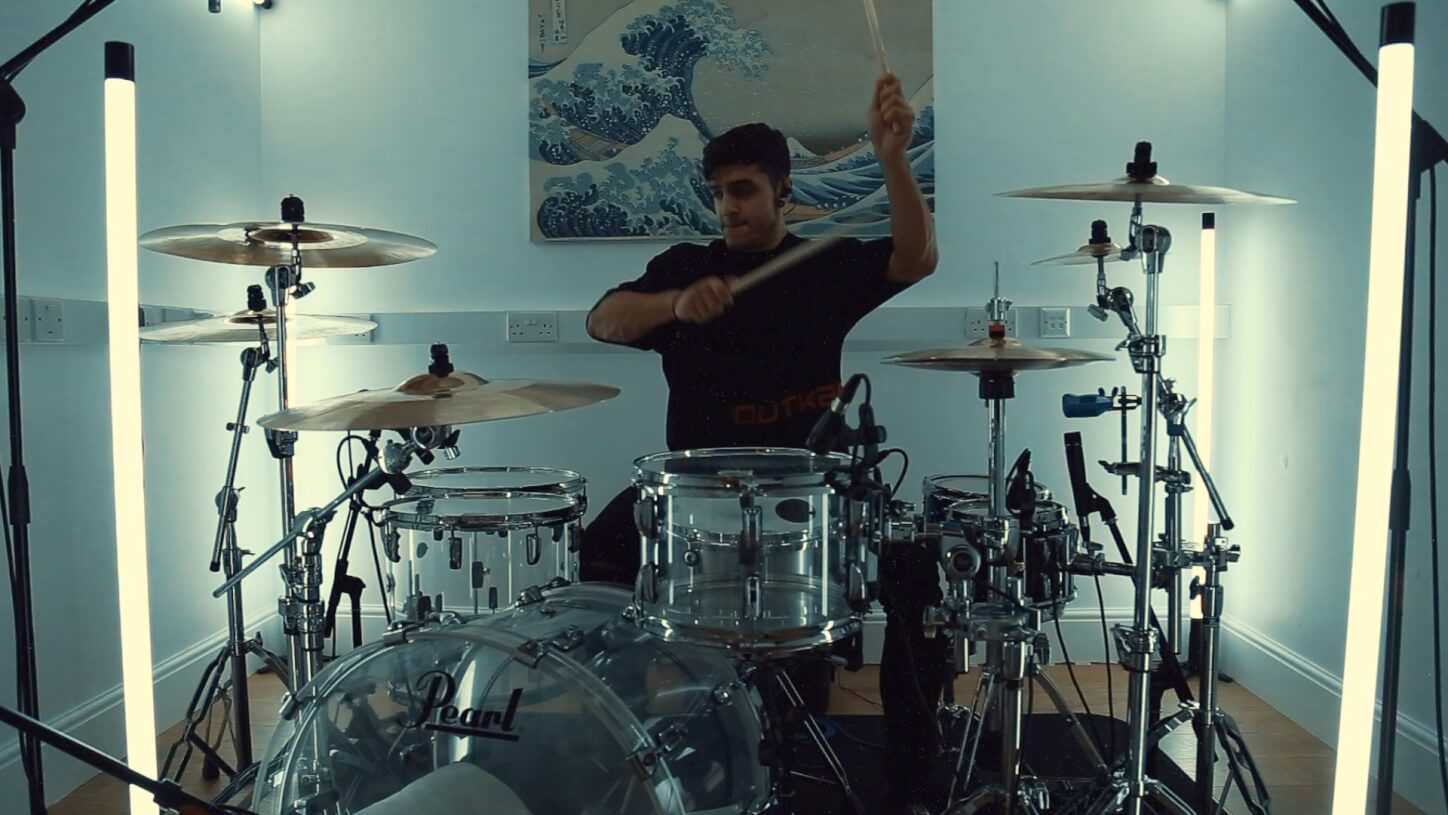
1. Get the drum kit sounding great
Clearly, the first step in building the sampled drum kit of your dreams is getting the drums themselves sounding their best. So, with the kit set up in the most non-reverberant recording space you can access (a dry drum sound is far more adaptable than one with reverb baked in), spend as much time as required getting it tuned for the sound you’re aiming for, and make sure that there’s no rattling coming from any of the lugs or other hardware.

You’ll be hitting each drum individually, rather than actually playing them as a kit, so don’t stress too much over sympathetic resonances between them – and if it does become an issue, you can always just set up and sample each one in isolation instead, although that will slow down the whole process somewhat.
2. Mic up the kit for recording
The quality of the microphones used to record your drums and cymbals will play a huge part in the sonic character of the final sampled kit, so hire in some good ones if at all possible. If you only have a single decent mic, however, you can simply move it around the kit as you sample each component – although, again, obviously this will decelerate the session a fair bit.

As for the audio interface, if you are only using one or two mics, the EVO 4 will suffice; but for a full kit’s worth, you’ll need the EVO 16, perhaps even with the EVO SP8 preamp expander if you’re really going to town mic-wise. Beyond that, the setup and input gain-setting procedure here is the same as for any other drum kit recording, as covered in this tutorial, and with the latter greatly simplified by the Smartgain function on your EVO interface, of course.
3. Record the samples
Okay, you’re ready to record! The first thing to decide at this point is how many velocity layers you want your sampled kit to comprise, which will ultimately determine the amount of dynamic detail that can be elicited from it. If you’re just sampling a kit for a single rock track, say, you might be able to get away with four layers or even less; but if your goal is to create the most realistic, versatile virtual instrument you can for repeated usage, with maximum expressiveness and e-drum playability, you’ll want as many layers as you can get, especially for the snare drum, with all its ghost notes and rudimental technicalities.

Bear in mind that whoever’s doing the hitting will need to be able to play all requested velocity layers consistently, so unless you have a programmable robot arm at your disposal, there will be a limit to what can be achieved in this regard. If you can get 16 layers for your snare, though, you’re pretty much golden.
Don’t try to stop and start recording for each sample individually: just hit record and let the session run while your drummer (or your robot arm!) plays each drum or cymbal, starting a new recording for each component and clearly labelling them as you go, then chopping them all up afterwards. The drummer can hit the drum/articulation (see sidebar) in question at one velocity level repeatedly before moving on to the next velocity level, or just crescendo through the full range of velocity levels sequentially multiple times – whichever they find easiest. Make sure there’s enough space between each hit for the room to drop to silence, and don’t forget to turn the snares off when sampling the kick and toms, as they’ll rattle noisily in sympathy if you don’t.
If at all possible, get three or four full sets of velocity-mappable samples for each drum, so you can work in ‘round robin’ variants for extra realism (sampler permitting). And if you’re feeling truly ambitious, you could also sample the mic bleed between kit pieces – the snare in the tom and kick mics, for example – and layer that in, too. Be aware, however, that mapping that out will be a complicated process, potentially requiring a rack of several samplers.
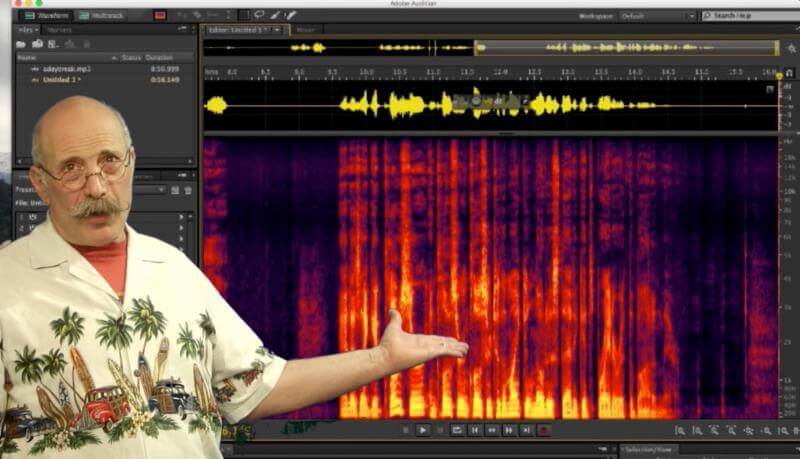
4. Edit and map the samples
At the end of your sampling session, you should have a mountain of tracks ready to be sliced up into their constituent hits. This can be done automatically using your DAW or audio editor’s ‘strip silence’ feature if it has one, or by hand using the good old scissors tool. Either way, make sure the cuts are precisely placed at the start of each sample and allow for the full decay to complete at the end.
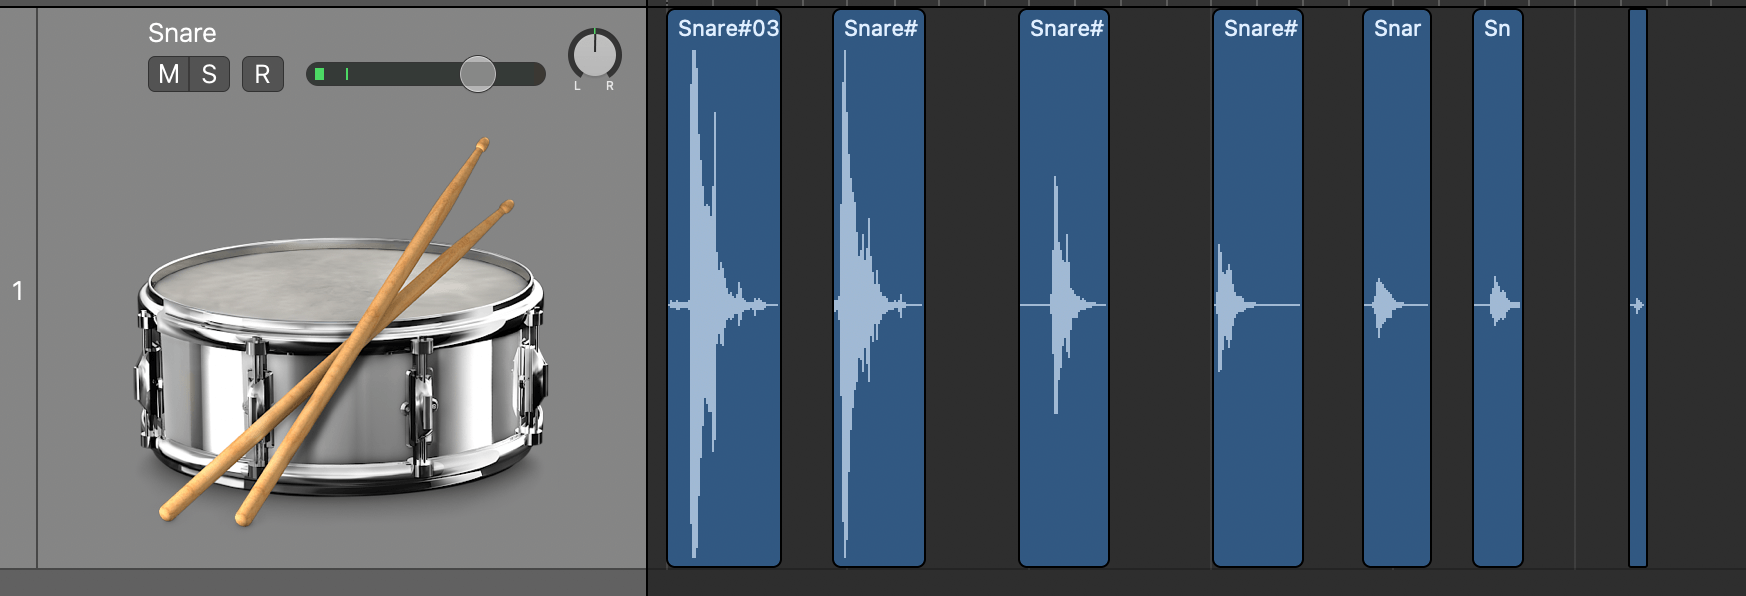
With all your sampled hits exported and given detailed descriptive file names (including drum name, articulation name, and velocity level), all that remains is the legwork of layering them up in your sampler via its usual mapping workflow. Decide which note you want each kit piece to be triggered by, and simply stack up the samples for its various velocity layers on that note, incorporating round robin alternatives if you’ve got them – job done!

Articulations to capture
Here’s a list of the primary articulations you’ll want to sample from each drum and cymbal to make your kit as versatile and playable as possible, including the part of the drumstick to strike with (tip, shoulder and/or shaft).
Snare drum
-
Centre of head (tip)
-
Rimshot (shoulder strikes the rim and tip strikes centre of head simultaneously)
-
Sidestick (tip rests on centre, while shaft is lifted to strike rim)
Kick drum
-
Pedalled
Tom toms
-
Centre of head (tip)
-
Rimshot (shoulder strikes the rim and tip strikes centre of head simultaneously)
Hi-hats
-
Closed (tip and shoulder)
-
Half open (shoulder)
-
Open (shoulder)
-
Pedalled
Crash cymbals
-
Shoulder
Ride cymbal
-
Bow (tip)
-
Bell (shoulder)

Our Products