


Reamping is often something that’s overlooked whilst recording, however it can be a lifesaver if your guitar tones aren’t quite what you’re looking for.
Why Reamping Is Useful
As the name suggests, reamping is the act of capturing a both a clean D.I and your amped sound simultaneously, therefore enabling you to play it back through any guitar amp at a later date and re-recording that tone.
If you’re not happy with the original tone you recorded, reamping essentially acts as undo (or redo) button; meaning you’re able to keep the same performance but tweak the tone of the amp, audition different pedals and experiment with multiple microphones and placement.
Reamping is especially useful if you’re recording in a non-studio setting. Most of the time you’ll find that an idea hits you in the middle of the night when you’re not able to plug into your noisy amp. Re-amping means you’re able to get the performance down and worry about tone later.
How Do You Reamp?
If you don’t have an amp to record with or you’re not wanting to record with your own amp, then all you’ll need to do is plug into your interface and record a clean D.I track.
However if you’re planning on recording your amp and reamping later then you’ll need to have a couple of pieces of equipment, the most important of those being a D.I box, reamp box and of course an audio interface. The signal chain should look like this:
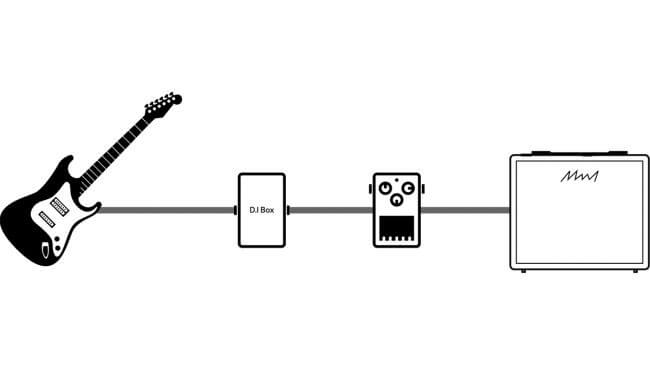
The D.I box is placed first in the signal chain because you need to ensure you capture a completely clean (free from fx or distortion) guitar signal, which you’ll then be able to send into an amp.
Reamping
So now you’ve recorded your clean D.I you’re ready to start reamping. First of all you’ll need to use your DAW to prepare your tracks, in this case we’re using Logic Pro X.
On your audio interface send a balanced cable out of a spare output into your re-amp box and a guitar lead from your re-amp box to your amp. It is important to use a re-amp box because amps operate on a different impedance to what your audio interface is sending.
Set up a microphone as if you were to record a cab normally.
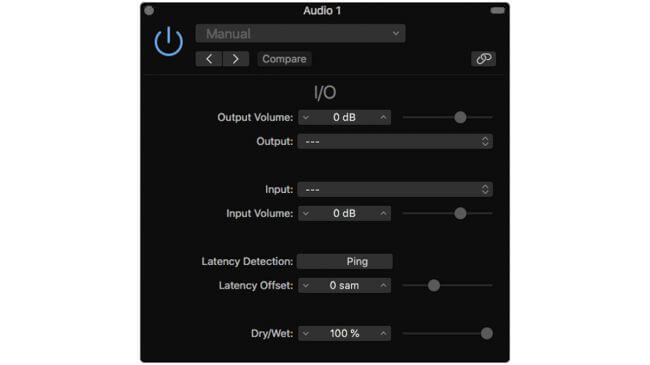
Send your clean D.I out of a spare output on your interface. Tip: Using your DAW’s I/O plugin means that when recording your reamped signal you won’t hear back the clean D.I through your monitors. Hitting the ‘Ping’ button will send a short click through your amp, which is used to adjust for latency.
Set up a new audio track for your mic channel and hit play, you should now hear your D.I through your amp.
Adjust your amp settings as normal and record the guitar track onto the new channel.
Is There An Easier Way?
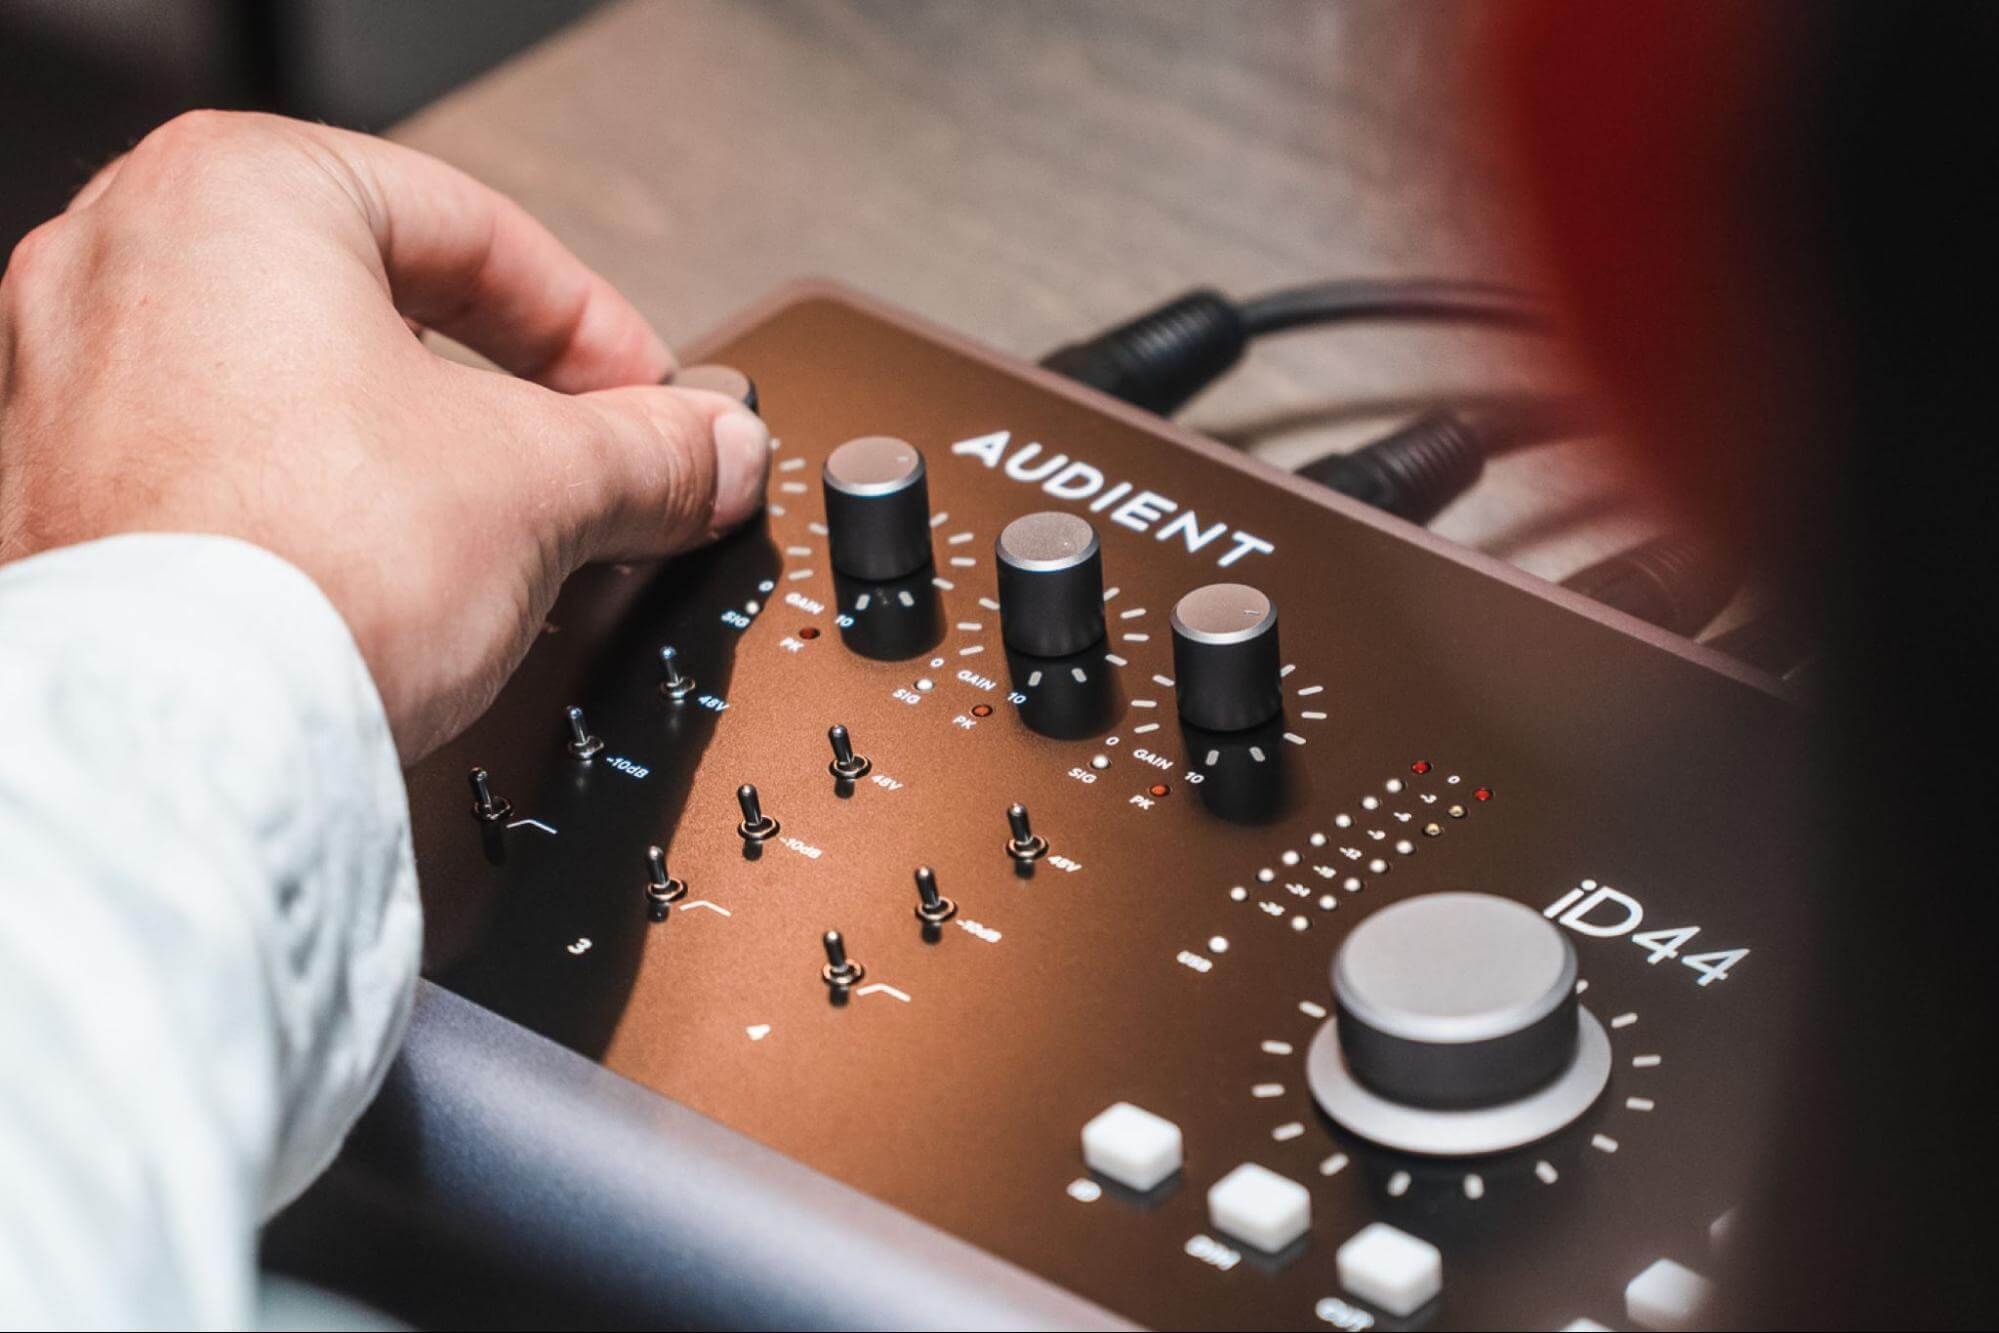
As reamping isn’t the most common technique in recording, it requires a bit more equipment and initial investment than recording guitars in the traditional way. However, if you’re looking for an interface with the ability to reamp (and lots more features) then look no further.
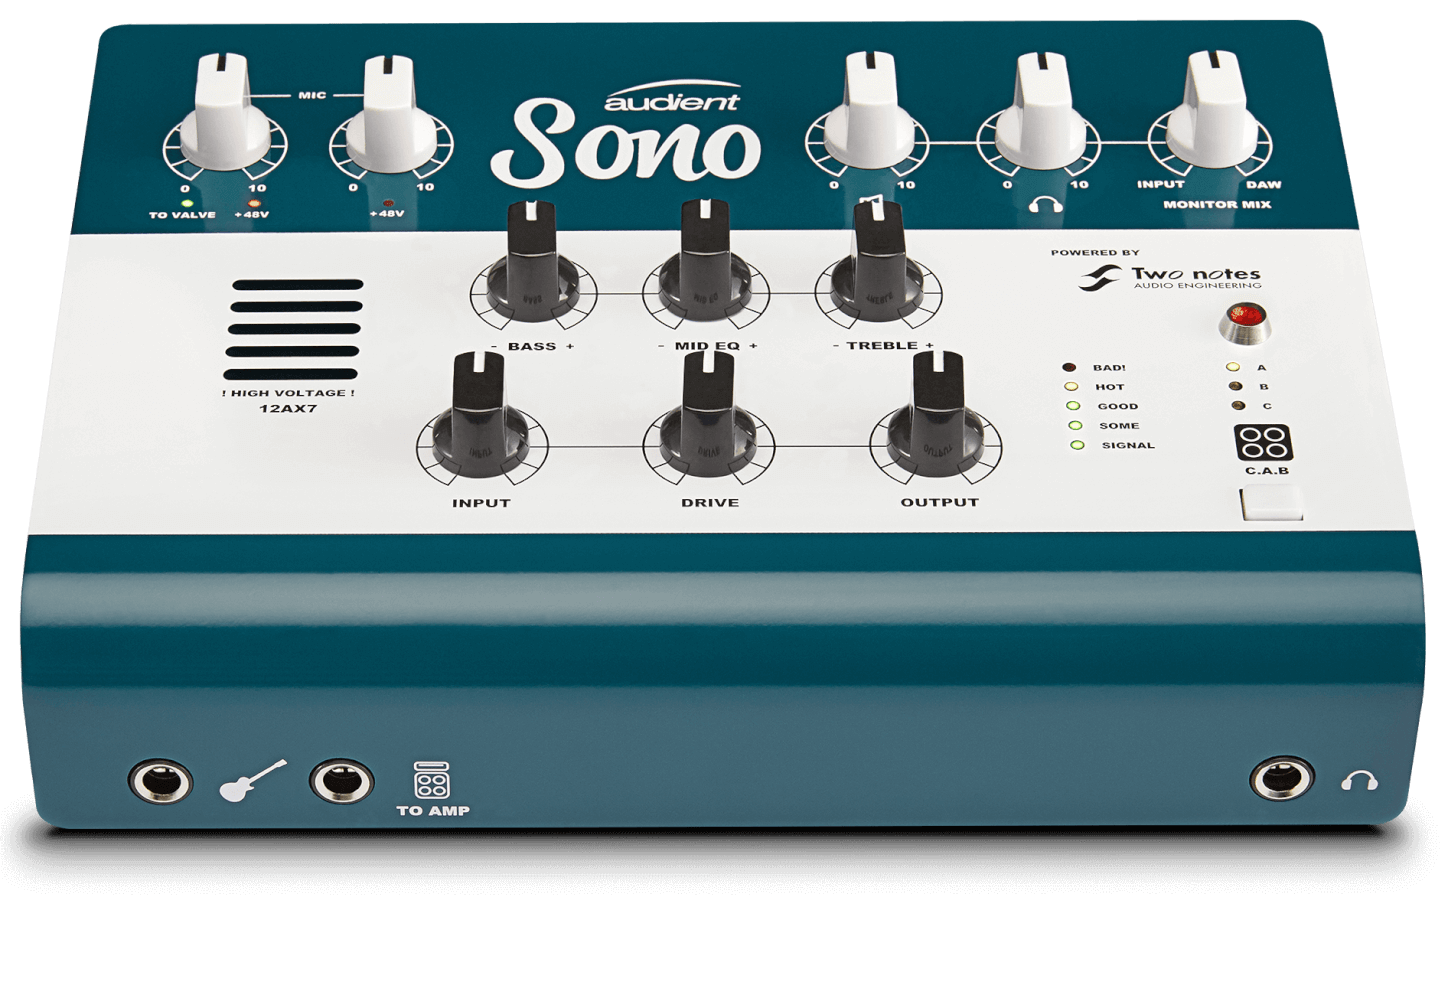
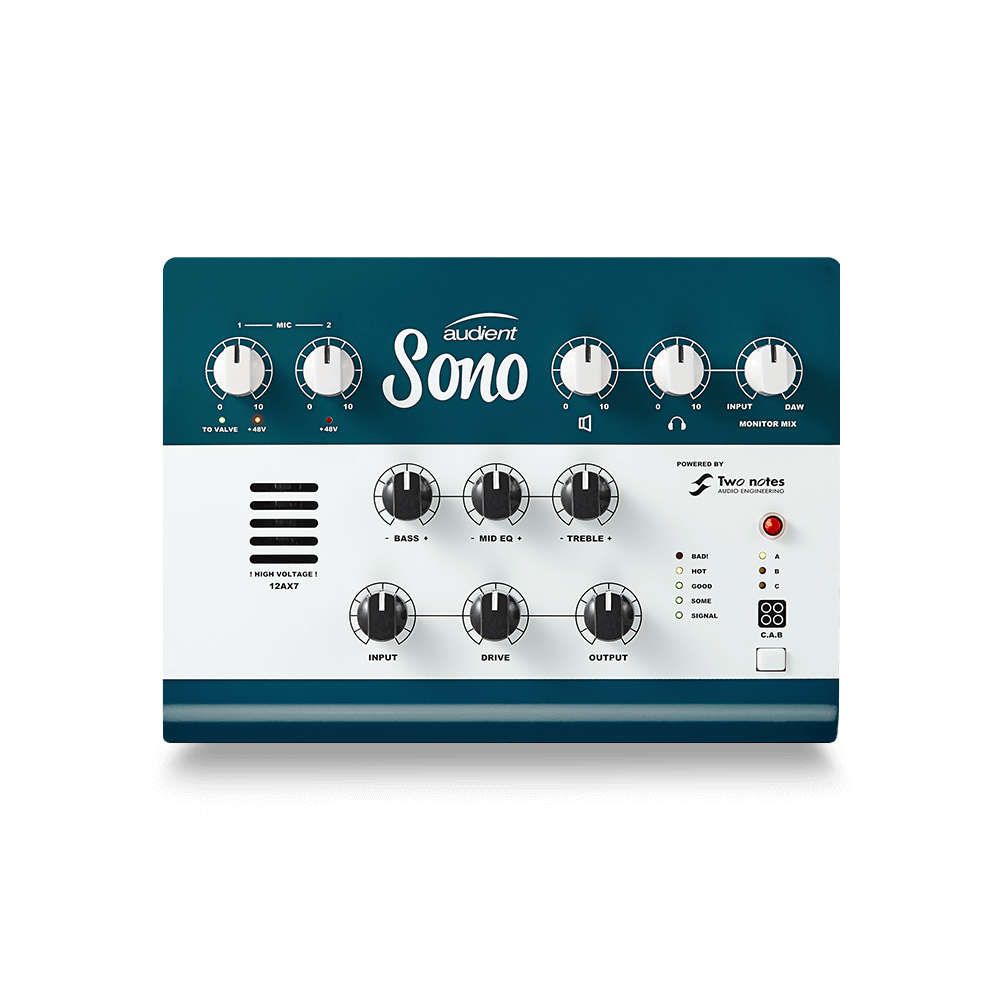
Audient Sono: The Guitarists Best Friend
Featuring two Audient console mic pres, Two notes power and and cab emulation, on board 12AX7 valve preamp and a re-amp output, Sono is the perfect audio interface for guitarist and engineers alike. Whether you’re looking to record your guitar, just practise or even play live then Sono is the audio interface for you.
Re-amping With Sono
In the case of reamping, we could do away with the D.I box and re-amp box as Sono has a few tricks up its sleeve which provides the same functionality in one box.
Instead of having to connect a D.I box to your signal chain, Sono has the ability to automatically record a clean D.I signal as well as a processed version with the Two notes cab simulation simultaneously. Once you’re ready to reamp, all you need to do is follow the same instructions above but instead of connecting the output of your interface to a re-amp box, you’ll just need to plug a guitar lead from the re-amp output of Sono (output 3) and into your amp – it’s as easy as that!
Now set your mic up like you normally would, connect it to Sono’s console mic pres and hit record!
Reamping provides you with complete creative control when it comes to getting your tone right and with Sono you can focus on getting your ideas down and have the flexibility to reamp at a later date.
Reamping is often something that’s overlooked whilst recording, however it can be a lifesaver if your guitar tones aren’t quite what you’re looking for.
Why Reamping Is Useful
As the name suggests, reamping is the act of capturing a both a clean D.I and your amped sound simultaneously, therefore enabling you to play it back through any guitar amp at a later date and re-recording that tone.
If you’re not happy with the original tone you recorded, reamping essentially acts as undo (or redo) button; meaning you’re able to keep the same performance but tweak the tone of the amp, audition different pedals and experiment with multiple microphones and placement.
Reamping is especially useful if you’re recording in a non-studio setting. Most of the time you’ll find that an idea hits you in the middle of the night when you’re not able to plug into your noisy amp. Re-amping means you’re able to get the performance down and worry about tone later.
How Do You Reamp?
If you don’t have an amp to record with or you’re not wanting to record with your own amp, then all you’ll need to do is plug into your interface and record a clean D.I track.
However if you’re planning on recording your amp and reamping later then you’ll need to have a couple of pieces of equipment, the most important of those being a D.I box, reamp box and of course an audio interface. The signal chain should look like this:
The D.I box is placed first in the signal chain because you need to ensure you capture a completely clean (free from fx or distortion) guitar signal, which you’ll then be able to send into an amp.
Reamping
So now you’ve recorded your clean D.I you’re ready to start reamping. First of all you’ll need to use your DAW to prepare your tracks, in this case we’re using Logic Pro X.
On your audio interface send a balanced cable out of a spare output into your re-amp box and a guitar lead from your re-amp box to your amp. It is important to use a re-amp box because amps operate on a different impedance to what your audio interface is sending.
Set up a microphone as if you were to record a cab normally.
Send your clean D.I out of a spare output on your interface. Tip: Using your DAW’s I/O plugin means that when recording your reamped signal you won’t hear back the clean D.I through your monitors. Hitting the ‘Ping’ button will send a short click through your amp, which is used to adjust for latency.
Set up a new audio track for your mic channel and hit play, you should now hear your D.I through your amp.
Adjust your amp settings as normal and record the guitar track onto the new channel.
Is There An Easier Way?
As reamping isn’t the most common technique in recording, it requires a bit more equipment and initial investment than recording guitars in the traditional way. However, if you’re looking for an interface with the ability to reamp (and lots more features) then look no further.
Audient Sono: The Guitarists Best Friend
Featuring two Audient console mic pres, Two notes power and and cab emulation, on board 12AX7 valve preamp and a re-amp output, Sono is the perfect audio interface for guitarist and engineers alike. Whether you’re looking to record your guitar, just practise or even play live then Sono is the audio interface for you.
Re-amping With Sono
In the case of reamping, we could do away with the D.I box and re-amp box as Sono has a few tricks up its sleeve which provides the same functionality in one box.
Instead of having to connect a D.I box to your signal chain, Sono has the ability to automatically record a clean D.I signal as well as a processed version with the Two notes cab simulation simultaneously. Once you’re ready to reamp, all you need to do is follow the same instructions above but instead of connecting the output of your interface to a re-amp box, you’ll just need to plug a guitar lead from the re-amp output of Sono (output 3) and into your amp – it’s as easy as that!
Now set your mic up like you normally would, connect it to Sono’s console mic pres and hit record!
Reamping provides you with complete creative control when it comes to getting your tone right and with Sono you can focus on getting your ideas down and have the flexibility to reamp at a later date.

Our Products
-

2in | 2out Audio Interface
-

10in | 6out Audio Interface
-

10in | 14out Audio Interface
-

20in | 24out Audio Interface
-
10in | 14out Audio Interface + Monitor Controller
-
10in | 4out Guitar Interface
-

2in | 2out Audio Interface
-

4in | 4out Audio Interface
-

Everything you need to start recording
-

24in | 24out Audio Interface
-

8 Channel Smart Preamp with AD/DA
-

8 Channel Mic Pre & ADC
-

8 Channel Mic Pre + Tone Control
-

Modular Analogue Recording Console
-

Small Format Analogue Recording Console
-

Small Format Analogue Recording Console
-

Immersive Audio Interface and Monitor Controller
-

Desktop Monitor Controller
-
Surround Sound Monitor Controller