


1. Turning a monosynth into a polysynth
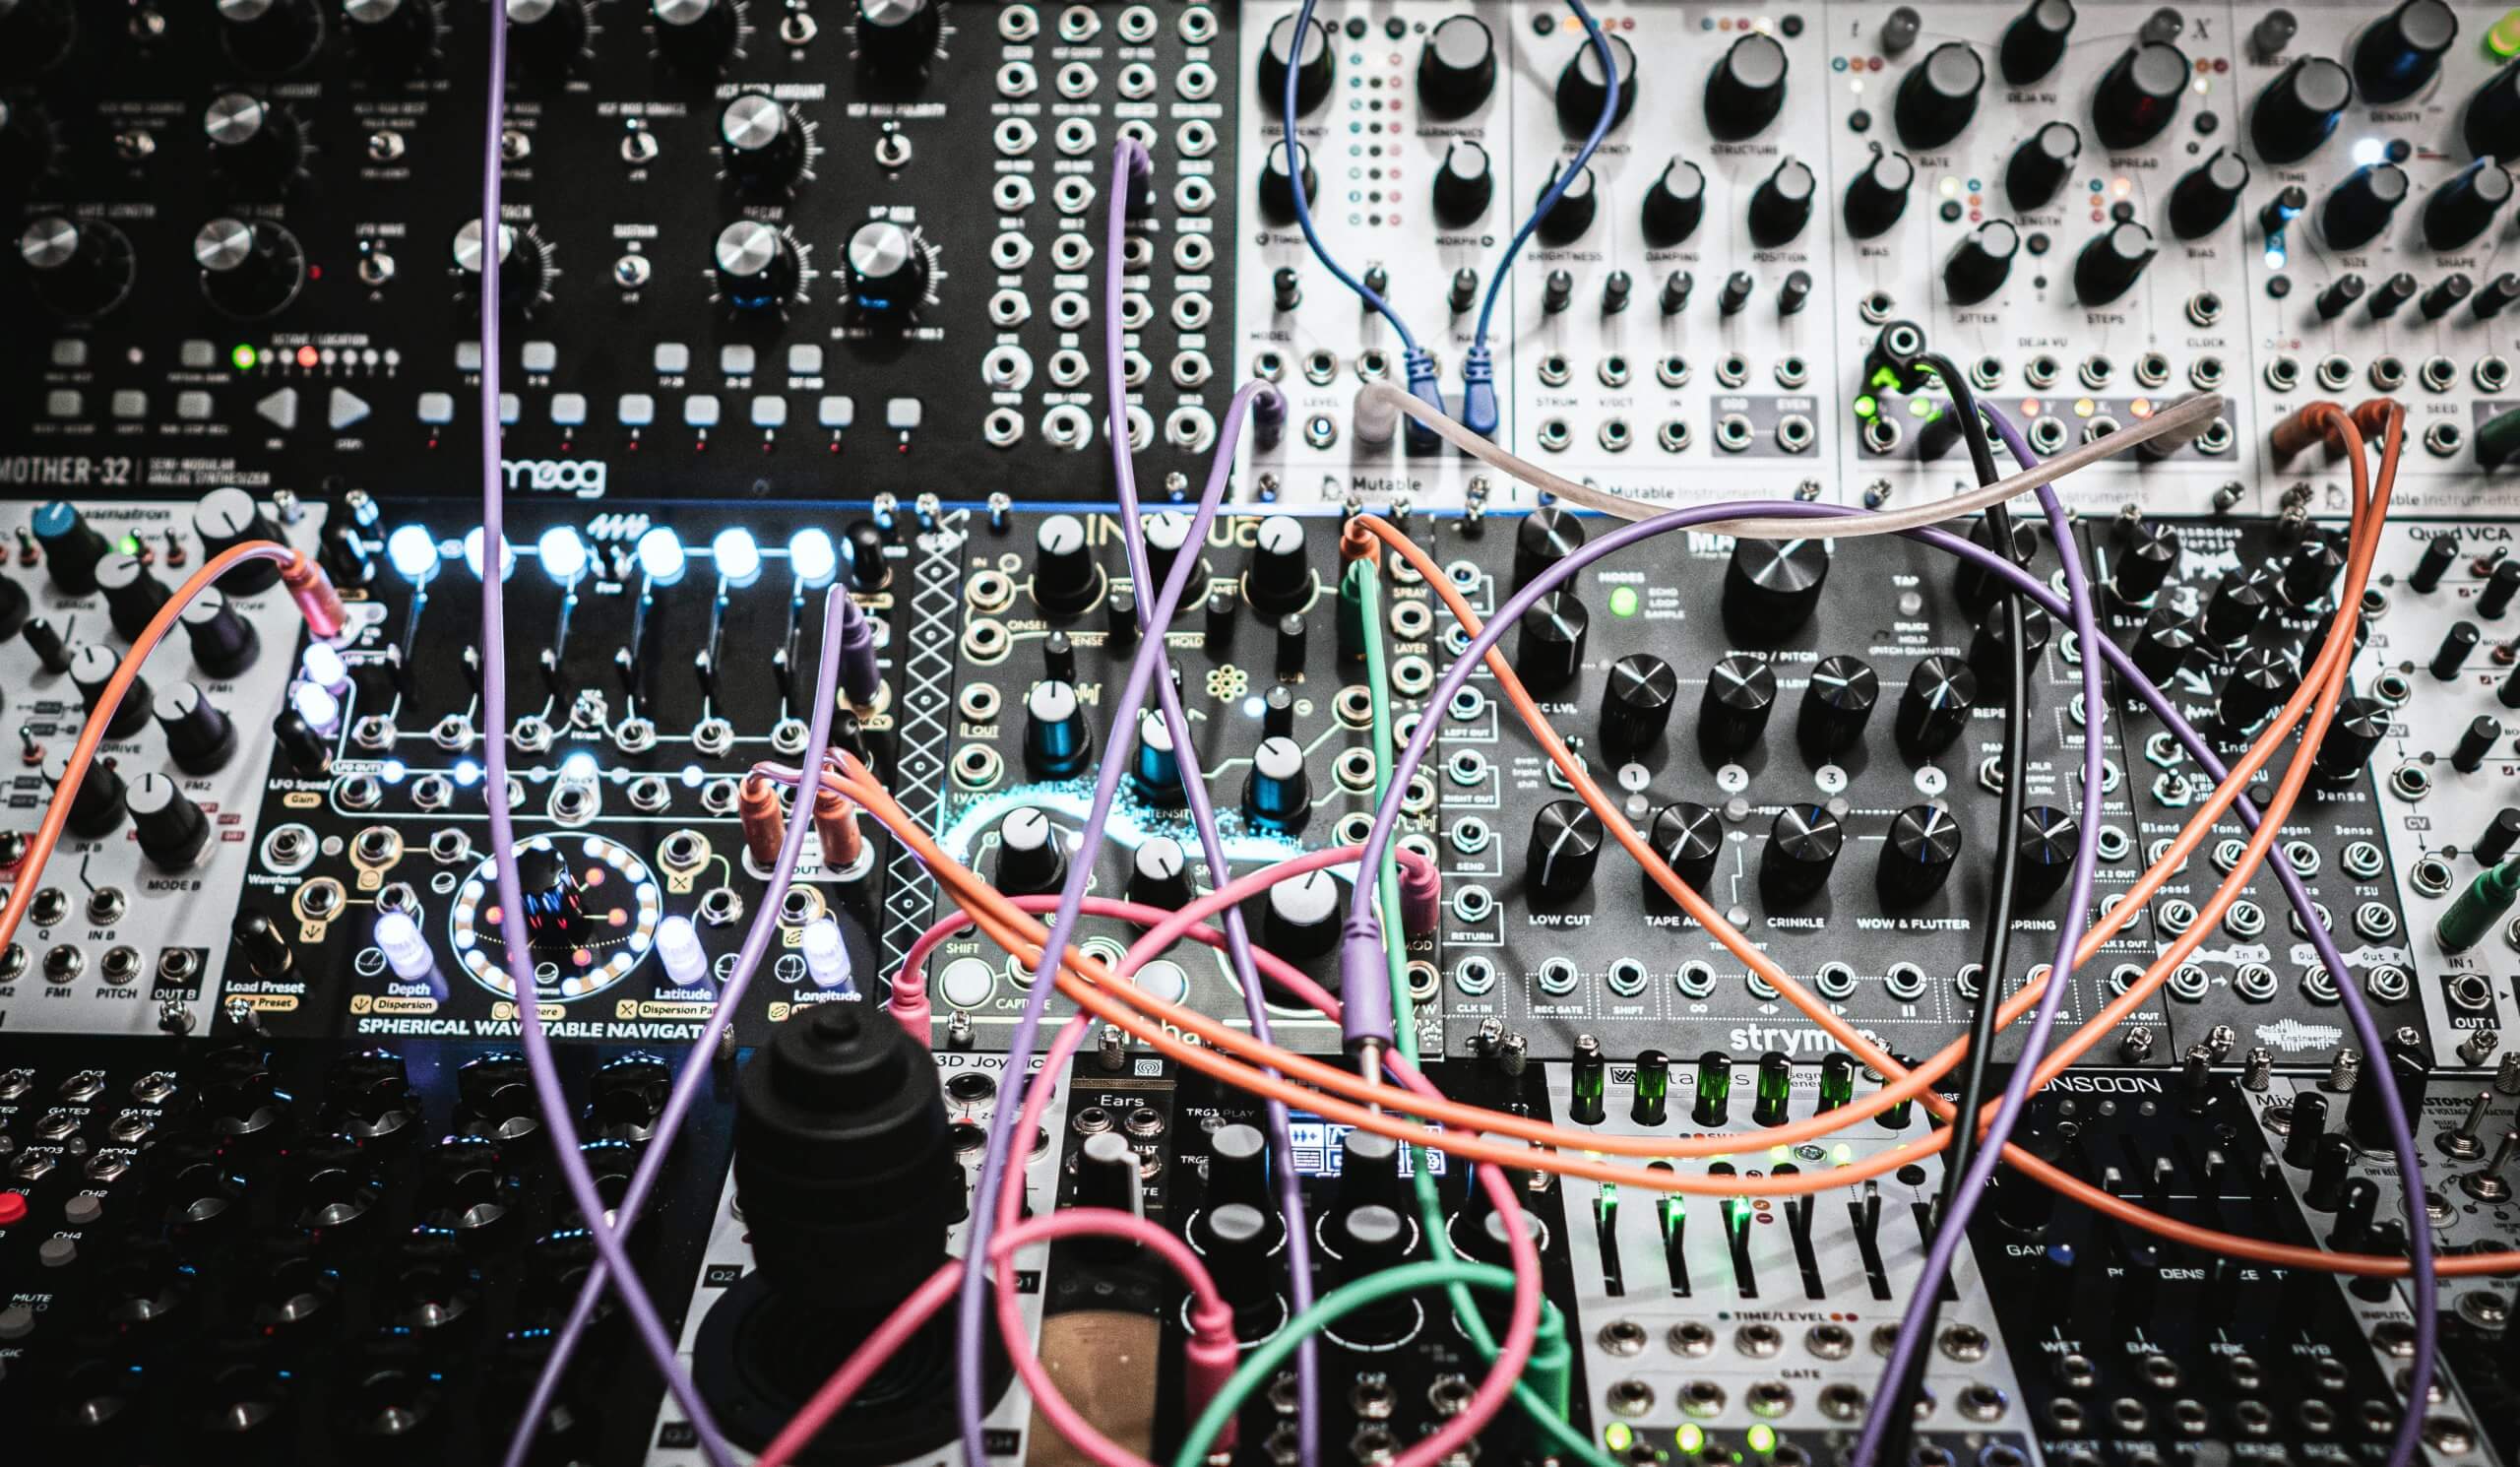
While classic synths such as the Minimoog, SH-101 and Pro One are sought after for the warm, characterful analogue tones they generate, their resolutely monophonic architectures obviously limit their application in the studio. Multisampling is the answer, enabling as many notes as you like to be played at once.
2. Capturing a borrowed synth
A friend lends you their Yamaha DX7, and even though there are plenty of software emulations available, none of them sound as good to your ear as the real thing. Multisample your favourite presets before you hand it back!
3. Making a hardware synth ‘portable’
Multisampling enables you to keep your go-to hardware synth patches readily to hand on your laptop, so you can call up that Minitaur bass sound or Triton pad when producing on the plane – even if only as a placeholder til you get back to the studio.
4. Selling sample libraries
Build a compelling library of multisampled synth patches for Native Instruments’ Kontakt (at the very least) and any other platforms you can handle, and sell it online. Naturally, the more exclusive and interesting your source instrument, the more viable your commercial proposition.
5. Changing your perspective on synth patches
A sampler offers different functionality and sonics to a synth, from audio timestretching and pitchshifting to the sound of its specific filters and modulation systems; not to mention a distinct workflow that can take you down otherwise undiscovered creative avenues.
6. Reducing resource usage
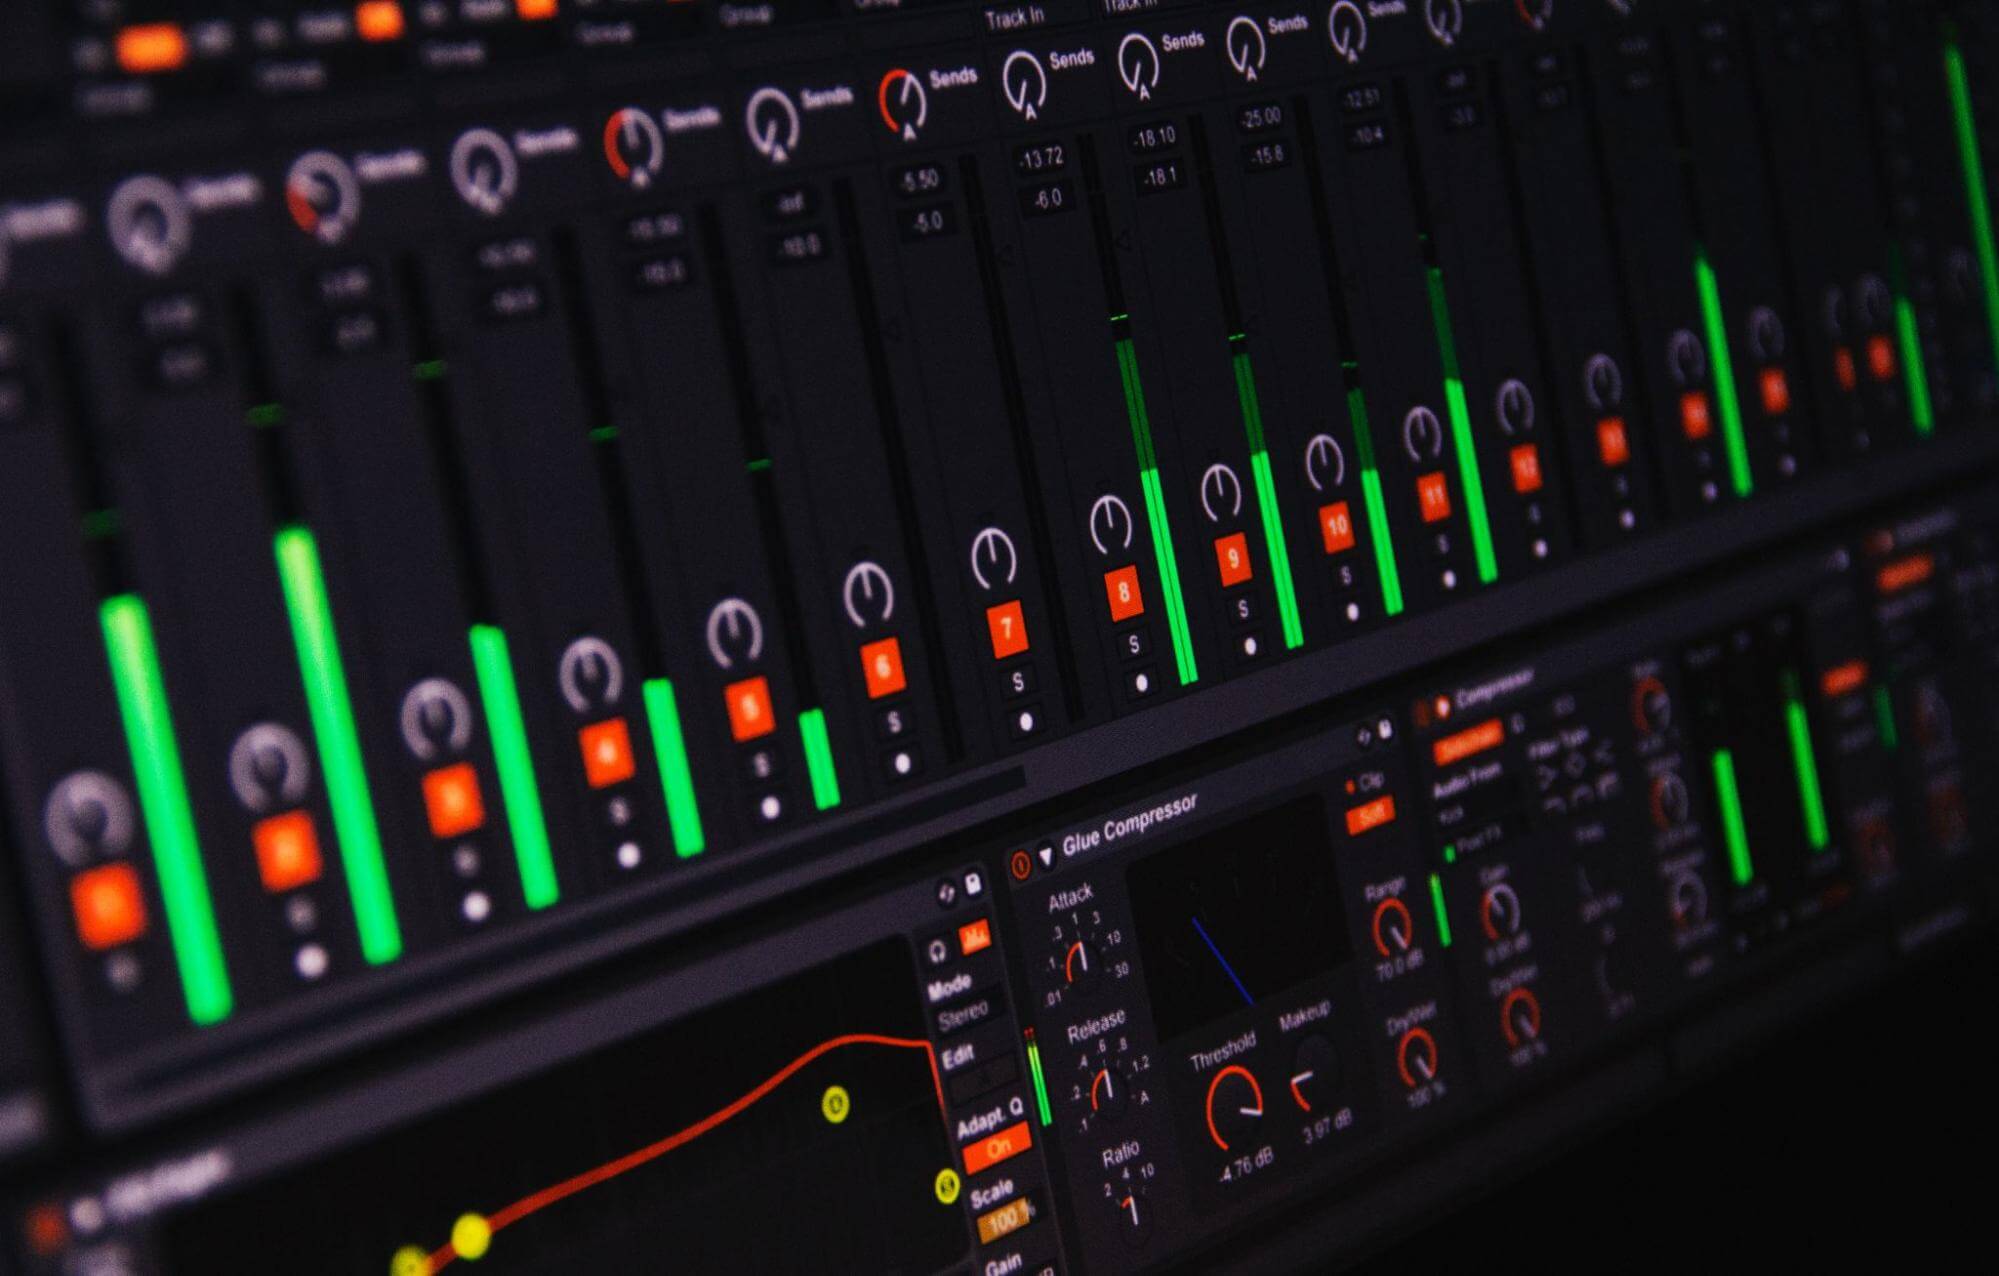
Multisampling processor-intensive virtual instruments is a great way to claw back precious CPU cycles in your DAW projects, as even the most demanding of sampler plugins will be far less of a drain on your processor than any current-gen soft synth.
Whatever your rationale for wanting to capture a snapshot of that classic or modern synth as a playable sampler instrument, here’s how it’s done:
Setting up the synth patch
There’s no limit to the type of synth patch you can multisample, obviously, but the length of the amplitude envelope is a factor that needs to be considered. While you can always shorten overly long multisamples using your sampler’s envelope controls, you can’t lengthen unhelpfully short notes without introducing timestretching artefacts. So, unless brevity is an essential and defining characteristic of the patch in question, longer is generally better, even though it calls for more storage space.
It’s also important to think about any onboard effects used within the synth patch. Reverb and delay are usually best turned off, as ’printing’ them into the multisamples might lock them to a certain tempo and spatial styling – it’s better to reintroduce those effects using plugins on the sampler’s mixer channel, where they can be freely tweaked. The same applies to strongly rhythmic LFO modulation, too, of course. ‘Atemporal’ effects – distortion, compression, EQ, chorus, phasing, unison detune, etc – however, won’t cause such issues and, indeed, will probably be so essential to the synth sound you’re looking to render that deactivating them would likely make the whole exercise pointless anyway.
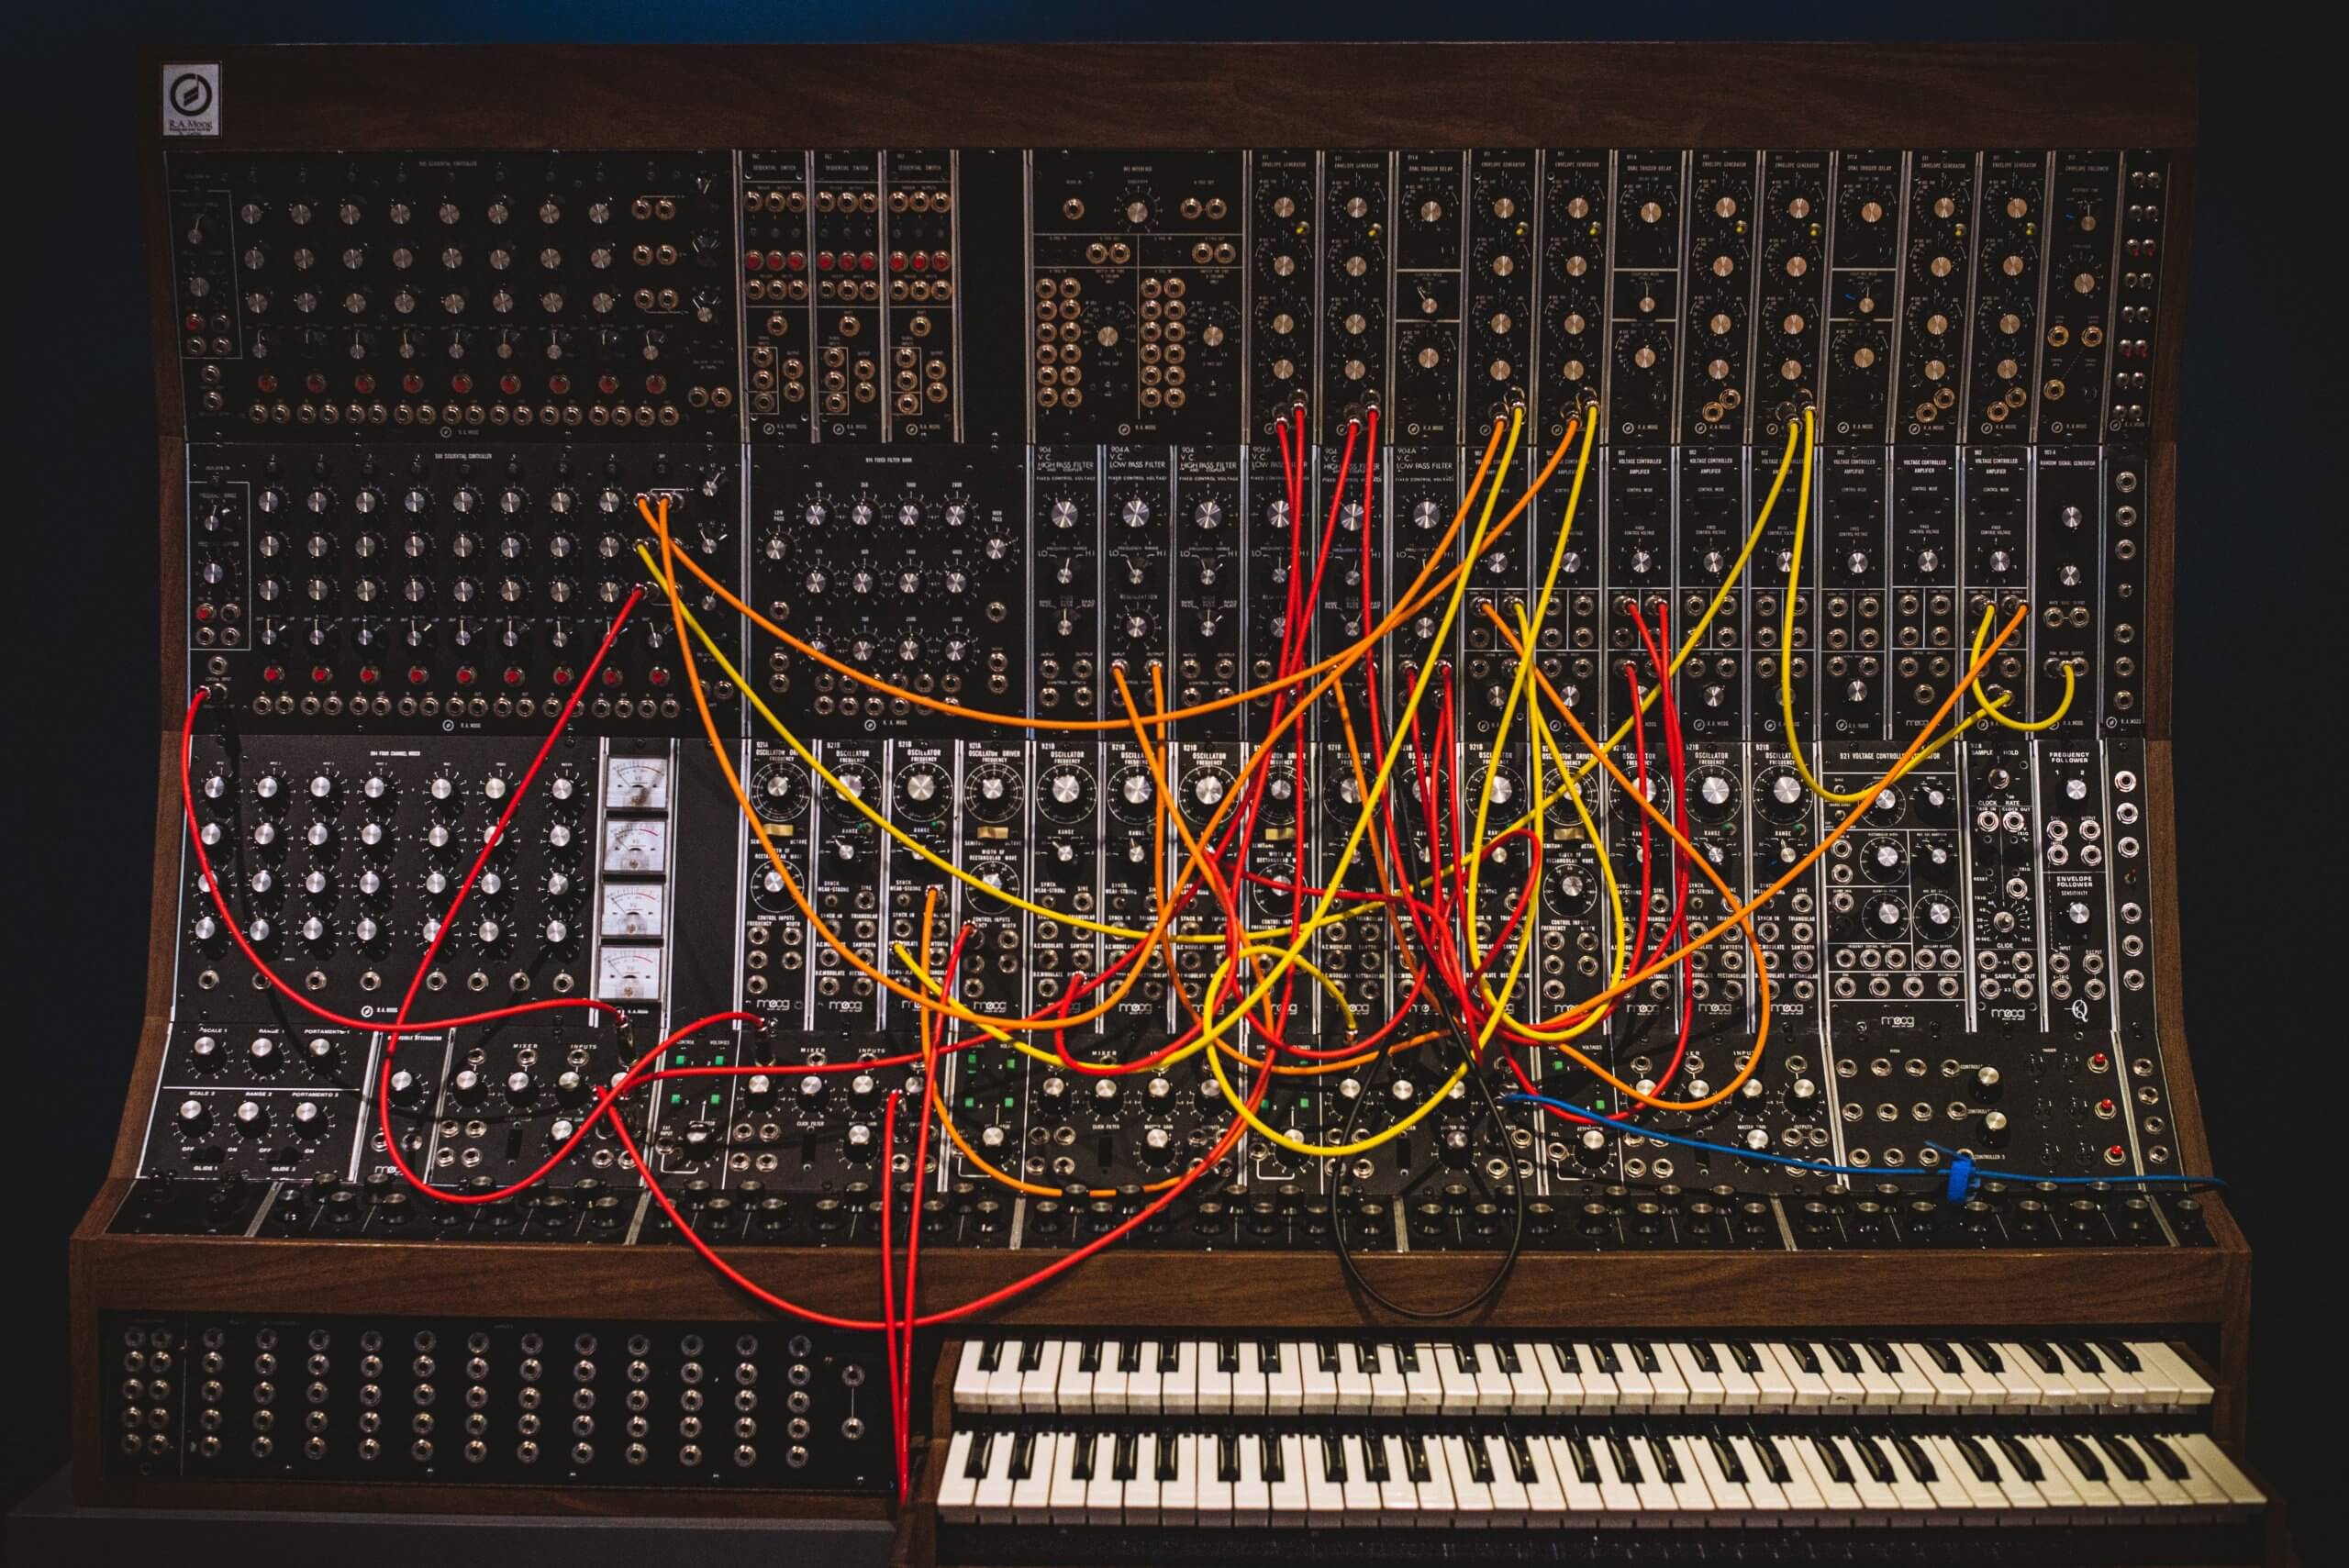
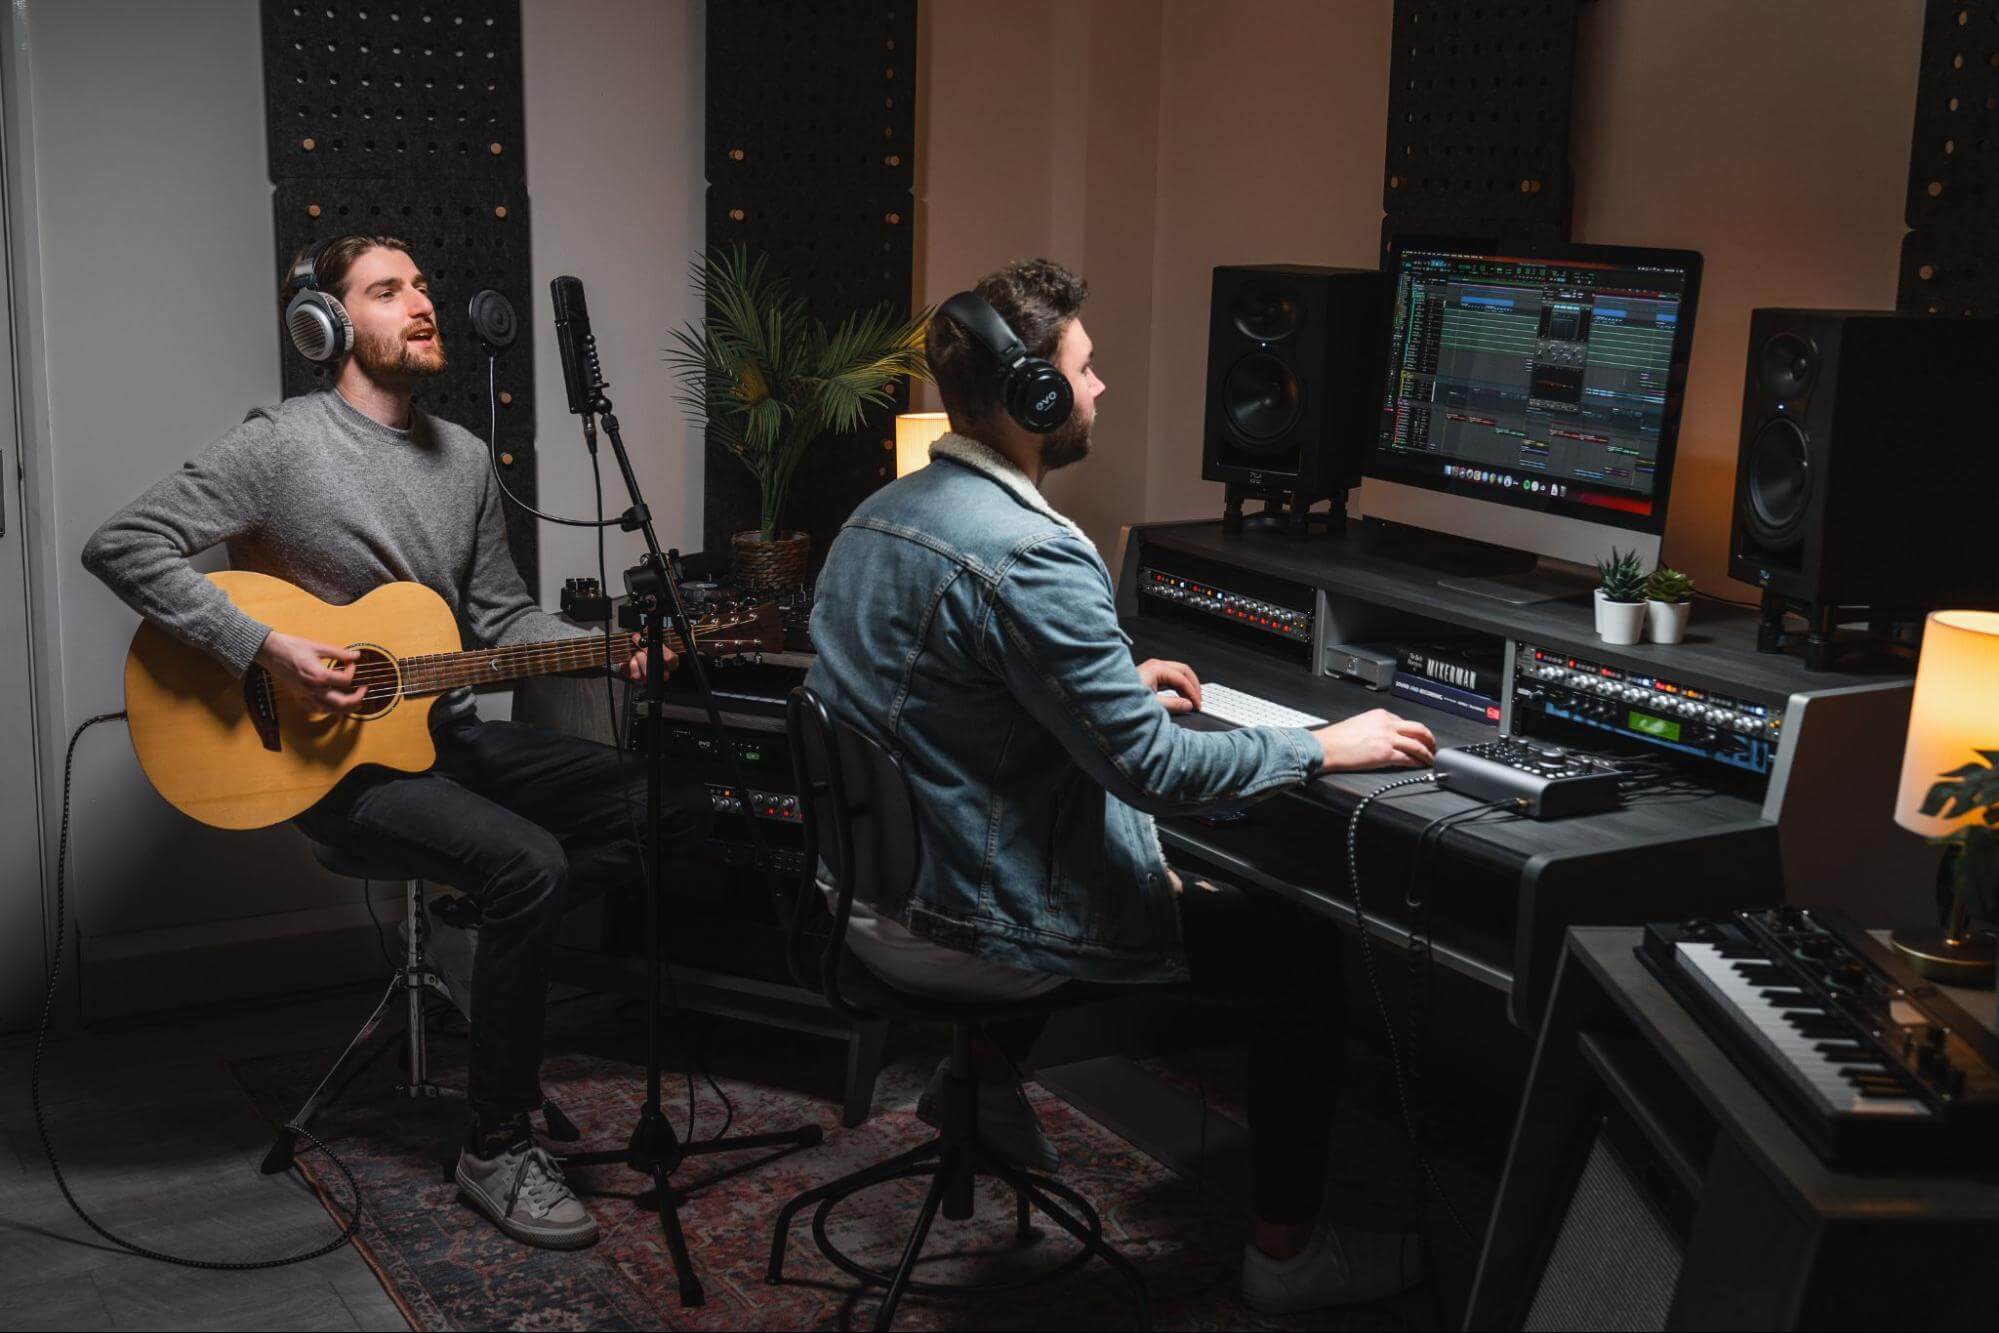
Signal routing, triggering and recording
To set up your soft synth for multisampling, simply load it onto an instrument track in your DAW. A hardware synth, on the other hand, requires both MIDI and audio routing to be established. MIDI needs to be sent to the synth from a MIDI track in the DAW via USB (if the synth is so equipped) or a MIDI interface; and the output of the synth is routed to an audio track in the DAW via your Audient audio interface’s inputs. Adjust the input level so that the meters peak at just below 0dB when the synth is played at full (127) velocity.
Once your synth is set up to receive MIDI from and output audio to your DAW, the next step is deciding what notes to record for your multisample bank. This will largely come down to three things: the nature of the synth sound itself, how detailed you need your rendered version of it to be, and how much work you want to make for yourself when it comes to sample editing and mapping. You could keep the process as basic as sampling every third, fourth or fifth white key at maximum velocity, or – if there’s lots of pitch- and/or velocity-sensitive modulation involved, say – go as far as capturing every chromatic note at four or five velocity levels.
Bear in mind, though, that there’s really only any point sampling multiple velocity layers if the synth patch actually responds to velocity in a meaningful way beyond volume modulation, which is easily replicated in any sampler. For example, you might want the characterful sound of the synth’s own filter opening up in response to velocity, rather than just using your sampler’s equivalent to emulate it.
Ultimately, if all you need is the ‘static’ tone of a given synth preset, and you’re happy to apply filters, envelopes, etc, in the final sampler patch, you can save yourself a lot of time and storage space by going down the single-layer route.
With your notes decided on, draw them into a MIDI sequence to trigger the synth, making sure there’s enough space after each one for the audio signal to drop to total silence, so that you can cleanly separate the notes in the resulting recording (see below). If you’ve gone for a full-on, velocity-layered mega-multi, divide the notes up into several MIDI clips and record multiple manageable audio files rather than a single ridiculously huge one.
If you’re multisampling a plugin synth, your DAW may well enable you to render it in place as an offline process: click the relevant button or menu entry (see your DAW’s documentation) and wait for the render to complete. For hardware synths, you’ll need to record in real time: arm the audio track for recording, hit the record button, then start playback and wait for the MIDI file to play all the required notes.
Editing and mapping
With your multisample sequence recorded as one or more audio files, all that remains is to slice it/them up into individual notes (either manually or using the ‘strip silence’ function in your DAW, if it has one), save the slices out as sensibly named samples (‘Phatty Bass C3 127’, etc), and map them into a key- and/or velocity-layered sampler patch by whatever means your sampler of choice handles the procedure (again, check the manual). Be accurate and consistent with your slicing, especially with regard to sample start points, which should be as tight as possible.
And that’s it! With your synth patch converted to a playable multisampled instrument, save it to your personal sound library for effortless recall whenever required, bringing with it all the creative benefits, technical conveniences and supreme portability of the plugin sampler format.

Automatic multisampling
If you find yourself multisampling synths with any kind of regularity, you can save a ton of time by investing in an automatic multisampling solution such as Skylife’s SampleRobot or Tim Cosm’s External Resampler, or – if you’re a suitably equipped Mac user – calling up the AutoSampler device built into Apple’s Logic Pro X or MainStage. These ingenious applications and plugins reduce the process of triggering, recording, compiling and mapping multisamples of both hardware and software synths to a one-click process (having set up input, output, note ranges and a few other key parameters, natch), and can even send program change messages, making it a snap to capture entire synth preset banks at a stroke.

Our Products
-

Interface audio 2 entrées - 2 sorties
-

Interface audio 10 entrées - 6 sorties
-

10in | 14out Audio Interface
-

Interface audio 20 entrées - 24 sorties
-
Interface audio 10 entrées - 14 sorties
-

Interface audio 2 entrées - 2 sorties
-

Interface audio 4 entrées - 4 sorties
-

Tout ce dont vous avez besoin pour débuter l'enregistrement
-
Interface audio 10 entrées - 4 sorties
-

Préampli micro 8 canaux avec CA/N
-

Préampli micro 8 canaux + Tone Control
-

Console d'enregistrement analogique modulaire
-

Small Format Analogue Recording Console
-

Small Format Analogue Recording Console
-

Immersive Audio Interface and Monitor Controller
-

Contrôleur de monitoring de bureau
-
Contrôleur de monitoring multicanal